|
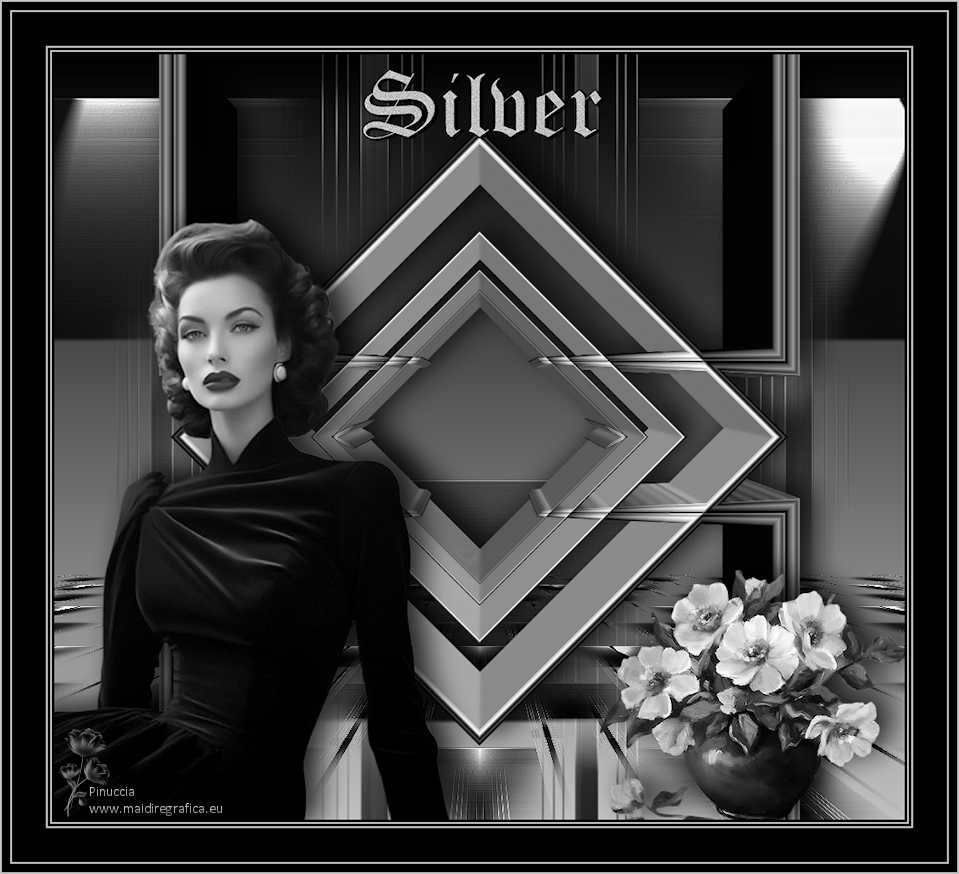
SILVER


Thanks Luz Cristina for your invitation to translate your tutorials into english

This tutorial, created with PSP2022, was translated with PspX7, but it can also be made using other versions of PSP.
Since version PSP X4, Image>Mirror was replaced with Image>Flip Horizontal,
and Image>Flip with Image>Flip Vertical, there are some variables.
In versions X5 and X6, the functions have been improved by making available the Objects menu.
In the latest version X7 command Image>Mirror and Image>Flip returned, but with new differences.
See my schedule here
 French Translation here French Translation here
 Your versions here Your versions here

For this tutorial, you will need:

Material by Luz Cristina.
(The links of the tubemakers here).
*It is forbidden to remove the watermark from the supplied tubes, distribute or modify them,
in order to respect the work of the authors

consult, if necessary, my filter section here
Filters Unlimited 2.0 here
Simple - Top Left Mirror here
Mura's Meister - Perspective Tiling here
Alien Skin Eye Candy 5 Impact - Extrude here
Filters Simple can be used alone or imported into Filters Unlimited.
(How do, you see here)
If a plugin supplied appears with this icon  it must necessarily be imported into Unlimited it must necessarily be imported into Unlimited

You can change Blend Modes according to your colors.
In the newest versions of PSP, you don't find the foreground/background gradient (Corel_06_029).
You can use the gradients of the older versions.
The Gradient of CorelX here

Open the masks in PSP and minimize them with the rest of the material.
1. Open a new transparent image 1000 x 900 pixels.
2. Set your foreground color to #c0c0c0,
and your background color to #000000.
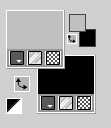
Set your foreground color to a Foreground/Background Gradient, style Linear.
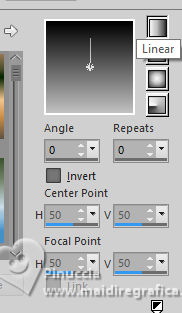
Flood Fill  the trasparent image with your Gradient. the trasparent image with your Gradient.
3. Effects>Plugins>Filters Unlimited 2.0 - Buttons & Frames.
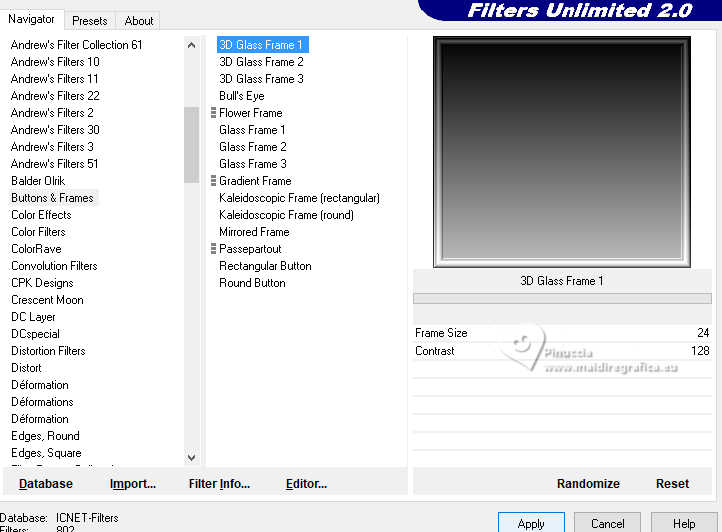
4. Activate your Magic Wand Tool

et cliquer au centre du cadre 3-4 fois pour le sélectionner.
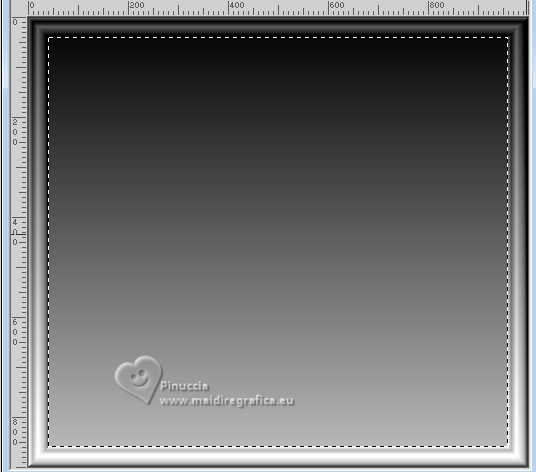
Press CANC on the keyboard 
Selections>Select None.
5. Effects>Plugins>Mura's Meister - Perspective Tiling.
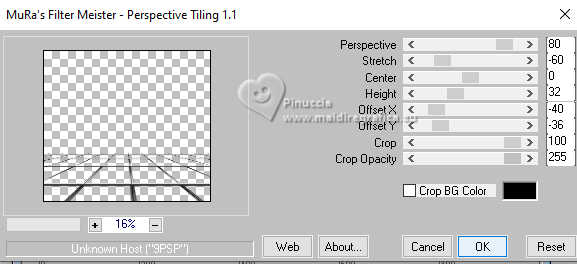
6. Effects>Geometric Effects>Skew.
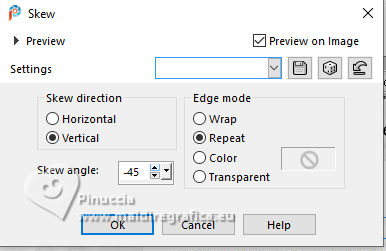
7. Effects>Reflection Effects>Rotating Mirror

8. Image>Mirror>Mirror vertical (Image>Flip).
9. Layers>New Mask layer>From image
Open the menu under the source window and you'll see all the files open.
Select the mask Marge-topfade.
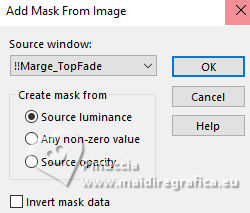
Layers>Duplicate - 2 times, to apply the mask 3 times.
Layers>Merge>Merge Group.
10. Effects>Plugins>Simple - Top Left Mirror.
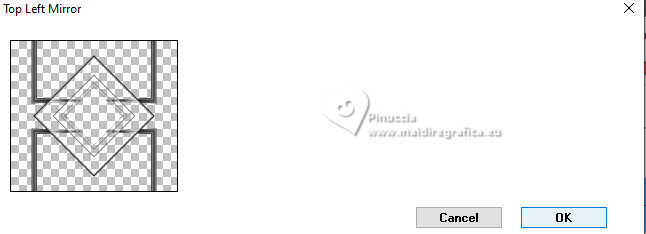
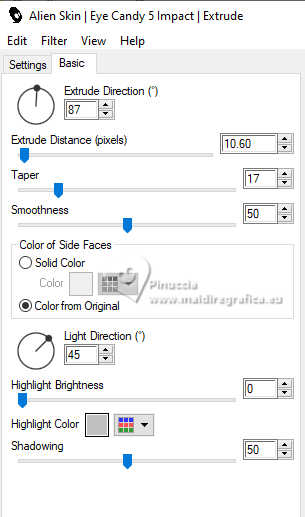
11. Effects>Plugins>Alien Skin Eye Candy 5 Impact - Extrude
Highlight color: #c0c0c0.
12. Effects>3D Effects>Drop Shadow, color black.

13. Layers>New Raster Layer.
Layers>Arrange>Move Down.
Flood Fill  the layer with your Gradient. the layer with your Gradient.
14. Layers>Duplicate.
Image>Mirror>Mirror vertical (Image>Flip).
15. Layers>New Mask layer>From image
Open the menu under the source window
and you'll see all the files open.
Select the mask SmArt masck 53.
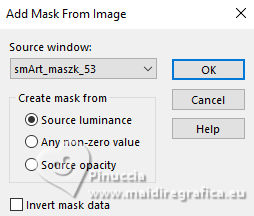
Layers>Merge>Merge Group.
16. Effects>Edge Effects>Enhance davantage.
17. Effects>Image Effects>Seamless Tiling, default settings.

18. Effects>Illumination Effects>Lights.

In the tutorial, there are only the settings for the projector number 1.
Below are my settings for the other projectors.
n.2
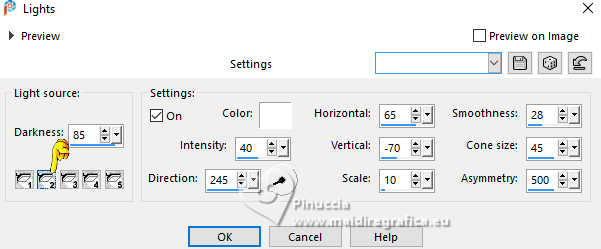
n.3
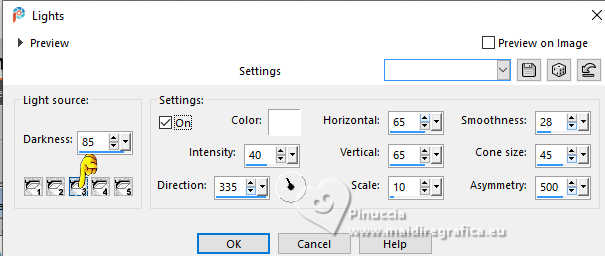
n.4
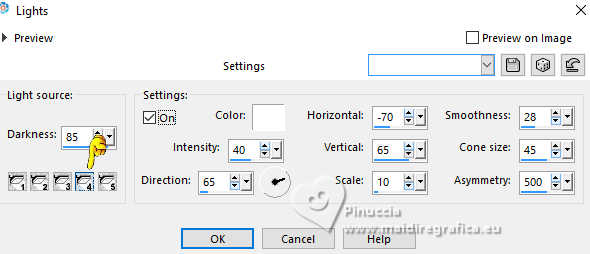
n.5
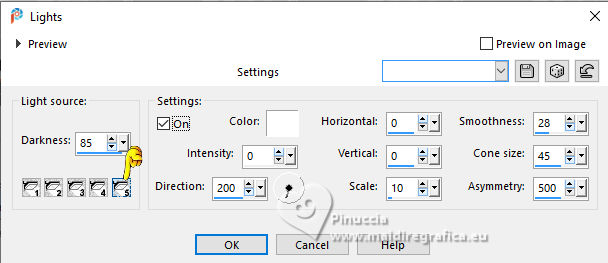
19. Layers>Duplicate.
20. Again Effects>Plugins>Mura's Meister - Perspective Tiling.
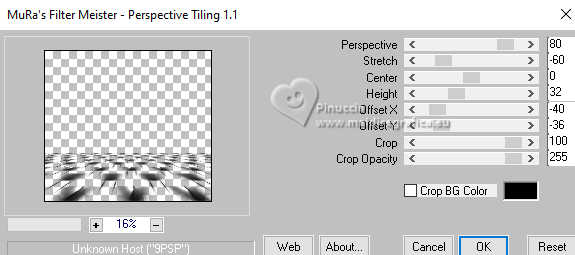
21. Adjust>Brightness and Contrast>Brightness and Contrast.
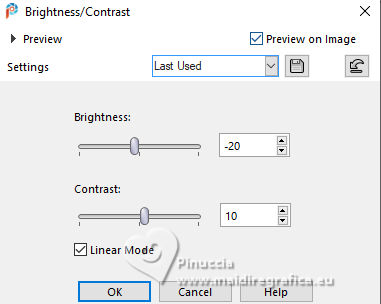
Effects>Effets de bords>Accentuer.
22. Activate your top layer.
Open the tube 8526-Luz Cristina 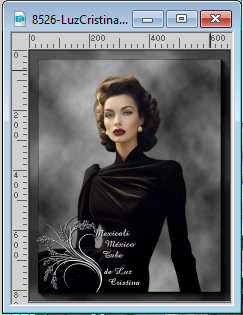
Edit>Copy.
Go back to your work and go to Edit>Paste as new layer.
Image>Greyscale
Attention: If you do this after adding the tube,
the effect will be applied to the entire work, including any tubes added later.
However, if you apply the effect to the tube before copying it, you can decide whether or not to apply it to subsequent tubes.
See the example of the tubes in my second version.
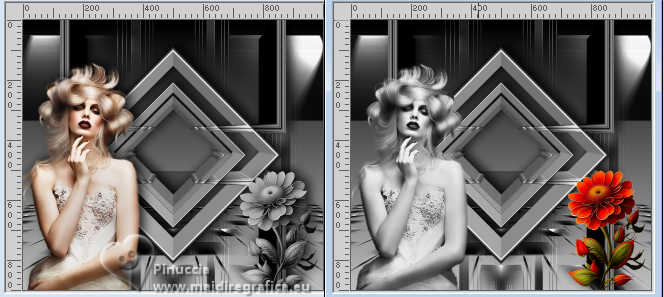
Move  the tube to the left side. the tube to the left side.
Effects>3D Effects>Drop Shadow, same settings.
23. Open the tube 6538-Luz Cristina 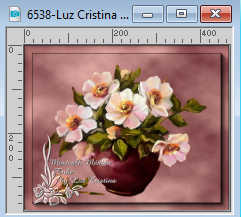
Edit>Copy.
Go back to your work and go to Edit>Paste as new layer.
Image>Greyscale
Attention, see the notes of the previous step
Move  the tube at the bottom right. the tube at the bottom right.
Effects>3D Effects>Drop Shadow, same settings.
24. Open texto 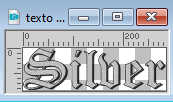
Edit>Copy.
Go back to your work and go to Edit>Paste as new layer.
Move  the text up, see the final tag. the text up, see the final tag.
25. Image>Add Borders, 3 pixels, symmetric, color black.
Image>Add Borders, 2 pixels, symmetric, light color.
Image>Add Borders, 3 pixels, symmetric, color black.
Image>Add Borders, 2 pixels, symmetric, light color.
Image>Add Borders, 40 pixels, symmetric, color black.
Image>Add Borders, 2 pixels, symmetric, light color.
Image>Add Borders, 10 pixels, symmetric, color black.
Image>Add Borders, 2 pixels, symmetric, light color.
Image>Resize, to 85%, resize all layers checked.
Sign your work and save as jpg.
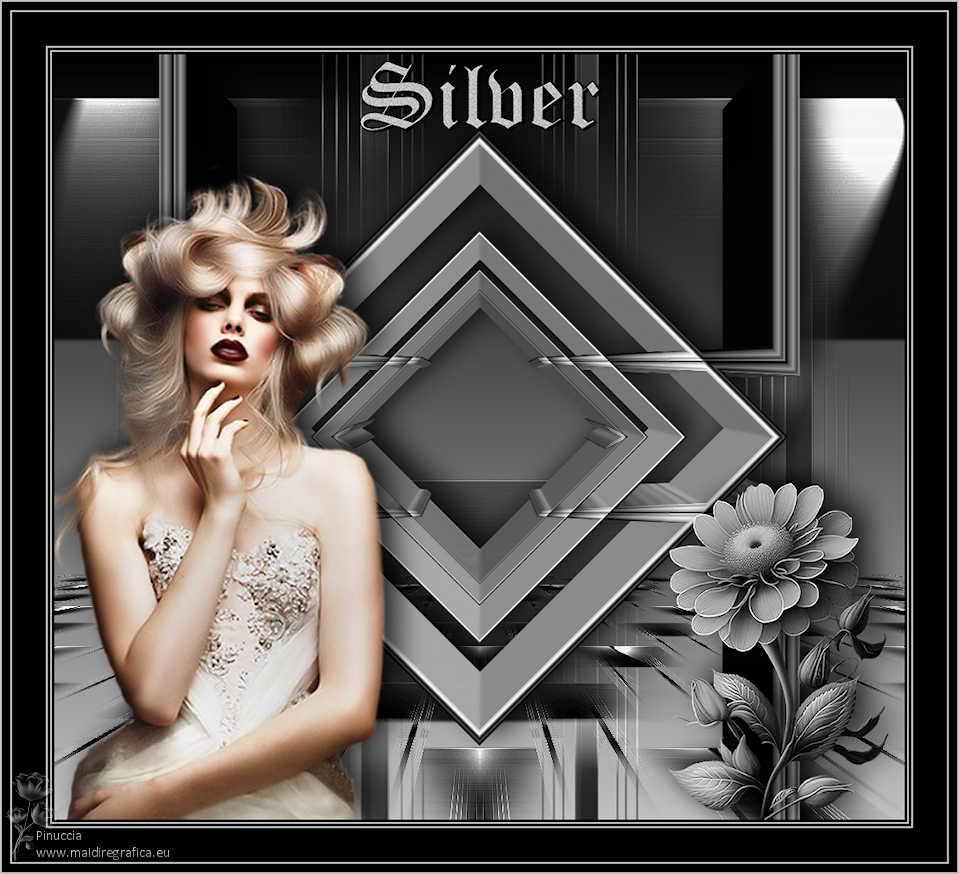
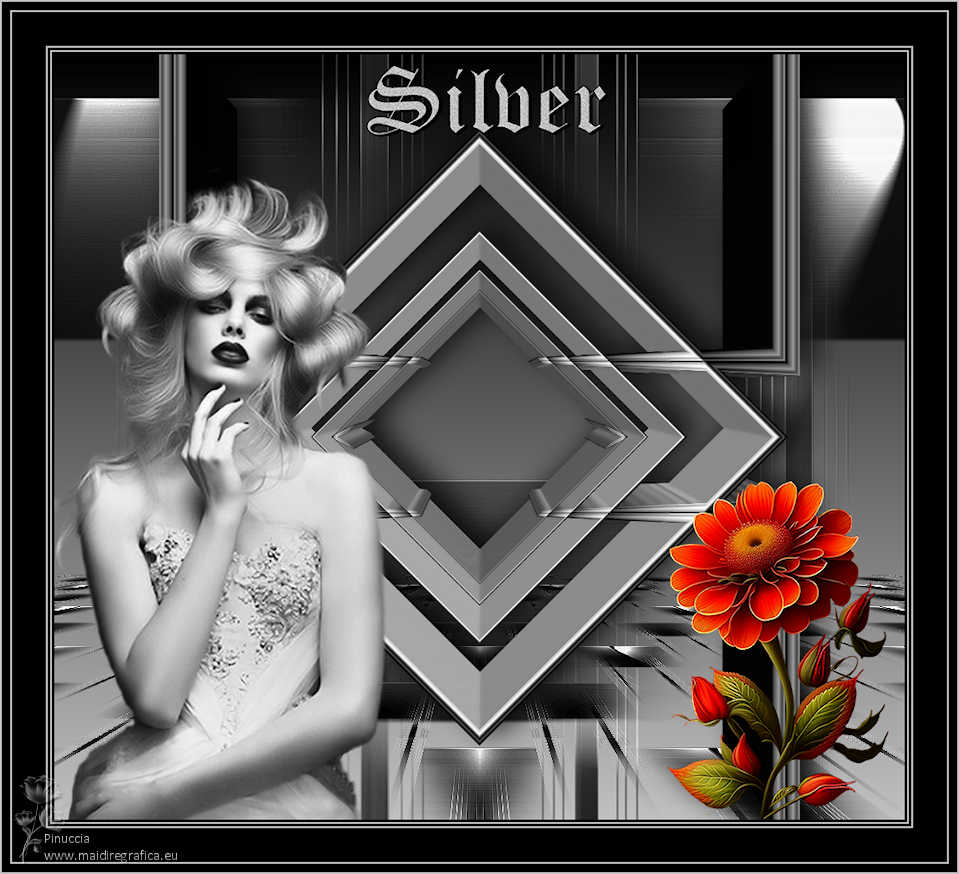
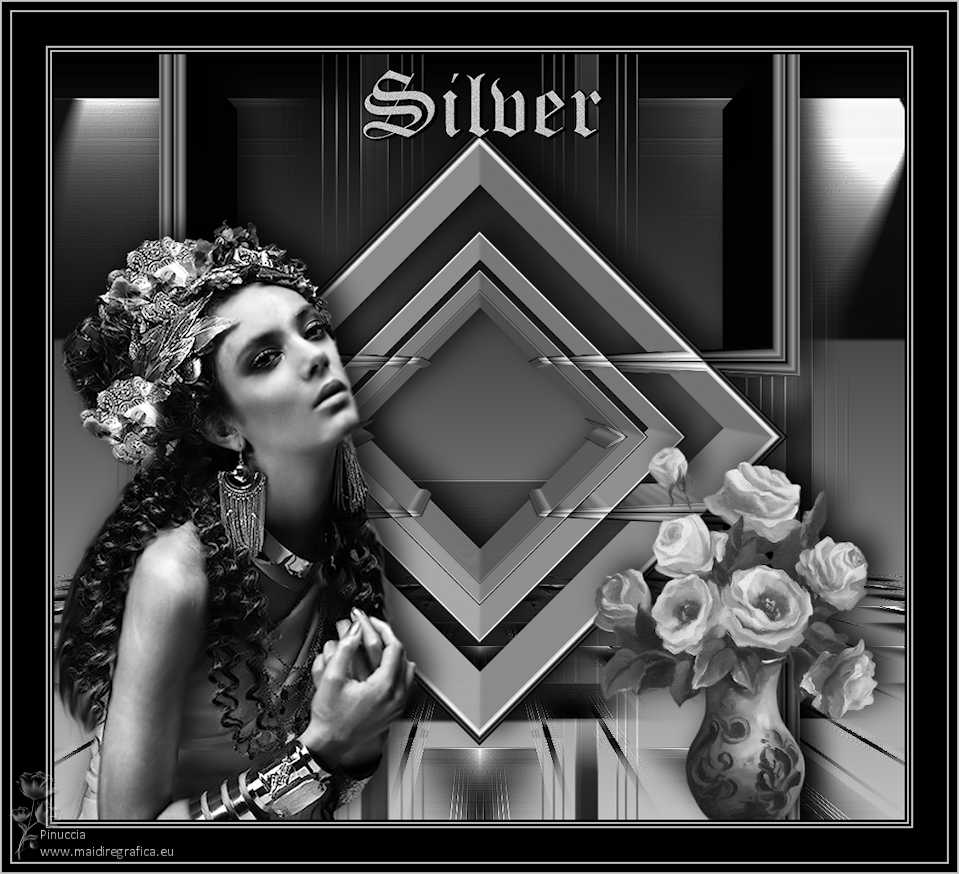


If you have problems or doubts, or you find a not worked link,
or only for tell me that you enjoyed this tutorial, write to me.
15 February 2025

|

