|
SOXIKIBEM

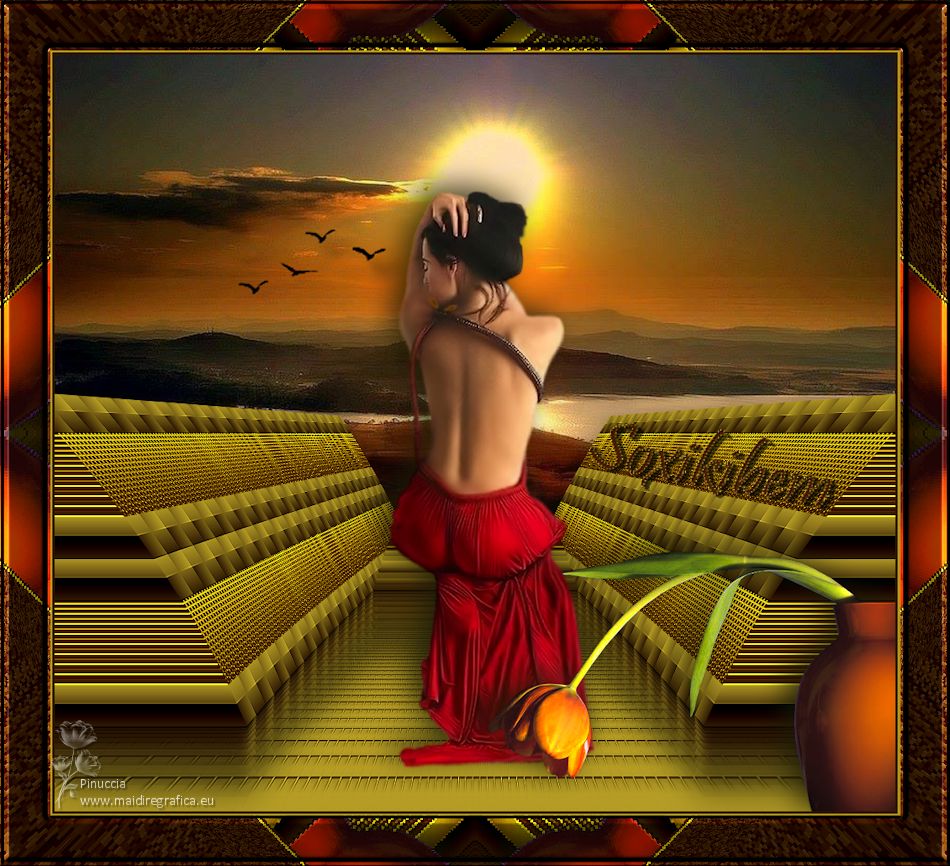
Thanks Luz Cristina for your invitation to translate your tutorials into english

This tutorial, created with PSP2022, was translated with PspX7, but it can also be made using other versions of PSP.
Since version PSP X4, Image>Mirror was replaced with Image>Flip Horizontal,
and Image>Flip with Image>Flip Vertical, there are some variables.
In versions X5 and X6, the functions have been improved by making available the Objects menu.
In the latest version X7 command Image>Mirror and Image>Flip returned, but with new differences.
See my schedule here
 French Translation here French Translation here
 Your versions here Your versions here

For this tutorial, you will need:

(The links of the tubemakers here).

consult, if necessary, my filter section here
Filters Unlimited 2.0 here
Neology - Blend Mosaic here
VM Distortion - Kaleidoscope here
Mura's Meister - Copies here
Mura's Meister - Perspective Tiling here
FM Tile Tools - Blend Emboss, Saturation Emboss here
Simple - Left Right Wrap (bonus) here
Filters Neology, VM Distortion and Simple can be used alone or imported into Filters Unlimited.
(How do, you see here)
If a plugin supplied appears with this icon  it must necessarily be imported into Unlimited it must necessarily be imported into Unlimited

You can change Blend Modes according to your colors.
In the newest versions of PSP, you don't find the foreground/background gradient (Corel_06_029).
You can use the gradients of the older versions.
The Gradient of CorelX here

1. Open a new transparent image 1000 x 900 pixels.
2. Set your foreground color to #bda324,
and your background color to #2f1800.
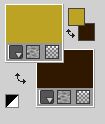
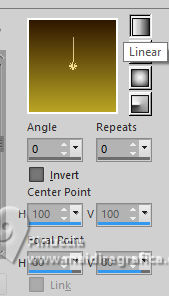
Set your foreground color to a Foreground/Background Gradient, style Linear.
3. Activate your Selection Tool 
(no matter the type of selection, because with the custom selection your always get a rectangle)
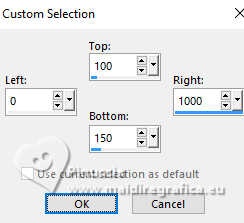
clic on the Custom Selection 
and set the following settings.
Flood Fill  the selection with your Gradient. the selection with your Gradient.
4. Effects>Plugins>Filters Unlimited 2.0 - Neology - Blend Mosaic, default settings.
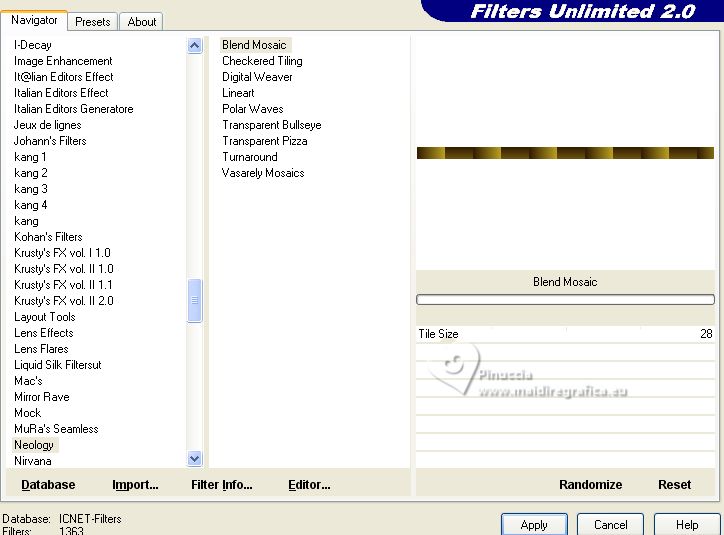
5. Effects>Plugins>FM Tile Tools - Blend Emboss, default settings.

Selections>Select None.
6. Layers>Duplicate.
7. Effects>Image Effects>Offset.
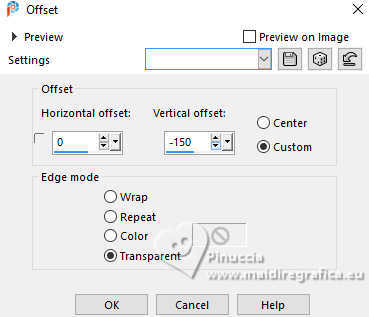
Layers>Merge>Merge Down.
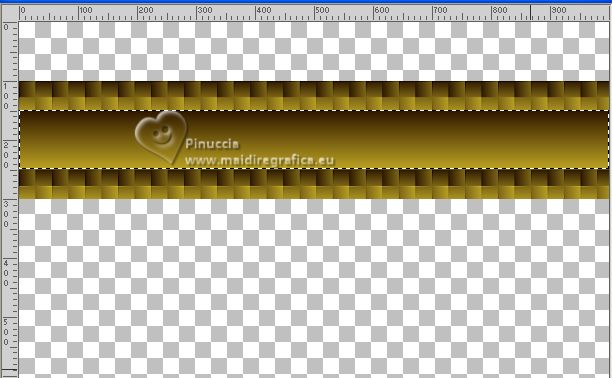
8. Activate your Magic Wand Tool 
and click the zone between the bars to select it.
Flood Fill  the selection with your Gradient. the selection with your Gradient.
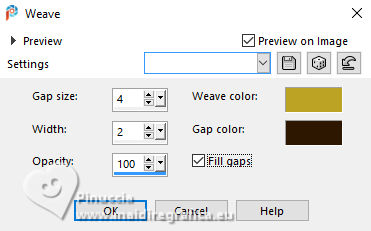
9. Effects>Texture Effects>Weave
weave color: foreground color
gap color: background color
10. Effects>Plugins>FM Tile Tools - Saturation Emboss, default settings.

Selections>Select None.
11. Layers>Duplicate.
12. Effects>Image Effects>Offset.
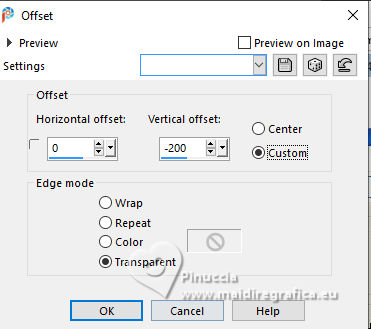
13. Layers>Merge>Merge visible.
14. Effects>Geometric Effects>Perspective Horizontal.
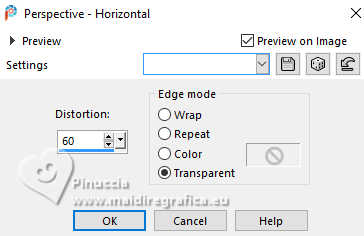
15. Activate your Pick Tool 
mode Scale 
and pull the right central node to the left, until 400 pixels.
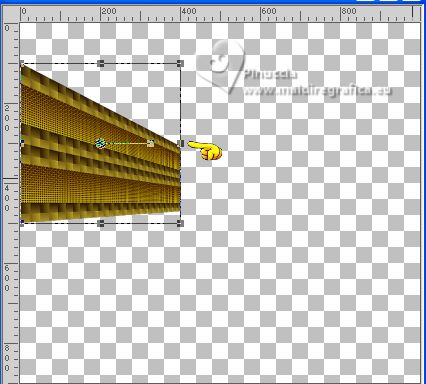
16. Image>Mirror>Mirror Vertical (Image>Flip).
17. Effects>Reflection Effects>Rotating Mirror.

18. Effects>Geometric Effects>Skew.
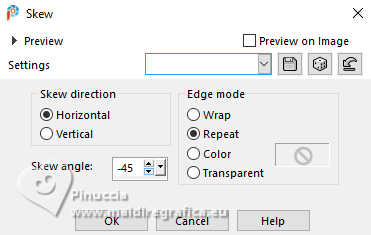
19. Effects>Reflection Effects>Rotating Mirror, same settings.

20. Effects>Plugins>Simple - Left Right Wrap
This Effect works without window; result:
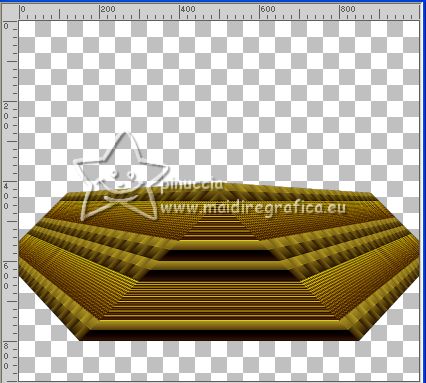
21. Effects>Geometric Effects>Pentagon
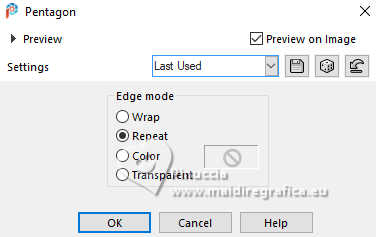
22. Effects>Plugins>Simple - Left Right Wrap.
Result
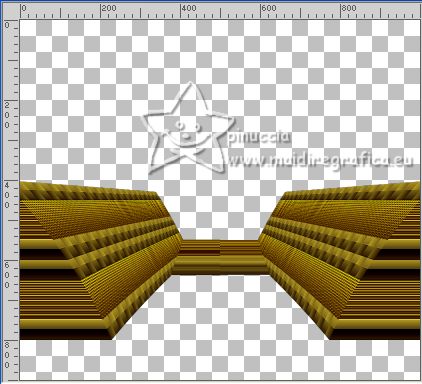
23. Effects>Reflection Effects>Rotating Mirror, same settings

24. Effects>Plugins>Mura's Meister - Copies.
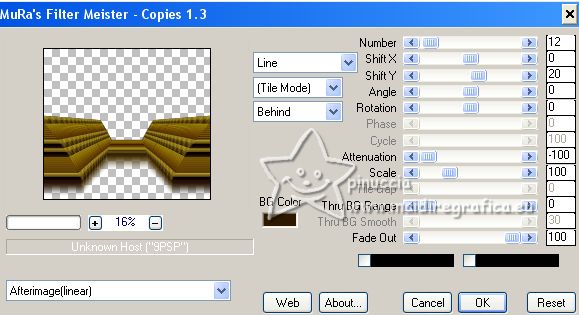
25. Effects>3D Effects>Drop Shadow.
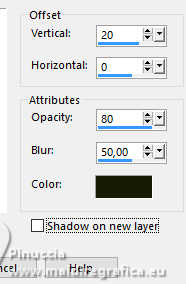
26. Layers>New Raster Layer.
Layers>Arrange>Send to Bottom.
Flood Fill  the layer with your Gradient. the layer with your Gradient.
27. Effects>Texture Effects>Mosaic Glass.
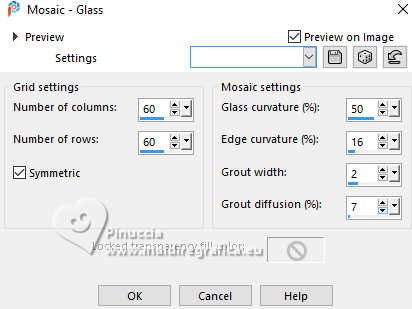
28. Effects>Distortion Effects>Pinch.

29. Effects>Plugins>Mura's Meister - Perspective Tiling.
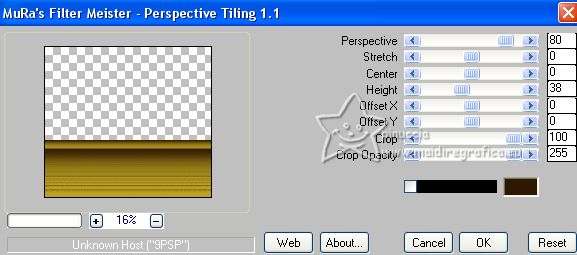
30. Effects>Plugins>FM Tile Tools - Blend Emboss, default settings.

31. Open your jpg image 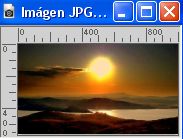
Edit>Copy.
Go back to your work and go to Edit>Paste as new layer.
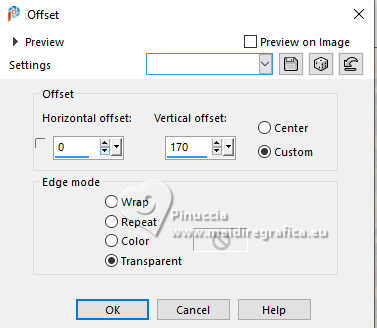
32. Effects>Image Effects>Offset.
33. Activate your top layer, Merged.
Open the woman's tube 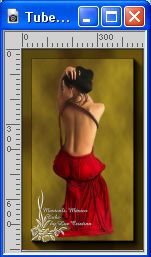
Edit>Copy.
Go back to your work and go to Edit>Paste as new layer.
Place  correctly the tube. correctly the tube.
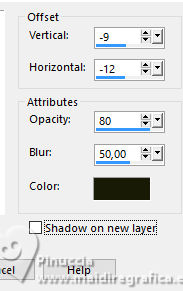
34. Effects>3D Effects>Drop Shadow.
35. Open the tube 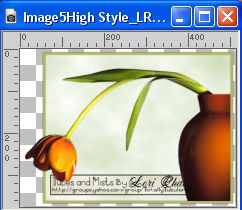
Edit>Copy.
Go back to your work and go to Edit>Paste as new layer.
Move  the tube at the bottom right. the tube at the bottom right.
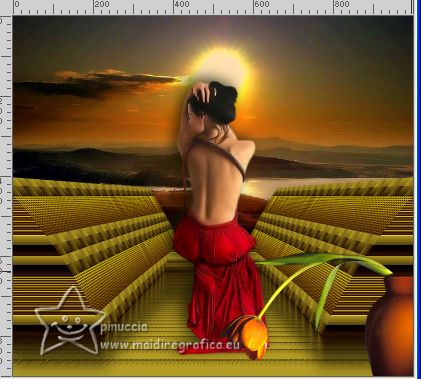
Effects>3D Effects>Drop Shadow, same settings.
36. Open the tube birds 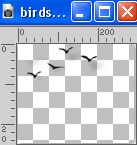
Edit>Copy.
Go back to your work and go to Edit>Paste as new layer.
Place  the tube on the background. the tube on the background.
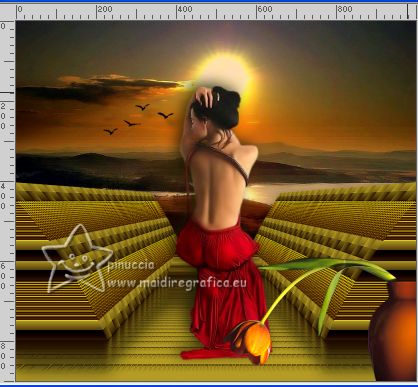
37. Image>Add Borders, 3 pixels, symmetric, dark color.
Image>Add Borders, 2 pixels, symmetric, light color.
Image>Add Borders, 60 pixels, symmetric, dark color.
Activate your Magic Wand Tool 
and click in the last border to select it.
38. Adjust>Add/Remove Noise>Add Noise.
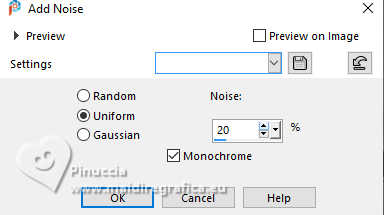
39. Effects>Plugins>VM Distortion - Kaleidoscope.
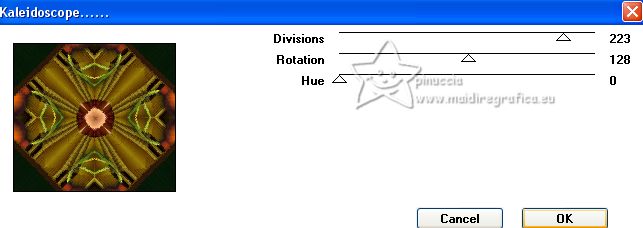
40. Effects>Plugins>FM Tile Tools - Saturation Emboss, default settings.

41. Effects>3D Effects>Inner Bevel - 2 times (optional).
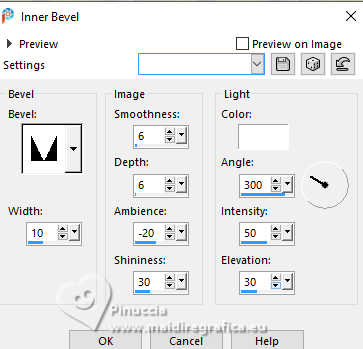
42. Effects>Reflection Effects>Rotating Mirror, same settings.

Selections>Select None.
43. Image>Resize, to 83%, resize all layers checked.
44. Open the texte texto 
Edit>Copy.
Go back to your work and go to Edit>Paste as new layer.
Move  the tube to the right side. the tube to the right side.
45. Sign your work.
Layers>Merge>Merge All and save as jpg.
For the tubes of this version thanks Luz Cristina.
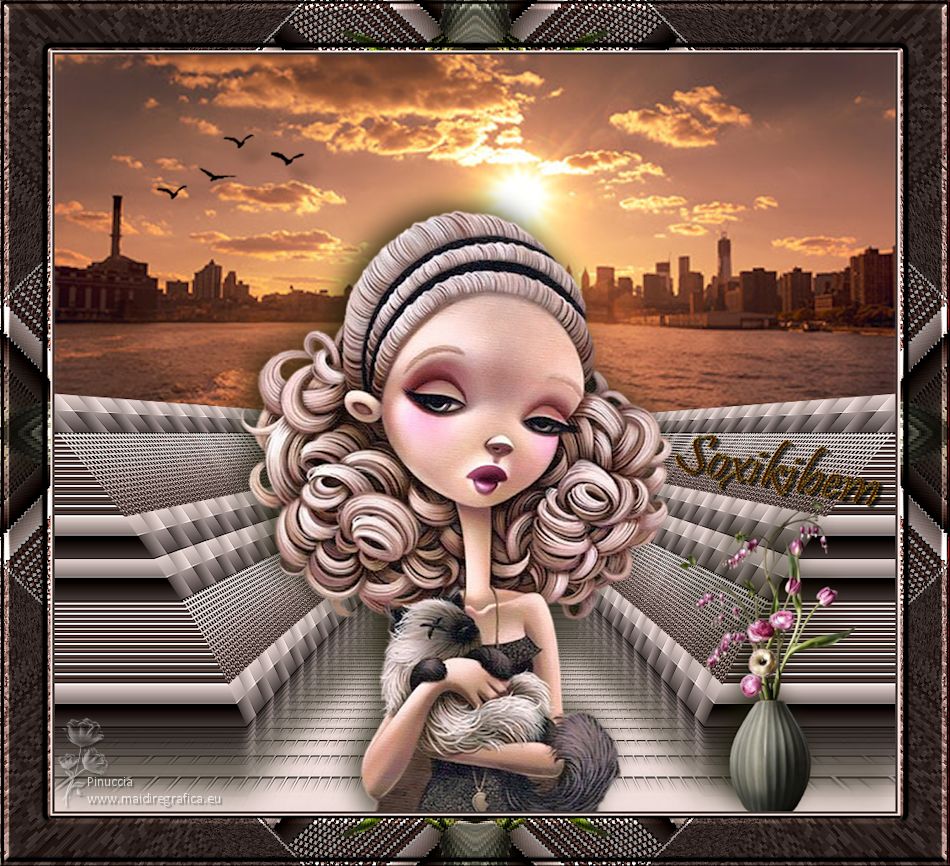
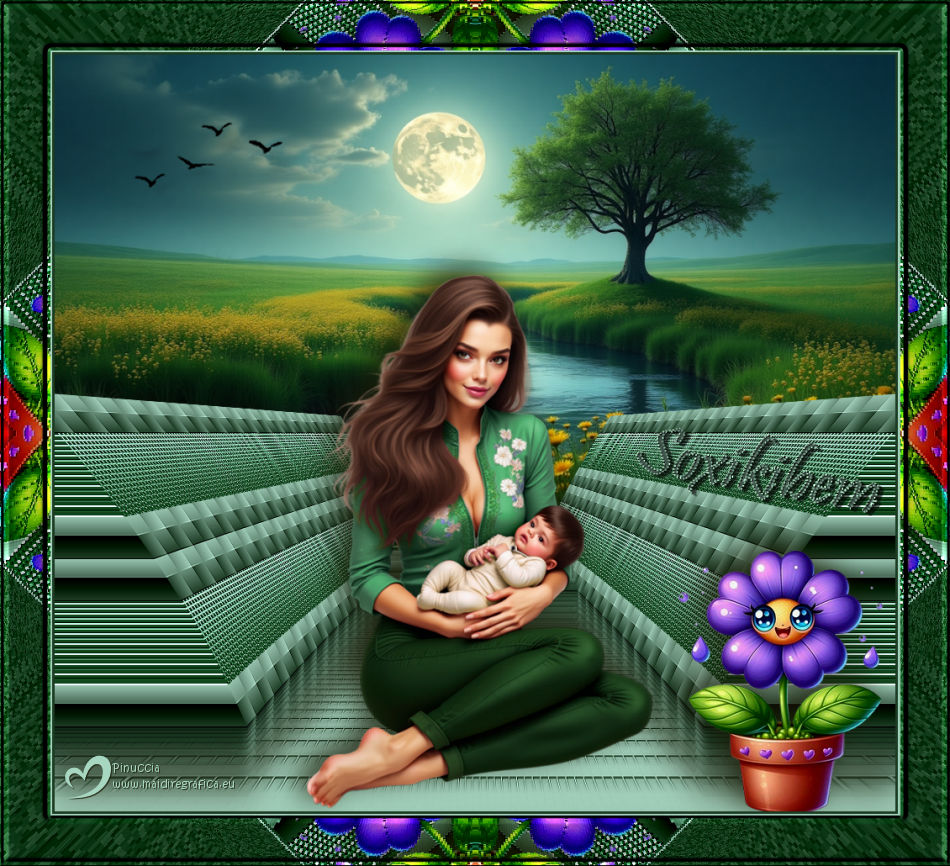
For the tubes of this version thanks Lady Valella, Luz Cristina and Kamil

Si vous avez des problèmes, ou des doutes, ou vous trouvez un link modifié, ou seulement pour me dire que ce tutoriel vous a plu, vous pouvez m'écrire.
13 April 2025

|

