|
TOP BARRAS


Thanks Luz Cristina for your invitation to translate your tutorials into english

This tutorial, created with PSP9, was translated with PspX9, but it can also be made using other versions of PSP.
Since version PSP X4, Image>Mirror was replaced with Image>Flip Horizontal,
and Image>Flip with Image>Flip Vertical, there are some variables.
In versions X5 and X6, the functions have been improved by making available the Objects menu.
In the latest version X7 command Image>Mirror and Image>Flip returned, but with new differences.
See my schedule here
 French Translation here French Translation here
 Your versions here Your versions here

For this tutorial, you will need:

Tubes de Luz Cristina.
(The links of the tubemakers here).

consult, if necessary, my filter section here
Filters Unlimited 2.0 here
Richard Rosenman - Grid Generator 1.5 here
Transparency - Eliminate Black here
FM Tile Tools - Saturation Emboss, Blend Emboss here
Sybia - Zigzagge here
Mura's Meister - Perspective Tiling here
AAA Frames - Foto Frame here
Filters Transparency and Sybia can be used alone or imported into Filters Unlimited.
(How do, you see here)
If a plugin supplied appears with this icon  it must necessarily be imported into Unlimited it must necessarily be imported into Unlimited

You can change Blend Modes according to your colors.
In the newest versions of PSP, you don't find the foreground/background gradient (Corel_06_029).
You can use the gradients of the older versions.
The Gradient of CorelX here

Copy the preset Emboss 3 in the Presets Folder.
Copy the Gradient in the Gradients Folder.
Copy the golden pattern in the Patterns Folder.
Copy the texture goldfill in the Textures Folder.
Open the mask in PSP and minimize it with the rest of the material.
1. Open a new transparent image 1000 x 100 pixels.
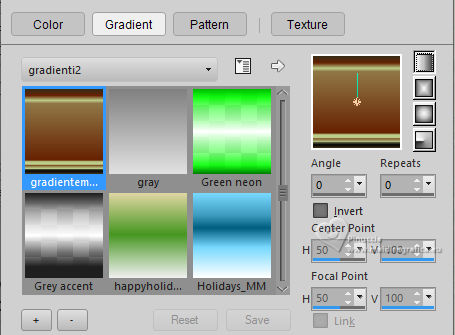
2. Set your foreground color to Gradient and select the gradient gradientemultifaces001dw, style Linear.
Attention:
The gradient changes color depending on the colors in your palette.
For my palette: I used the colors from steps 4 and 24.
Foreground #bccd89,
Background #662203.
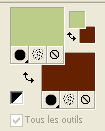
Flood Fill  the transparent image with your Gradient. the transparent image with your Gradient.
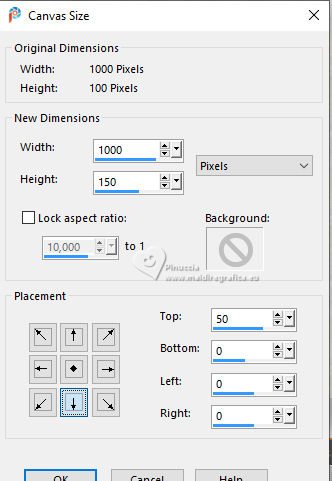
3. Image>Canvas Size - 1000 x 150 pixels.
4. Activate your Magic Wand Tool 
and click in the transparent part to select it.
Layers>New Raster Layer.
Set your background color to #662203,
and Flood Fill  the layer with your background color. the layer with your background color.
5. Effects>Plugins>Richard Rosenman - Grid Generator.
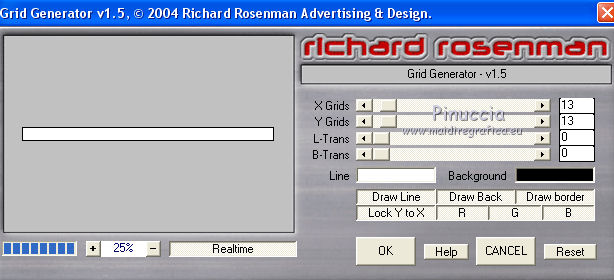
I have provided the link for this version of the filter;
with subsequent versions, the result may be different
6. Effects>Plugins>Transparency - Eliminate Black
7. Effects>Texture Effects>Sculpture - selectionner the pattern Gold with these settings.
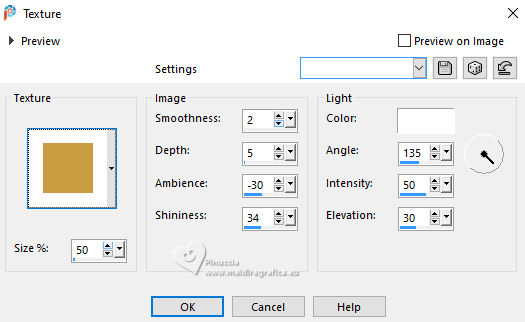
Selections>Select None.
8. Effects>User Defined Filter - select the preset Emboss 3 and ok.

9. Effects>3D Effects>Drop Shadow.
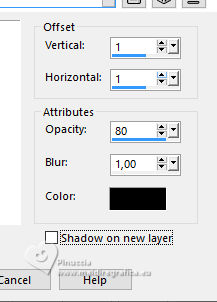
Layers>Merge>Merge visible.
10. Image>Canvas Size - 1000 x 300 pixels.
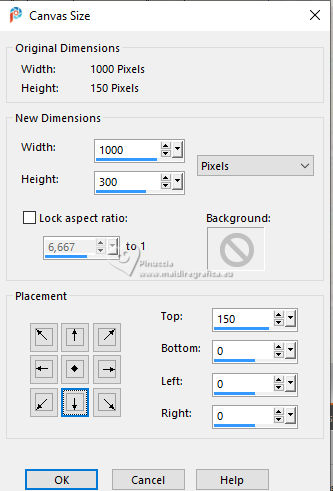
11. Layers>Duplicate.
Image>Mirror>Mirror Vertical (Image>Flip).
Layers>Merge>Merge visible.
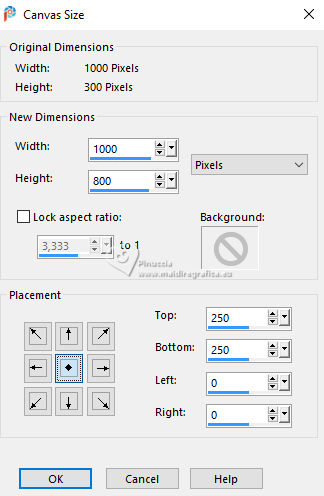
12. Image>Canvas Size - 1000 x 800 pixels.
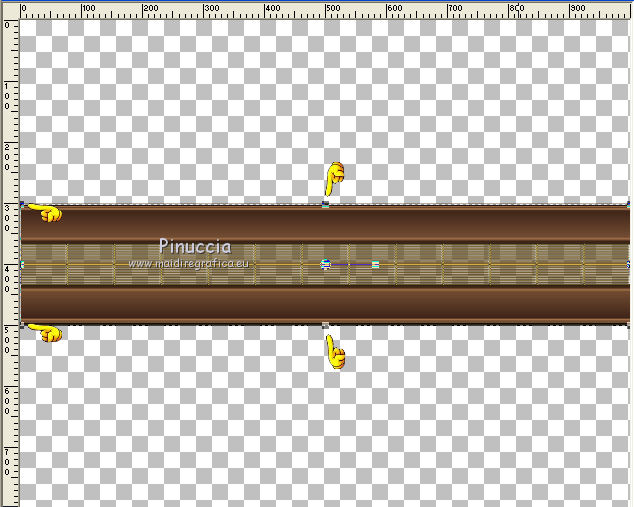
13. Activate your Pick Tool 
mode Scale 
Push the top center node down to 300 pixels,
and the bottom center node up to 500 pixels.
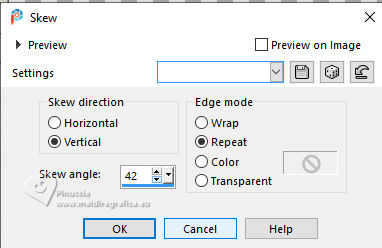
14. Effects>Geometric Effects>Skew.
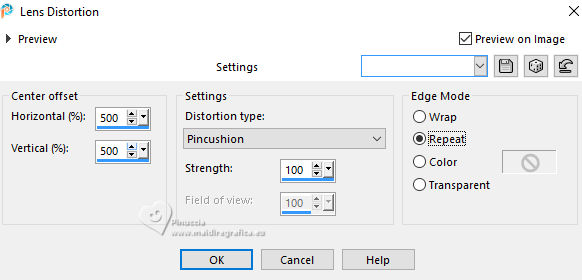
15. Effects>Distortion Effects>Lens Distortion.
Note from Luz Cristina:
When I first did it, this effect was like on the left
and the second time, it was like on the right.
Below is Luz Cristina's screenshot
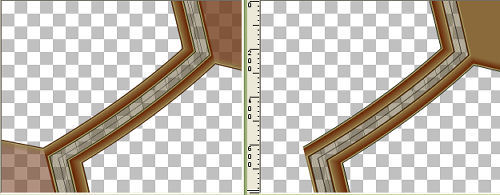
The note continues:
This effect is fanciful, so either one is valid.
However, I always got this result.

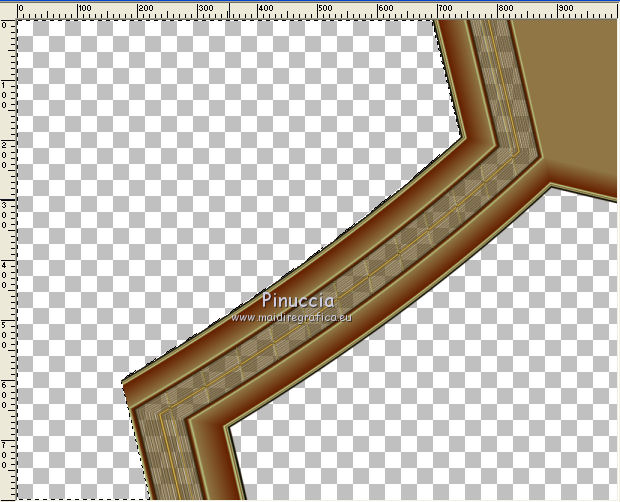
Finally, I got the same result as Luz, by slightly shifting the values of the Selector tool.

and here is my result.

It's up to you how you proceed.
16. Activate your Magic Wand Tool 
and click in the right transparent part to select it.
Layers>New Raster Layer.
Open the misted 3030-luzcristina 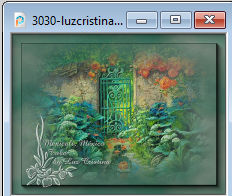
Edit>Copy.
Go back to your work and go to Edit>Paste into Selection.
Selections>Select None.
Change the Blend Mode of this layer to Hard Light.
17. Activate the layer Merged.
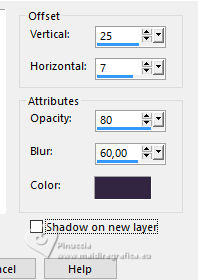
Effects>3D Effects>Drop Shadow
18. Layers>New Mask layer>From image
Open the menu under the source window and you'll see all the files open.
Select the mask mask-fadesuave.
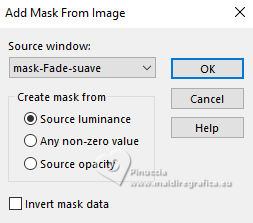
Layers>Duplicate - 2 times to apply the mask 3 times.
Layers>Merge>Merge Group.
Adjust>Sharpness>Sharpen More.
19. Layers>New Raster Layer.
Layers>Arrange>Send to Bottom.
Flood Fill  the layer with the gradient gradientemultifaces001dw. the layer with the gradient gradientemultifaces001dw.
20. Effects>Geometric Effects>Perspective horizontal.
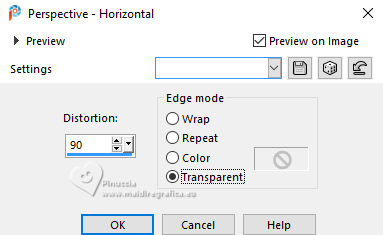
Image>Mirror>Mirror Horizontal.
Repeat Effects>Geometric Effects>Perspective Horizontal, same settings.
21. Effects>Image Effects>Offset.
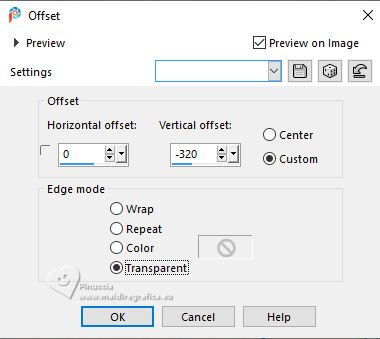
22. Effects>3D Effects>Drop Shadow.
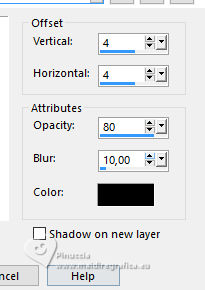
23. Layers>New Raster Layer.
Layers>Arrange>Send to Bottom.
24. Set your foreground color to #bccd89,
and keep your background color to #662203.

Set your foreground color to a Foreground/Background Gradient, style Linear.
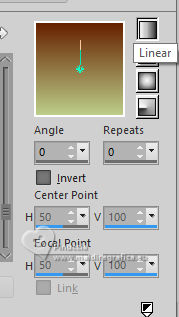
Flood Fill  the layer with your Gradient. the layer with your Gradient.
25. Activate the landscape's layer, Raster 1.
Layers>Duplicate.
Image>Mirror>Mirror Horizontal.
26. Adjust>Blur>Radial Blur.
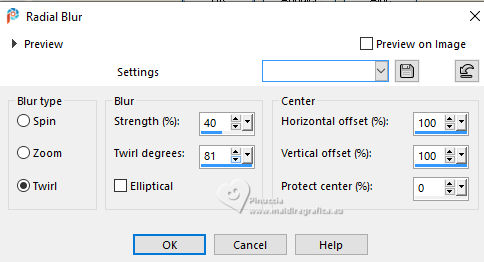
27. Effects>Texture Effects>Texture, select the texture Goldfill
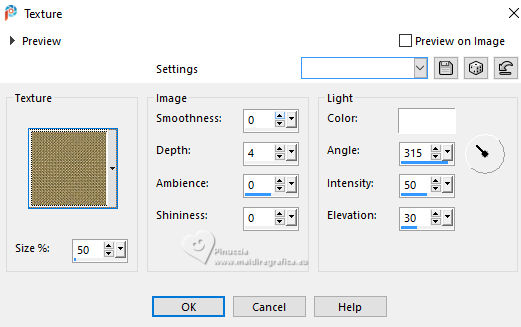
Move this layer over the layer Raster 3.
To your liking set the Blend Mode to Normal or keep Hard Light.
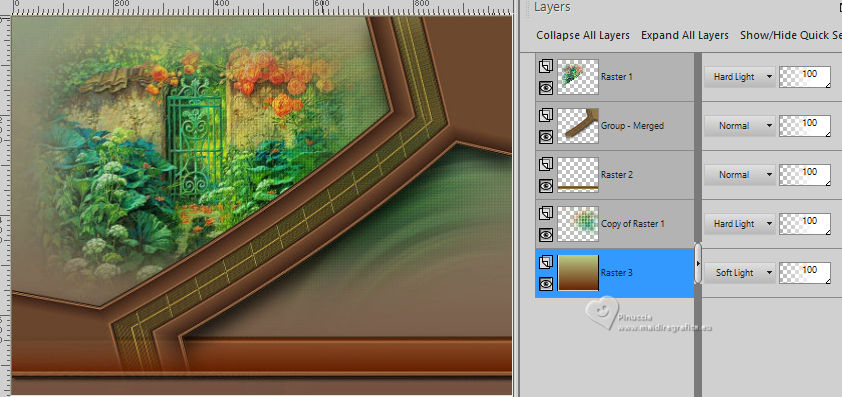
28. Effects>Plugins>FM Tile Tools - Saturation Emboss, default settings.

29. Activate your top layer.
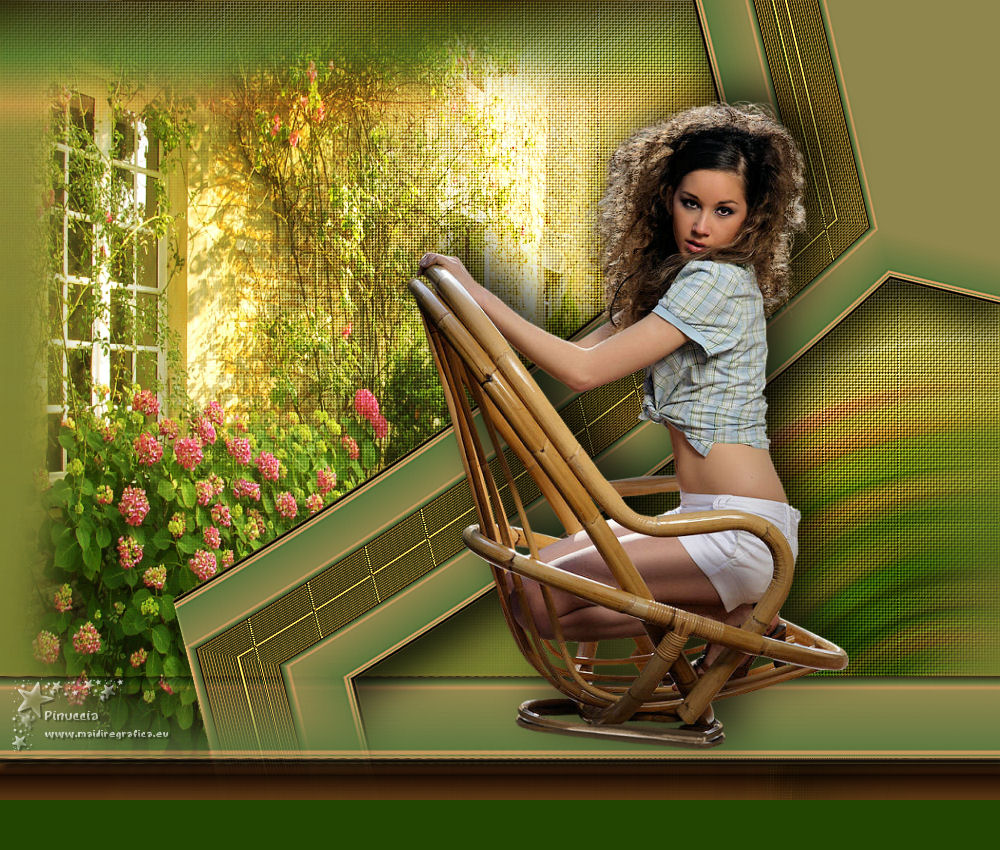
Open the woman's tube 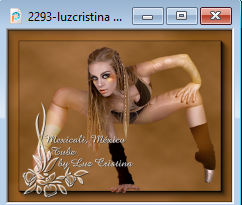
Edit>Copy.
Go back to your work and go to Edit>Paste as new layer.
Place  correctly the tube, see my example. correctly the tube, see my example.
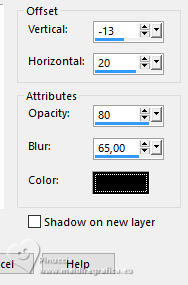
Effects>3D Effects>Drop Shadow,
30. Layers>New Raster Layer.
Layers>Arrange>Send to Bottom.
Set again your foreground color to the Gradient Multiface 001dw.

Flood Fill  the layer with your Gradient. the layer with your Gradient.
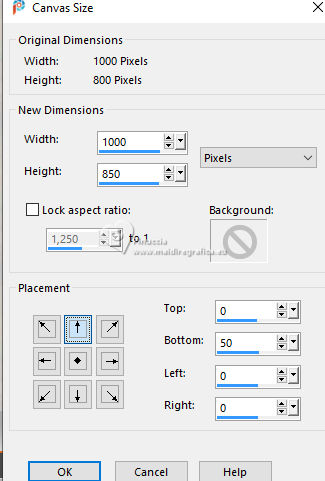
31. Image>Canvas Size - 1000 x 850 pixels.
32. Layers>New Raster Layer.
Layers>Arrange>Send to Bottom.
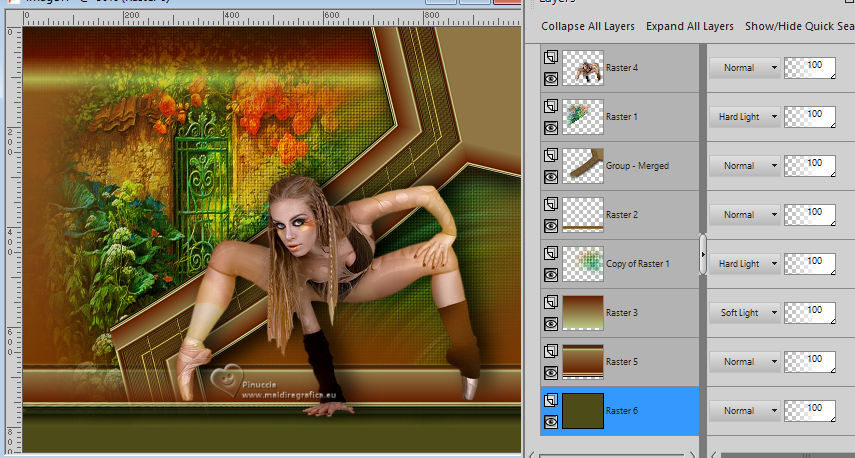
Set your foreground color to #4e4b18.
Flood Fill  the layer with this color. the layer with this color.
You can change the color according to the color of the bottom zone.
33. Activate your top layer.
Sign your work on a new layer.
Layers>Merge>Merge All and save as jpg.
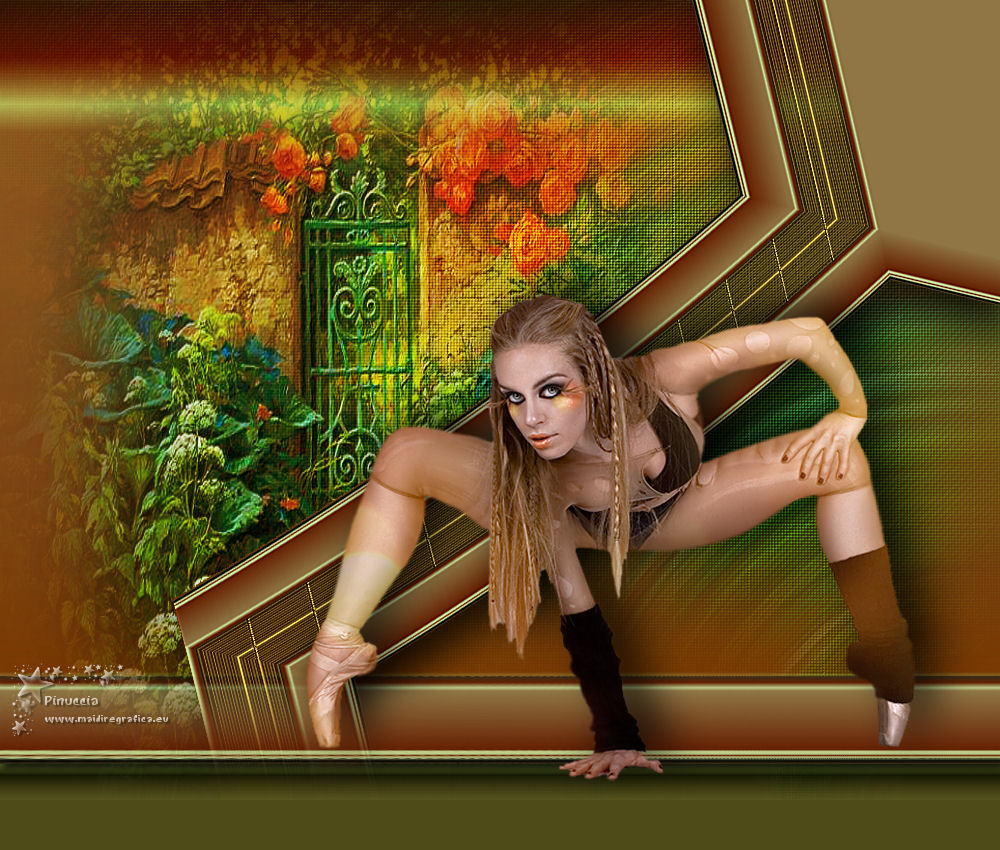
For the tube of this version thanks Anna.br
 Vos versioni here Vos versioni here

If you have problems or doubts, or you find a not worked link,
or only for tell me that you enjoyed this tutorial, write to me.
19 June 2025
|

