|
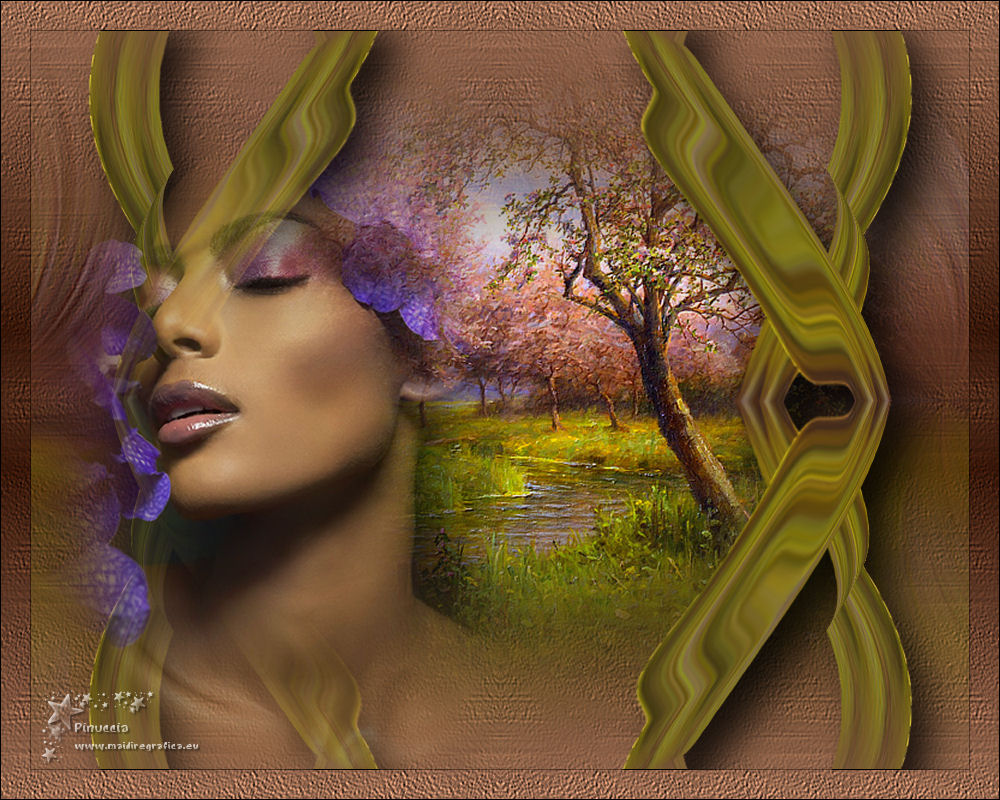
TOP BERTY


Thanks Luz Cristina for your invitation to translate your tutorials into english

This tutorial, created with PSP9, was translated with PspX9, but it can also be made using other versions of PSP.
Since version PSP X4, Image>Mirror was replaced with Image>Flip Horizontal,
and Image>Flip with Image>Flip Vertical, there are some variables.
In versions X5 and X6, the functions have been improved by making available the Objects menu.
In the latest version X7 command Image>Mirror and Image>Flip returned, but with new differences.
See my schedule here
 French Translation here French Translation here
 Your versions here Your versions here

For this tutorial, you will need:

Tubes de Luz Cristina.
(The links of the tubemakers here).

consult, if necessary, my filter section here
FM Tile Tools - Blend Emboss here
AAA Frames - Transparent Frame here

You can change Blend Modes according to your colors.
In the newest versions of PSP, you don't find the foreground/background gradient (Corel_06_029).
You can use the gradients of the older versions.
The Gradient of CorelX here

Copy the preset Emboss 3 in the Presets Folder.
Copy the texture in the Textures Folder.
1. Open a new transparent image 1000 x 800 pixels.
2. Set your foreground color to #c59172,
and your background color to #39180a.
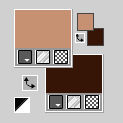
Set your foreground color to a Foreground/Background Gradient, style Linear.
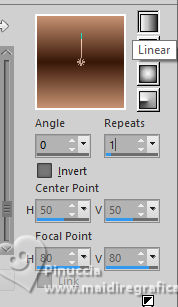
Flood Fill  the transparent image with your Gradient. the transparent image with your Gradient.
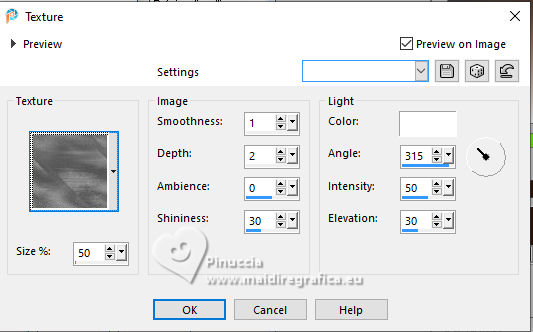
3. Effects>Texture Effects>Texture - select the texture winnie.texture.043
4. Effects>User Defined Filter - select the preset Emboss 3 and ok.

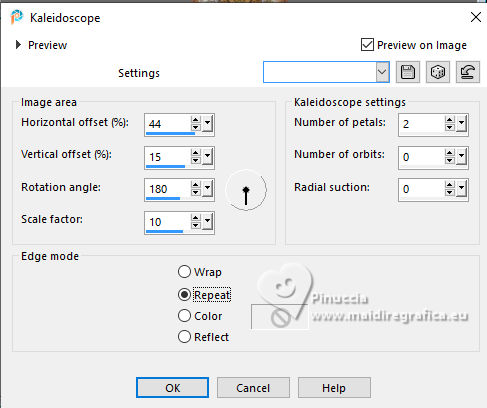
5. Effects>Reflection Effects>Kaleidoscope.
6. Layers>Duplicate.
Selections>Select All.
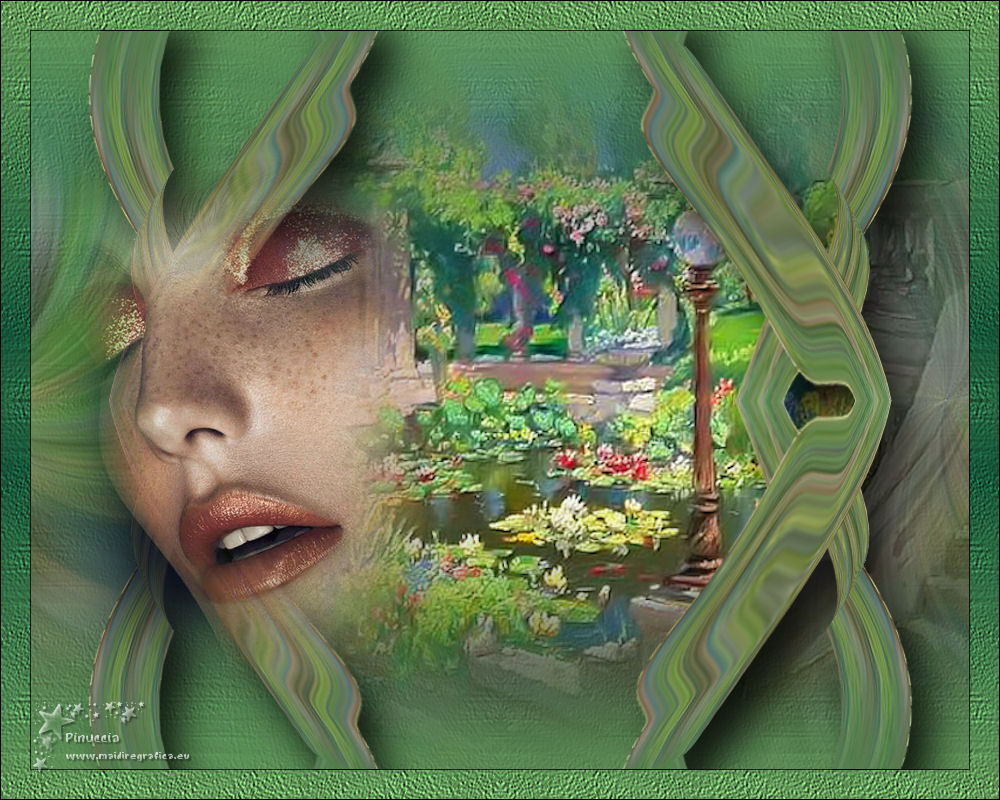
Open the misted 2703-luzcristina 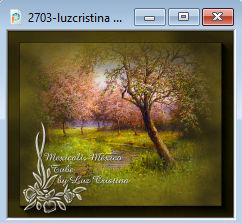
Edit>Copy.
Go back to your work and go to Edit>Paste into Selection.
Selections>Select None.
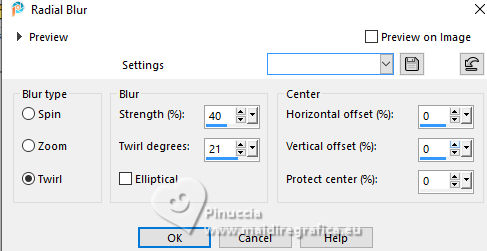
7. Adjust>Blur>Radial Blur.
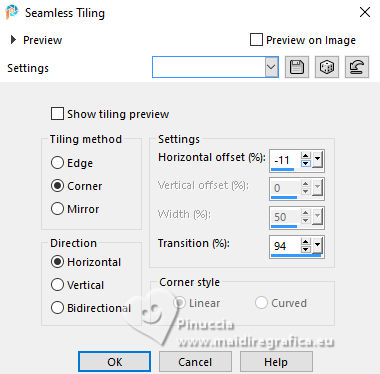
8. Effects>Image Effects>Seamless Tiling.
9. Effects>User Defined Filter - select the preset Emboss 3 and ok.

10. Layers>Duplicate.
11. Effects>Geometric Effects>Perspective vertical.
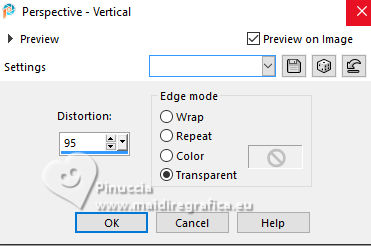
12. Image>Mirror>Mirror Vertical (Image>Flip).
Repeat Effects>Geometric Effects>Perspective vertical, same settings.
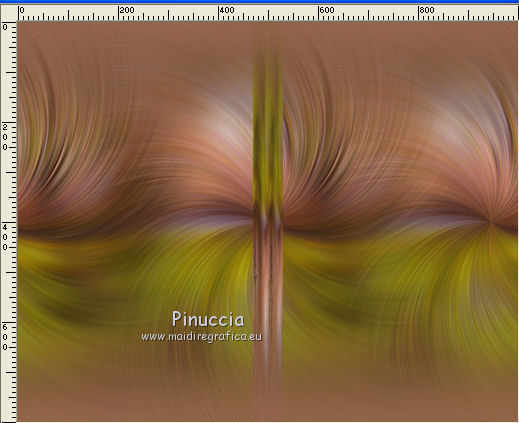
13. Effects>Plugins>FM Tile Tools - Blend Emboss, default settings.

14. Effects>Distortion Effects>Wave.
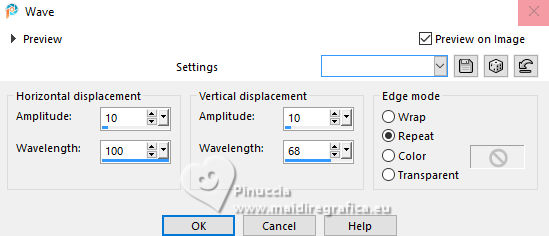
15. Layers>Duplicate.
Image>Mirror>Mirror Horizontal.
16. Layers>Merge>Merge Down.
17. Effects>Reflection Effects>Kaleidoscope, same settings.

18. Activate your Warp Brush  with these settings with these settings

Place the mouse in the center of the image - 500 pixels wide and 400 pixels long.
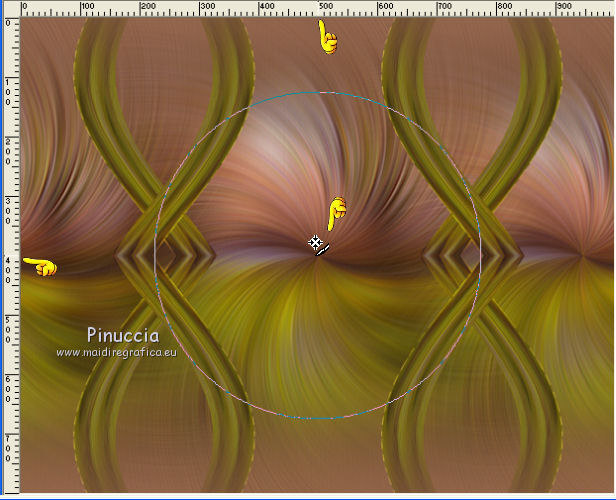
Hold down the left mouse button without moving it until you get this:
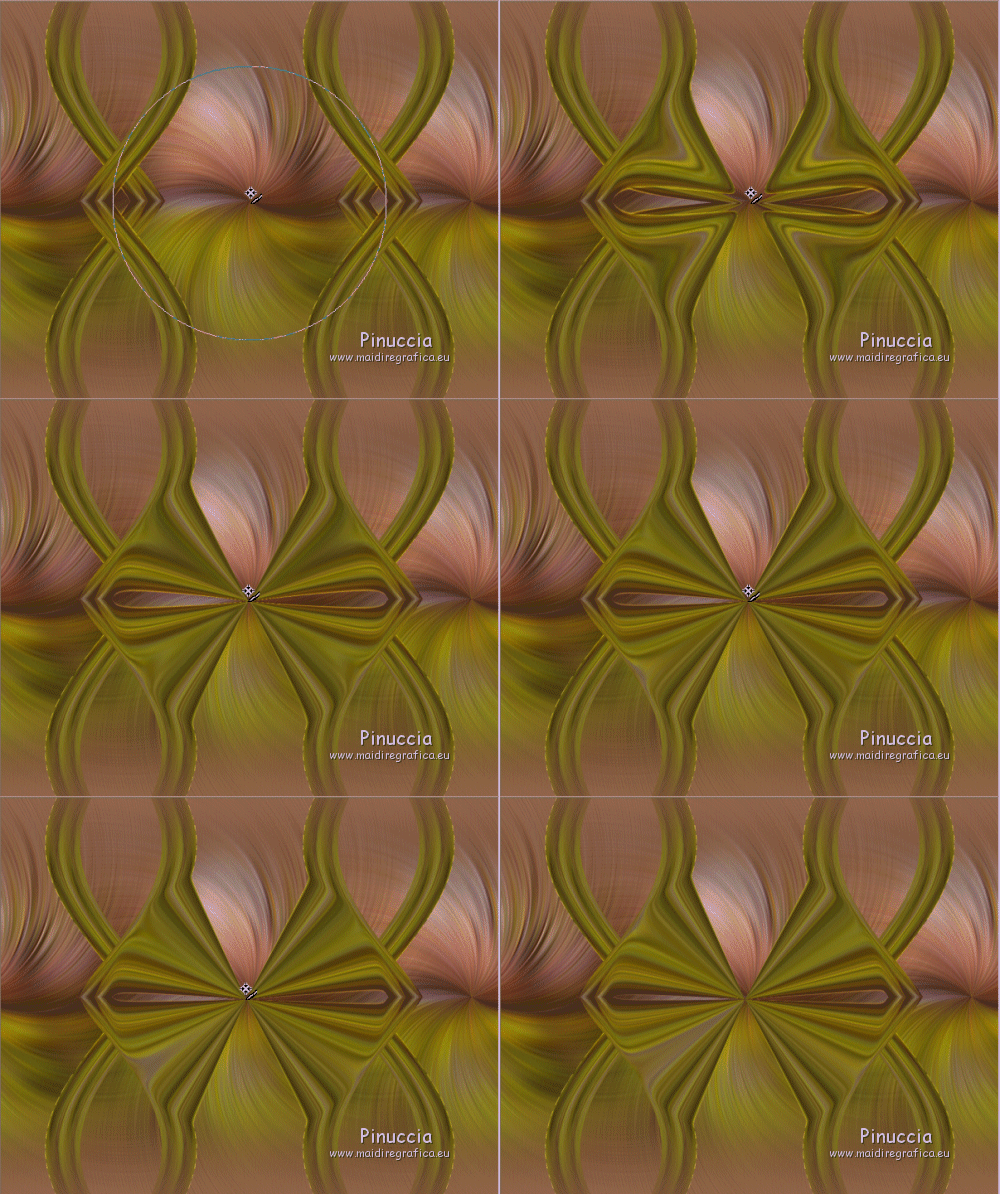 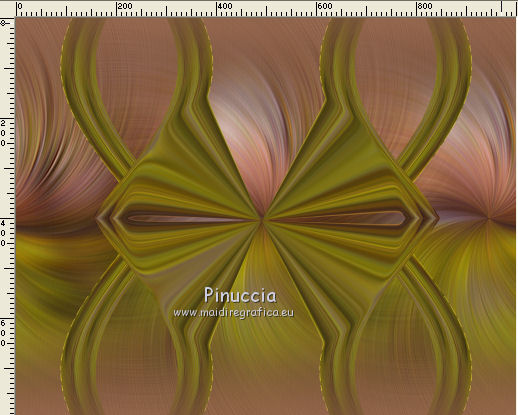
19. Change the settings of your Brush.

Place the mouse in the center of the image
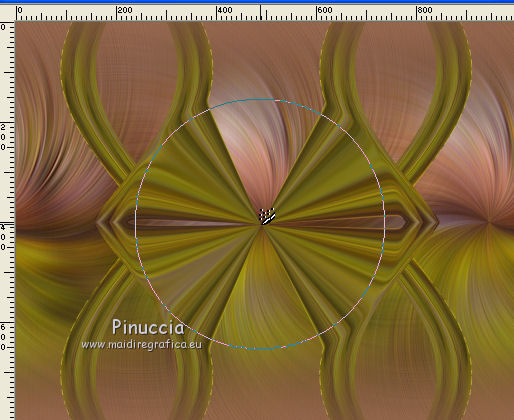
Hold down the left mouse button without moving it until you get this:
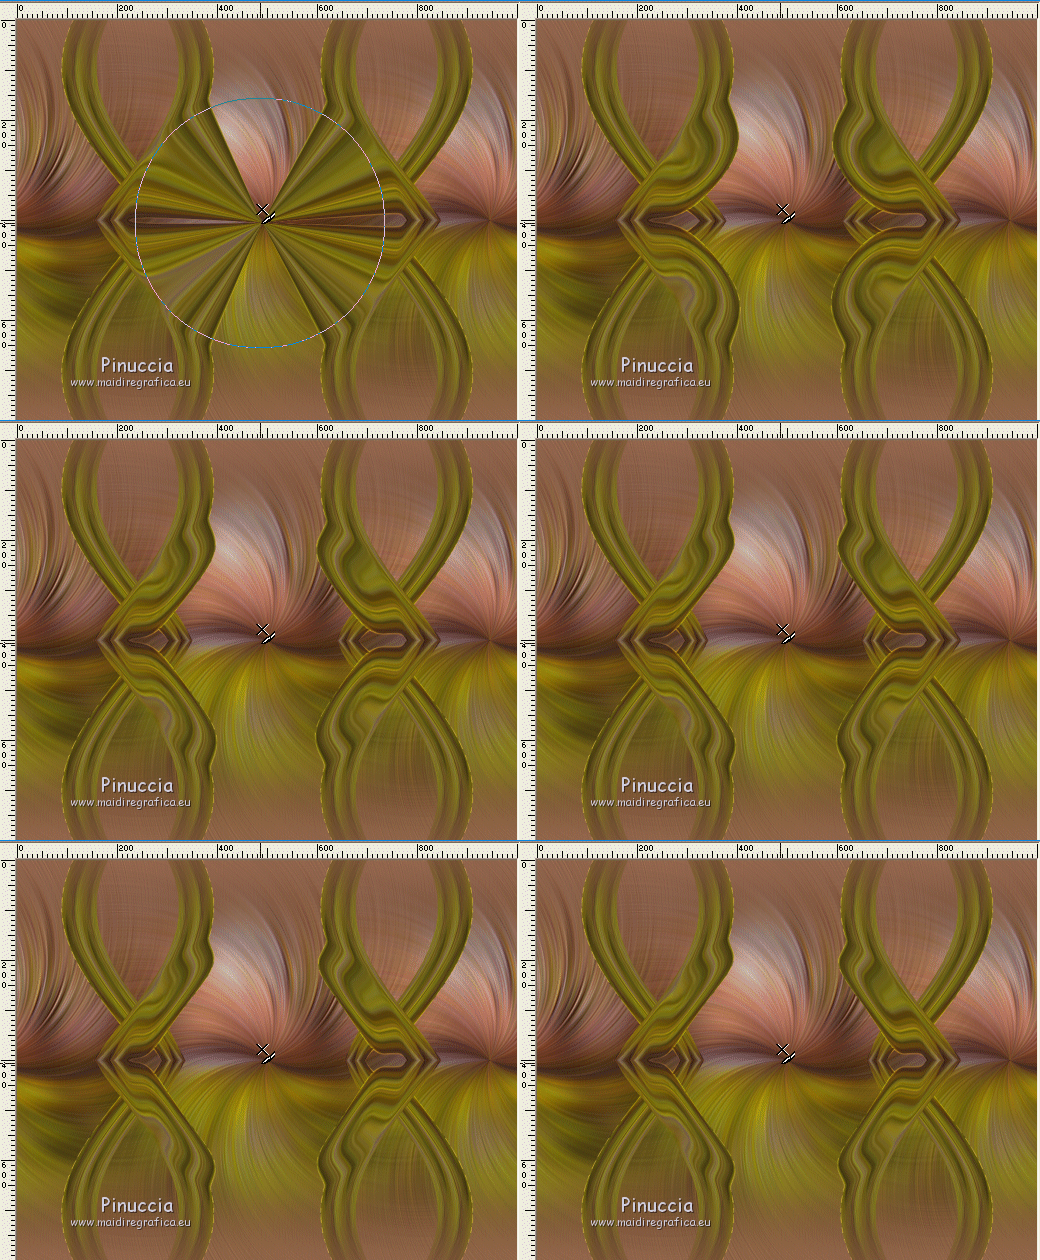
You should have this
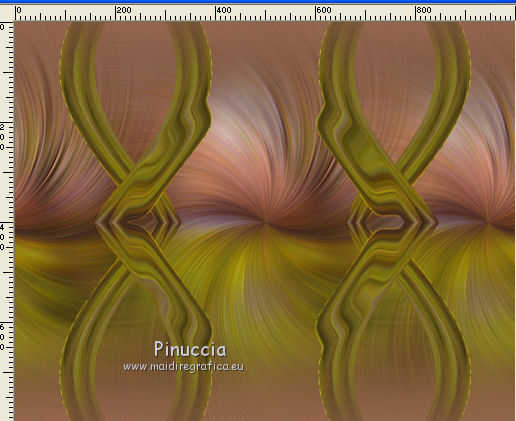
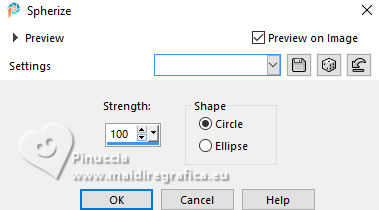
20. Effects>Geometric Effects>Spherize.
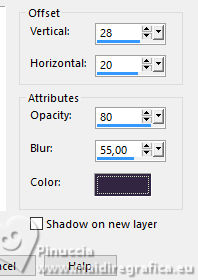
21. Effects>3D Effects>Drop Shadow.
22. Activate again the misted 2703-luzcristina and go to Edit>Copy.
Go back to your work and go to Edit>Paste as new layer.
Move  the tube to the right. the tube to the right.
Layers>Arrange>Move Down.
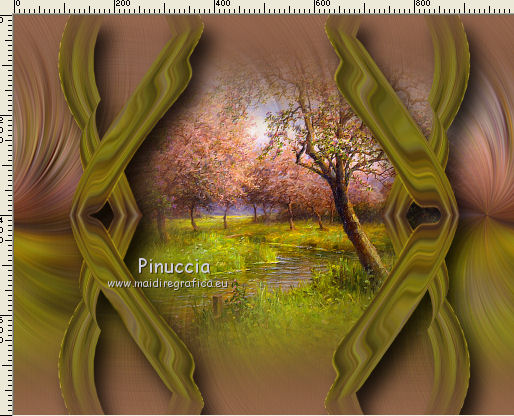
Effects>3D Effects>Drop Shadow, same settings, or at your choice.
23. Activate the layer copy of Raster 1.
Reduce the opacity of this layer to 40.
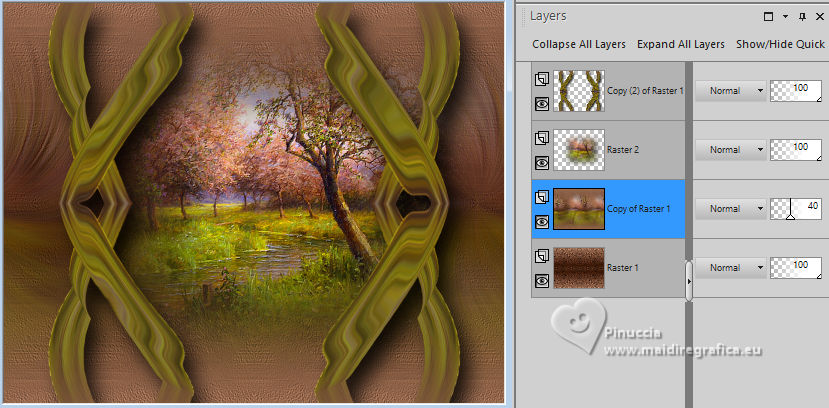
24. Activate your top layer.
Open the woman's tube 3054-luzcristina 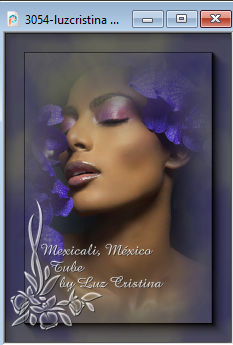
Edit>Copy.
Go back to your work and go to Edit>Paste as new layer.
Move  the tube to the left side. the tube to the left side.
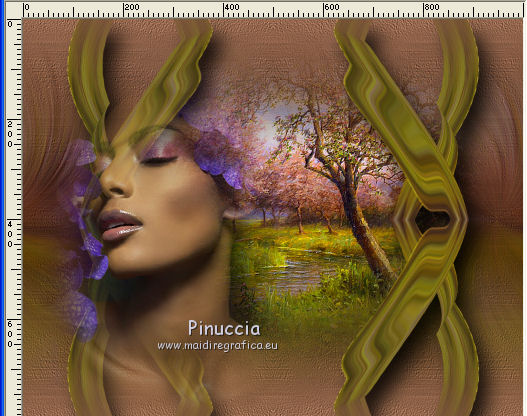
25. Close the layer Raster 1.
Layers>Merge>Merge visible.
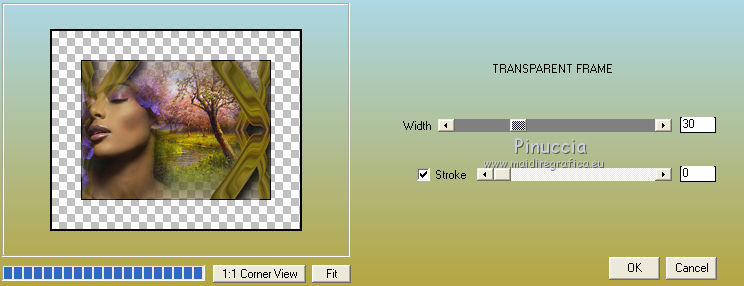
26. Effects>Plugins>AAA Frames - Transparent Frame.
27.Sign your work on a new layer.
Open the layer Raster 1.
Layers>Merge>Merge All and save as jpg.
For the tubes of this version thanks Luz Cristina
 Vos versioni here Vos versioni here

If you have problems or doubts, or you find a not worked link,
or only for tell me that you enjoyed this tutorial, write to me.
19 June 2025
|

