|
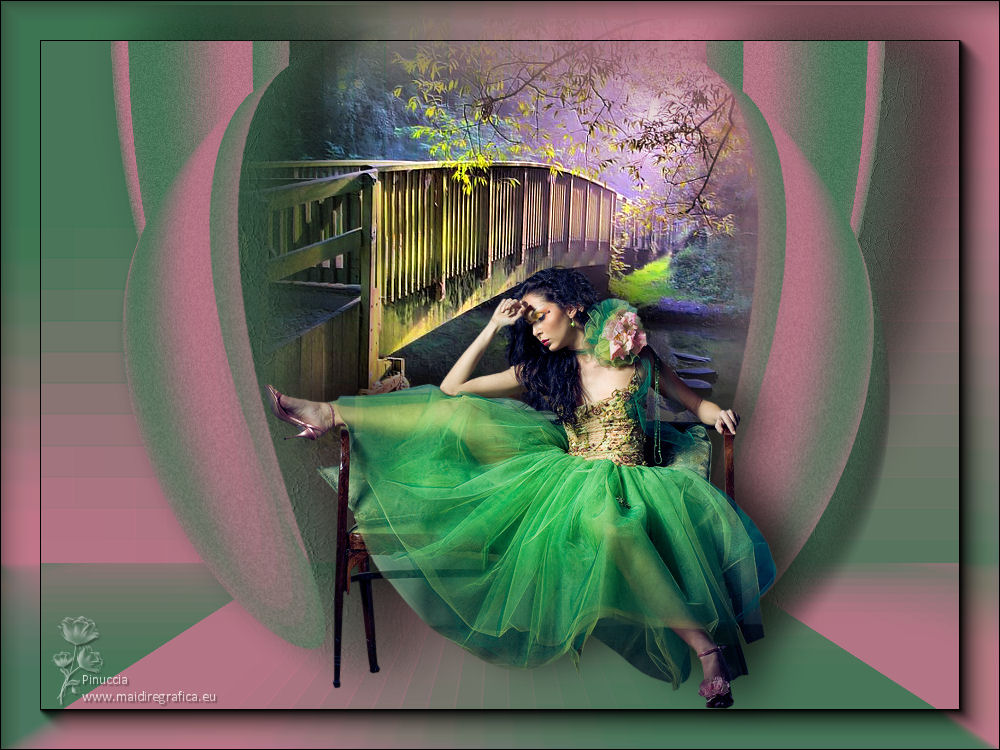
TOP COLORIDO


Thanks Luz Cristina for your invitation to translate your tutorials into english

This tutorial, created with PSP9, was translated with PspX9, but it can also be made using other versions of PSP.
Since version PSP X4, Image>Mirror was replaced with Image>Flip Horizontal,
and Image>Flip with Image>Flip Vertical, there are some variables.
In versions X5 and X6, the functions have been improved by making available the Objects menu.
In the latest version X7 command Image>Mirror and Image>Flip returned, but with new differences.
See my schedule here
 French Translation here French Translation here
 Your versions here Your versions here

For this tutorial, you will need:

For the tubes thanks Gerry and Luz Cristina
(The links of the tubemakers here).

consult, if necessary, my filter section here
Filters Unlimited 2.0 here
Mura's Meister - Perspective Tiling here
Two Moon - Glinder here
Frischluft - Mosaic Plan here
AAA Frames - Foto Frame here
Filters Two Moon can be used alone or imported into Filters Unlimited.
(How do, you see here)
If a plugin supplied appears with this icon  it must necessarily be imported into Unlimited it must necessarily be imported into Unlimited

You can change Blend Modes according to your colors.
In the newest versions of PSP, you don't find the foreground/background gradient (Corel_06_029).
You can use the gradients of the older versions.
The Gradient of CorelX here

Copy the preset Emboss 3 in the Presets Folder.
1. Open a new transparent image 1000 x 750 pixels.
2. Set your foreground color to #477558,
and your background color to #b37485.
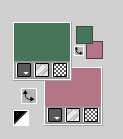
Set your foreground color to a Foreground/Background Gradient, style Linear.
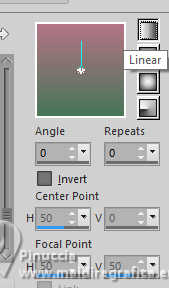
Flood Fill  the transparent image with your Gradient. the transparent image with your Gradient.
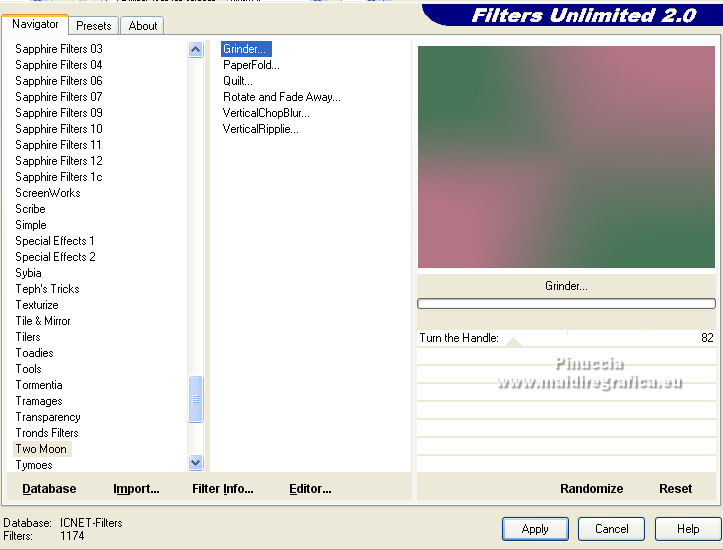
3. Effects>Plugins>Filters Unlimited 2.0 - Two Moon - Grinder.
4. Effects>Plugins>Frischluft - Mosaic plane
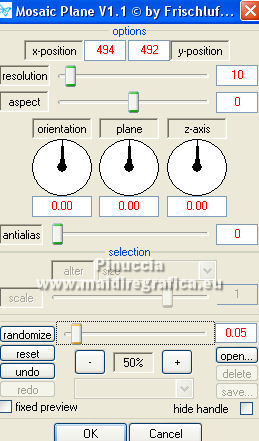
5. Effects>User Defined Filter - select the preset Emboss 3 and ok.

6. Layers>Duplicate.
Effects>Plugins>Mura's Meister - Perspective Tiling.
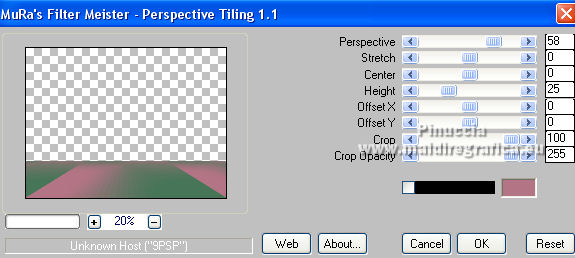
7. Layers>Duplicate.
8. Effects>Distortion Effects>Polar Coordinates.
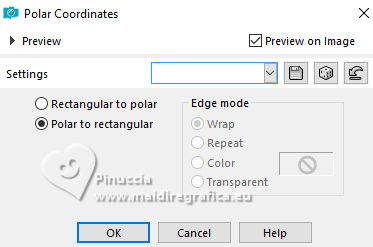
9- Effects>Distortion Effects>Warp.
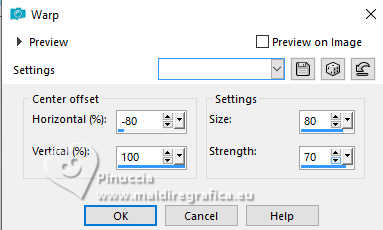
10. Layers>Duplicate.
Image>Mirror>Mirror Horizontal.
11. Layers>Merge>Merge Down.
Image>Mirror>Mirror Vertical (Image>Flip).
12. Effects>3D Effects>Drop Shadow, foreground color,
shadow on new layer checked.
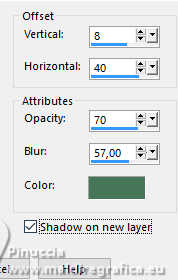
13. Stay on the shadow's layer.
Effects>Texture Effects>Fine Leather, default color #cdcdcd.
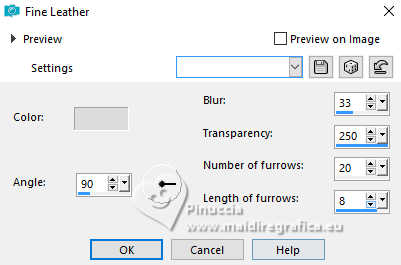
14. Effects>3D Effects>Drop Shadow, color black,
shadow on new layer not checked.
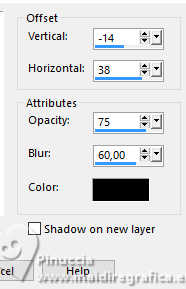
Repeat Drop Shadow, vertical and horizontal -22/-11.
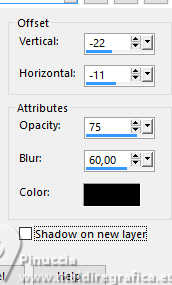
15. Activate your top layer.
Layers>Merge>Merge Down.
Adjust>Add/Remove Noise>Add Noise.

Effects>Geometric Effects>Spherize.

16. Open the landscape misted 2711-luzcristina 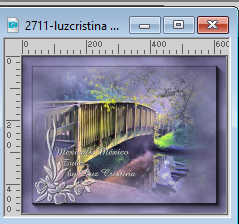
Edit>Copy.
Go back to your work and go to Edit>Paste as new layer.
Place  correctly the tube. correctly the tube.
Layers>Arrange>Move Down.
Change the Blend Mode of this layer to Hard Light, or to your liking.
16. Activate the layer Copy of Raster 1.
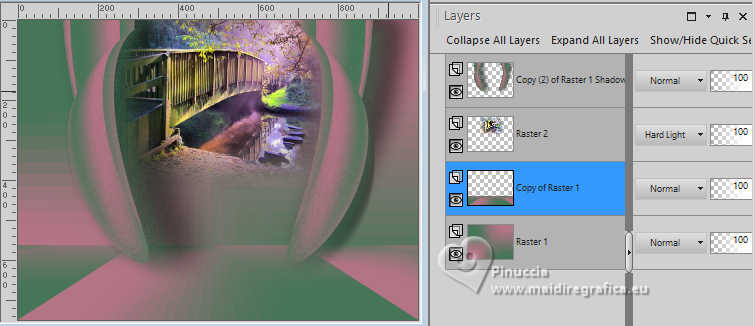
Layers>Merge>Merge Down.
17. Effects>Plugins>AAA Frames - Foto Frame

18. Activate your top layer
Move  the shape under the frame's border. the shape under the frame's border.
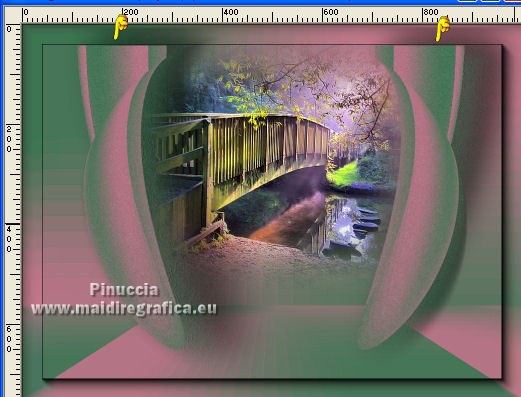
19. Open the tube Gerry-Lady115-18mei2008 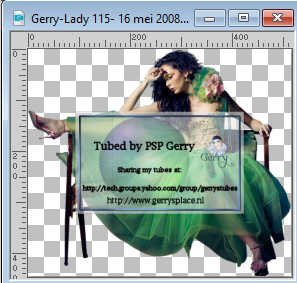
Edit>Copy.
Go back to your work and go to Edit>Paste as new layer.
Place  correctly the tube. correctly the tube.
20. Effects>3D Effects>Drop Shadow, color black.

21. Sign your work on a new layer.
Layers>Merge>Merge All and save as jpg.
For the tubes of this version thanks Virginia

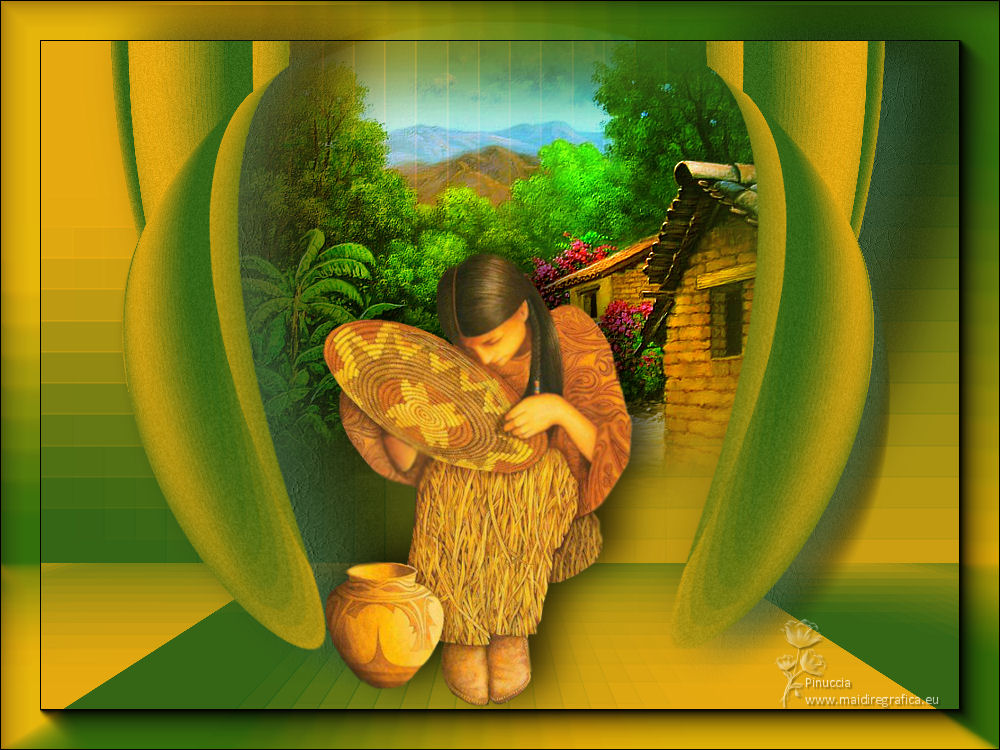
Version with tubes by Luz Cristina

If you have problems or doubts, or you find a not worked link,
or only for tell me that you enjoyed this tutorial, write to me.
19 June 2025

|

