|
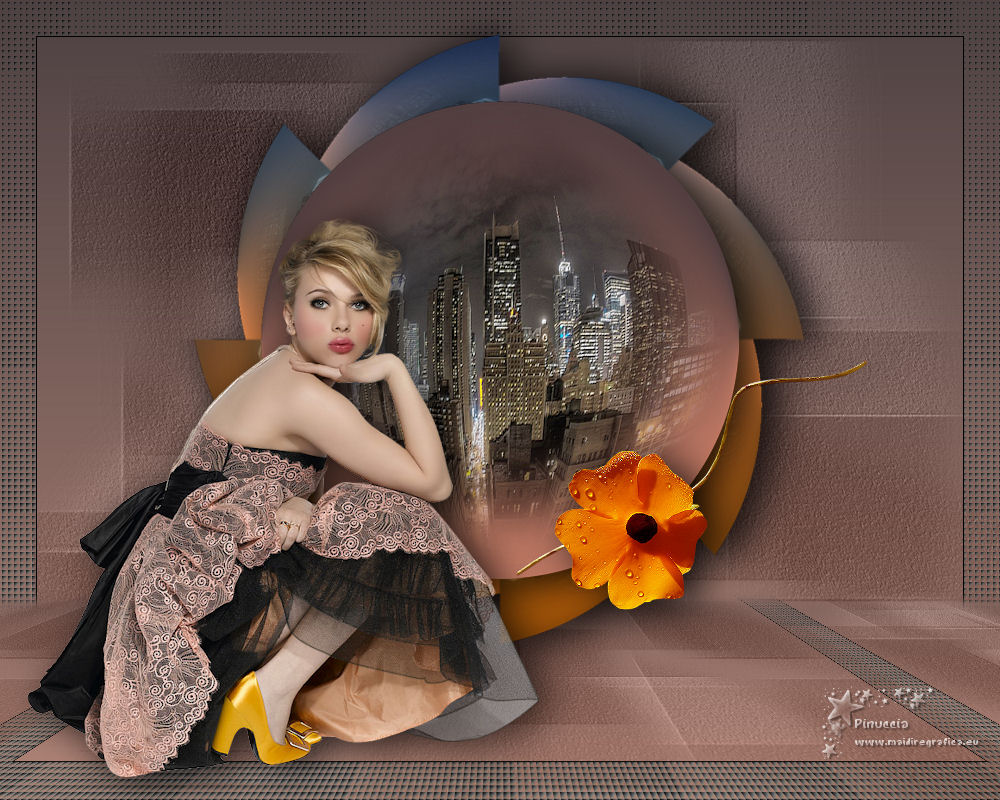
TOP COQUETA


Thanks Luz Cristina for your invitation to translate your tutorials into english

This tutorial, created with PSP9, was translated with PspX9, but it can also be made using other versions of PSP.
Since version PSP X4, Image>Mirror was replaced with Image>Flip Horizontal,
and Image>Flip with Image>Flip Vertical, there are some variables.
In versions X5 and X6, the functions have been improved by making available the Objects menu.
In the latest version X7 command Image>Mirror and Image>Flip returned, but with new differences.
See my schedule here
 French Translation here French Translation here
 Your versions here Your versions here

For this tutorial, you will need:

For the tubes thanks Beatriz, Tocha and Suzi Sgai.
(The links of the tubemakers here).

consult, if necessary, my filter section here
Mehdi - Kaleidoscope 2.1 ici
FM Tile Tools - Saturation Emboss ici
Nick Software - Color Efex Pro ici
Mura's Meister - Perspective Tiling ici
AAA Filters - Tweed Frame ici

You can change Blend Modes according to your colors.
In the newest versions of PSP, you don't find the foreground/background gradient (Corel_06_029).
You can use the gradients of the older versions.
The Gradient of CorelX here

Copy the preset Emboss 3 in the Presets Folder.
1. Open a new transparent image 1000 x 800 pixels.
2. Set your foreground color to #af8376,
and your background color to #4d4142.
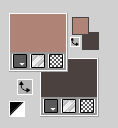
Set your foreground color to a Foreground/Background Gradient, style Linear.
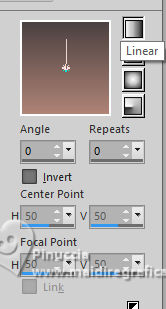
Flood Fill  the transparent image with your Gradient. the transparent image with your Gradient.
3. Acticate your Darken/Lighten Brush Tool 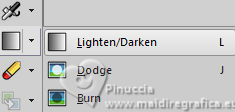 with these settings with these settings

We'll move the tool capriciously over different parts of the image.
Then, set the rotation to 90 to do it on the opposite side.
This is my example; no two people will have the same result at this stage.
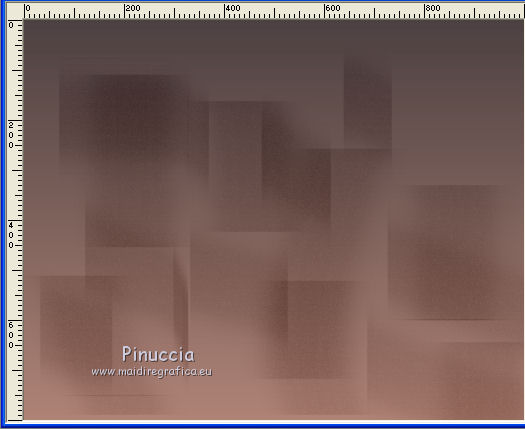
Set your foreground color to Color and right-click on the work for a light color and left-click for a dark color.
Here is my example.
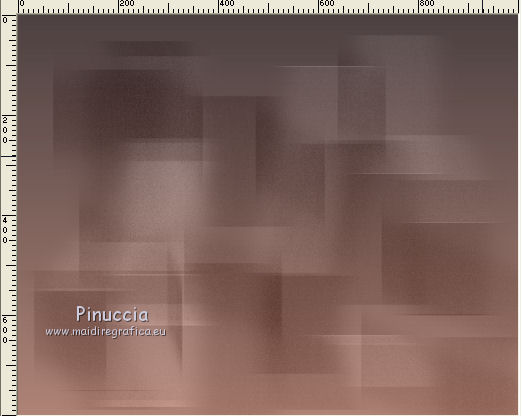
4. Effects>User Defined Filter - select the preset Emboss 3 and ok.

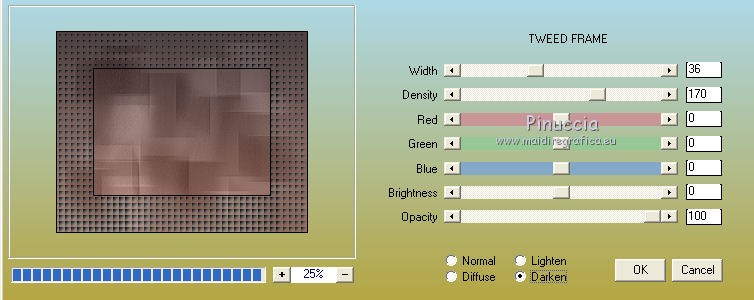
5. Effects>Plugins>AAA Filters - Tweed Frame
6. Layers>Duplicate.
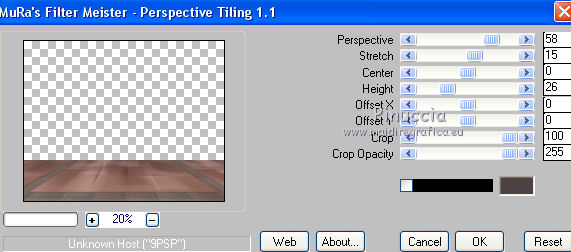
7. Effects>Plugins>Mura's Meister - Perspective Tiling.
8. Activate your Magic Wand Tool  with these settings with these settings

Click on the transparent part to select it.
Press CANC a few times on the keyboard  to soften the edge to soften the edge
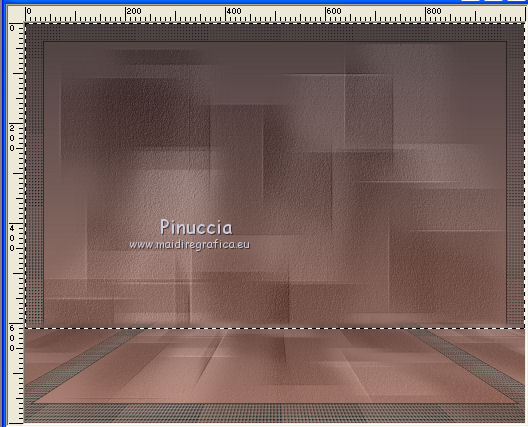
Selections>Select None.
9. Layers>New Raster Layer.
Set again your foreground color to the Gradient.
Flood Fill  the layer with your Gradient. the layer with your Gradient.
Selections>Select All.
Open the landscape 822-city-misted-LB TUBES 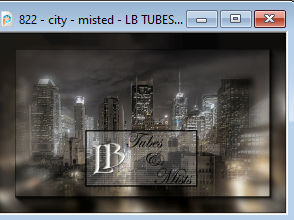
Edit>Copy.
Go back to your work and go to Edit>Paste into Selection.
Selections>Select None.
10. Effects>Plugins>FM Tile Tools - Saturation Emboss, default settings.

11. Effects>Geometric Effects>Circle.

12. Image>Resize, to 60%, resize all layers not checked.
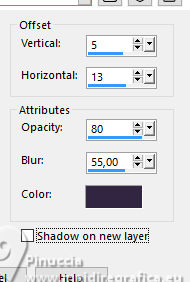
13.- Effects>3D Effects>Drop Shadow
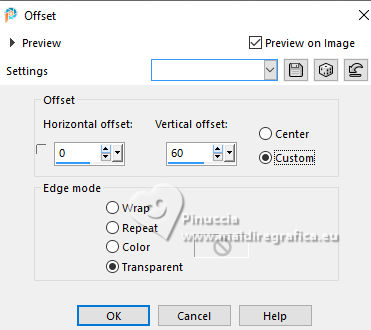
14.- Effects>Image Effects>Offset.
15. Layers>Duplicate.
16.- Effects>Plugins>Mehdi - Kaleidoscope 2.1.
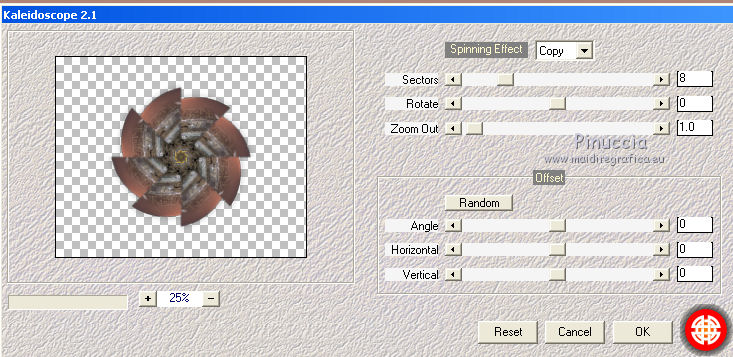
17. Image>Resize, to 110%, resize all layers not checked.
18. Effects>Image Effects>Offset, same settings.

Layers>Arrange>Move Down.
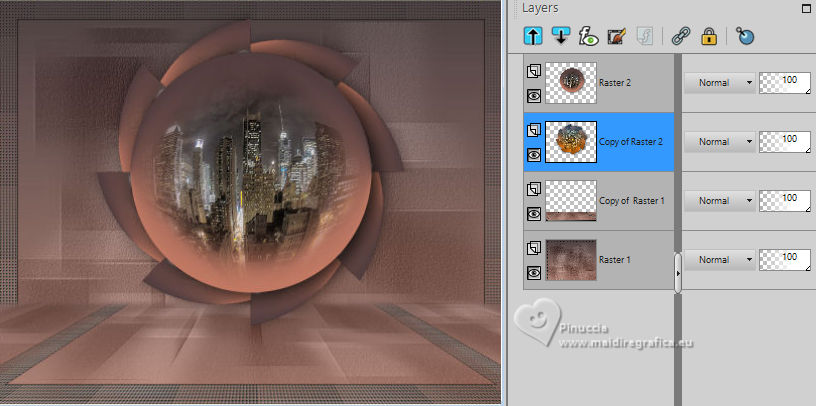
19. Effects>Plugins>Nik Software - color Efex Pro
Bi-color filters - to the right Colorset Cool/Warm 2.
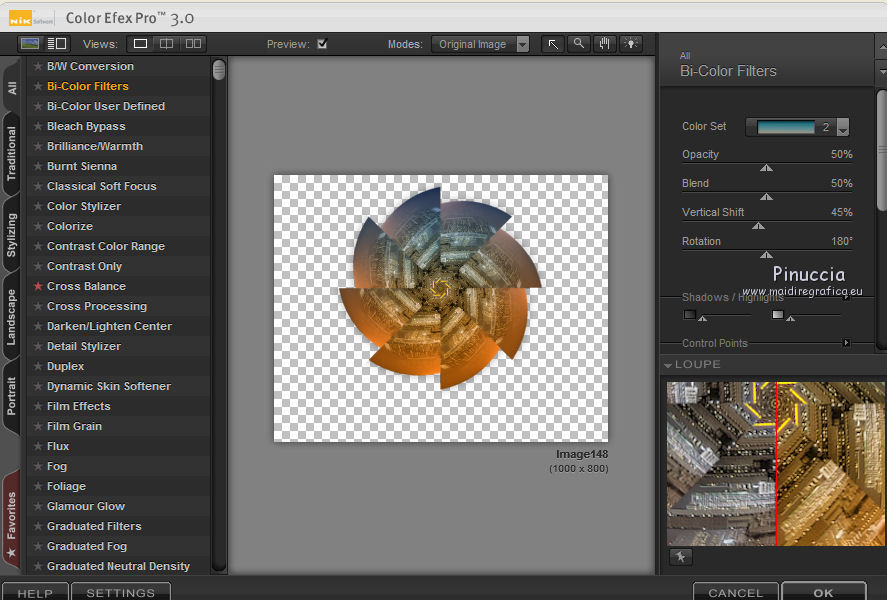
20. Effects>3D Effects>Drop Shadow, same settings
21. Activate your top layer.
Open the woman's tube Tocha23924 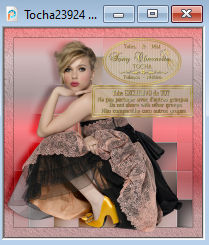
Edit>Copy.
Go back to your work and go to Edit>Paste as new layer.
Image>Resize, to 70%, resize all layers not checked.
Image>Mirror>Mirror Horizontal.
Move  the tube at the bottom left. the tube at the bottom left.
Effects>3D Effects>Drop Shadow, at your choice.
22. Open the flower's tube SS_2106 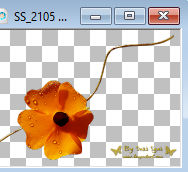
Edit>Copy.
Go back to your work and go to Edit>Paste as new layer.
Move  the tube to the right. the tube to the right.
Effects>3D Effects>Drop Shadow, at your choice.
23. Layers>Merge>Merge All and save as jpg.
For the tube of this version thanks AnaRidzi and Anna.br
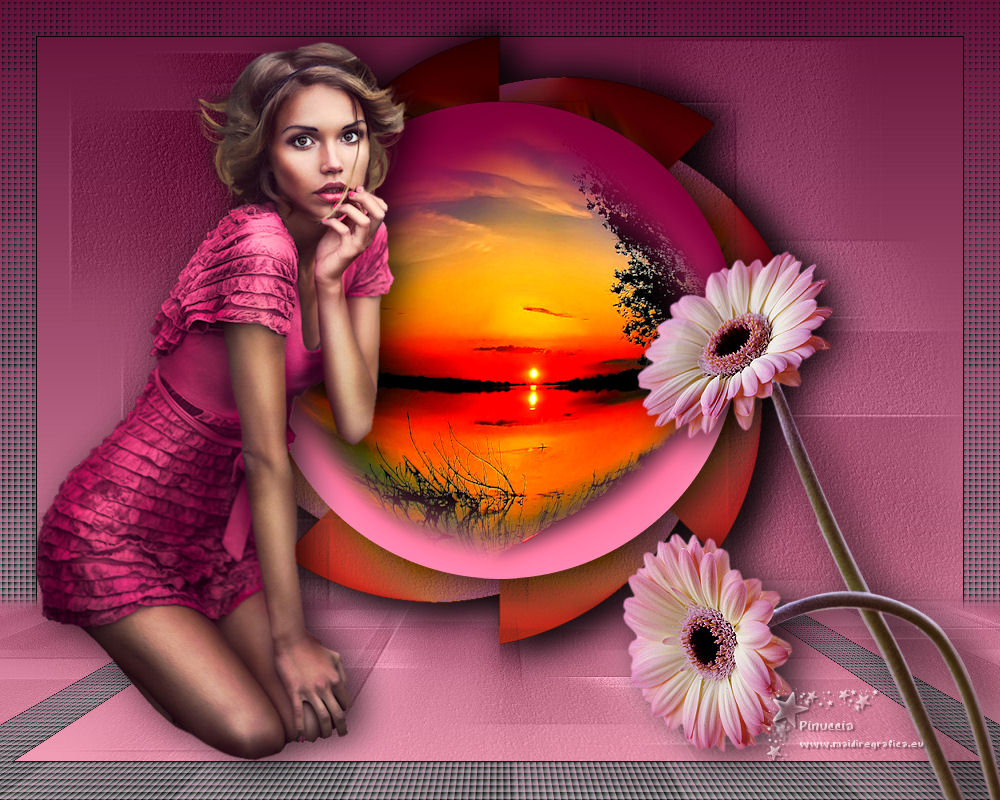
 Vos versioni here Vos versioni here

If you have problems or doubts, or you find a not worked link,
or only for tell me that you enjoyed this tutorial, write to me.
19 June 2025
|

