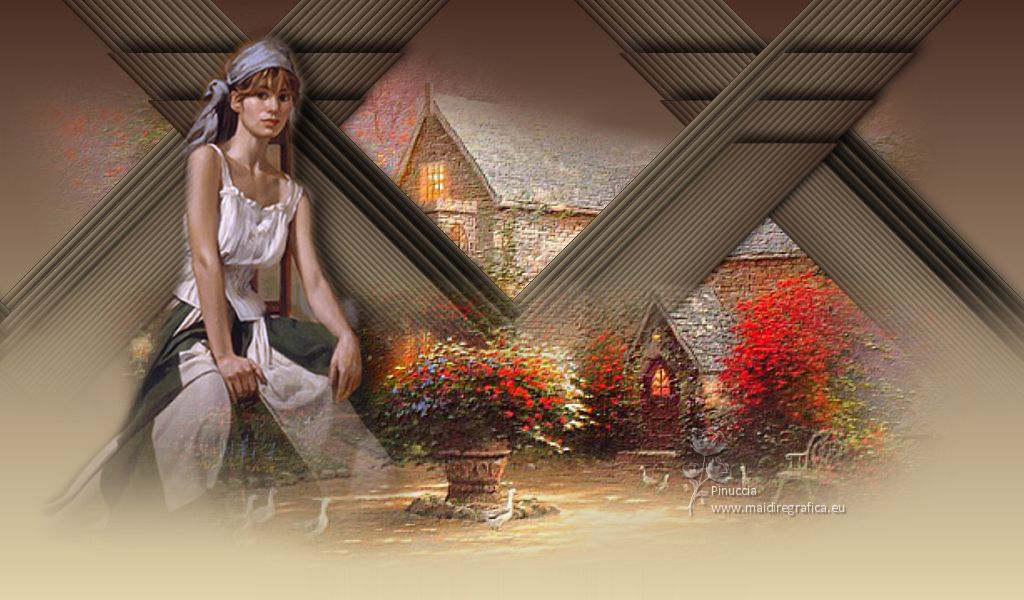
|
TOP DEL CAMPO


Thanks Luz Cristina for your invitation to translate your tutorials into english

This tutorial, created with PSP9, was translated with Psp2020, but it can also be made using other versions of PSP.
Since version PSP X4, Image>Mirror was replaced with Image>Flip Horizontal,
and Image>Flip with Image>Flip Vertical, there are some variables.
In versions X5 and X6, the functions have been improved by making available the Objects menu.
In the latest version X7 command Image>Mirror and Image>Flip returned, but with new differences.
See my schedule here
 French Translation here French Translation here
 Your versions here Your versions here

For this tutorial, you will need:

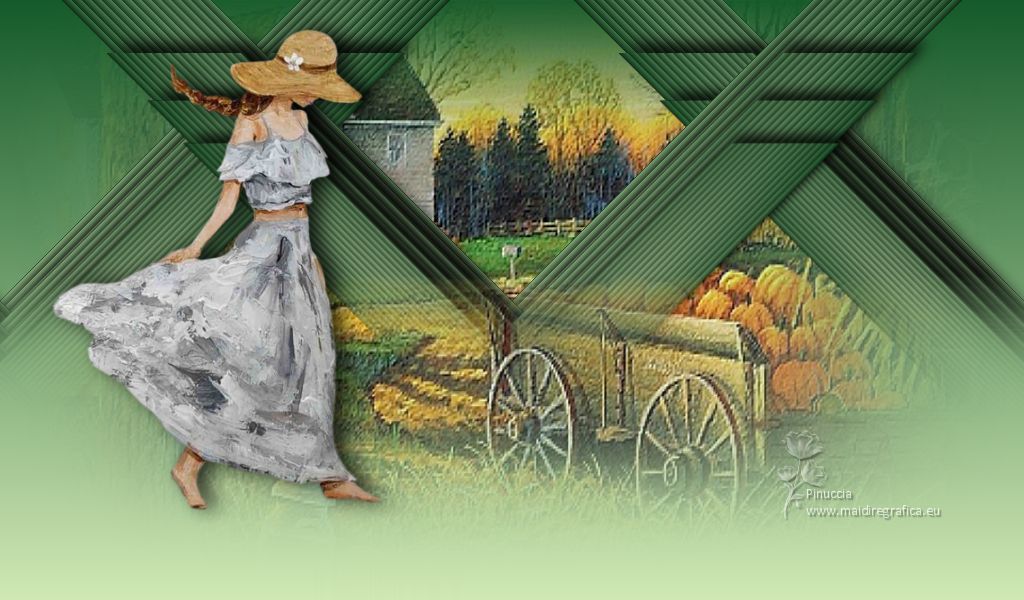
Tha landscape is by Gini. The woman's tube is not signed.
(The links of the tubemakers here).
*It is forbidden to remove the watermark from the supplied tubes, distribute or modify them,
in order to respect the work of the authors

consult, if necessary, my filter section here
FM Tile Tools - Blend Emboss ici
Mura's Meister - Copies qui

You can change Blend Modes according to your colors.
In the newest versions of PSP, you don't find the foreground/background gradient (Corel_06_029).
You can use the gradients of the older versions.
The Gradient of CorelX here

Open the mask in PSP and minimize it with the rest of the material.
1. Open a new transparent image 1024 x 450 pixels.
2. Set your foreground color to #e2d1aa,
and your background color to #4a2e24.
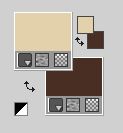
3. Set your foreground color to a Foreground/Background Gradient, style Halo.
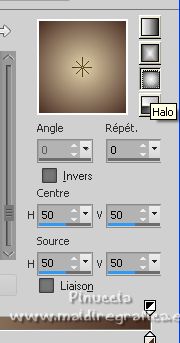
Flood Fill  the transparent image with your gradient. the transparent image with your gradient.
4. Effects>Texture Effects>Blinds
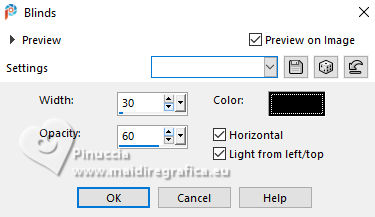
5. Activate your Pick Tool 
in mode Scale 
pull the top node down until 300 pixels.
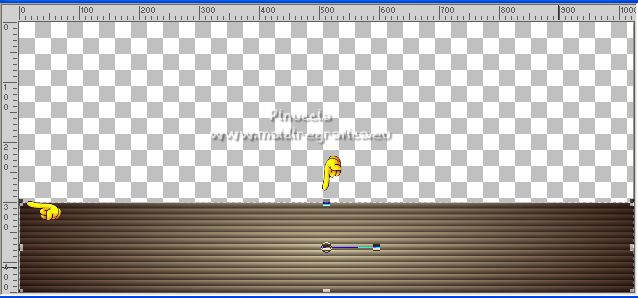
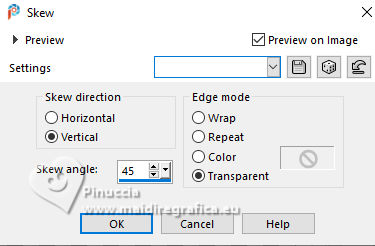
6. Effects>Geometric Effects>Skew
7. Layers>Duplicate.
Image>Mirror>Mirror Horizontal.
Layers>Merge>Merge visible.
8. Layers>Duplicate.
Image>Resize, to 90%, resize all layers not checked.
9. Effects>Image Effects>Offset.
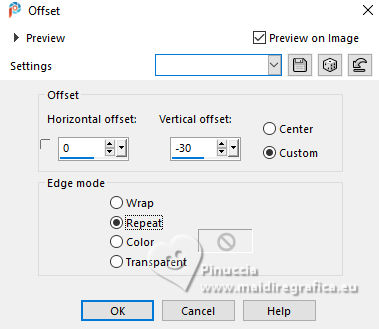
10. Effects>3D Effects>Drop Shadow.
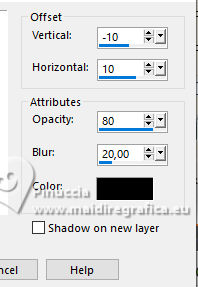
11. Repeat the steps 8 and 9 again two times
Layers>Duplicate.
Image>Resize, to 90%, resize all layers not checked
Effects>Image Effects>Offset.

Result
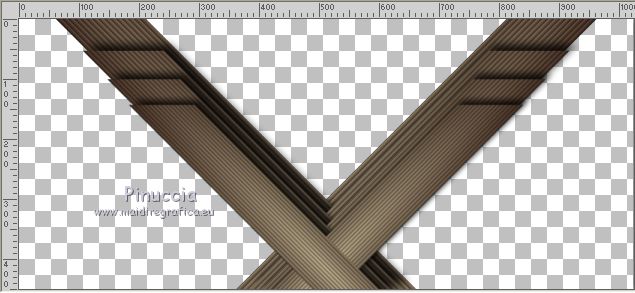
12. Layers>Merge>Merge visible.
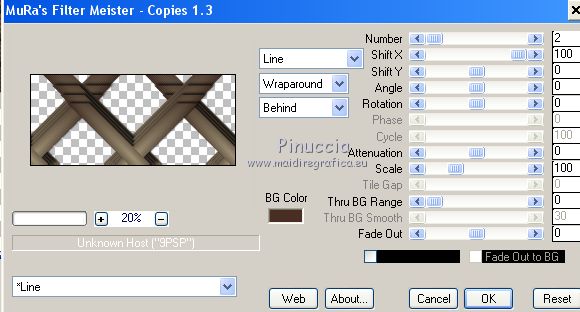
13. Effects>Plugins>Mura's Meister - Copies.
14. Layers>New Mask layer>From image
Open the menu under the source window and you'll see all the files open.
Select the mask Marge_TopFade.
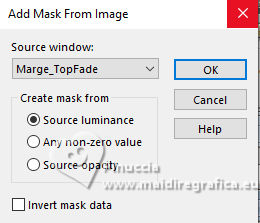
Layers>Duplicate (to apply the mask 2 times)
Layers>Merge>Merge Group.
15. Layers>New Raster Layer.
Layers>Arrange>Send to Bottom.
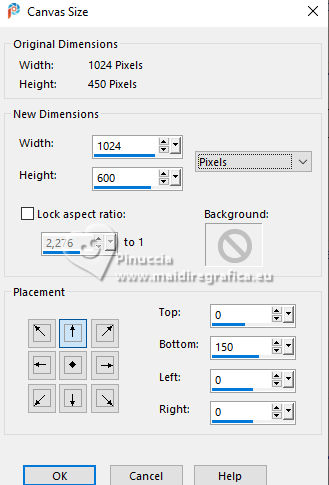
16. Image>Canvas Size - 1024 x 600 pixels.
17. Selections>Select All.
Open the landscape's tube Paisaje-MistedByGini_08-11-06 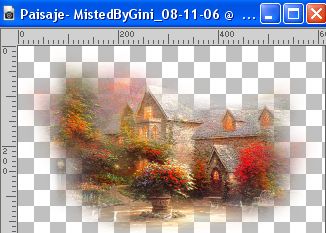
Edit>Copy.
Go back to your work and go to Edit>Paste into Selection.
Selections>Select None.
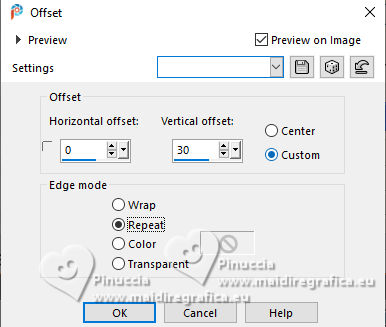
18. Effects>Image Effects>Offset.
19. Effects>Plugins>FM Tile Tools - Blend Emboss, default settings.

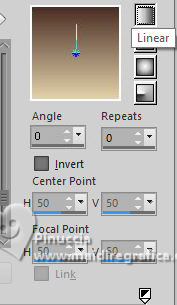
20. Change the settings of your Gradient, style Linear.
21. Layers>New Raster Layer.
Layers>Arrange>Send to Bottom.
Flood Fill  the layer with your Gradient. the layer with your Gradient.
22. Activate your top layer.
Open the woman's tube tube 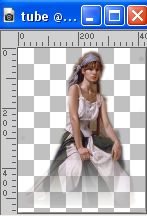
Edit>Copy.
Go back to your work and go to Edit>Paste as new layer.
23. Effects>3D Effects>Drop Shadow.

24. Layers>Merge>Merge Visible.
25. Sign your work and save as jpg.
For the tubes of this version thanks Tineke and Kathy


If you have problems or doubts, or you find a not worked link,
or only for tell me that you enjoyed this tutorial, write to me.
25 March 2025

|

