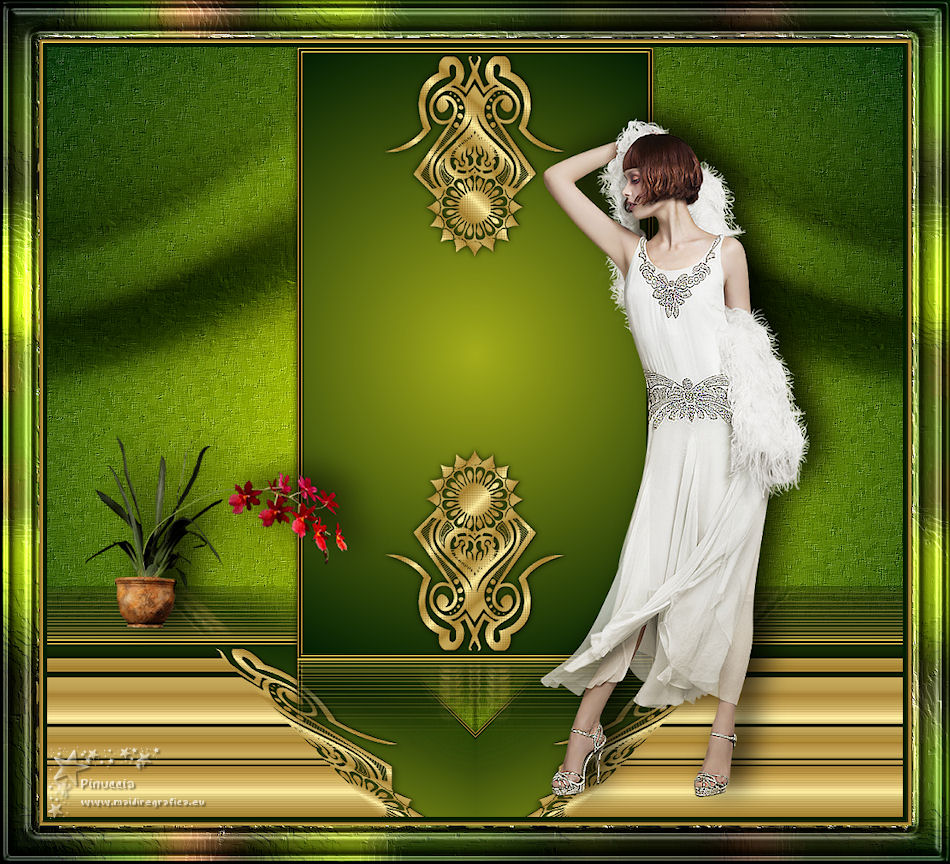
|
TOP DORADO


Thanks Luz Cristina for your invitation to translate your tutorials into english

This tutorial, created with PSP2022, was translated with PspX7, but it can also be made using other versions of PSP.
Since version PSP X4, Image>Mirror was replaced with Image>Flip Horizontal,
and Image>Flip with Image>Flip Vertical, there are some variables.
In versions X5 and X6, the functions have been improved by making available the Objects menu.
In the latest version X7 command Image>Mirror and Image>Flip returned, but with new differences.
See my schedule here
 French Translation here French Translation here
 Your versions here Your versions here

For this tutorial, you will need:

Thanks for the tube Tocha.
(The links of the tubemakers here).

consult, if necessary, my filter section here
Filters Unlimited 2.0 here
Tramages - Pool Shadow here
Artistiques - Barbouillage here
Mura's Meister - Copies here
FM Tile Tools - Saturation Emboss here
Filters Tramages can be used alone or imported into Filters Unlimited.
(How do, you see here)
If a plugin supplied appears with this icon  it must necessarily be imported into Unlimited it must necessarily be imported into Unlimited

You can change Blend Modes according to your colors.
In the newest versions of PSP, you don't find the foreground/background gradient (Corel_06_029).
You can use the gradients of the older versions.
The Gradient of CorelX here

Copy the texture agDorGold in the Patterns Folder.
1. Open a new transparent image 400 x 700 pixels.
2. Set your foreground color to #a3ac1a,
and your background color to #021e02.
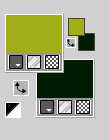
Set your foreground color to a Foreground/Background Gradient, style Halo.
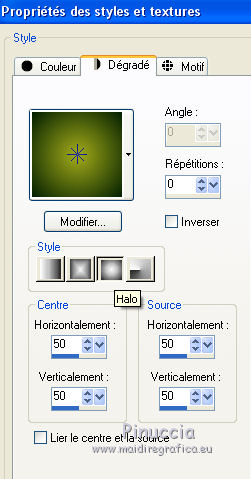
Flood Fill  the transparent image with your Gradient. the transparent image with your Gradient.
2. Open the tube agDorDeco 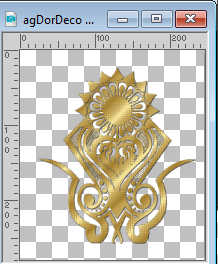
Edit>Copy.
Go back to your work and go to Edit>Paste as new layer.
Move  the tube down. the tube down.
Effects>3D Effects>Drop Shadow.
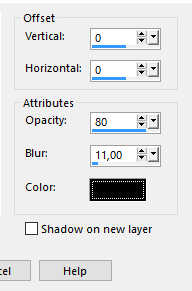
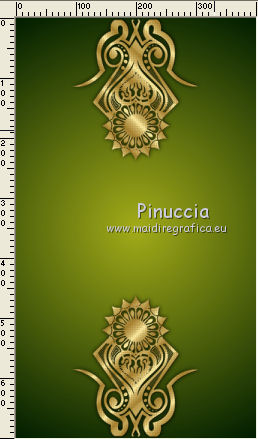
4. Layers>Duplicate.
ImageMirror Vertical (Image>Flip).
Result
5. Image>Add Borders, 2 pixels, symmetric, dark color.
Image>Add Borders, 2 pixels, symmetric, light color.
Activate your Magic Wand Tool 
and click in the last border to select it.
6. Effects>Texture Effects>Sculpture - select the texture agDorGold.
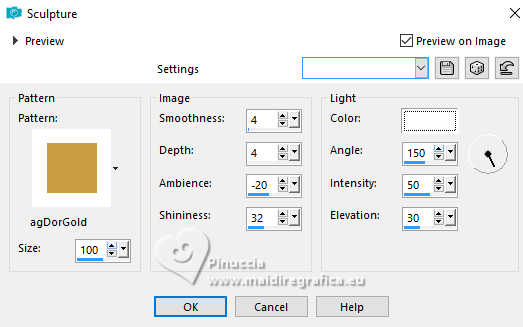
Selections>Select None.
7. Repeat Image>Add Borders, 2 pixels, symmetric, dark color.
Image>Add Borders, 2 pixels, symmetric, light color.
Activate your Magic Wand Tool 
and click in the last border to select it.
Effects>Texture Effects>Sculpture, same settings.

Selections>Select None.
8. Layers>Promote Selection to Layer.
Image>Canvas Size - 1000 x 900 pixels.

9. Effects>Plugins>Mura's Meister - Copies.
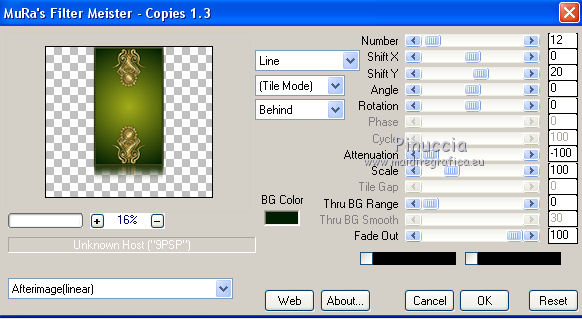
Effects>3D Effects>Drop Shadow, same settings.
10. Layers>New Raster Layer.
Layers>Arrange>Send to Bottom.
Flood Fill  the layer with your Gradient. the layer with your Gradient.
11. Activate the layer Raster 1.
Layers>Duplicate.
Layers>Arrange>Move Down.
12. Effects>Image Effects>Seamless Tiling, default settings.

13. Image>Mirror>Mirror Vertical (Image>Flip).
14. Effects>Geometric Effects>Skew.

15. Effects>Reflection Effects>Rotating Mirror.

16. Effects>Image Effects>Offset.

17. Activate your Selection Tool 
(no matter the type of selection, because with the custom selection your always get a rectangle)
clic on the Custom Selection 
and set the following settings.

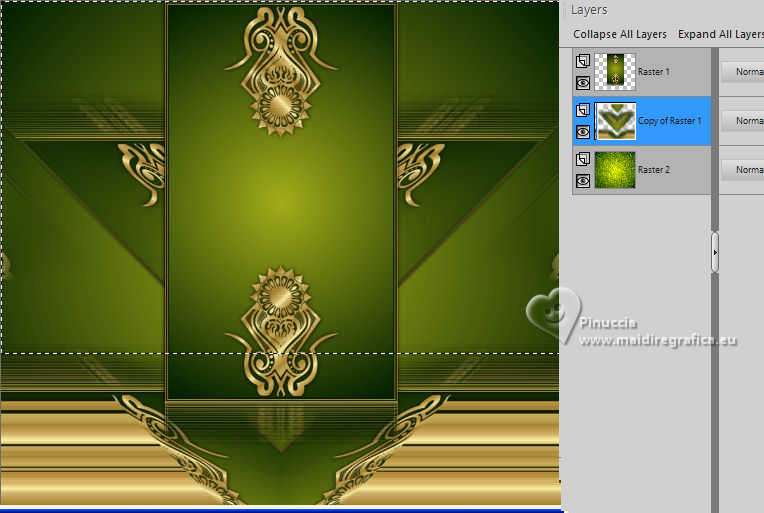
Press CANC on the keyboard 

Selections>Select None.
18. Stay on the layer Copy of Raster 1.
Layers>Duplicate.
Layers>Arrange>Move Down.
19. Effects>Image Effects>Seamless Tiling, default settings.

20. Adjust>Blur>Radial Blur

21. Adjust>Add/Remove Noise>Add Noise.

22. Effets>Effets de traits>Coups de pinceau
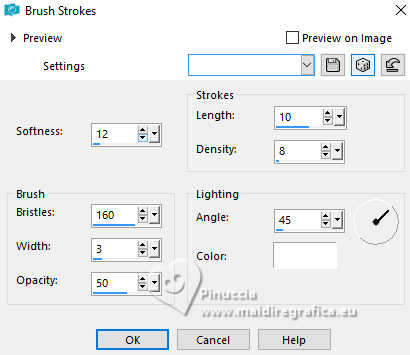
23. Change the Blend Mode of this layer to Multiply, or to your liking.
24. Effects>Image Effects>Offset.

25. Effects>Distortion Effects>Pinch

26. Activate your background layer, Raster 2.

27. Adjust>Add/Remove Noise>Add Noise, same settings.

28. Effects>Plugins>Artistiques - Barbouillage
if you use the english version
Artistic>Paint Daubs
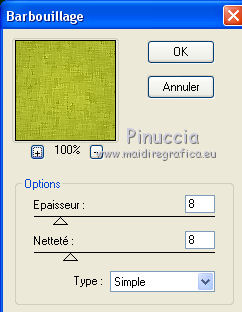 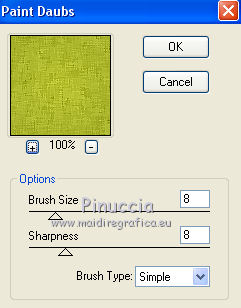
29. Effects>Plugins>FM Tile Tools - Saturation Emboss, default settings

30. Activate your top layer.
Open the tube mouorchid 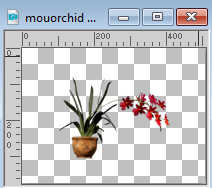
Edit>Copy.
Go back to your work and go to Edit>Paste as new layer.
Move  the tube to the left. the tube to the left.
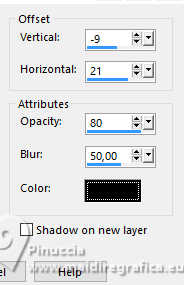
Effects>3D Effects>Drop Shadow.
31. Open the tube de la femme Tocha2386 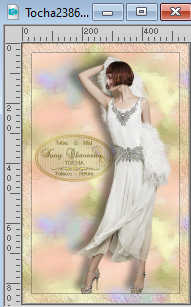
Edit>Copy.
Go back to your work and go to Edit>Paste as new layer.
Move  the tube to the right. the tube to the right.
Effects>3D Effects>Drop Shadow. same settings.
32. Image>Add Borders, 5 pixels, symmetric, dark color.
Image>Add Borders, 5 pixels, symmetric, light color.
Select the last border with your Magic Wand Tool 
Effects>Texture Effects>Sculpture, same settings.

Selections>Select None.
Image>Add Borders, 45 pixels, symmetric, dark color.
Select this border with your Magic Wand Tool 
33. Effects>Reflection Effects>Kaleidoscope.

34. Adjust>Blur>Gaussian Blur - radius 20.

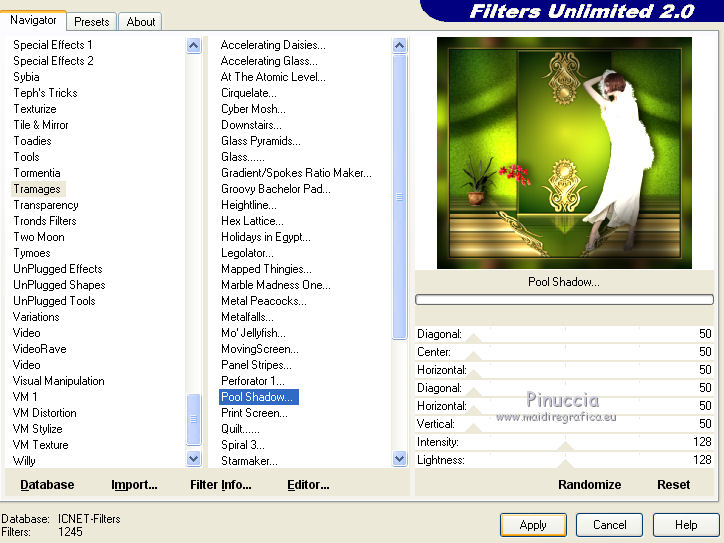
35. Effects>Plugins>Filters Unlimited 2.0 - Tramages - Pool Shadow, default settings.
36. Effects>Art Media Effects>Brush Strokes, same settings

37. Effects>3D Effects>Inner Bevel.

Repeat Inner Bevel - angle 90

Selections>Select None.
38. Image>Resize, to 85%, resize all layer checked.
Sign your work on a new layer.
Layers>Merge>Merge All and save as jpg.
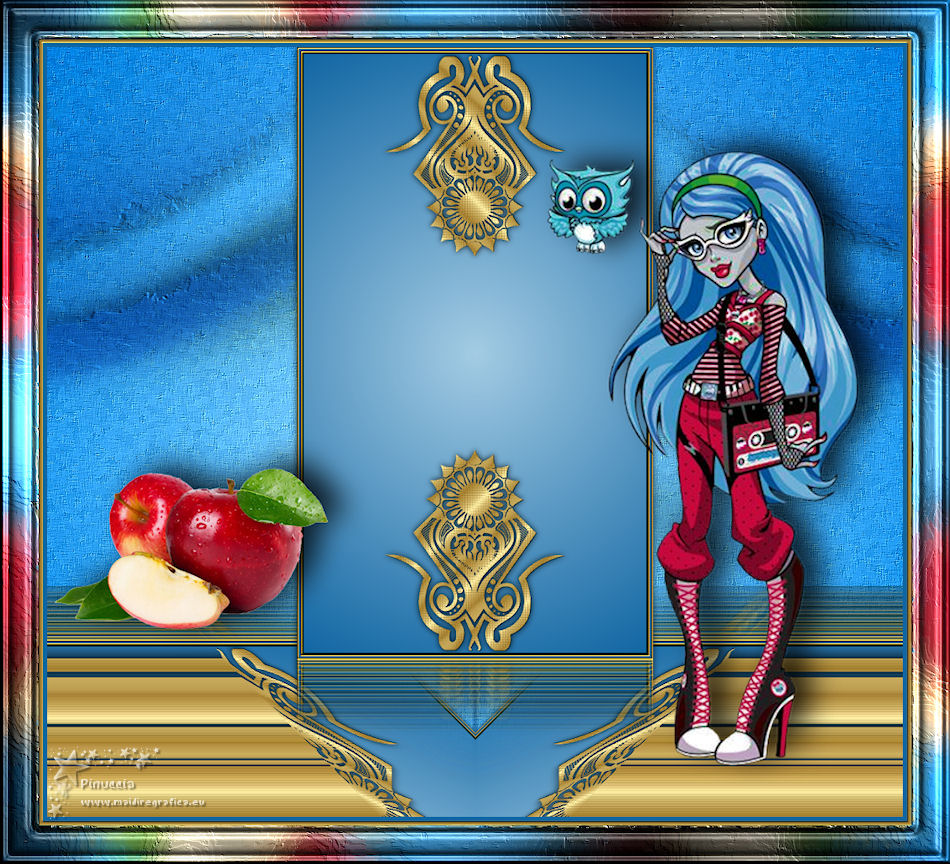
Version with tube by Malkoffee


If you have problems or doubts, or you find a not worked link,
or only for tell me that you enjoyed this tutorial, write to me.
20 July 2025
|

