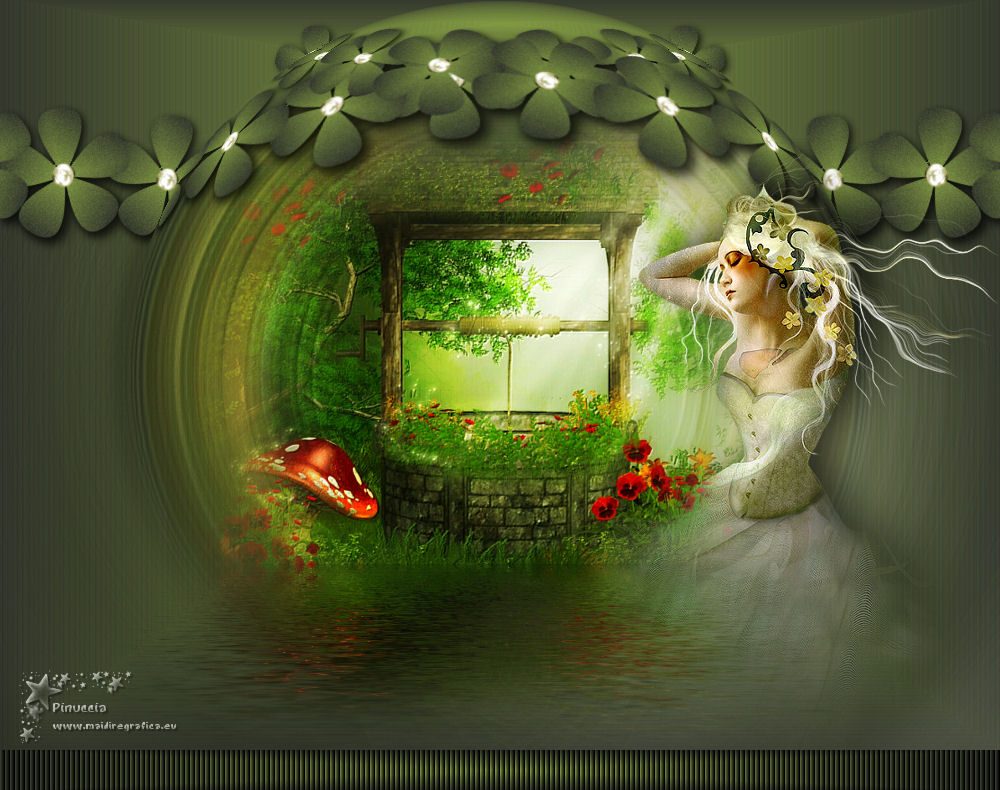
|
TOP ENSOÑACIÓN
 TOP DAYDREAM TOP DAYDREAM

Thanks Luz Cristina for your invitation to translate your tutorials into english

This tutorial, created with PSP9, was translated with PspX9, but it can also be made using other versions of PSP.
Since version PSP X4, Image>Mirror was replaced with Image>Flip Horizontal,
and Image>Flip with Image>Flip Vertical, there are some variables.
In versions X5 and X6, the functions have been improved by making available the Objects menu.
In the latest version X7 command Image>Mirror and Image>Flip returned, but with new differences.
See my schedule here
 French Translation here French Translation here
 Your versions here Your versions here

For this tutorial, you will need:

For the tubes thanks Luz Cristina and Kat.
(The links of the tubemakers here).

consult, if necessary, my filter section here
Mura's Meister - Copies here
Flaming Pear - Flood here

You can change Blend Modes according to your colors.
In the newest versions of PSP, you don't find the foreground/background gradient (Corel_06_029).
You can use the gradients of the older versions.
The Gradient of CorelX here

Open the mask in PSP and minimize it with the rest of the material.
To translate it, I modified the tutorial,
because I couldn't find the selection in the materials.
The tutorial is too old to find the original selection.
I made a similar selection.
Place the selection in the Selections folder.
Place the perla picture tube in the Picture Tubes folder.
Open the mask in PSP and minimize it with the rest of the material.
1. Set your foreground color to #809942,
and your background color to #34382d.
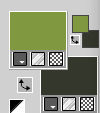
Set your foreground color to a foreground/background Gradient, style Rectangular.
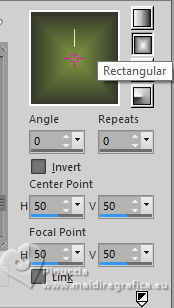
2. Open a new transparent image 1000 x 750 pixels.
3. Selections>Load/Save Selection>Load Selection from disk.
Look for and load the selection luz flower top.
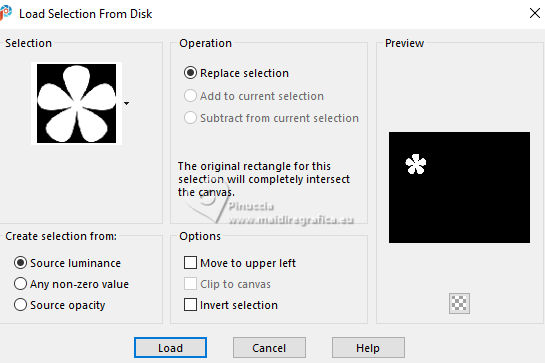
Flood Fill  the selection with your Gradient. the selection with your Gradient.
4. Adjust>Add/Remove Noise>Add Noise.
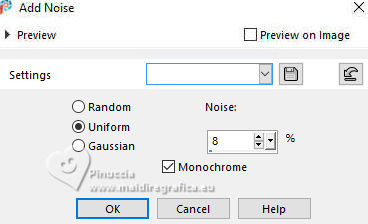
Selections>Select None.
5. Activate your Picture Tube Tool 
look for the tube perla and apply it in the center of the image.
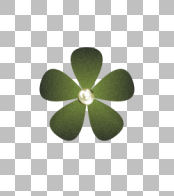
6. Effects>Plugins>Mura's Meister - Copies.
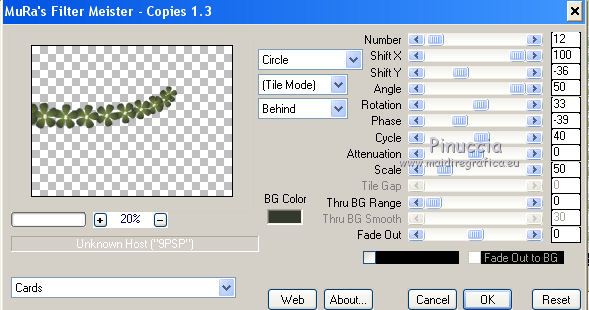
7. Layers>Duplicate.
Image>Mirror>Mirror Horizontal.
Layers>Merge>Merge visible.
Move  the image up the image up
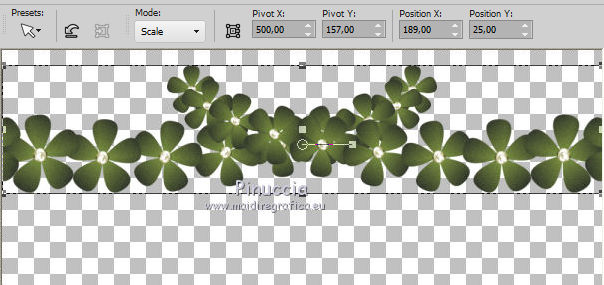
8. Activate your Magic Wand Tool 
and click in the top transparent part to select it.
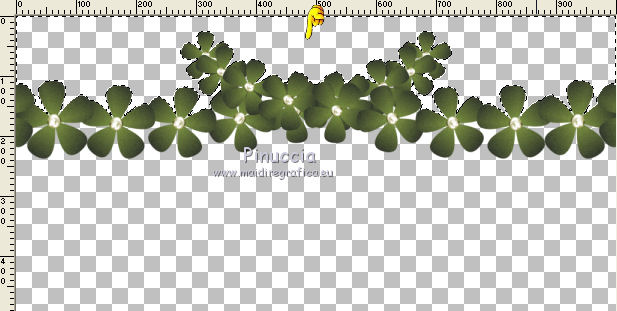
9. Selections>Modify>Expand - 4 pixels.
10. Layers>New Raster Layer.
Layers>Arrange>Send to Bottom.
Flood Fill  the layer with your gradient. the layer with your gradient.
Selections>Select None.
11. Effects>User Defined Filter - select the preset Emboss 3 and ok.

Effects>Edge Effects>Enhance.
12. Activate the layer Merged.
Effects>3D Effects>Drop Shadow.
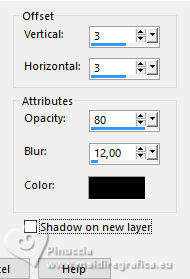
13. Layers>Merge>Merge visible.
Effects>3D Effects>Drop Shadow, same settings.
14. Effects>Geometric Effects>Spherize.
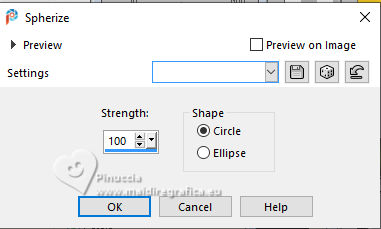
15. Layers>New Raster Layer.
Layers>Arrange>Send to Bottom.
Flood Fill  the layer with your gradient. the layer with your gradient.
16. Effects>User Defined Filter - select the preset Emboss 3 and ok.

Effects>Edge Effects>Enhance.
17. Open the misted 2898-luzcristina 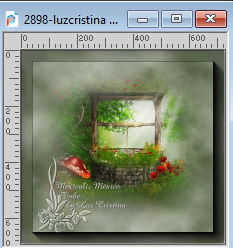
Edit>Copy.
Go back to your work and go to Edit>Paste as new layer.
Change the Blend Mode of this layer to Hard Light.
18. Effects>Plugins>Flaming Pear - Flood.
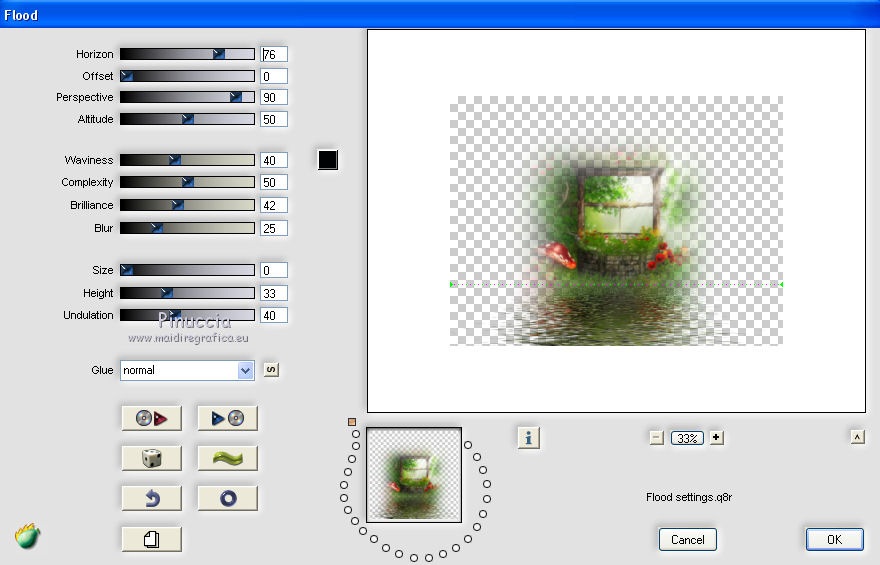
19. Layers>New Mask layer>From image
Open the menu under the source window and you'll see all the files open.
Select the mask mask-fadesuave.
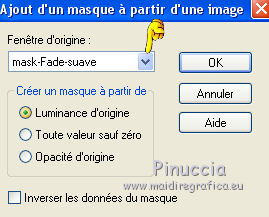
Layers>Duplicate, to apply the mask 2 times.
Layers>Merge>Merge Group.
20. Activate the layer Merged.
Open the tube kat_0538 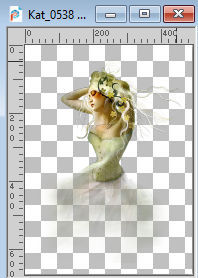
Edit>Copy.
Go back to your work and go to Edit>Paste as new layer.
Don't move it.
21. Effects>3D Effects>Drop Shadow.
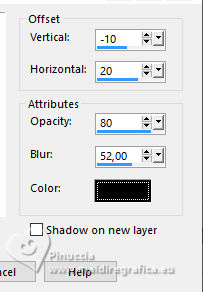
22. Effects>Image Effects>Offset.
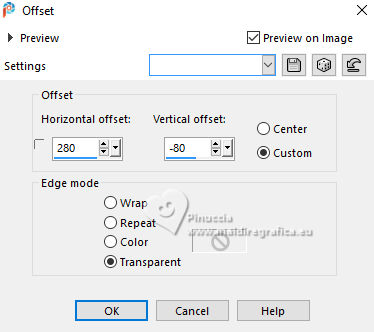
23. Layers>Duplicate.
Image>Mirror>Mirror Horizontal.
24. Adjust>Blur>Radial Blur.
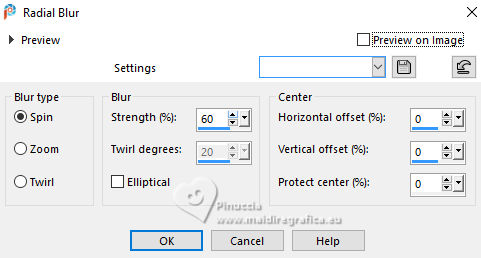
25. Effects>User Defined Filter - select the preset Emboss 3 and ok.

Change the Blend Mode of this layer to Hard Light.
Move this layer over the layer Raster 1.
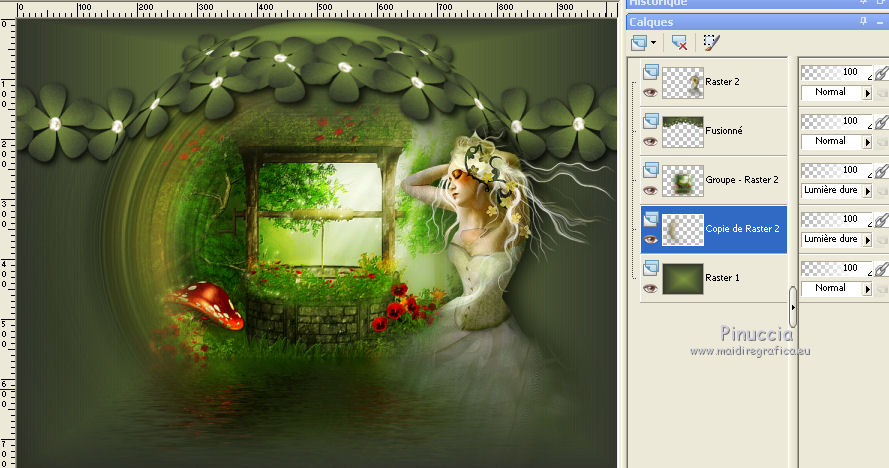
26. Layers>Duplicate.
Image>Mirror>Mirror Horizontal.
Change the Blend Mode of this layer to Screen, or to your liking.
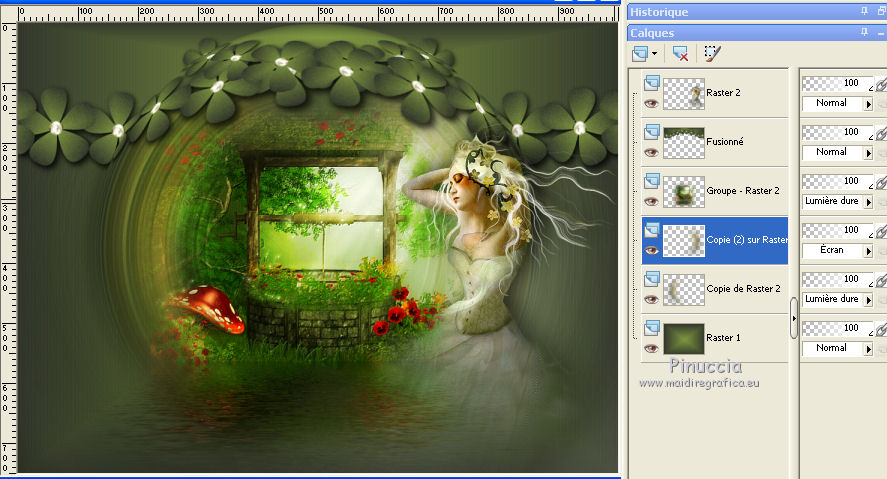
27. Activate the layer Raster 1.
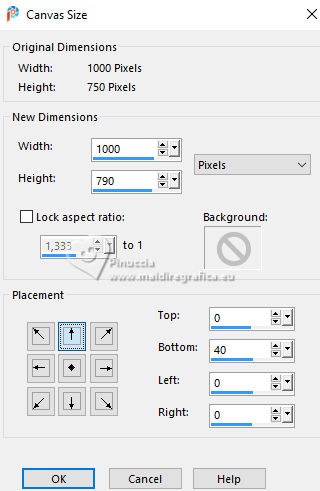
Image>Canvas Size - 1000 x 790 pixels.
28. Select the transparent part with your Magic Wand Tool 
Flood Fill  the selection with your Gradient. the selection with your Gradient.
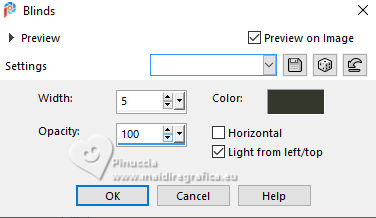
29. Effects>Texture Effects>Blinds.
30. Sign your work on a new layer.
Layers>Merge>Merge All and save as jpg.
For the tubes of this version thanks Silvie
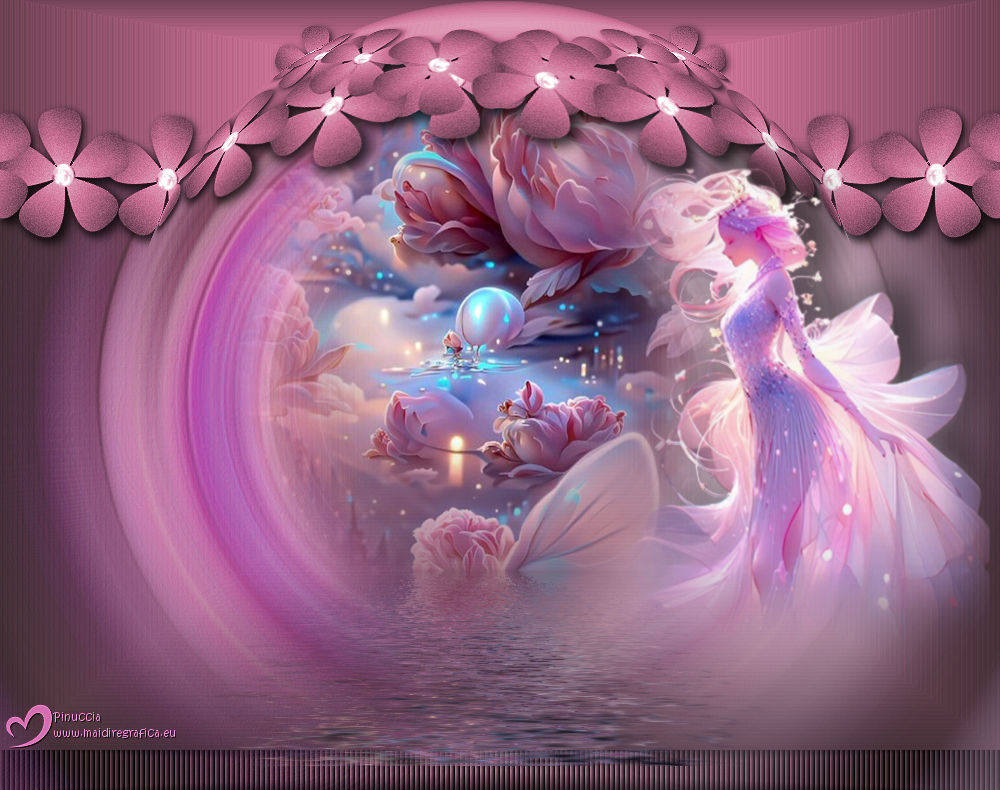
 Vos versioni ici Vos versioni ici

If you have problems or doubts, or you find a not worked link,
or only for tell me that you enjoyed this tutorial, write to me.
19 June 2025

|
 TOP DAYDREAM

 TOP DAYDREAM