|
TOP ERAS


Thanks Luz Cristina for your invitation to translate your tutorials into english

This tutorial, created with PSP9, was translated with PspX9, but it can also be made using other versions of PSP.
Since version PSP X4, Image>Mirror was replaced with Image>Flip Horizontal,
and Image>Flip with Image>Flip Vertical, there are some variables.
In versions X5 and X6, the functions have been improved by making available the Objects menu.
In the latest version X7 command Image>Mirror and Image>Flip returned, but with new differences.
See my schedule here
 French Translation here French Translation here
 Your versions here Your versions here

For this tutorial, you will need:

For the tubes thanks Luz Cristina and Syl.
(The links of the tubemakers here).

consult, if necessary, my filter section here
Filters Unlimited 2.0 here
Graphics Plus - Cross Shadow, Panel Stripes, Quick Tile II here
FM Tile Tools - Saturation Emboss here
Alien Skin Eye Candy 5 Impact - Extrude here
Mura's Meister - Perspective Tiling here
VM Distortion - Kaleidoscope here
AAA Frames - Foto Frame here
Filters Graphics Plus and VM Distortion can be used alone or imported into Filters Unlimited.
(How do, you see here)
If a plugin supplied appears with this icon  it must necessarily be imported into Unlimited it must necessarily be imported into Unlimited

You can change Blend Modes according to your colors.
In the newest versions of PSP, you don't find the foreground/background gradient (Corel_06_029).
You can use the gradients of the older versions.
The Gradient of CorelX here

Copy the mask in the Masks Folder.
Copy the texture in the Textures Folder.
1. Open a new transparent image 1000 x 900 pixels.
2. Set your foreground color to #436602,
and your background color to #c25824.
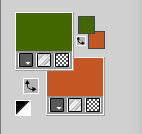
Set your foreground color to a Foreground/Background Gradient, style Linear.
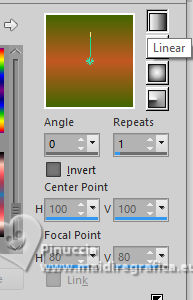
Flood Fill  the transparent image with your Gradient. the transparent image with your Gradient.
3. Effects>Plugins>Graphics Plus - Cross Shadow, default settings.
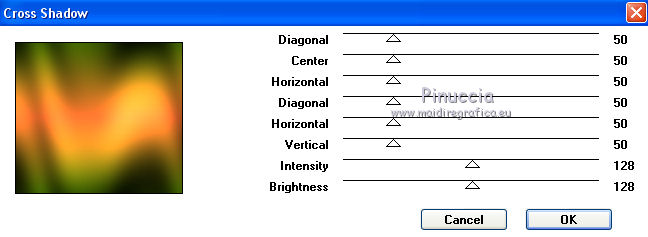
4. Effects>Plugins>Graphics Plus - Panel Stripes.
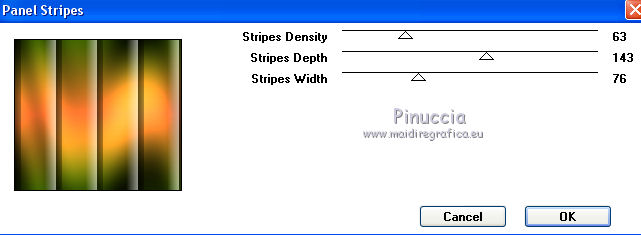
5. Effects>Texture Effects>Texture - select the texture lino with these settings
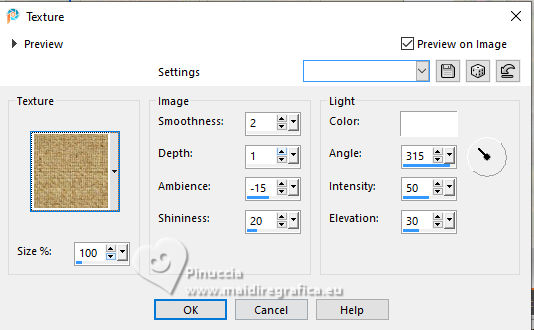
Adjust>Sharpness>Sharpen.
6. Effects>Plugins>Graphics Plus - Quick Tile II
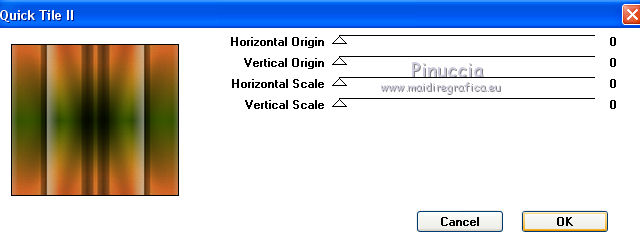
7. Layers>Duplicate.
Close the layer raster 1 and stay on the layer of the copy.
8. Effects>Plugins>Mura's Meister - Perspective Tiling.

9. Activate your Magic Wand Tool  , feather 30, , feather 30,

and click on the transparent part to select it.
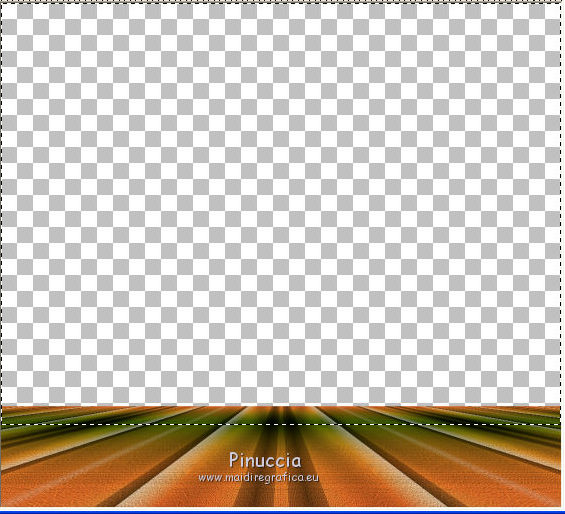
Press 5 times CANC on the keyboard 
Selections>Select None.
10. Open and activate the layer Raster 1.
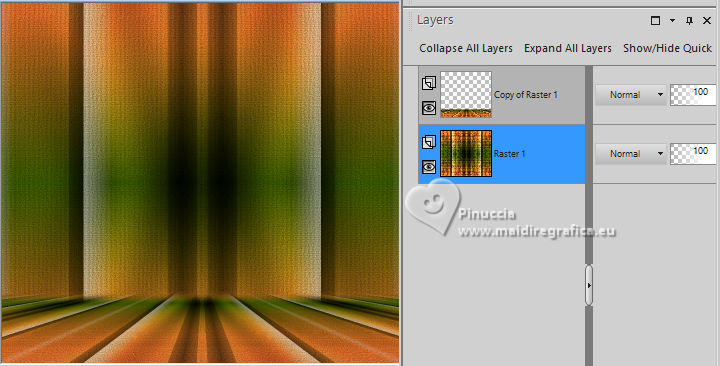
Layers>Duplicate.
11. Activate your Selection Tool 
(no matter the type of selection, because with the custom selection your always get a rectangle)
clic on the Custom Selection 
and set the following settings.
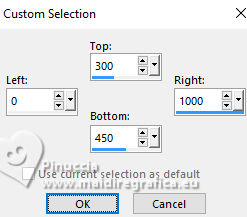
12. Selections>Invert.
Press CANC on the keyboard.
Selections>Select None.
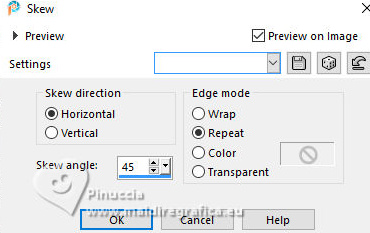
13. Effects>Geometric Effects>Skew.
14. Effects>Reflection Effects>Rotating Mirror.

15. Effects>Image Effects>Seamless Tiling.
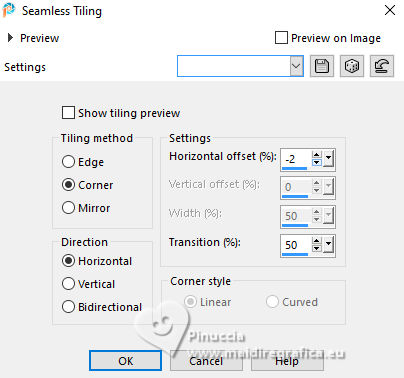
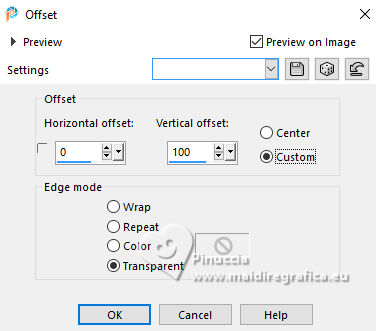
16. Effects>Image Effects>Offset.
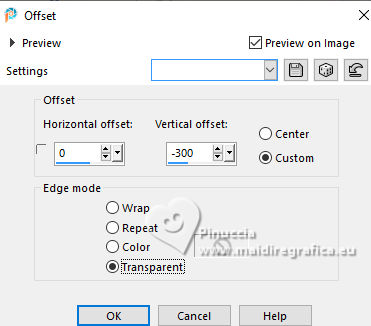
17. Effects>Plugins>Alien Skin Eye Candy 5 Impact - Extrude.
Solid Color: foreground color
Highlight Color (#cff0ff) it is not important for the result of the effect.

18. Effects>3D Effects>Drop Shadow.
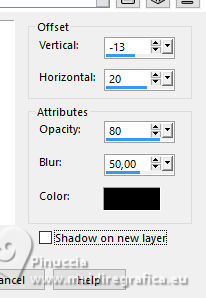
19. Effects>Plugins>FM Tile Tools - Saturation Emboss, default settings.

20. Activate the layer Copy of Raster 1.
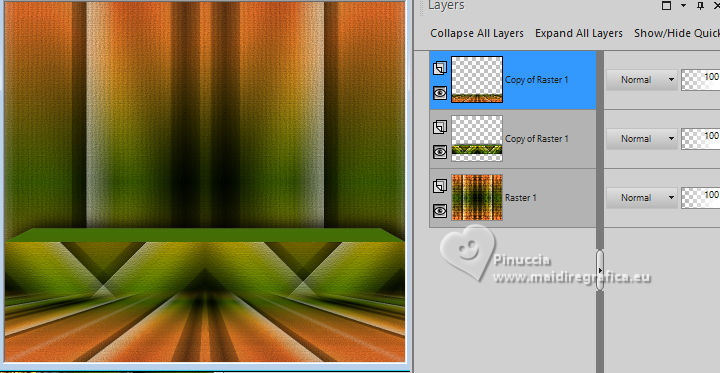
21. Layers>Duplicate.
Image>Mirror>Mirror Vertical (Image>Flip).
22. Effects>Plugins>VM Distortion - Kaleidoscope.
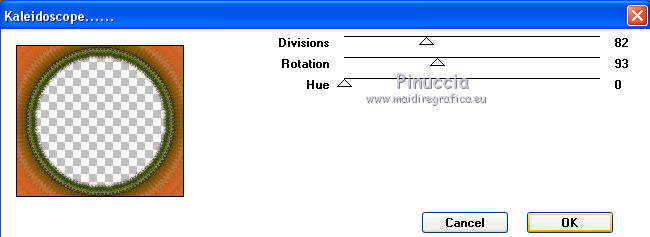
23. Image>Resize, to 70%, resize all layers not checked.
24. Layers>Load/Save Mask>Load Mask from Disk.
Look for and load the mask 20-20 .
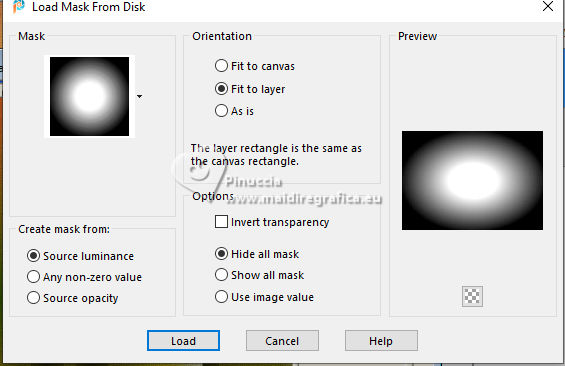
Layers>Merge>Merge Group.
25. Change the Blend Mode of this layer to Hard Light.
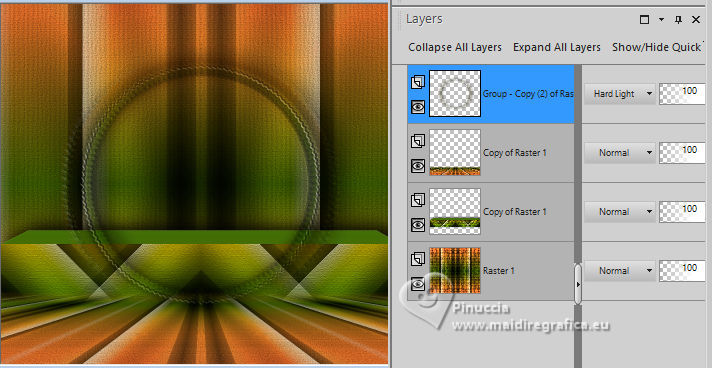
26. Effects>Image Effects>Offset.
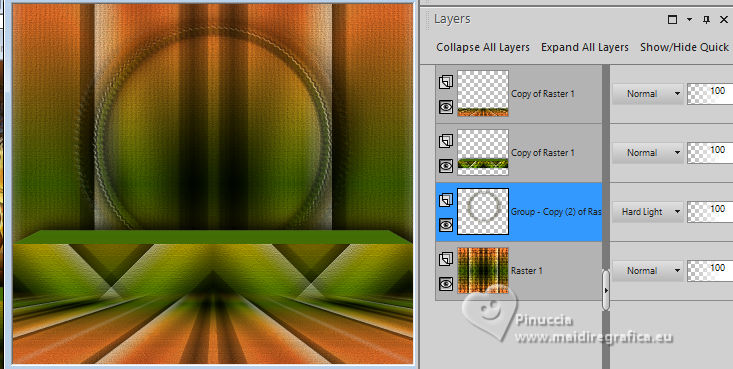
27. Layers>Arrange>Move Down - 2 times.
28. Effects>Texture Effects>Polished Stone
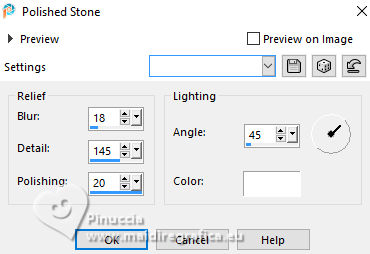
29. Effects>3D Effects>Drop Shadow, same settings.
Adjust>Sharpness>Sharpen.
30. Open the tube 3454-luzcristina 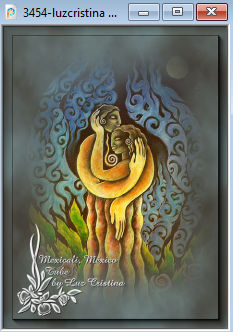
Edit>Copy.
Go back to your work and go to Edit>Paste as new layer.
Place  the tube in the circle. the tube in the circle.
31. Layers>Duplicate.
Layers>Arrange>Move Donw.
32. Effects>Texture Effects>Tiles.
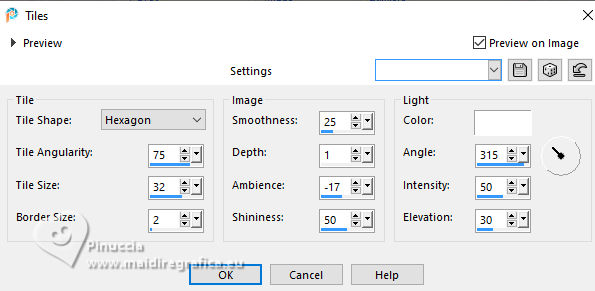
33. Image>Resize, to 110%, resize all layers not checked.
Change the Blend Mode of this layer to Hard Light (optional).
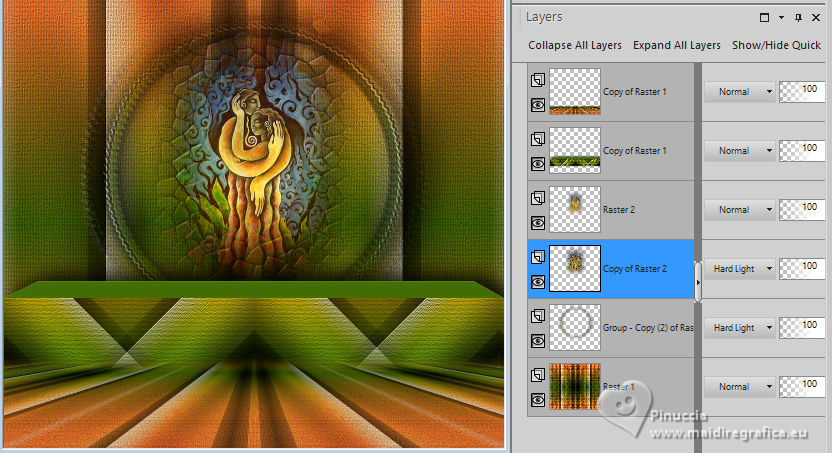
34. Activate the layer above of the original.
Image>Resize, to 90%, resize all layers not checked.
35. Activate your top layer.
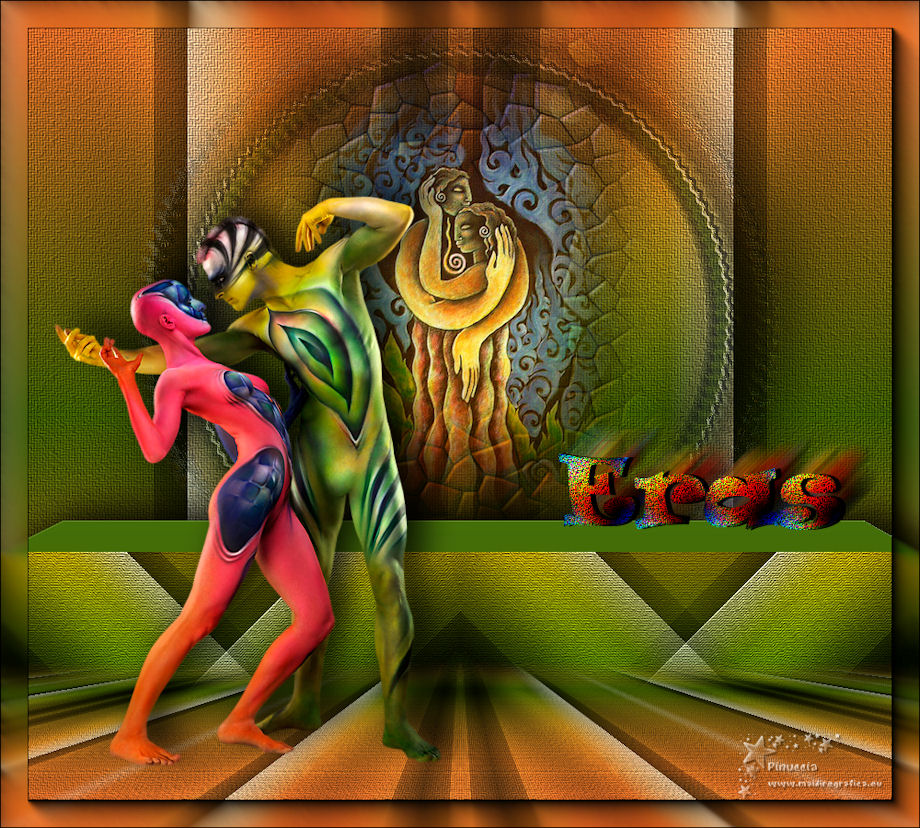
Open the tube SvBeauty 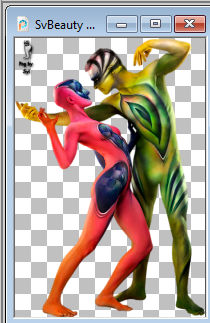
Erase the watermark and go to Edit>Copy.
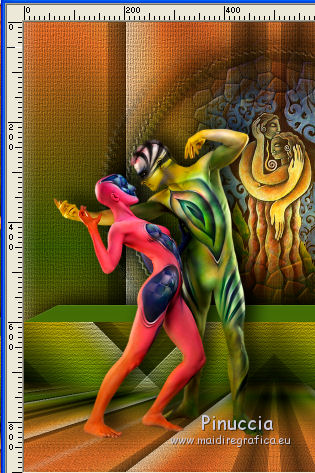
Go back to your work and go to Edit>Paste as new layer.
Effects>3D Effects>Drop Shadow, same settings.
Place  the tube on the left, the tube on the left,
not too close to the edges
36. Open the text ersTexto 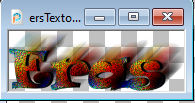
Edit>Copy.
Go back to yhour work and go to Edit>Paste as new layer.
Move  the tube to the right, over the "wall". the tube to the right, over the "wall".
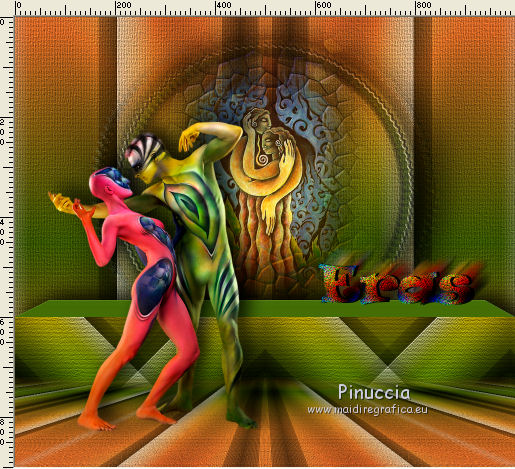
37. Layers>Merge>Merge visible.
38. Effects>Plugins>AAA Frames - Foto Frame.
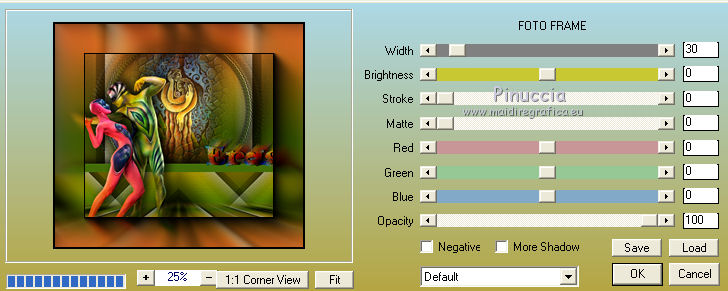
39. Image>Resize, to 92% (optional), resize all layers checked.
40. Sign your work and save as jpg.
The tube of this version is by Luz Cristina
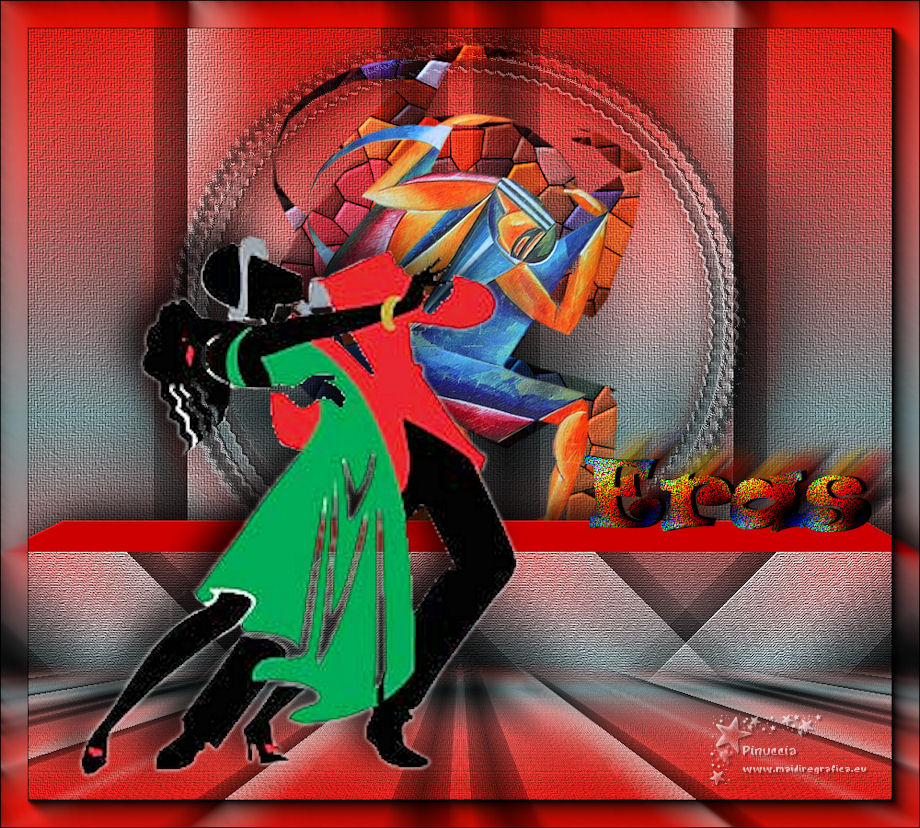
 Vos versioni here Vos versioni here

If you have problems or doubts, or you find a not worked link,
or only for tell me that you enjoyed this tutorial, write to me.
25 June 2025
|

