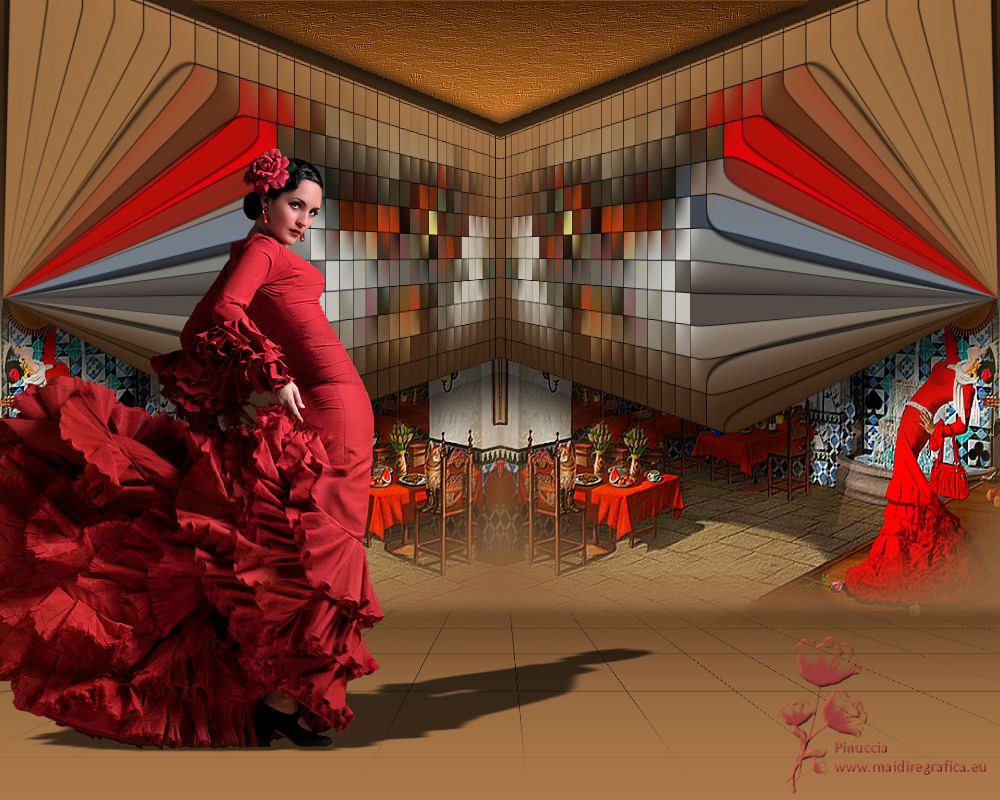
|
TOP ESPANA


Thanks Luz Cristina for your invitation to translate your tutorials into english

This tutorial, created with PSP9, was translated with PspX9, but it can also be made using other versions of PSP.
Since version PSP X4, Image>Mirror was replaced with Image>Flip Horizontal,
and Image>Flip with Image>Flip Vertical, there are some variables.
In versions X5 and X6, the functions have been improved by making available the Objects menu.
In the latest version X7 command Image>Mirror and Image>Flip returned, but with new differences.
See my schedule here
 French Translation here French Translation here
 Your versions here Your versions here

For this tutorial, you will need:

For the tubes thanks Luz Cristina and Tocha.
(The links of the tubemakers here).

consult, if necessary, my filter section here
Filters Unlimited 2.0 ici
Toadies - Plain Mosaic Blur, Ommadawn ici
FM Tile Tools - Saturation Emboss ici
Andromeda - Perspective ici
Eye Candy 3.1 - Perspective Shadow ici
Mura's Meister - Perspective Tiling ici
Filters Toadies can be used alone or imported into Filters Unlimited.
(How do, you see here)
If a plugin supplied appears with this icon  it must necessarily be imported into Unlimited it must necessarily be imported into Unlimited

You can change Blend Modes according to your colors.
In the newest versions of PSP, you don't find the foreground/background gradient (Corel_06_029).
You can use the gradients of the older versions.
The Gradient of CorelX here

Open the mask in PSP and minimize it with the rest of the material.
1. Open a new transparent image 1000 x 400 pixels.
2. Set your foreground color to #ab7849,
and your background color to #3f2815.
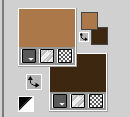
Set your foreground color to a Foreground/Background Gradient, style Linear
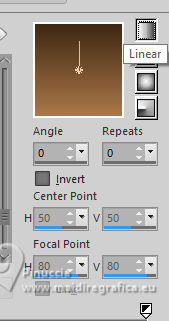
Flood Fill  the transparent image with your Gradient. the transparent image with your Gradient.
3. Selections>Select All.
Open the misted españa-LuzC 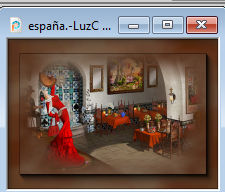
Edit>Copy.
Go back to your work and go to Edit>Paste into Selection.
Selections>Select None.
4. Effects>Plugins>Toadies - Plain mosaic blur.
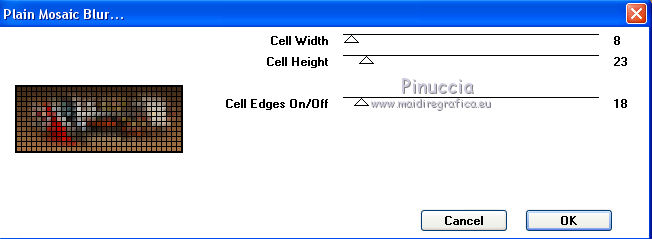
5. Image>Canvas Size - 1000 X 800 pixels.
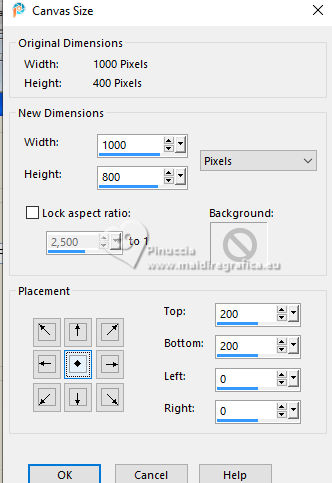
6. Effects>Plugins>Andromeda - Perspective
Click on Presets
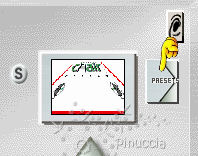
Set the settings and click on the sign at the bottom right to apply
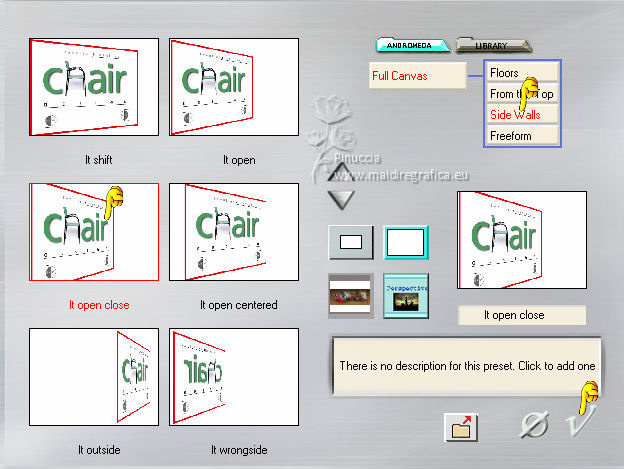
Again click on the sign at the bottom right to close.
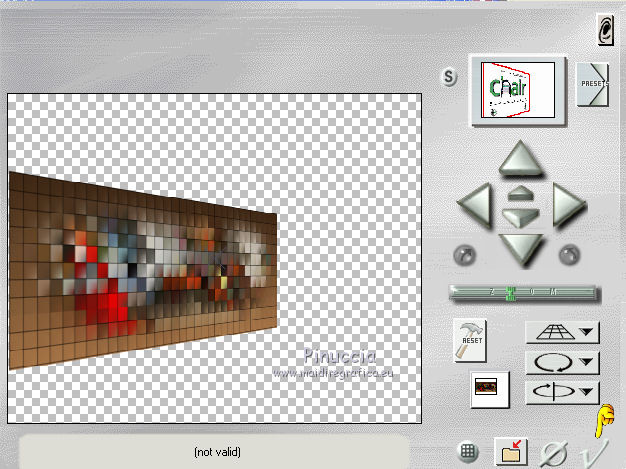
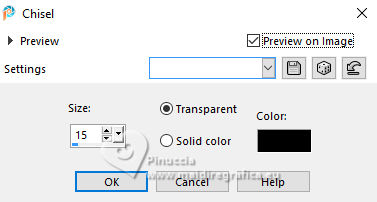
7. Effects>3D Effects>Chisel
8. Repeat the Effects Andromeda Perspective, same settings
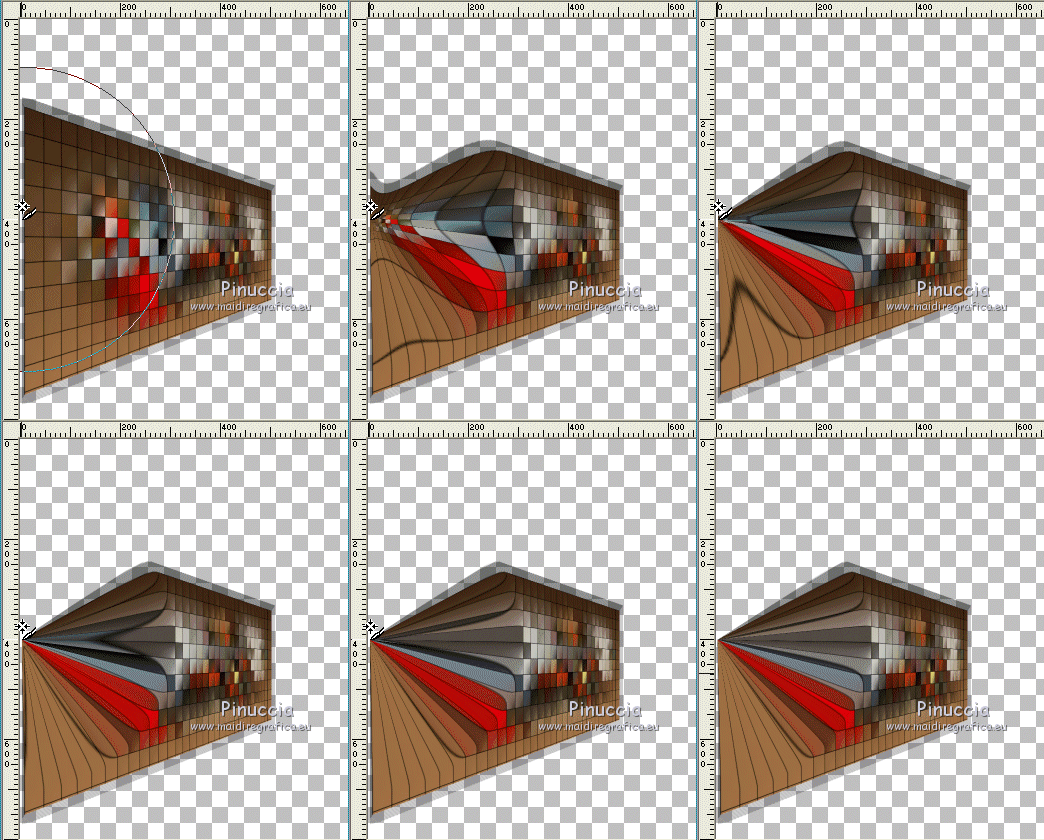
9. Activate your Warp Brush  with these settings with these settings

Place the mouse at 400 pixels
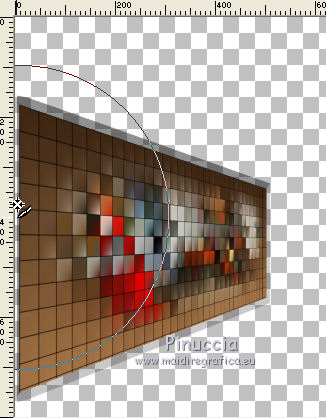
Hold down the left mouse button, without moving it,
until you get this
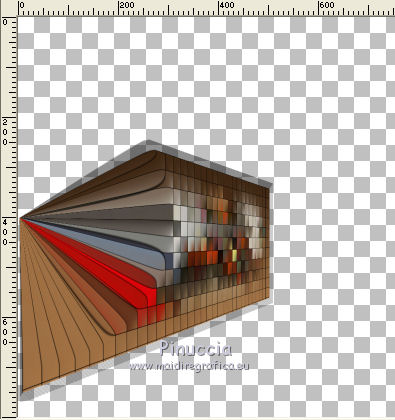 
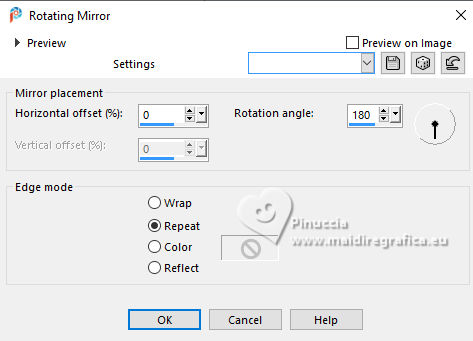
10. Effects>Reflection Effects>Rotating Mirror.
11. Image>Mirror>Mirror Vertical (Image>Flip).
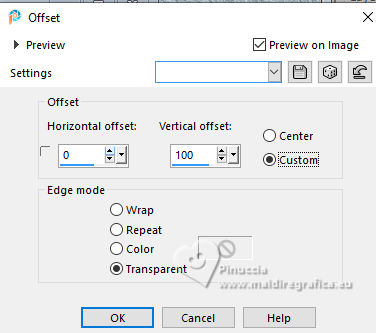
12. Effects>Image Effects>Offset.
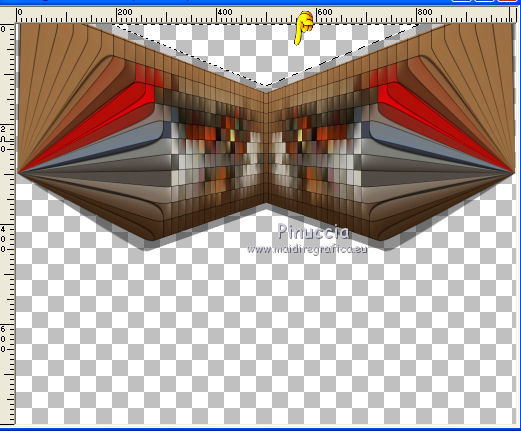
13. Activate your Magic Wand Tool 
and click in the top transparent part to select it.
Layers>New Raster Layer.
Layers>Arrange>Move Down.
Flood Fill  the layer with your Gradient. the layer with your Gradient.
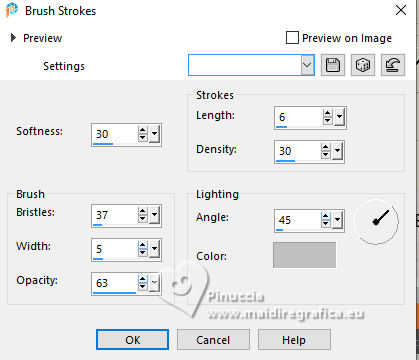
14. Effects>Art Media Effects>Brush Strokes, color #c0c0c0.
15. Effects>Plugins>FM Tile Tools - Saturation Emboss, default settings.

Selections>Select None.
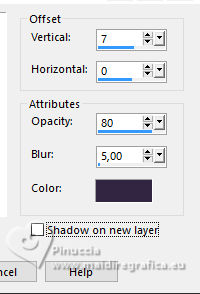
16. Effects>3D Effects>Drop Shadow.
17. Layers>New Raster Layer.
Layers>Arrange>Send to Bottom.
Flood Fill  the layer with your Gradient. the layer with your Gradient.
18. Activate the layer Raster 1.
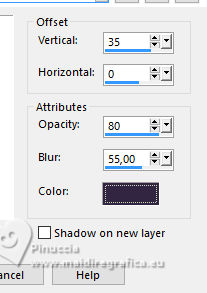
Effects>3D Effects>Drop Shadow.
19. Activate your bottom layer, Raster 3.
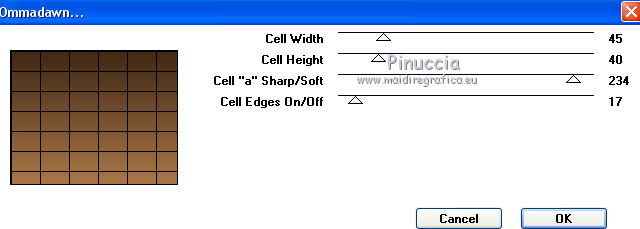
Effects>Plugins>Toadies - Ommadawn.
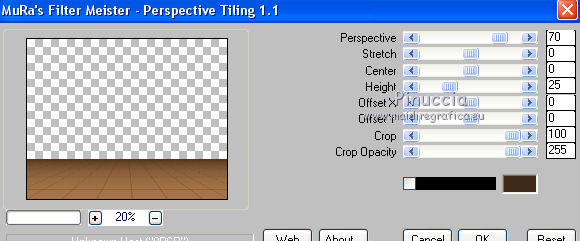
20. Effects>Plugins>Mura's Meister - Perspective Tiling.
21. Activate your Magic Wand Tool 

and click in the transparent part to select it.
Click 5 times CANC on the keyboard 
Selections>Select None.
Layers>New Mask layer>From image
Open the menu under the source window and you'll see all the files open.
Select the mask mask-Fade-suave.
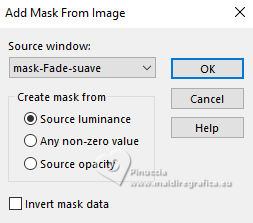
Layers>Duplicate - 2 times to apply the mask 2 times.
22. Layers>New Raster Layer.
Layers>Arrange>Send to Bottom.
Flood Fill  the layer with your Gradient. the layer with your Gradient.
23. Activate your top layer.
Activate again the misted and go to Edit>Copy.
Go back to your work and go to Edit>Paste as new layer.
24. Effects>Image Effects>Offset.

25. Effects>Reflection Effects>Rotating Mirror.

26. Effects>Plugins>FM Tile Tools - Saturation Emboss, default settings.

Layers>Arrange>Move Down.
27. Activate your top layer.
Open the tube Tocha23852 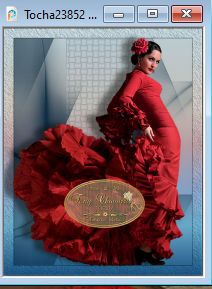
Edit>Copy.
Go back to your work and go to Edit>Paste as new layer.
Move  the tube to the left side. the tube to the left side.
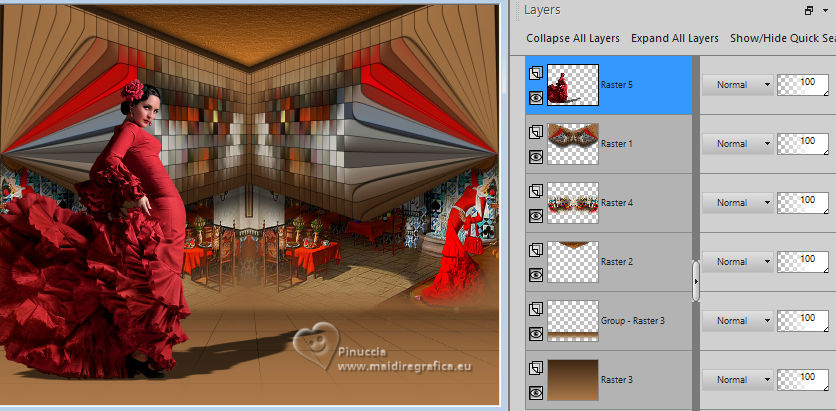
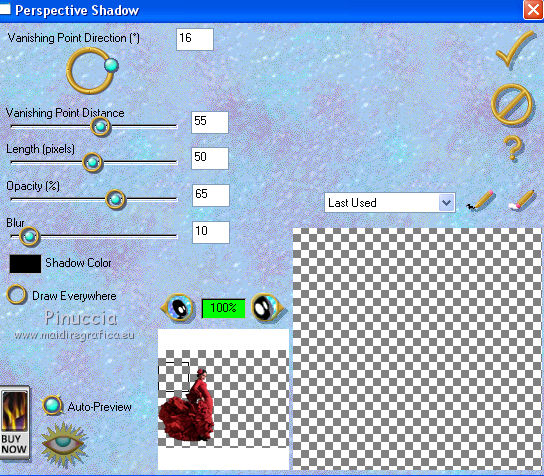
28.- Effects>Plugins>Eye Candy 3.1. - Perspective Shadow.
29. Sign your work on a new layer.
Layers>Merge>Merge All and save as jpg.
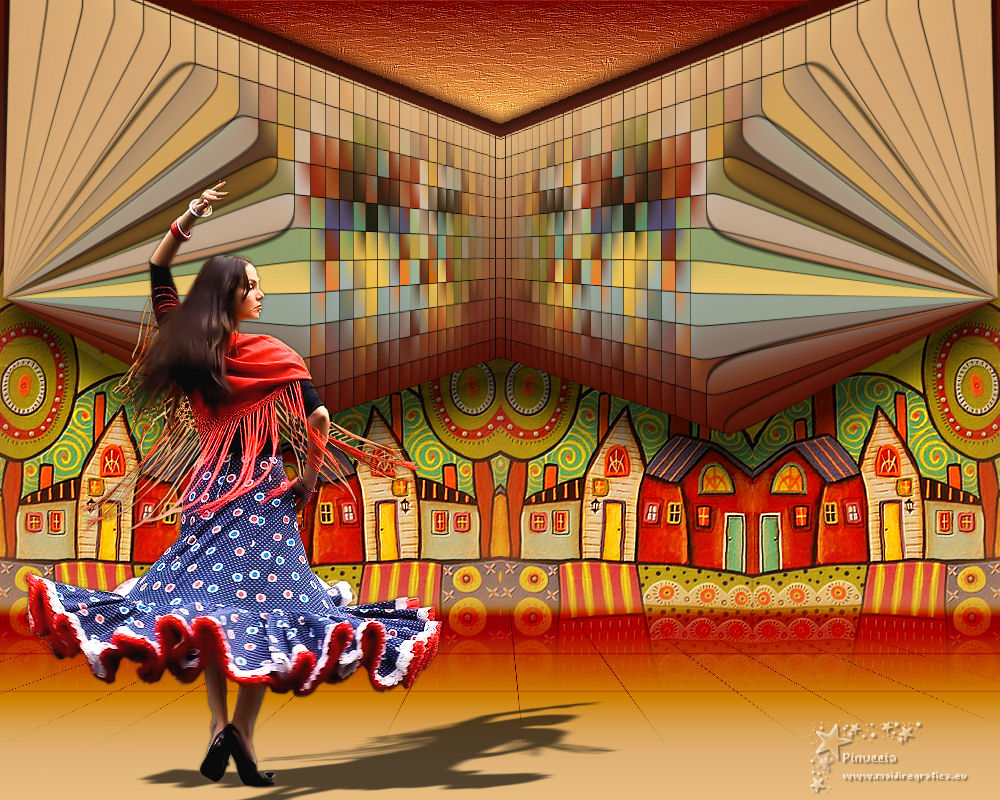
For the tube of this version thanks LCT
 Vos versioni here Vos versioni here

If you have problems or doubts, or you find a not worked link,
or only for tell me that you enjoyed this tutorial, write to me.
19 June 2025
|

