|
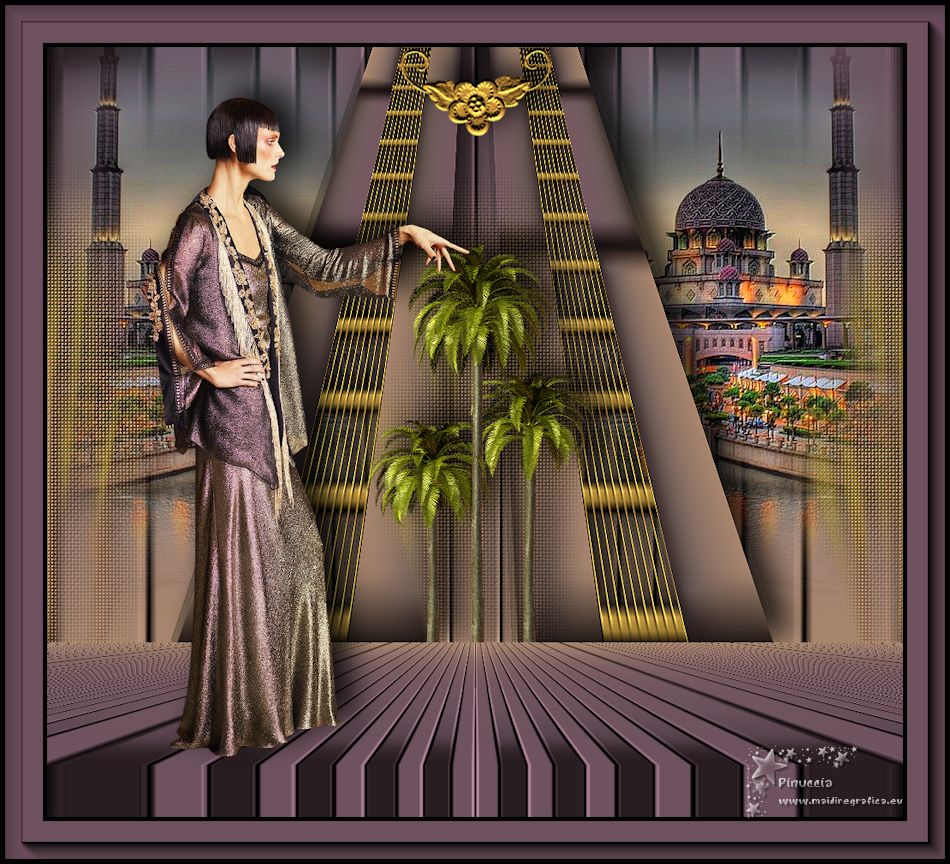
TOP ESTAMBUL


Thanks Luz Cristina for your invitation to translate your tutorials into english

This tutorial, created with PSP2022, was translated with PspX7, but it can also be made using other versions of PSP.
Since version PSP X4, Image>Mirror was replaced with Image>Flip Horizontal,
and Image>Flip with Image>Flip Vertical, there are some variables.
In versions X5 and X6, the functions have been improved by making available the Objects menu.
In the latest version X7 command Image>Mirror and Image>Flip returned, but with new differences.
See my schedule here
 French Translation here French Translation here
 Your versions here Your versions here

For this tutorial, you will need:

Tubes by Luz Cristina .
(The links of the tubemakers here).

consult, if necessary, my filter section here
Filters Unlimited 2.0 here
Mehdi 2 - Flat Median here
Mura's Meister - Perspective Tiling here
Simple - Left Right Wrap (bonus) here
FM Tile Tools - Saturation Emboss here
Neology - Digital Weaver here
VM Toolbox - Grid here
AAA Frames - Foto Frame here
Filters Simple, Neology and VM Toolbox can be used alone or imported into Filters Unlimited.
(How do, you see here)
If a plugin supplied appears with this icon  it must necessarily be imported into Unlimited it must necessarily be imported into Unlimited

You can change Blend Modes according to your colors.
In the newest versions of PSP, you don't find the foreground/background gradient (Corel_06_029).
You can use the gradients of the older versions.
The Gradient of CorelX here

Copy the preset in the Presets Folder.
Copy the texture in the Texture Folder.
1. Open a new transparent image 1000 x 900 pixels.
Set your foreground color to #b89376
and your background color to #6d515f.
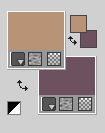
Set your foreground color to a Foreground/Background Gradient, style Linear.

2. Activate you Selection Tool 
(no matter the type of selection, because with the custom selection your always get a rectangle)
clic on the Custom Selection 
and set the following settings.

Flood Fill  the selection with your Gradient. the selection with your Gradient.
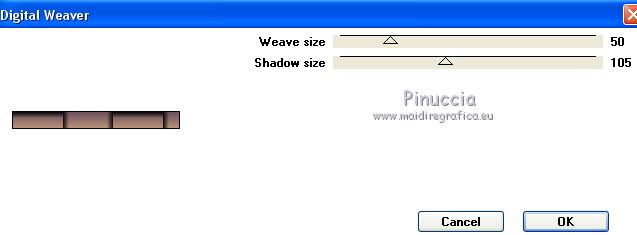
3. Effects>Plugins>Neology - Digital Weaver, default settings.
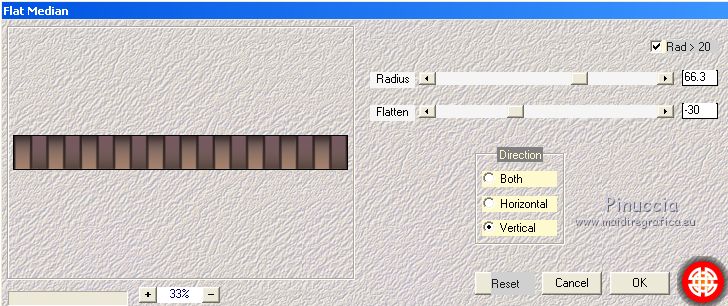
4. Effects>Plugins>Mehdi 2 - Flat Median.
5. Selections>Select None.
Edit>Copy.
6. Custom Selection 

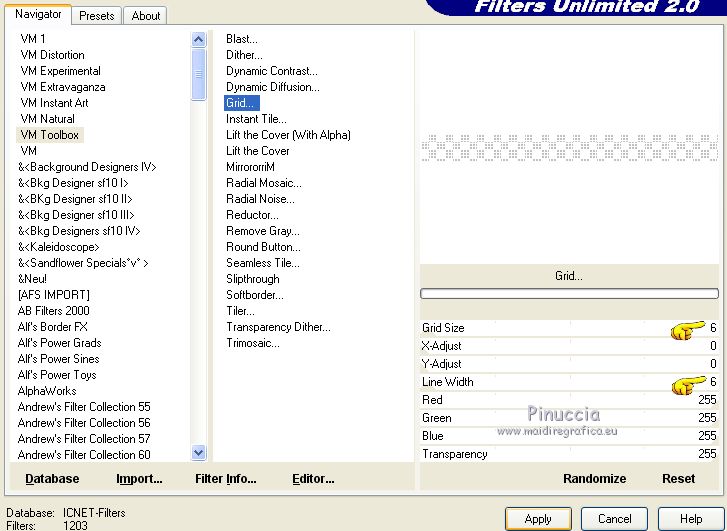
7. Effects>Plugins>Filters Unlimited 2.0 - VM Toolbox - Grid.
Result
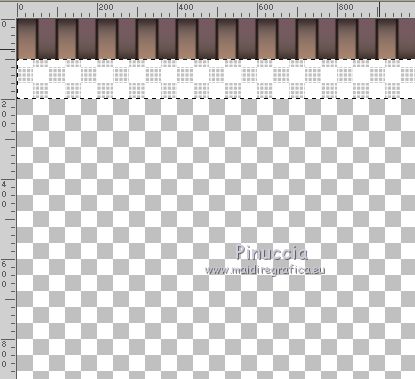
If you use the effect alone, you may get a different result.
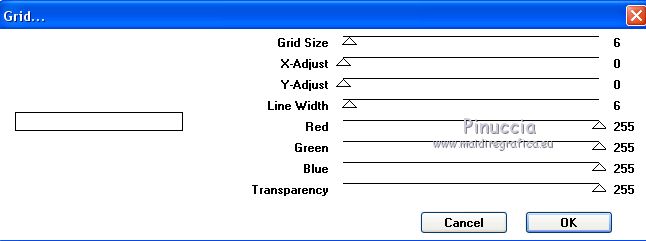
Resultat
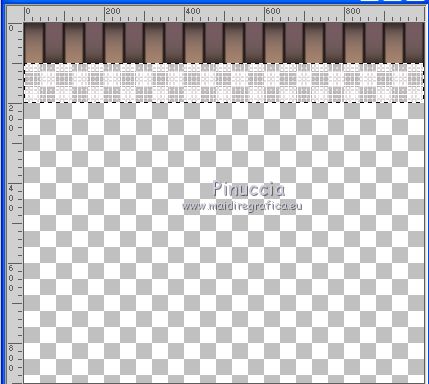
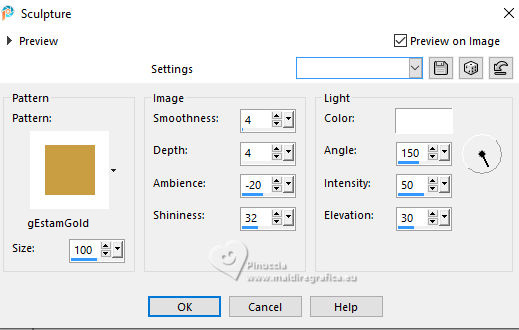
8. Effects>Texture Effects>Sculpture - select the texture gEstamGold.
Result
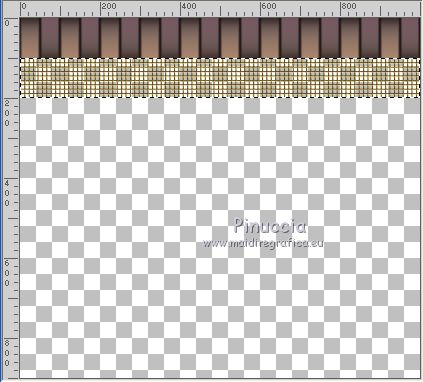
Selections>Select None.
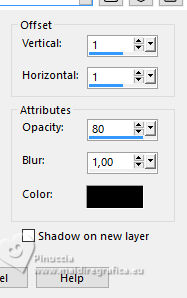
9. Effects>3D Effects>Drop Shadow.
10. Custom Selection 

11. Edit>Paste into Selection (image of step 5).

Selections>Select None.
12. Image>Free Rotate - 90 degrees to left.

13. Effects>Reflection Effects>Rotating Mirror.

14. Effects>Plugins>Simple - Left Right Wrap.
Result
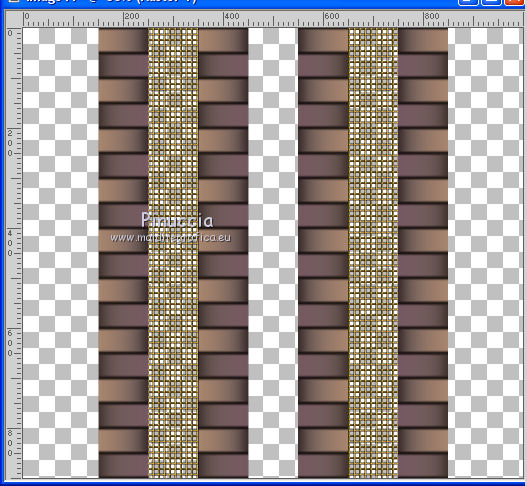
15. Effects>Geometric Effects>Perspective vertical.

16. Adjust>Sharpness>Sharpen.
17. Effects>3D Effects>Chisel.
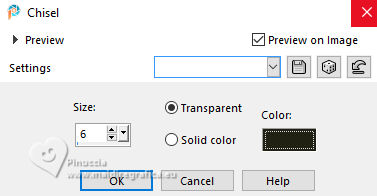
18. Effects>3D Effects>Drop Shadow.

19. Layers>New Raster Layer.
Layers>Arrange>Send to Bottom.
Flood Fill  the layer with your Gradient. the layer with your Gradient.
20. Effects>Plugins>Neology - Digital Weaver.
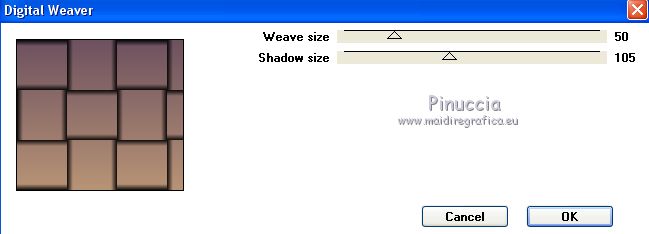
Effects>Plugins>Mehdi 2 - Flat Median.
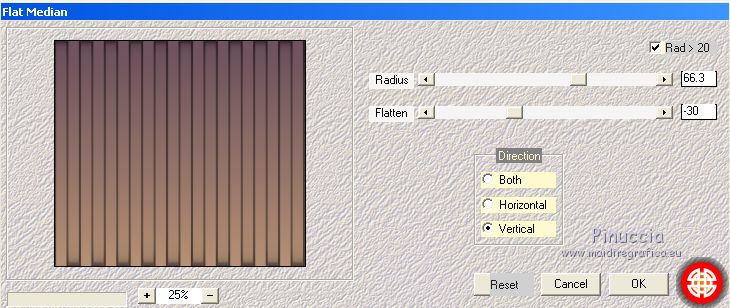
21. Effects>Distortion Effects>Pinch.

22. Effects>User Defined Filter - select the preset Emboss 3 and ok.

23. Layers>Duplicate.
Image>Mirror>Mirror Vertical (Image>Flip).
24. Effects>Plugins>Mura's Meister - Perspective Tiling.
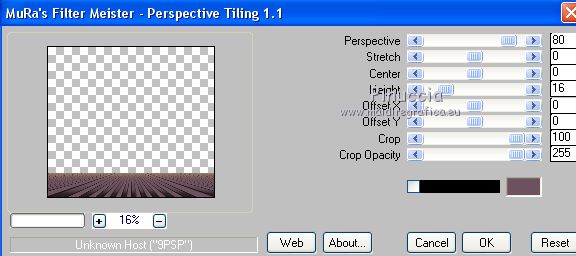
25. Effects>Image Effects>Offset.

Effects>Reflection Effects>Rotating Mirror, same settings.
26. Activate the layer Raster 1.

Effects>Image Effects>Offset.
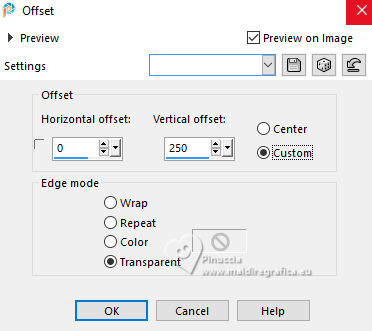
Layers>Arrange>Move Down.

27. Is you want, to see better, you can close this layer for a moment.
(don't forget to re-open it)
Open the misted 5472-luzcristina 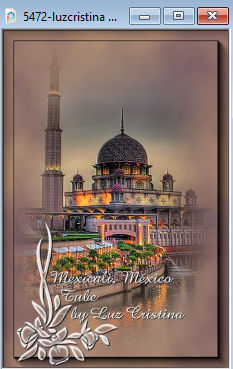
Edit>Copy.
Go back to your work and go to Edit>Paste as new layer.
Move  the tube to the left side. the tube to the left side.
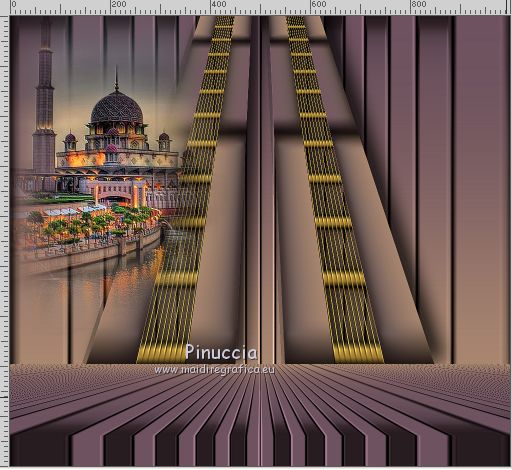
Layers>Duplicate.
Image>Mirror>Mirror horizontal.
Layer>Merge>Merge Down.
28. Layers>Duplicate (for better sharpness).
29. Layers>Merge>Merge Down.
Layers>Arrange>Move Down.

30. Open the tube R11Palms 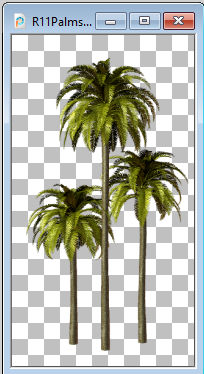
Edit>Copy.
Go back to your work and go to Edit>Paste as new layer.
Layers>Arrange>Move Up.
Place  correctly the tube. correctly the tube.

31. Effects>3D Effects>Drop Shadow, same settings.
32. Layers>Duplicate.
33. Adjust>Blur>Radial Blur.

34. Effects>Texture Effects>Weave
weave color: background color,
gap color: foreground color

35. Layers>Arrange>Move Down.
36. Effects>Image Effects>Seamless Tiling.

37. Effects>Plugins>FM Tile Tools - Saturation Emboss.

38. Activate your top layer.
Open the tube gEstamcorner 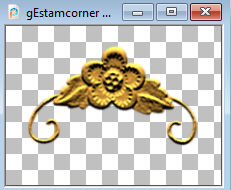
Edit>Copy.
Go back to your work and go to Edit>Paste as new layer.
Image>Mirror>Mirror Vertical (Image>Flip).
Move  the tube up, in the center. the tube up, in the center.
Effects>3D Effects>Drop Shadow, same settings.
39. Open your woman's tube 5470-luzcristina 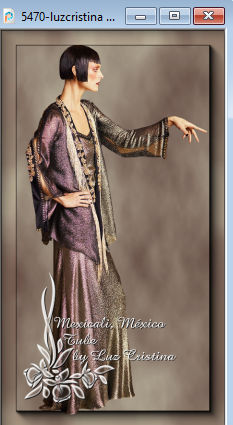
Edit>Copy.
Go back to your work and go to Edit>Paste as new layer.
Move  the tube to the left side. the tube to the left side.
Effects>3D Effects>Drop Shadow, same settings.
40. Image>Add Borders, 5 pixels, symmetric, color black.
Image>Add borders, 45 pixels, symétrique, color #6d515f.
41. Effects>Plugins>AAA Frames - Foto Frame.

Image>Add Borders, 5 pixels, symmetric, color black.
Image>Resize, to 85%, resize all layers checked.
Sign your work and save as jpg.
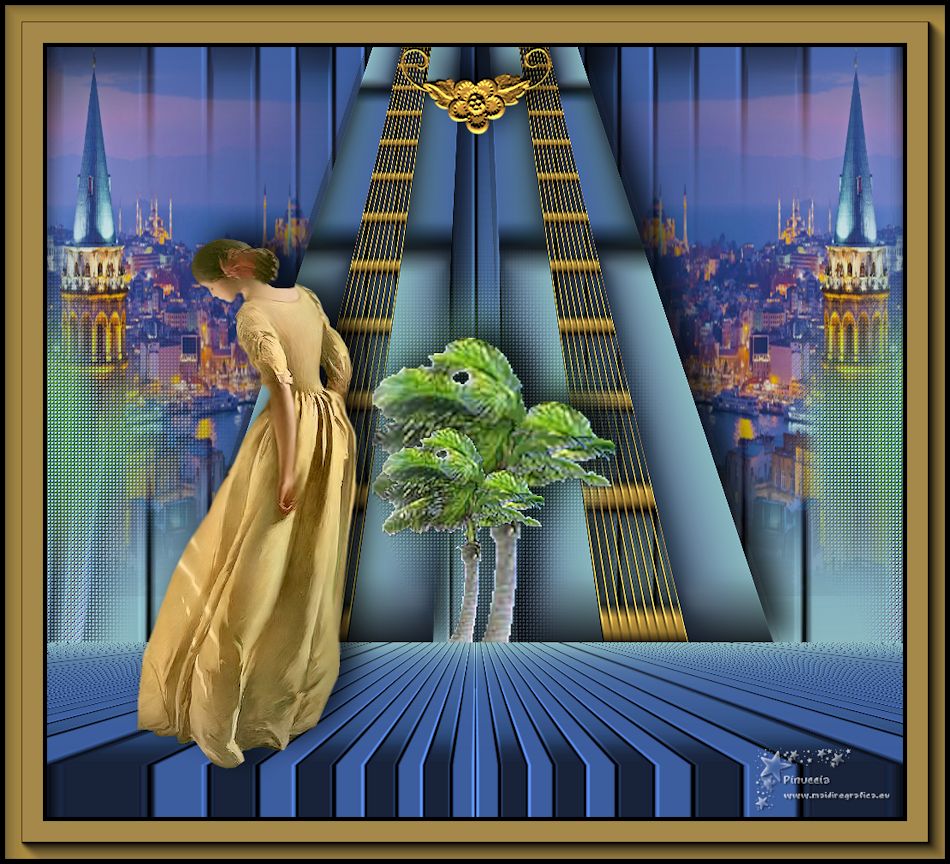
Version with tube by Luz Cristina (the landscape is mine)


If you have problems or doubts, or you find a not worked link,
or only for tell me that you enjoyed this tutorial, write to me.
20 July 2024
|

