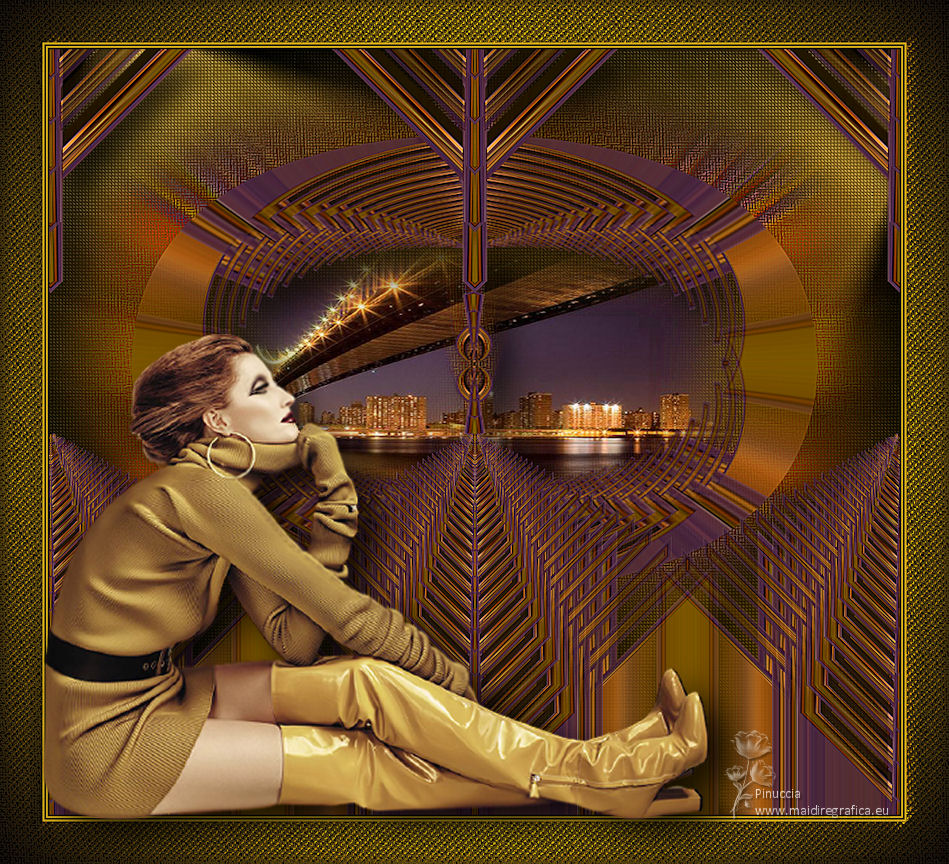
|
TOP FELICIDAD


Thanks Luz Cristina for your invitation to translate your tutorials into english

This tutorial, created with PSP9, was translated with PspX9, but it can also be made using other versions of PSP.
Since version PSP X4, Image>Mirror was replaced with Image>Flip Horizontal,
and Image>Flip with Image>Flip Vertical, there are some variables.
In versions X5 and X6, the functions have been improved by making available the Objects menu.
In the latest version X7 command Image>Mirror and Image>Flip returned, but with new differences.
See my schedule here
 French Translation here French Translation here
 Your versions here Your versions here

For this tutorial, you will need:

For the tubes thanks Luz Cristina.
(The links of the tubemakers here).

consult, if necessary, my filter section here
Filters Unlimited 2.0 here
Alien Skin Eye Candy 5 Impact - Extrude ici
Mura's Meister - Tone ici
FM Tile Tools - Saturation Emboss, Blend Emboss ici
Simple - Top Bottom Wrap (bonus) ici
Artistiques - Pastels ici
Filters Simple can be used alone or imported into Filters Unlimited.
(How do, you see here)
If a plugin supplied appears with this icon  it must necessarily be imported into Unlimited it must necessarily be imported into Unlimited

You can change Blend Modes according to your colors.
In the newest versions of PSP, you don't find the foreground/background gradient (Corel_06_029).
You can use the gradients of the older versions.
The Gradient of CorelX here

Copy the texture in the Textures Folder.
1. Open a new transparent image 1000 x 900 pixels.
2. Set your foreground color to #e0b61b,
and your background color to #130f0c.
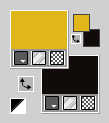
Set your foreground color to a Foreground/Background Gradient, style Sunburst.
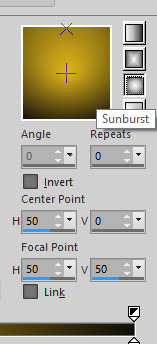
Flood Fill  the transparent image with your gradient. the transparent image with your gradient.
3. Selections>Select All.
Open the misted 190-luzcristina 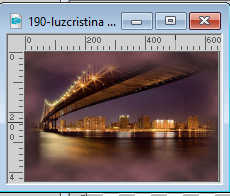
Edit>Copy.
Go back to your work and go to Edit>Paste into Selection.
Selections>Select None.
4. Effects>Image Effects>Seamless Tiling, default settings.

5. Adjust>Blur>Gaussian Blur - radius 15.

6. Effects>Geometric Effects>Perspective Horizontal.
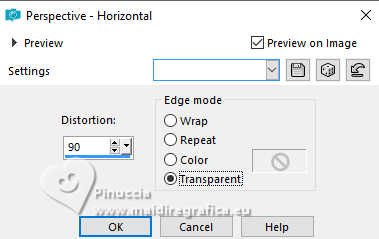
7. Image>Mirror>Mirror Horizontal.
Repeat Effects>Geometric Effects>Perspective Horizontal, same settings.
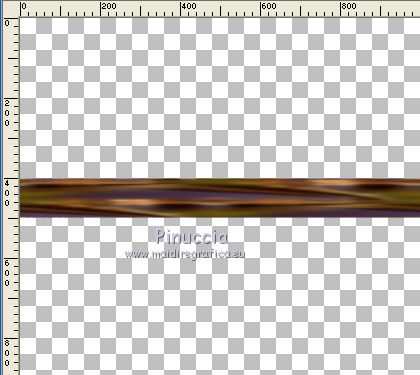
8. Effects>Distortion Effects>Pinch.

9. Effects>Plugins>Alien Skin Eye Candy 5 Impact - Extrude.
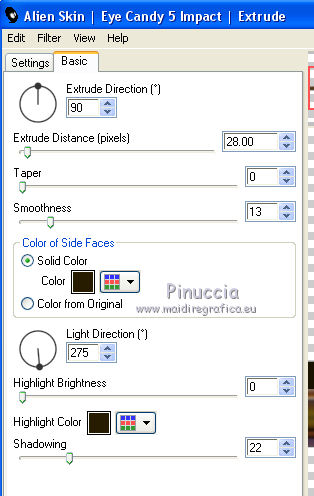
10. Image>Resize, to 80%, resize all layers not checked.
11. Effects>Reflection Effects>Kaleidoscope.
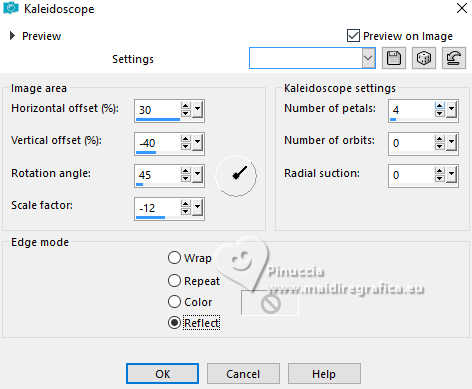
12. Layers>Duplicate.
Repeat Effects>Reflection Effects>Kaleidoscope, same settings.
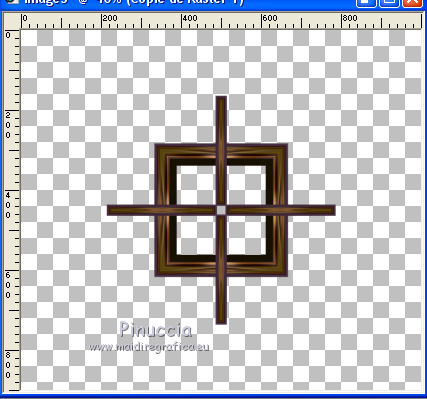
13. Layers>Merge>Merge Down.
14. Effects>Plugins>FM Tile Tools - Saturation Emboss, default settings.

15. Effects>Reflection Effects>Feedback.
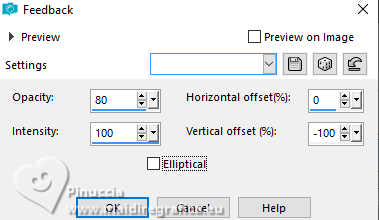
16. Effects>Plugins>Simple - Top Bottom Wrap.
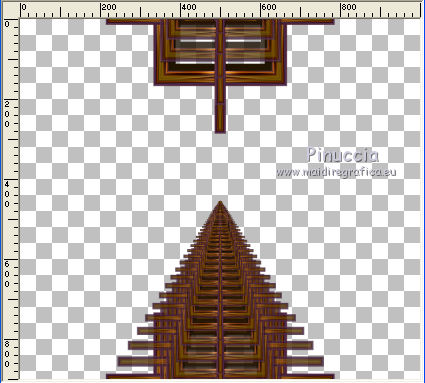
17. Effects>Geometric Effects>Skew.
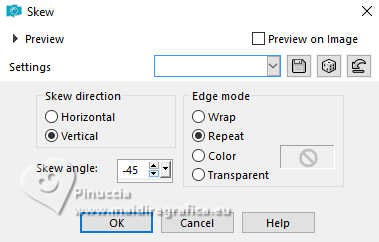
18. Effects>Reflection Effects>Rotating Mirror.

19. Effects>Image Effects>Seamless Tiling.

20. Layers>Duplicate.
21. Effects>Distortion Effects>Polar Coordinates.
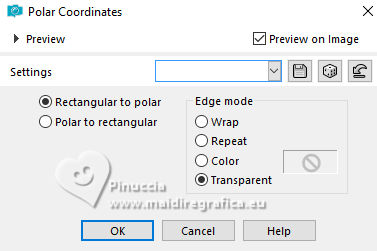
22. Layers>Arrange>Move Down.
Image>Resize, to 60%, resize all layers not checked.
23. Effects>Image Effects>Offset.
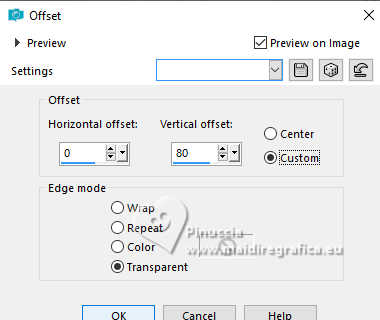
24. Effects>Geometric Effects>Cylinder vertical.
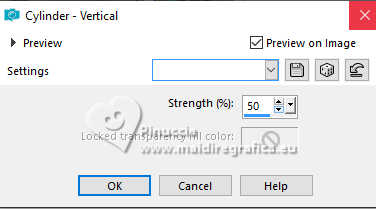
25. Layers>Duplicate.
Layers>Arrange>Move Down.
27. Adjust>Blur>Radial Blur.
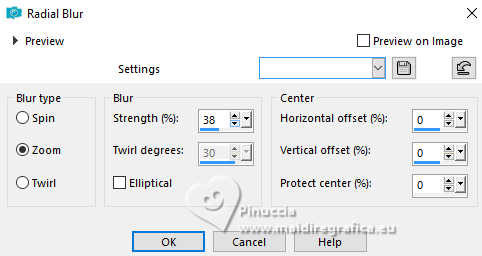
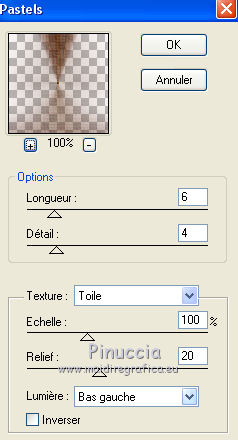
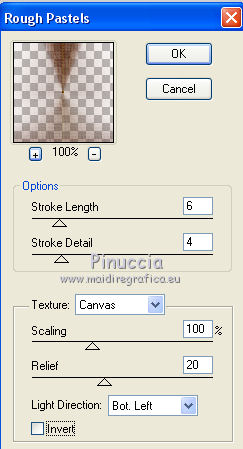
28. Effects>Plugins>Artistiques - Pastels
if you use the english version of this filter:
Artistics>Rough Pastel
29. Effects>Plugins>FM Tile Tools - Saturation Emboss, default settings.

Effects>Plugins>FM Tile Tools - Blend Emboss, default settings.

30. Image>Resize, to 110%, resize all layers not checked.
31. Layers>Merge>Merge visible.
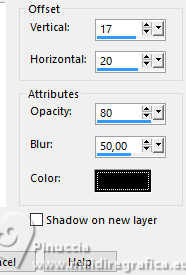
32. Effects>3D Effects>Drop Shadow.
33. Adjust>Sharpness>Sharpen More.
34. Layers>New Raster Layer.
Layers>Arrange>Move Down.
Flood Fill  the layer with your gradient. the layer with your gradient.
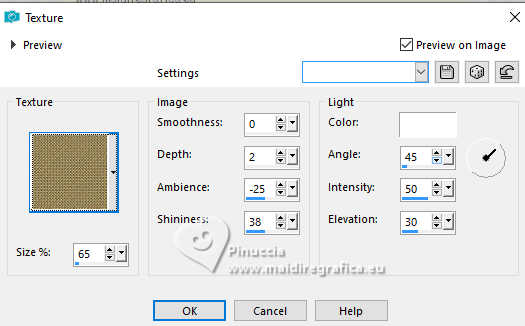
35. Effects>Texture Effects>Texture - select the texture goldfill
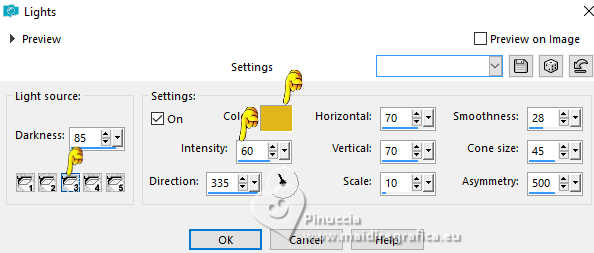
36. Effects>Illumination Effects>Lights
select the default settings and after activate the projector 3
and change the color withyour foreground color and set Intensity to 60
37. Adjust>Brightness and Contrast>Clarify
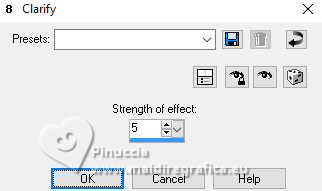
Edit>Repeat Clarify.
In newer versions of PSP, you can't find this effect.
You can use another effect from the Adjust menu, according to your work,
or skip this step.
In this case, I used Adjust>One Step Photo Fix
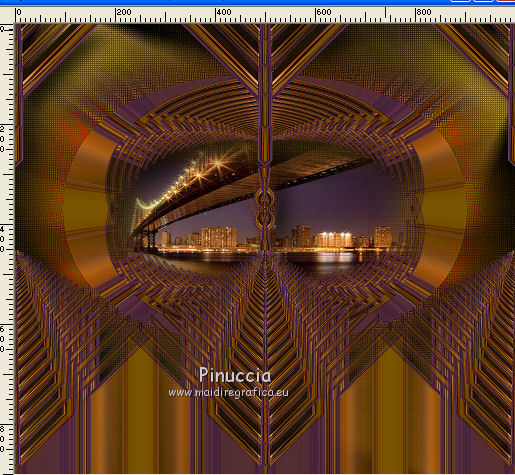
38. Edit>Paste as new layer (the misted is still in memory).
Place  correctly the tube correctly the tube
39. Image>Add Borders, 2 pixels, symmetric, dark color.
Image>Add Borders, 2 pixels, symmetric, light color.
Image>Add Borders, 2 pixels, symmetric, dark color.
Image>Add Borders, 2 pixels, symmetric, light color.
Image>Add Borders, 50 pixels, symmetric, dark color.
Activate your Magic Wand Tool 
and click in the last border to select it.
Flood Fill  the selection with your Gradient. the selection with your Gradient.
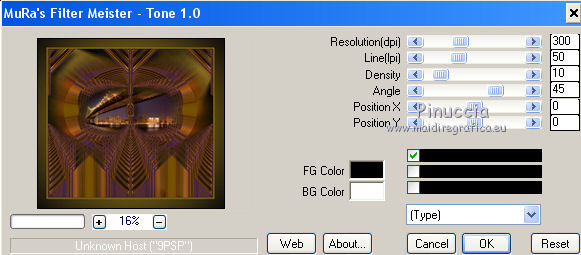
40. Effects>Plugins>Mura's Meister - Tone
41. Effects>Plugins>Artistiques - Pastels, same settings.
42. Adjust>Sharpness>Sharpen.
43. Selections>Select None.
Image>Resize, to 85%, resize all layers checked.
44. Open your woman's tube 6326-Luz Cristina 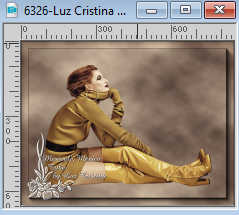
Edit>Copy.
Go back to your work and go to Edit>Paste as new layer.
Place  correctly the tube. correctly the tube.
Effects>3D Effects>Drop Shadow, at your choice.
45. Sign your work on a new layer.
Layers>Merge>Merge All and save as jpg.
Version with tube de Luz Cristina and my misted
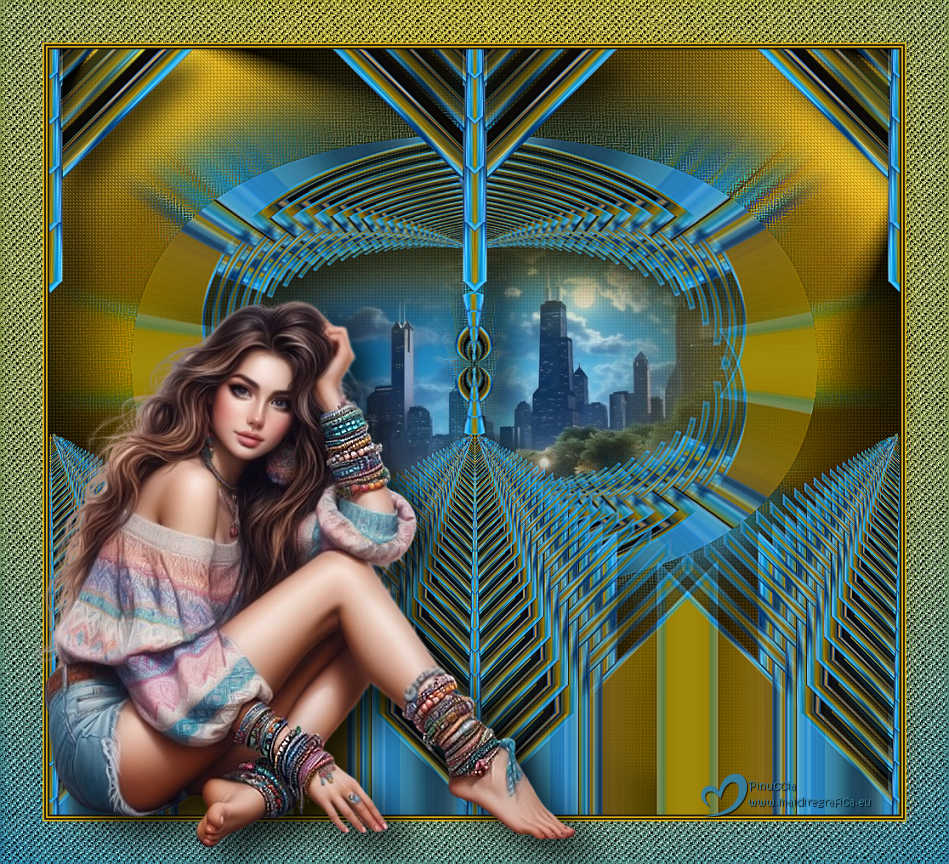
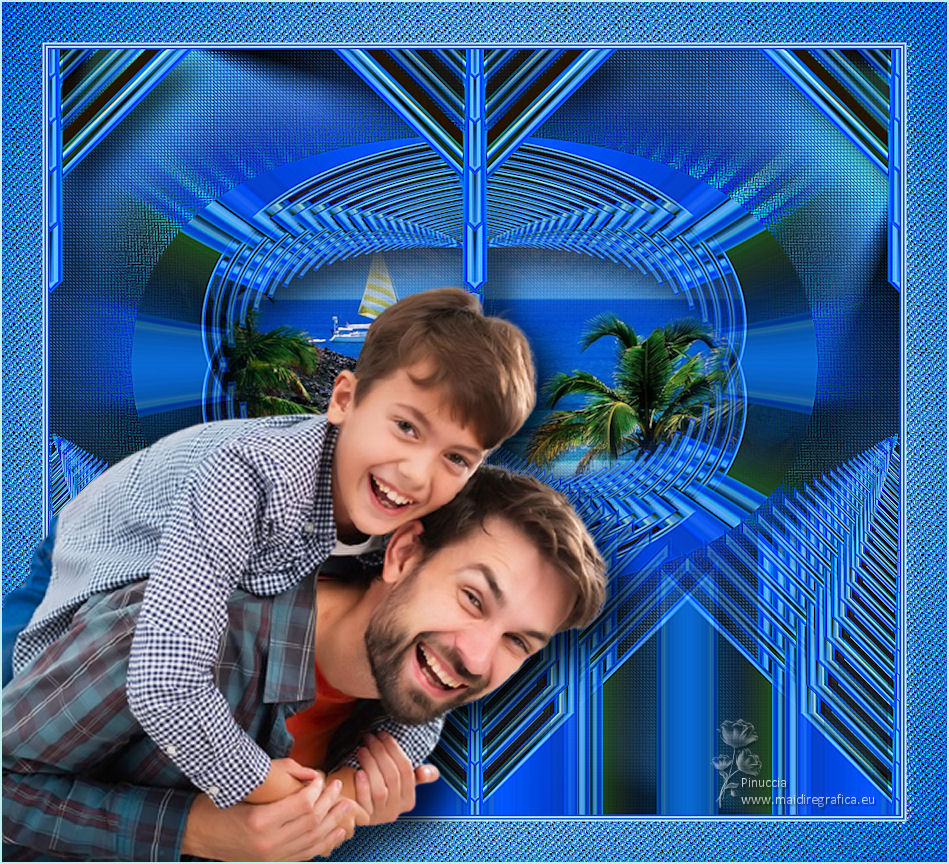
Version with tubes by Luz Cristina and Azalée

If you have problems or doubts, or you find a not worked link,
or only for tell me that you enjoyed this tutorial, write to me.
19 June 2025

|

