|
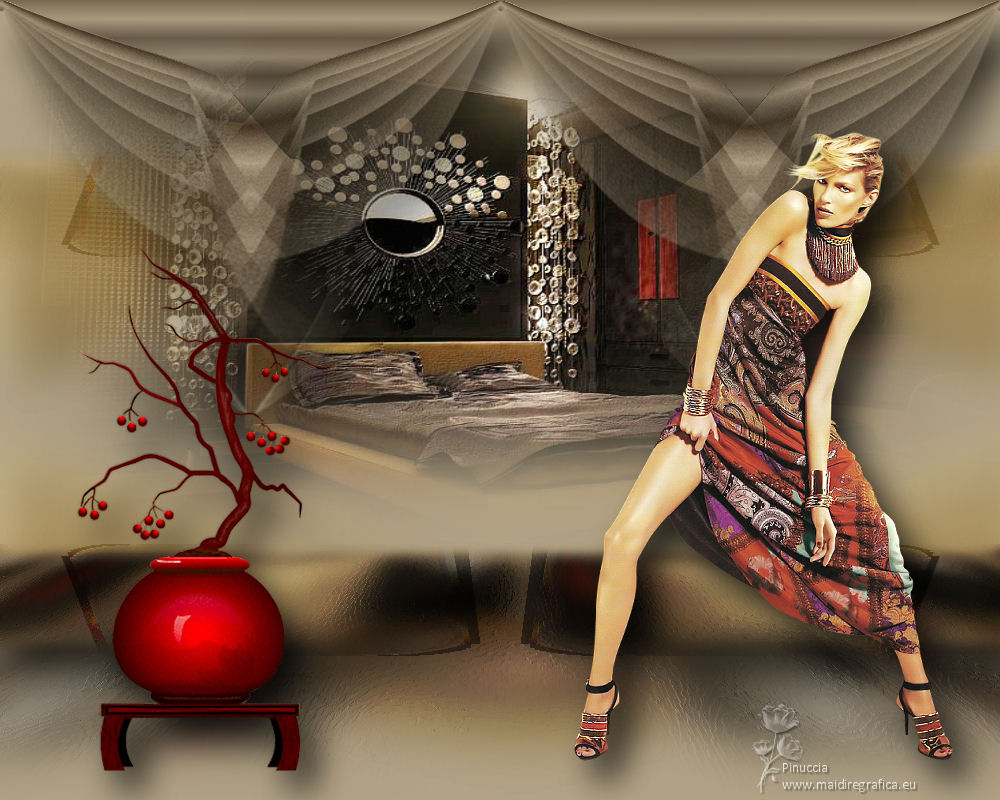
TOP INTIMIDAD


Thanks Luz Cristina for your invitation to translate your tutorials into english

This tutorial, created with PSP9, was translated with Psp2020, but it can also be made using other versions of PSP.
Since version PSP X4, Image>Mirror was replaced with Image>Flip Horizontal,
and Image>Flip with Image>Flip Vertical, there are some variables.
In versions X5 and X6, the functions have been improved by making available the Objects menu.
In the latest version X7 command Image>Mirror and Image>Flip returned, but with new differences.
See my schedule here
 French Translation here French Translation here
 Your versions here Your versions here

For this tutorial, you will need:

For the tubes thanks Luz Cristina, Tocha and Lori Rhae.
(The links of the tubemakers here).

consult, if necessary, my filter section here
Filters Unlimited 2.0 here
FM Tile Tools - Blend Emboss here
Mura's Meister - Copies here
Mura's Meister - Perspective Tiling here
Flaming pear - Flexify 2 here
Simple - 4Way Average here
Filters Simple can be used alone or imported into Filters Unlimited.
(How do, you see here)
If a plugin supplied appears with this icon  it must necessarily be imported into Unlimited it must necessarily be imported into Unlimited

You can change Blend Modes according to your colors.
In the newest versions of PSP, you don't find the foreground/background gradient (Corel_06_029).
You can use the gradients of the older versions.
The Gradient of CorelX here

Copy Formen1 in the Preset Shapes Folder.
Open the mask and minimize it with the rest of the material.
1. Open a new transparent image 1000 x 800 pixels.
2. Set your background color with the color black.
Activate your Preset Shape Tool 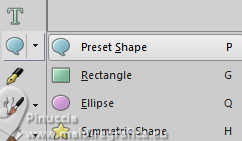
and select the shape Rand
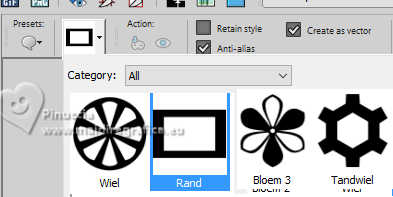
Draw the shape the shape from 200 pixels wide x 200 pixels high,
up to 800 pixels wide and 600 pixels high
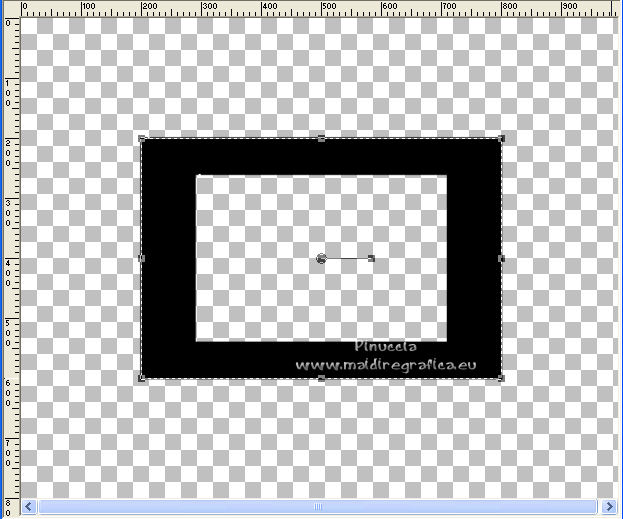
Layers>Convert in Raster Layer.
3. Set your foreground color to #41301e,
and your background color to #b2a386.
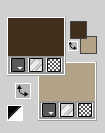
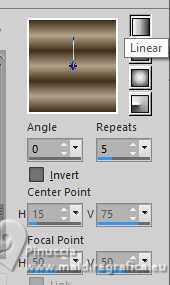
Set your foreground color to a Foreground/Background Gradient, style Linear.
3. Activate your Magic Wand Tool 
and click in the black border to select it.
Flood Fill  the selection with your Gradient. the selection with your Gradient.
Selections>Select None.
4. Adjust>Add/Remove Noise>Add Noise.
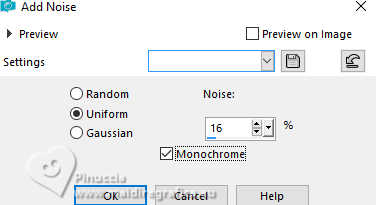
Effects>Plugins>FM Tile Tools - Blend Emboss, default settings.

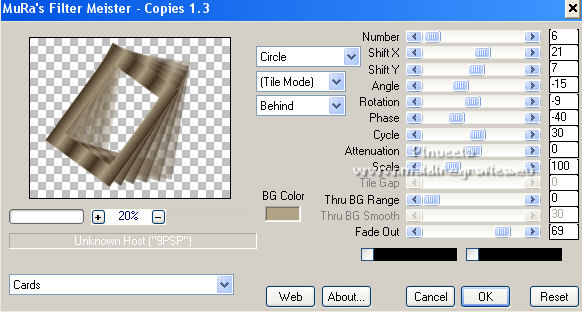
5. Effects>Plugins>Mura's Meister - Copies.
6. Effects>Plugins>Flaming Pear - Flexify 2.
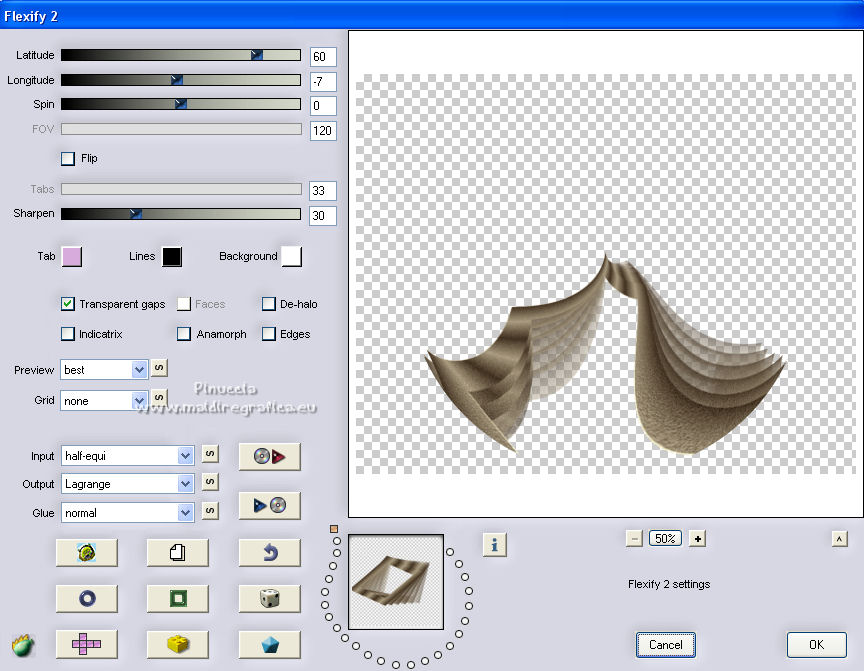
7. Effects>Reflection Effects>Rotating Mirror.

8. Effects>Image Effects>Offset.
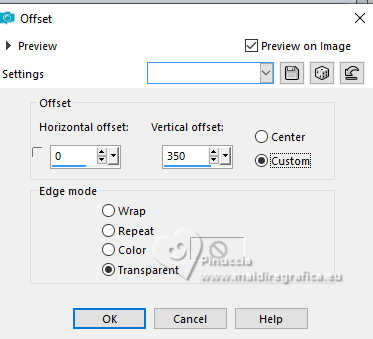
9. Effects>Geometric Effects>Spherize.
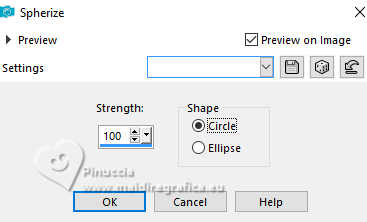
10. Effects>Image Effects>Seamless Tiling.

11. Activate your Magic Wand Tool 
and click in the top part to select it.
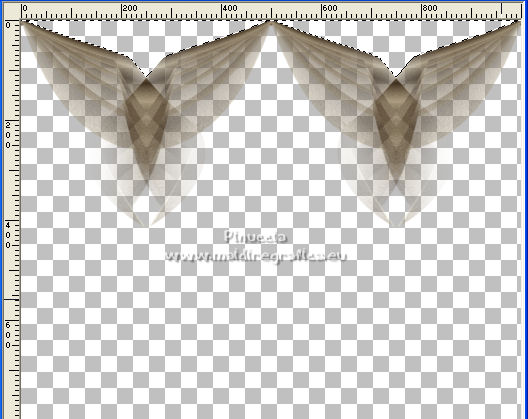
12. Layers>New Raster Layer.
Flood Fill  the layer with your Gradient. the layer with your Gradient.
Reduce the opacity of this layer to 50%.
Selections>Select None.
Layers>Merge>Merge Down.
13. Effects>3D Effects>Drop Shadow.
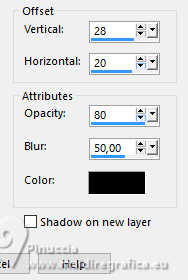
Close this layer.
14. Activate your bottom layer, still empty.
Flood Fill  the layer with your light background color. the layer with your light background color.
15. Selections>Select All.
Open the misted 3141-luzcristina 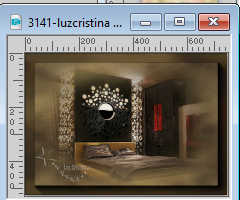
Edit>Copy.
Go back to your work and go to Edit>Paste into Selection.
Selections>Select None.
16. Effects>Image Effects>Seamless Tiling, default settings.

Adjust>Blur>Gaussian Blur - radius 30

17. Effects>Art Media Effects>Brush Strokes.
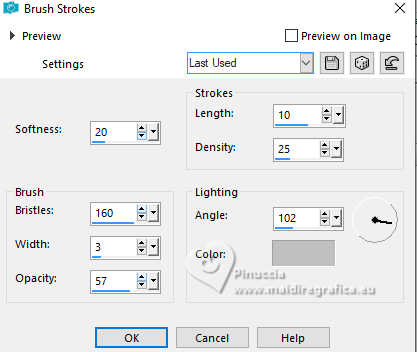
18. Effects>Plugins>Mura's Meister - Perspective Tiling.
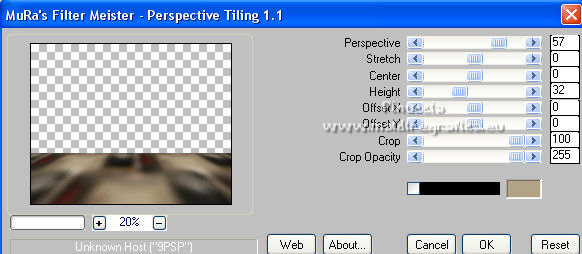
19. Layers>New Raster Layer.
Layers>Arrange>Send to Bottom.
Flood Fill  the layer with your light color. the layer with your light color.
20. Activate the layer Raster 1.
Select the top part with your Magic Wand Tool 
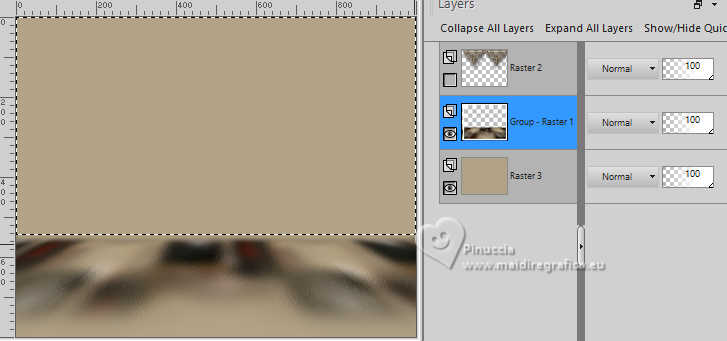
Layers>New Raster Layer
Edit>Paste into Selection (the misted is still in memory).
Selections>Select None.
Close this layer.
21. Activate again the layer Raster 1.
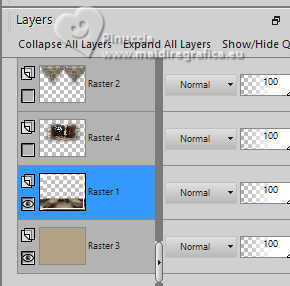
Select the transparent part with your Magic Wand Tool 
Selections>Modify>Feather - 25 pixels.
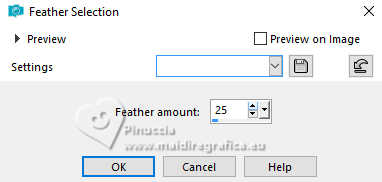
Press 6 times CANC on the keyboard 
Selections>Select None.
22. Layers>New Mask layer>From image
Open the menu under the source window and you'll see all the files open.
Select the mask fadesuave.
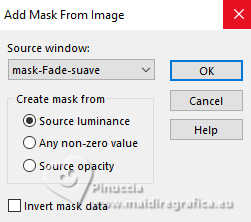
Layers>Duplicate, to apply the mask 2 times.
Layers>Merge>Merge Group.
23. Layers>Duplicate.
Effects>Image Effects>Seamless Tiling, default settings.

24. Effects>Plugins>Simple - 4 Way Average.
Effects>3D Effects>Drop Shadow.
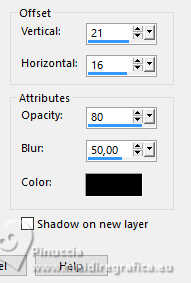
25. Change the Blend Mode of this layer to Overlay, or to your liking.
Layers>New Mask layer>From image
Open the menu under the source window
and select again the mask fadesuave.

Layers>Merge>Merge Group.
26. Open the closed layers and activate your top layer.
Open your woman's tube Toacha24339 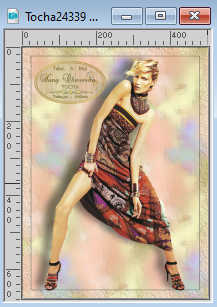
Edit>Copy.
Go back to your work and go to Edit>Paste as new layer.
Move  the tube to the right. the tube to the right.
Effects>3D Effects>Drop Shadow, at your choice
27. Open the tube Red Berry Bonsai_LR 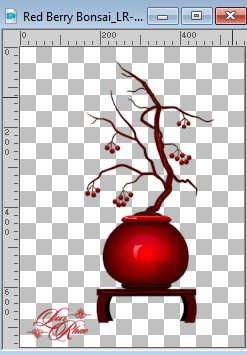
Edit>Copy.
Go back to your work and go to Edit>Paste as new layer.
Image>Resize, to 80%, resize all layers not checked.
Move  the tube to the left. the tube to the left.
Effects>3D Effects>Drop Shadow, at your choice.
28. Sign your work on a new layer.
Layers>Merge>Merge All and save as jpg.
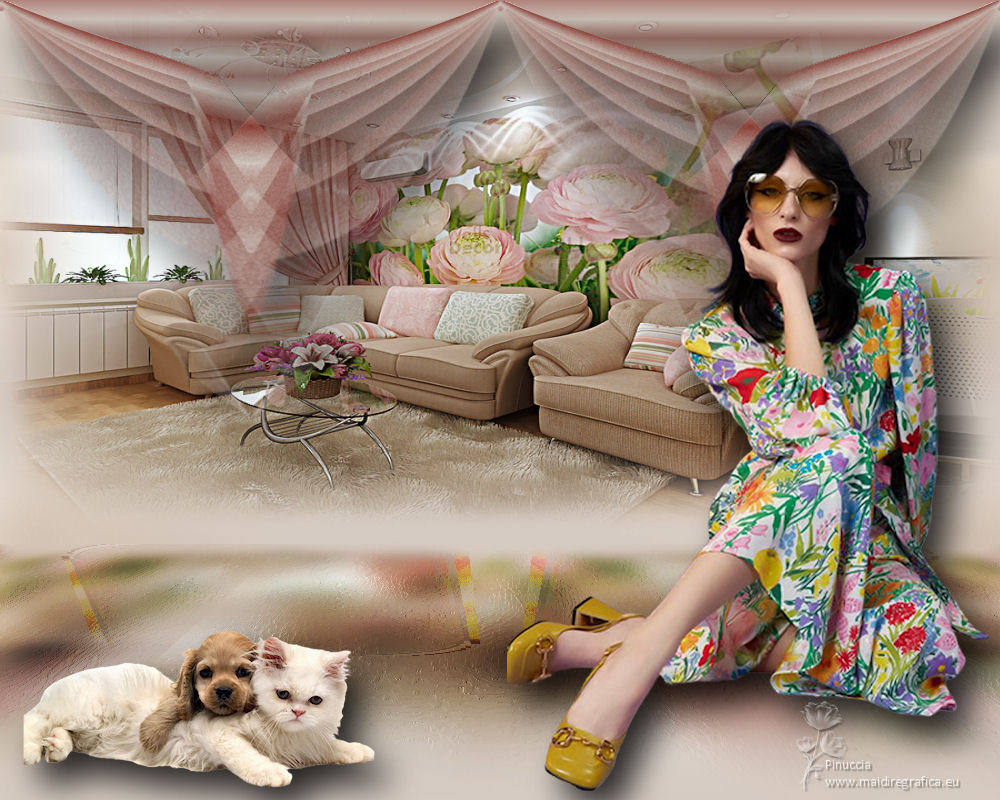
For the tubes of this version thanks Luz Cristina, Mina and Silvie

If you have problems or doubts, or you find a not worked link,
or only for tell me that you enjoyed this tutorial, write to me.
18 April 2025

|

