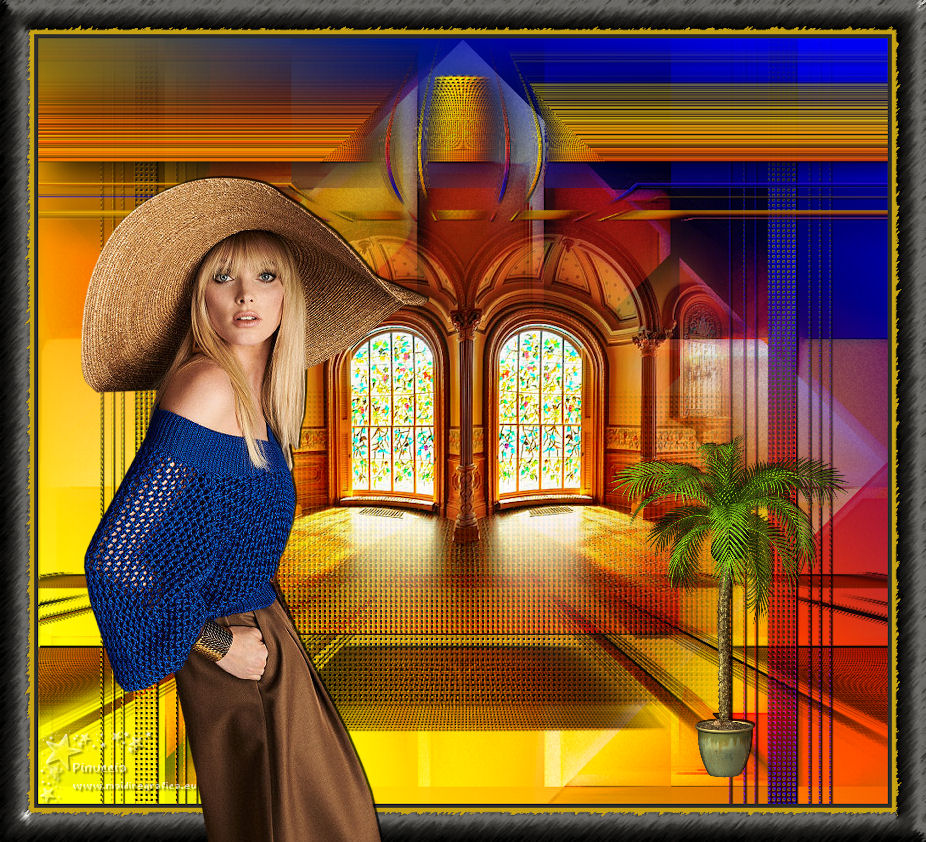
|
TOP JUANITA


Thanks Luz Cristina for your invitation to translate your tutorials into english

This tutorial, created with PSP2022, was translated with PspX7, but it can also be made using other versions of PSP.
Since version PSP X4, Image>Mirror was replaced with Image>Flip Horizontal,
and Image>Flip with Image>Flip Vertical, there are some variables.
In versions X5 and X6, the functions have been improved by making available the Objects menu.
In the latest version X7 command Image>Mirror and Image>Flip returned, but with new differences.
See my schedule here
 French Translation here French Translation here
 Your versions here Your versions here

For this tutorial, you will need:

Thanks for the tubes Luz Cristina and for the mask SmArt.
(The links of the tubemakers here).

consult, if necessary, my filter section here
Filters Unlimited 2.0 here
AFS Import - CHGRAD here
Redfield - Fractalius here
Mura's Meister - Perspective Tiling here
Mehdi - Sorting Tiles here
Brush Strokes here
FM Tile Tools - Blend Emboss, Saturation Emboss here
Toadies - Plain Mosaic Blur here
Filters AFS IMPORT and Toadies can be used alone or imported into Filters Unlimited.
(How do, you see here)
If a plugin supplied appears with this icon  it must necessarily be imported into Unlimited it must necessarily be imported into Unlimited

You can change Blend Modes according to your colors.
In the newest versions of PSP, you don't find the foreground/background gradient (Corel_06_029).
You can use the gradients of the older versions.
The Gradient of CorelX here

Open the mask in PSP and minimize it with the rest of the material.
1. Open a new transparent image 1000 x 900 pixels.
2. Set your foreground color to #c7a313,
and your background color to #2e2d29.
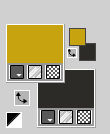
Set your foreground color to a Foreground/Background Gradient, style Linear.
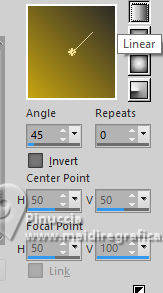
Flood Fill  the transparent image with your Gradient. the transparent image with your Gradient.
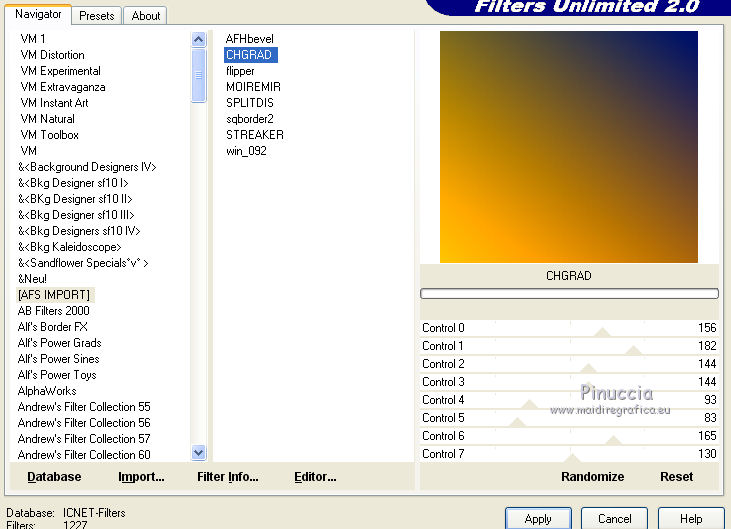
3. Effects>Plugins>Filters Unlimited 2.0 - AFS IMPORT - CHGRAD
4. Layers>Duplicate.
Selections>Select All.
Open the misted 5367-luzcristina 
Edit>Copy.
Go back to your work and go to Edit>Paste into Selection.
Selections>Select None.
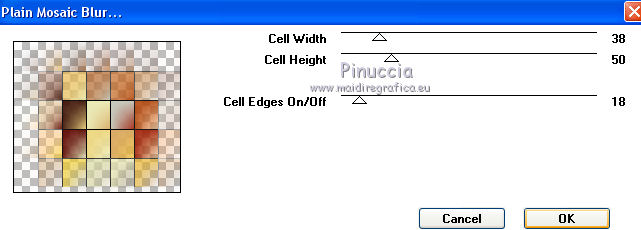
5. Effects>Plugins>Toadies - Plain Mosaic Blur.
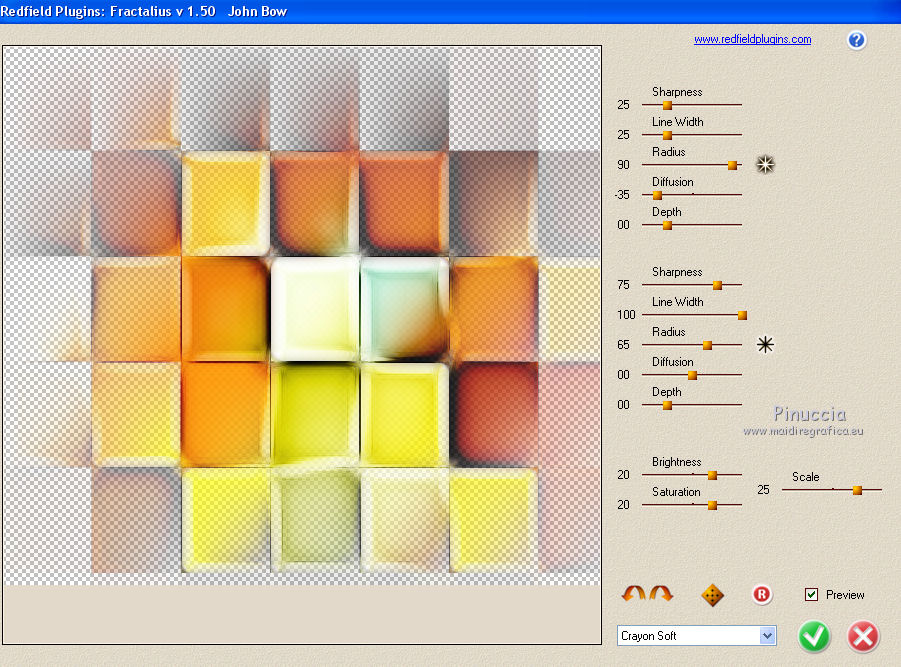
6. Effects>Plugins>Redfield - Fractalius
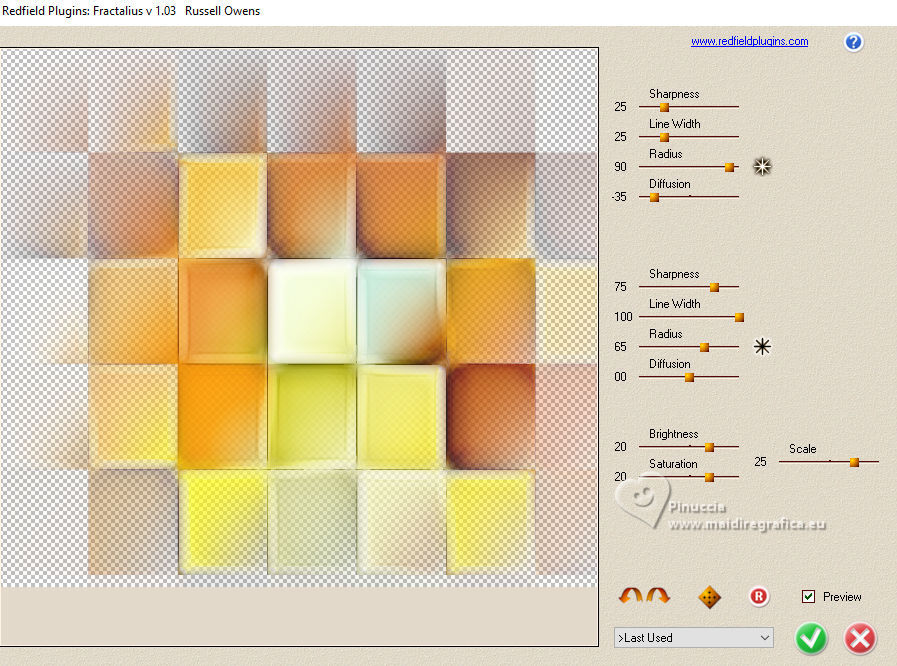
the tutorial only show the settings, for my example I used the preset Crayon soft
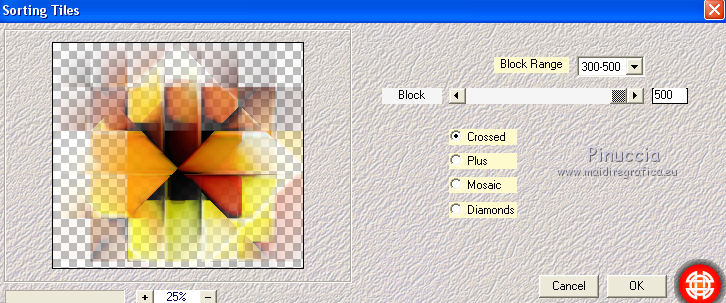
7. Effects>Plugins>Mehdi - Sorting Tiles.
8. Effects>Plugins>FM Tile Tools - Blend Emboss.

9. Effects>Edge Effects>Erode (optional).
10. Adjust>Add/Remove Noise>Add Noise.
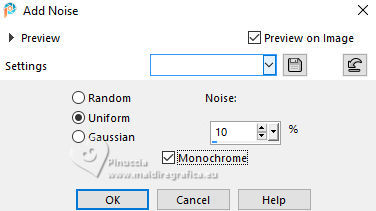
Change the Blend Mode of this layer to Hard Light (or to your liking)
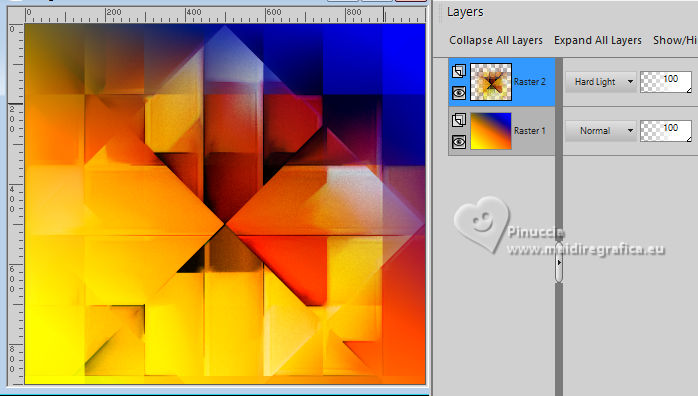
11. Edit>Paste as new layer (the misted is still in memory).
12. Activate the layer Raster 1.
Layers>Duplicate.
13. Layers>New Mask layer>From image
Open the menu under the source window and you'll see all the files open.
Select the mask smArt_53.
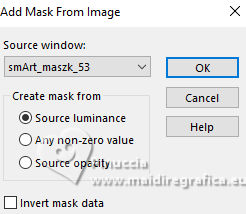
Layers>Merge>Merge Group.
Layers>Arrange>Move Up.
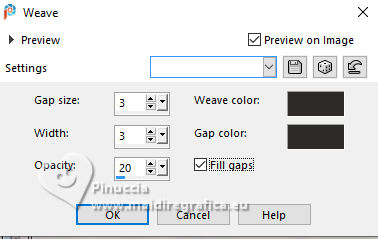
14. Effects>Texture Effects>Weave
both colors: background color.
15. Effects>3D Effects>Drop Shadow.
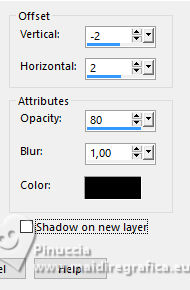
16. Effects>Plugins>FM Tile Tools - Blend Emboss, default settings

17. Adjust>Brightness and Contrast>Clarify.
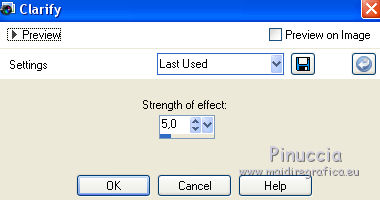
You can't find this effect in newer versions of PSP;
Below is the layer before and after applying the effect;
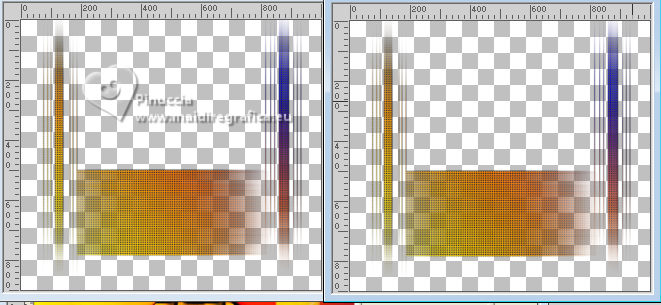
You can use: Adjust>Brightness and Contrast>Fill Light/Clarity, any settings,
or another effect from the Adjust menu, or skip this step.
Adjust>Sharpness>Sharpen.
18. Layers>Duplicate.
Effects>Image Effects>Offset.
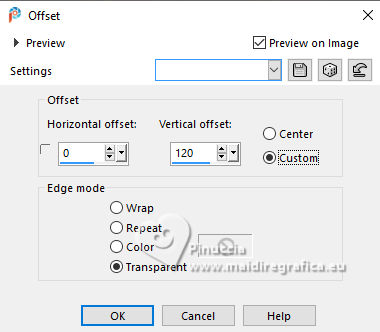
19. Image>Mirror>mirror Vertical (Image>Flip).
Change the Blend Mode of this layer to Hard Light or other.
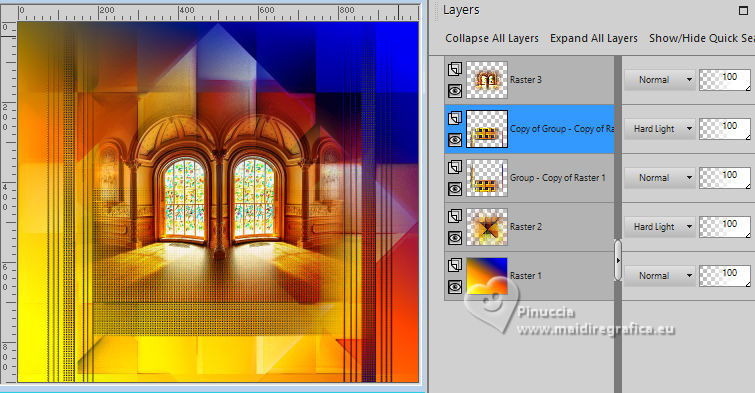
Activate the layer below, Copy Group - Raster 1.
Layers>Duplicate
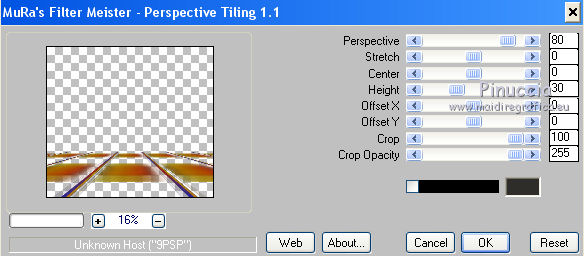
20. Effects>Plugins>Mura's Meister - Perspective Tiling.
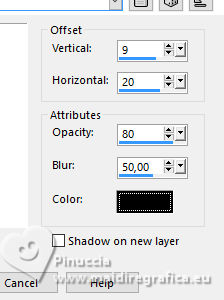
21. Effects>3D Effects>Drop Shadow, same settings.
22. Layers>Duplicate.
Image>Mirror>Mirror Vertical (Image>Flip).
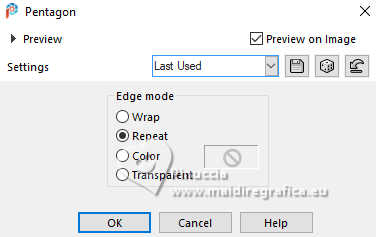
23. Effects>Geometric Effects>Pentagon.
24. Effects>Distortion Effects>Pinch.

25. Effects>Image Effects>Offset.

26. Effects>Plugins>FM Tile Tools - Saturation Emboss.

27. Effects>3D Effects>Drop Shadow.
28. Your tag and the layers (you can adapt Blend Mode and opacity to your liking).
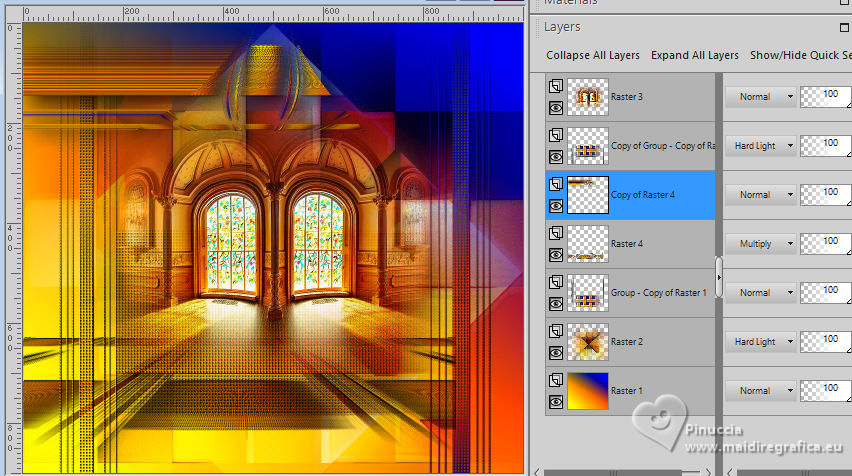
29. Image>Add Borders, 5 pixels, symmetric, dark color.
Image>Add Borders, 5 pixels, symmetric, light color.
Image>Add Borders, 35 pixels, symmetric, dark color.
30. Activate your Magic Wand Tool 
and click in the last border to select it.
31. Effects>3D Effects>Inner Bevel.
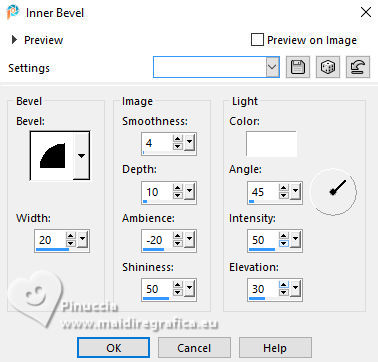
32. Effects>Plugins>Brush Strokes - Sprayed Strokes.
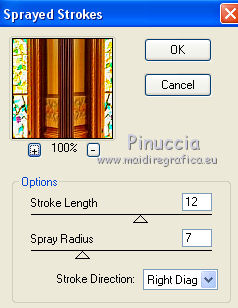
Selections>Select None.
33. Image>Resize, to 85%, resize all layers checked.
34. Open your woman's tube 5356-luzcristina 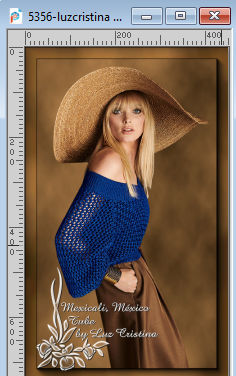
Edit>Copy.
Go back to your work and go to Edit>Paste as new layer.
Place  correctly the tube. correctly the tube.
Effects>3D Effects>Drop Shadow, at your choice.
35. Optional: Copy/Paste as new layer the deco tube 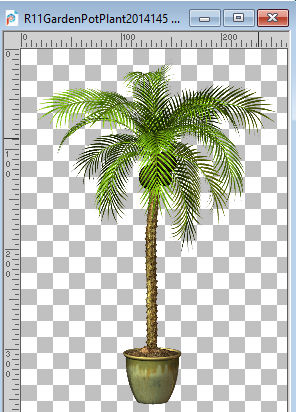
36. Sign your work on a new layer.
If you want, add the author and translator's watermark.
Layers>Merge>Merge All and save as jpg.


If you have problems or doubts, or you find a not worked link,
or only for tell me that you enjoyed this tutorial, write to me.
20 July 2025
|

