|
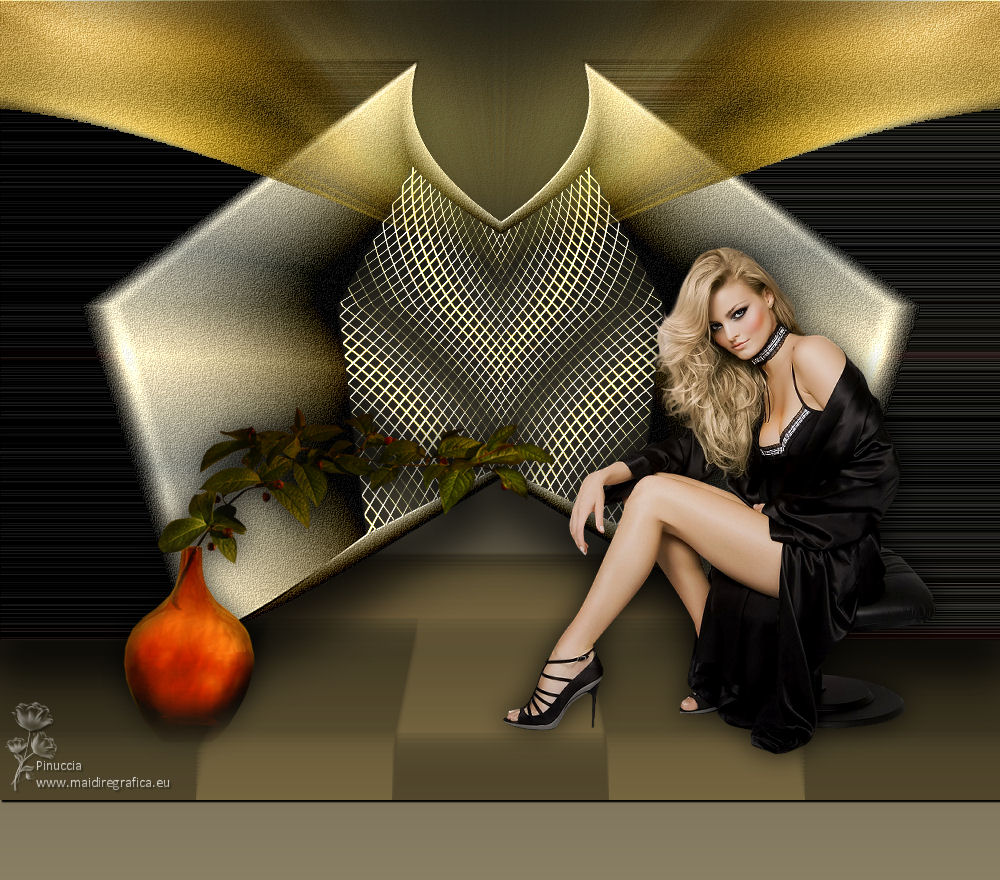
TOP LILIANA


Thanks Luz Cristina for your invitation to translate your tutorials into english

This tutorial, created with PSP9, was translated with PspX9, but it can also be made using other versions of PSP.
Since version PSP X4, Image>Mirror was replaced with Image>Flip Horizontal,
and Image>Flip with Image>Flip Vertical, there are some variables.
In versions X5 and X6, the functions have been improved by making available the Objects menu.
In the latest version X7 command Image>Mirror and Image>Flip returned, but with new differences.
See my schedule here
 French Translation here French Translation here
 Your versions here Your versions here

For this tutorial, you will need:

For the tubes thanks Tocha and Mtm.
(The links of the tubemakers here).

consult, if necessary, my filter section here
Filters Unlimited 2.0 here
Mura's Meister - Perspective Tiling here
Mura's Meister - Copie here
Transparency - Eliminate Black here
Nik Software - Color Efex here
FM Tile Tools - Saturation Emboss here
VM Distortion - Tiles a Gogo here
Filters Transparency and VM Distortion can be used alone or imported into Filters Unlimited.
(How do, you see here)
If a plugin supplied appears with this icon  it must necessarily be imported into Unlimited it must necessarily be imported into Unlimited

You can change Blend Modes according to your colors.
In the newest versions of PSP, you don't find the foreground/background gradient (Corel_06_029).
You can use the gradients of the older versions.
The Gradient of CorelX here

1. Open a new transparent image 1000 x 700 pixels.
2. Set your foreground color to #897f65,
and your background color to #1d1d16.
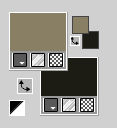
Set your foreground color to a Foreground/Background Gradient, style Linear.
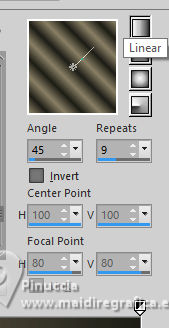
Flood Fill  the transparent image with your Gradient. the transparent image with your Gradient.
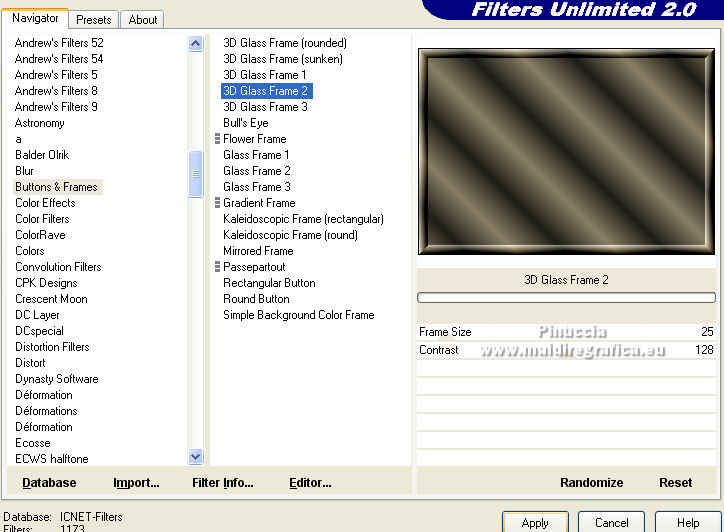
3. Effects>Plugins>Filters Unlimited 2.0 - Buttons & Frames - 3D Glass Frame 2.
4. Selections>Select All.
Selections>Modify>Contract - 30 pixels.
Press CANC on the keyboard 
Selections>Select None.
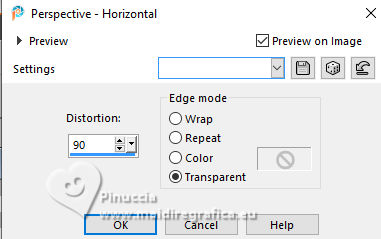
5. Effects>Geometric Effects>Perspective Horizontal.
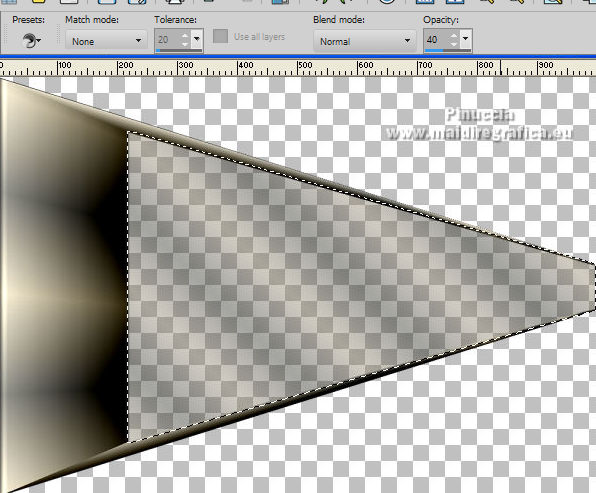
6. Activate your Magic Wand Tool 
and click in the center of the forme to select it.
Selections>Modify>Expand - 3 pixels.
7. Layers>New Raster Layer.
Layers>Arrange>Move Down.
Reduce the opacity of your Flood Fill Tool to 40,
Flood Fill the layer with your gradient.
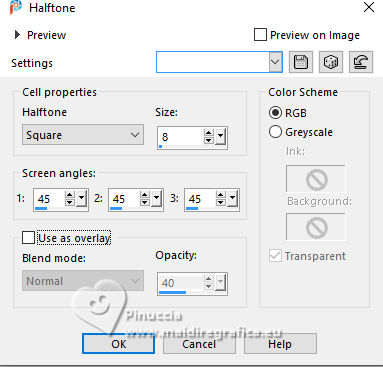
8. Effects>Artistic Effects>Halftone.
9. Effects>Plugins>Transparency - Eliminate Black.
Selections>Select None.
Layers>Merge>Merge visible.
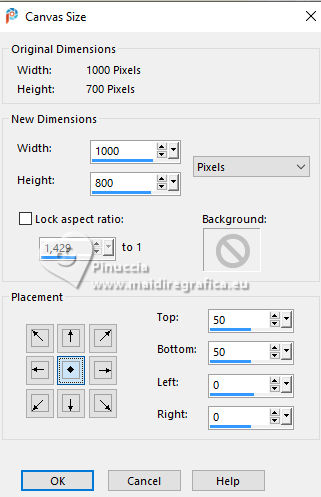
10. Image>Canvas Size - 1000 x 800 pixels.
11. Effects>Reflection Effects>Rotating Mirror.

12. Effects>Distortion Effects>Pinch.

13. Adjust>Add/Remove Noise>Add Noise.
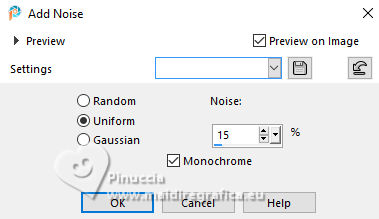
14. Edit>Copy.
Activate your Magic Wand Tool 
and click in the top transparent part to select it.
Layers>New Raster Layer.
Edit>Paste into Selection.
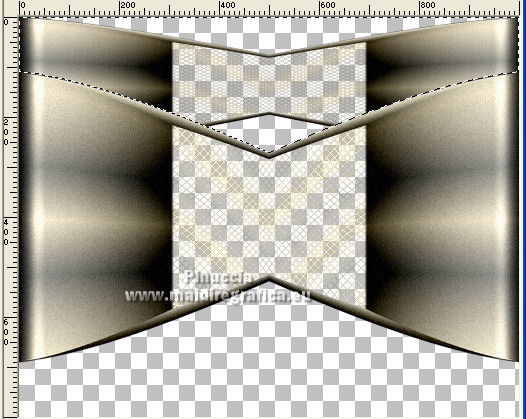
15. Adjust>Blur>Radial Blur.
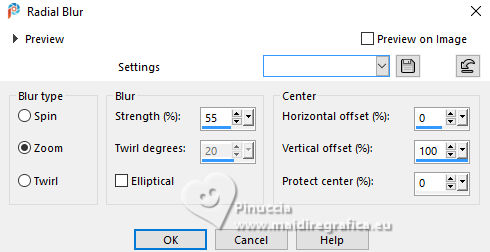
16. Again Adjust>Add/Remove Noise>Add Noise, same settings.

17. Effects>Plugins>Nik Software - Color Efex
Bi-Color Filters - Color Set Brown 3.
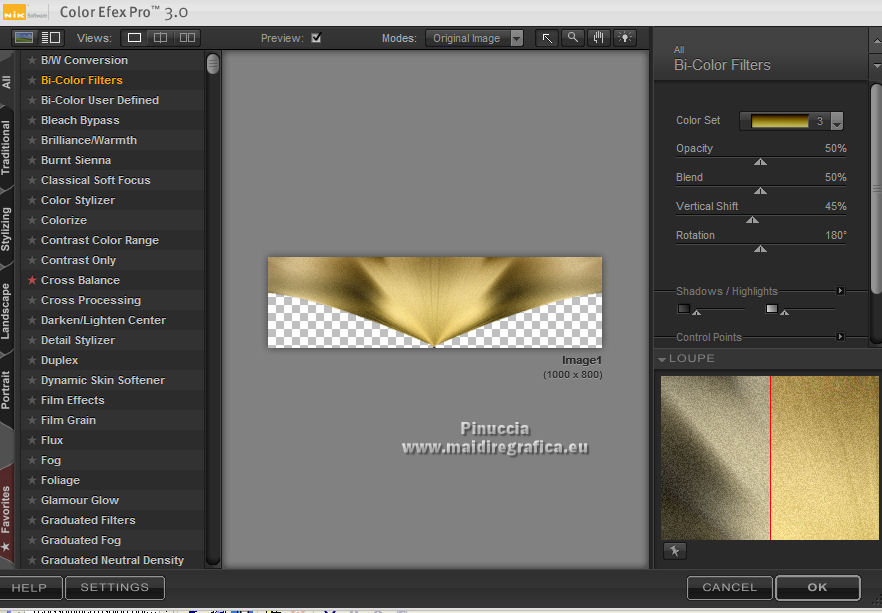
18. Effects>Plugins>FM Tile Tools - Saturation Emboss, default settings.

Selections>Select None.
19. Layers>New Raster Layer.
Layers>Arrange>Send to Bottom.
Change the settings of your Gradient.
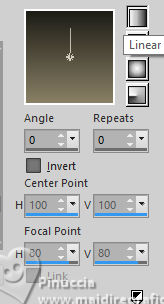
Set again the opacity of your Flood Fill Tool to 100.
Flood Fill  the layer with your Gradient. the layer with your Gradient.
20. Activate the layer Merged.
Effects>Image Effects>Offset.
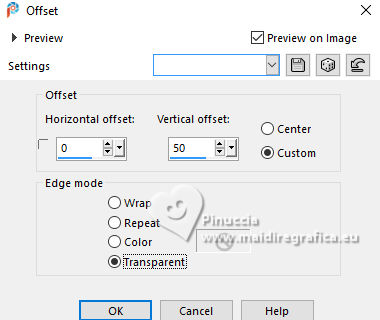
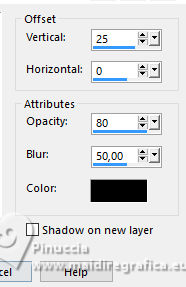
21. Effects>3D Effects>Drop Shadow.
22. Effects>Geometric Effects>Pentagon.
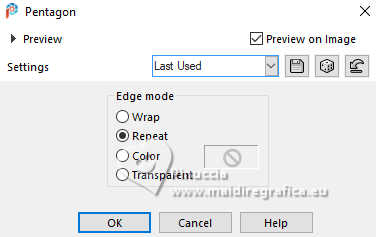
23. Effects>Plugins>FM Tile Tools - Saturation Emboss, default settings.

24. Effects>3D Effects>Drop Shadow, same settings.

25. Activate your bottom layer, Raster 2.
Effects>Plugins>VM Distortion - Tiles a gogo.
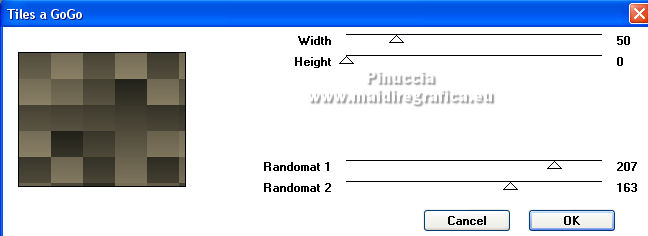
26. Effects>Reflection Effects>Rotating Mirror.

27. Effects>Plugins>Mura's Meister - Perspective Tiling.
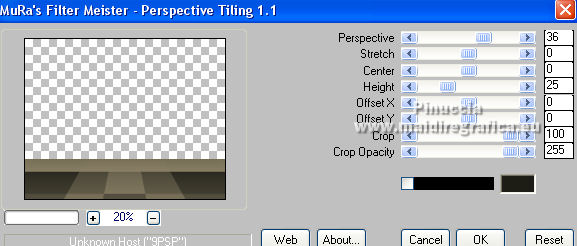
28. Image>Canvas Size - 1000 x 880 pixels.
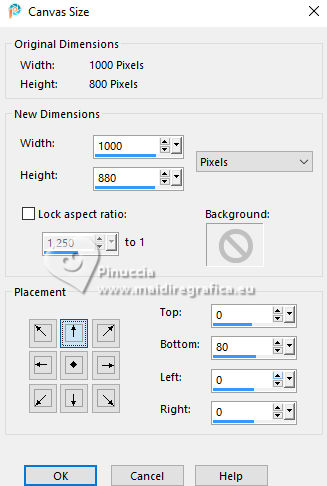
29. Effects>Plugins>Mura's Meister - Copies.
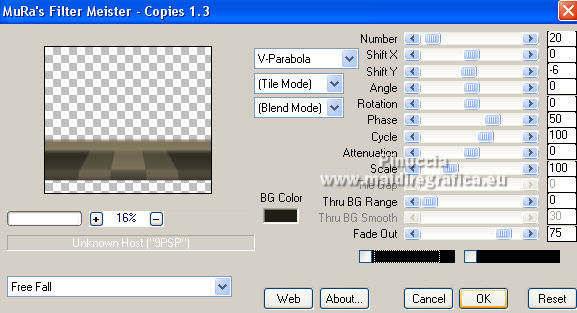
30. Effects>3D Effects>Drop Shadow.
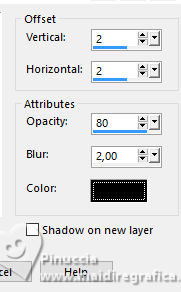
Change the Blend Mode of this layer to Hard Light.
31. Layers>New Raster Layer.
Layers>Arrange>Send to Bottom.
Flood Fill  the layer with your gradient. the layer with your gradient.
32. Activate your top layer.
Open your woman's tube Tocha23724 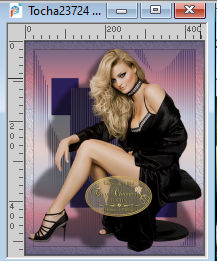
Edit>Copy.
Go back to your work and go to Edit>Paste as new layer.
Move  the tube to the right side. the tube to the right side.
Effects>3D Effects>Drop Shadow, at your choice.
33. Open the deco tube Mtm_Bloemen 179-21 Nov 2006 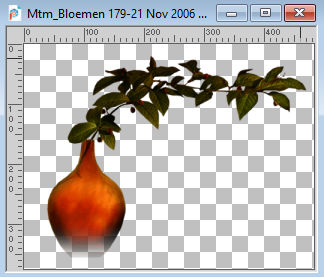
Edit>Copy.
Go back to your work and go to Edit>Paste as new layer.
Move  the tube at the bottom left. the tube at the bottom left.
Effects>3D Effects>Drop Shadow, at your choice.
34. Sign your work on a new layer.
Layers>Merge>Merge All and save as jpg.
For the tubes of this version thanks Nena Silva
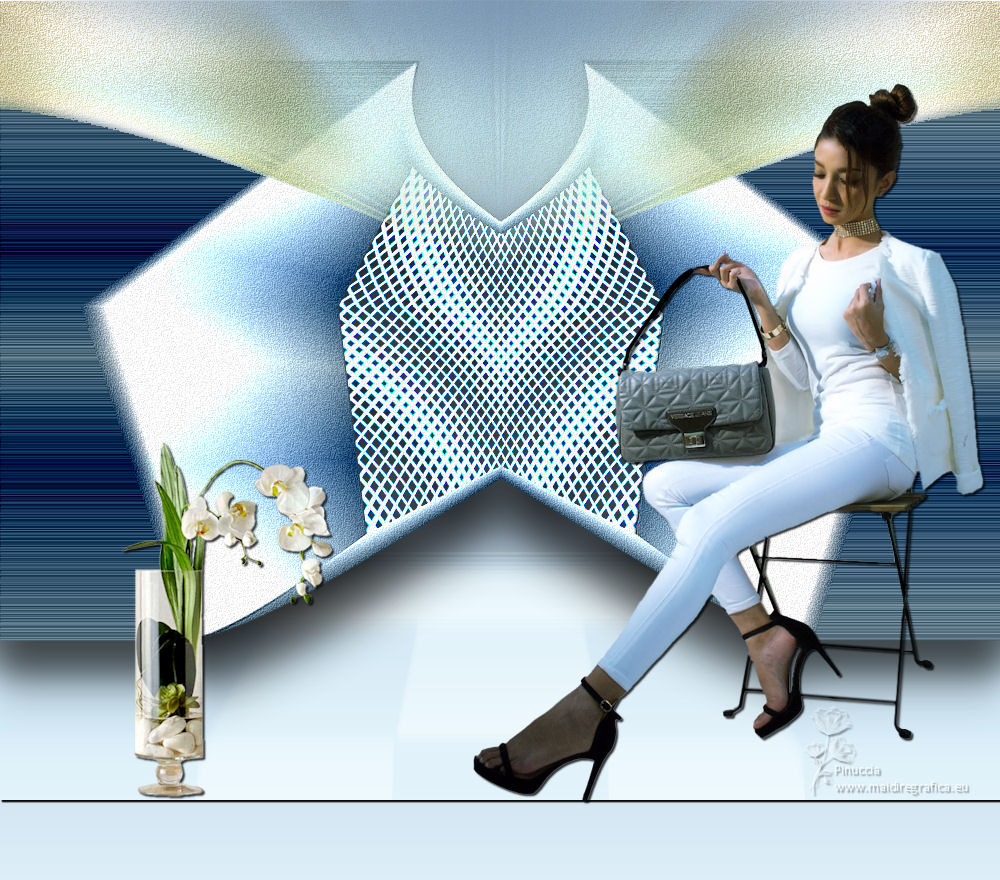
 Vos versioni ici Vos versioni ici

If you have problems or doubts, or you find a not worked link,
or only for tell me that you enjoyed this tutorial, write to me.
19 June 2025

|

