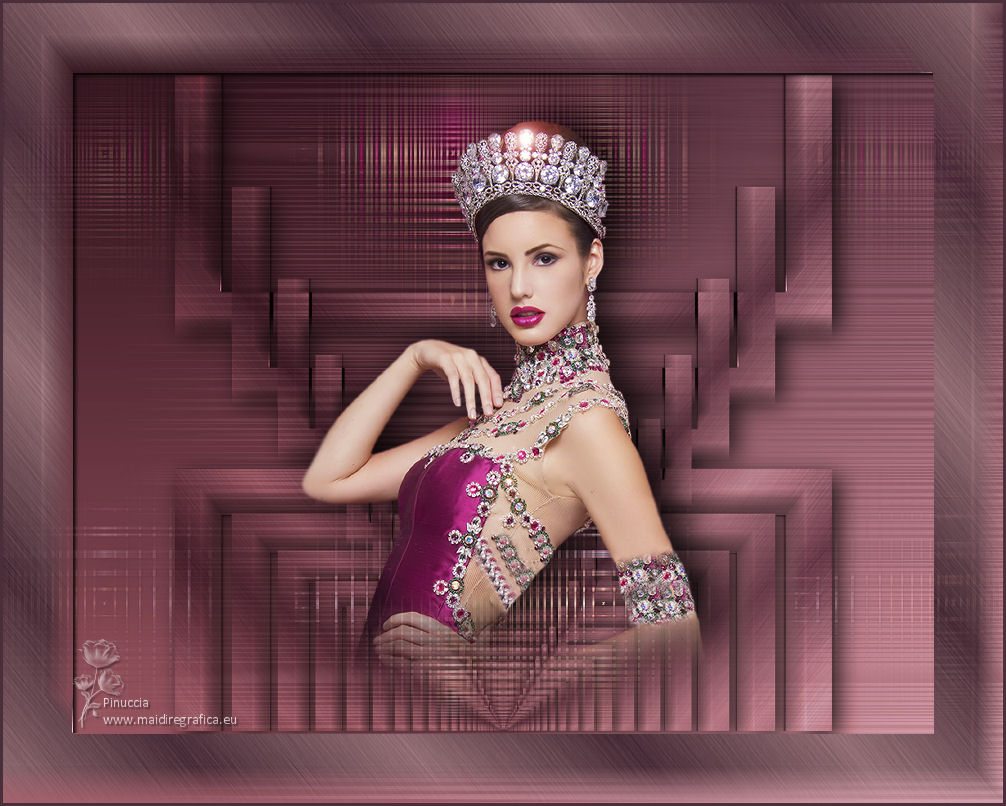
|
TOP LUDICO


Thanks Luz Cristina for your invitation to translate your tutorials into english

This tutorial, created with PSP9, was translated with PspX9, but it can also be made using other versions of PSP.
Since version PSP X4, Image>Mirror was replaced with Image>Flip Horizontal,
and Image>Flip with Image>Flip Vertical, there are some variables.
In versions X5 and X6, the functions have been improved by making available the Objects menu.
In the latest version X7 command Image>Mirror and Image>Flip returned, but with new differences.
See my schedule here
 French Translation here French Translation here
 Your versions here Your versions here

For this tutorial, you will need:

For the tube thanks Luz Cristina.
(The links of the tubemakers here).

consult, if necessary, my filter section here
Mehdi - Weaver here
FM Tile Tools - Saturation Emboss here
Simple - Top Bottom Wrap (bonus) here
Mura's Meister - Perspective Tiling here
VM Toolbox - Motion Trail here
Filters Unlimited 2.0 here
Filters Simple and VM Toolbox can be used alone or imported into Filters Unlimited.
(How do, you see here)
If a plugin supplied appears with this icon  it must necessarily be imported into Unlimited it must necessarily be imported into Unlimited

You can change Blend Modes according to your colors.
In the newest versions of PSP, you don't find the foreground/background gradient (Corel_06_029).
You can use the gradients of the older versions.
The Gradient of CorelX here

Copy the preset Emboss 3 in the Presets Folder.
Open the mask in PSP and minimize it with the rest of the material.
1. Set your foreground color to #936f75,
and your background color to #4a2e39.
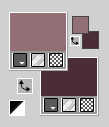
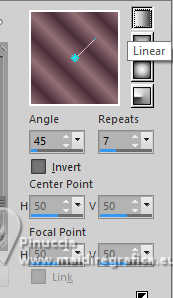
Set your foreground color to a Foreground/Background Gradient, style Linear.
2. Open a new transparent image 1000 x 800 pixels.
3. Selections>Select All.
Selections>Modify>Contract - 70 pixels.
Selections>Invert.
Flood Fill  the selection with your Gradient. the selection with your Gradient.
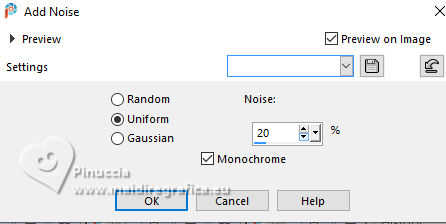
4. Adjust>Add/Remove Noise>Add Noise.
5. Adjust>Blur>Motion Blur.
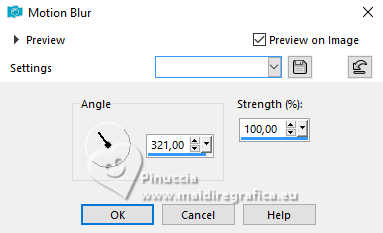
6. Effects>User Defined Filter - select the preset Emboss 3 and ok.

7. Effects>3D Effects>Drop Shadow.
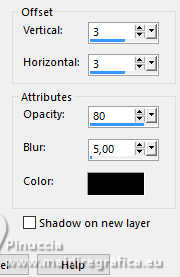
Selections>Select None.
8. Change the settings of your Gradient.
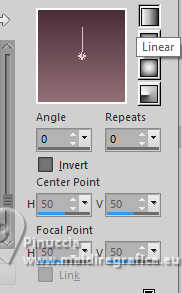
Layers>New Raster Layer.
Layers>Arrange>Send to Bottom.
Flood Fill  the layer with your gradient. the layer with your gradient.
9. Effects>Plugins>VM Toolbox Motion Trail.
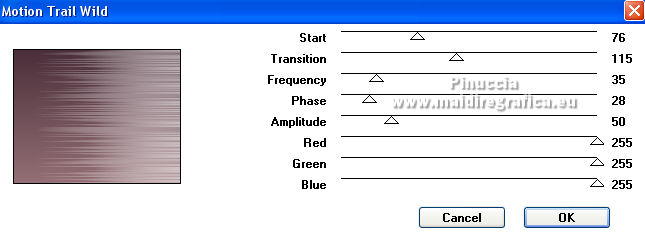
Change the Blend Mode of this layer to Overlay.
10. Layers>New Raster Layer.
Layers>Arrange>Send to Bottom.
Flood Fill  the layer with your gradient. the layer with your gradient.
11. Activate your top layer, Raster 1.
Layers>Duplicate.
Image>Resize, to 80%, resize all layers not checked.
12. Effects>Plugins>Simple - Top Bottom Wrap
13. Effects>Reflection Effects>Feedback.
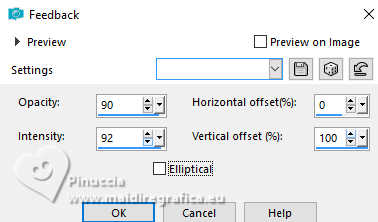
14. Effects>Reflection Effects>Rotating Mirror.

15. Image>Resize, to 82%, resize all layers not checked.
Effects>3D Effects>Drop Shadow.
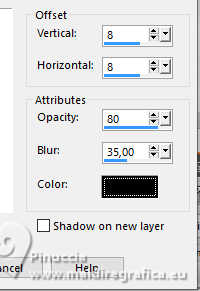
16. Move this layer over the layer Raster 3.
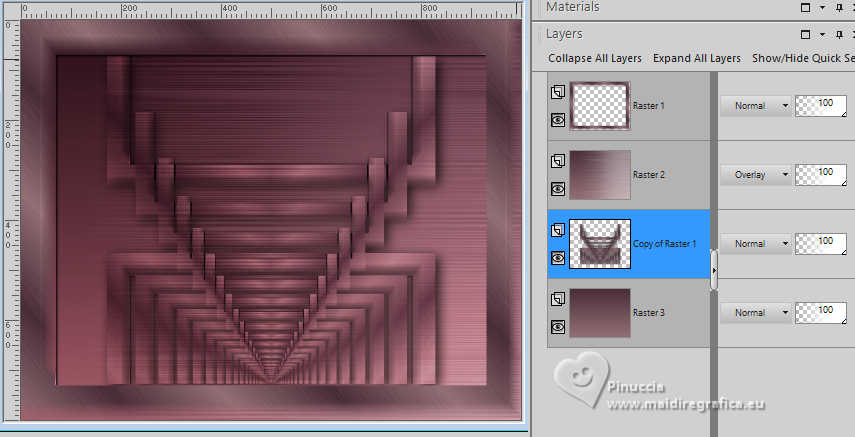
17. Activate again your top layer, Raster 1.
Open the tube 2458-luzcristina 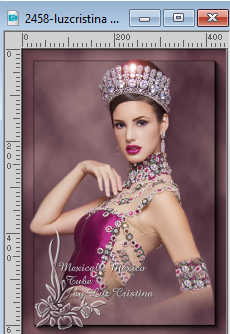
Edit>Copy.
Go back to your work and go to Edit>Paste as new layer.
18. Layers>Duplicate.
Layers>Arrange>Move Down.
19. Adjust>Blur>Motion Blur, same settings.

20. Effects>Distortion Effects>Spiky halo.
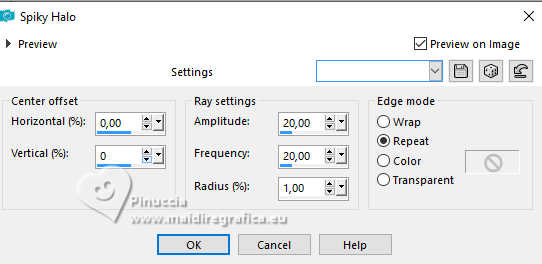
21. Effects>Reflection Effects>Rotating Mirror.

22. Effects>Plugins>Simple - Top Bottom Wrap.
23. Image>Resize, to 82%, resize all layers not checked.
24. Effects>Plugins>Mehdi - Weaver.
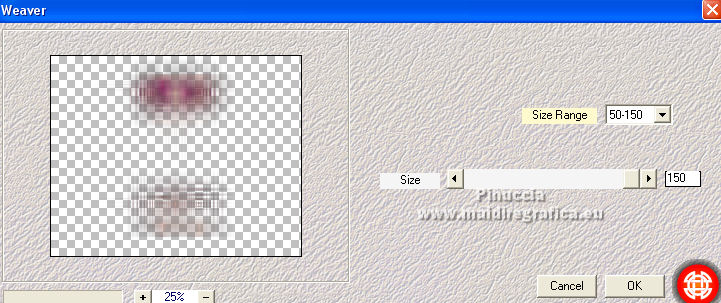
25. Effects>Plugins>FM Tile Tools - Saturation Emboss.

26. Adjust>Sharpness>Sharpen More.
27. Effects>3D Effects>Drop Shadow, same settings.
28. Effects>Image Effects>Seamless Tiling.

29. Layers>New Mask layer>From image
Open the menu under the source window and you'll see all the files open.
Select the mask 20_21.
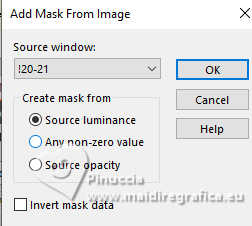
Layers>Duplicate, to apply the mask 2 times.
Layers>Merge>Merge Group.
30. Activate the layer above of the tube.
Effects>3D Effects>Drop Shadow.
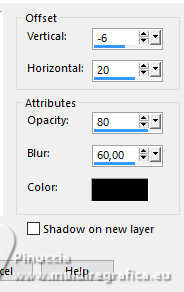
31. Sign your work on a new layer.
32. Image>Add Borders, 3 pixels, symmetric, background color #4a2e39.
Save as jpg jpg.
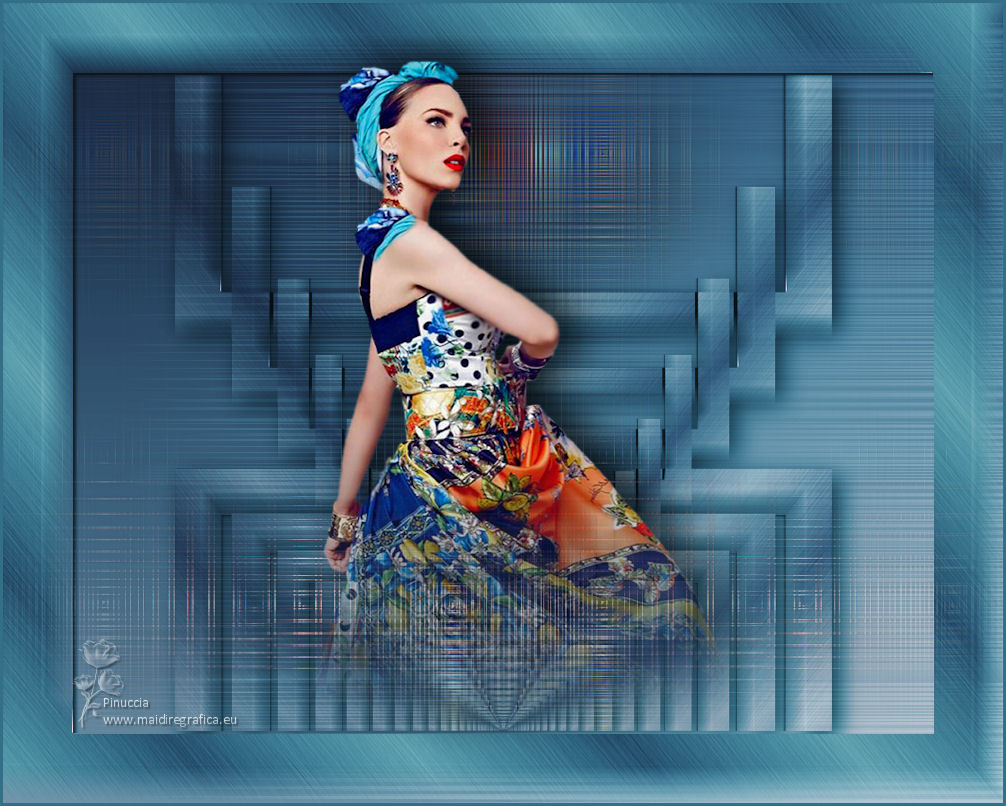
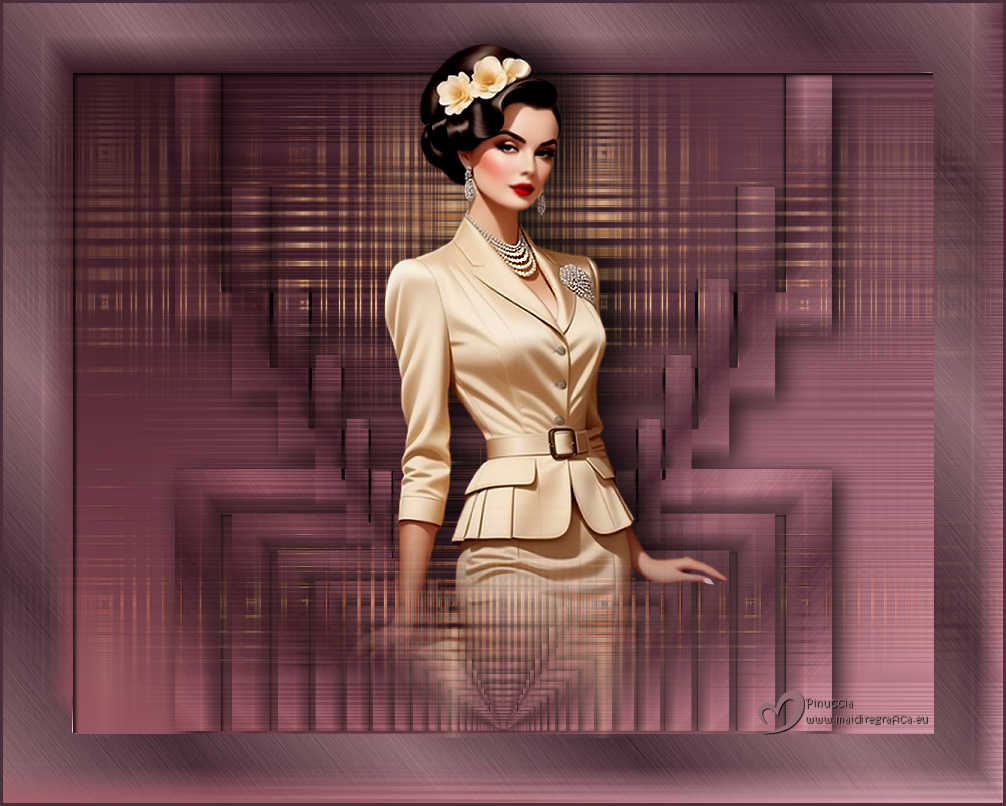
Versions avec tubes de Luz Cristina

If you have problems or doubts, or you find a not worked link,
or only for tell me that you enjoyed this tutorial, write to me.
30 May 2025

|

