|
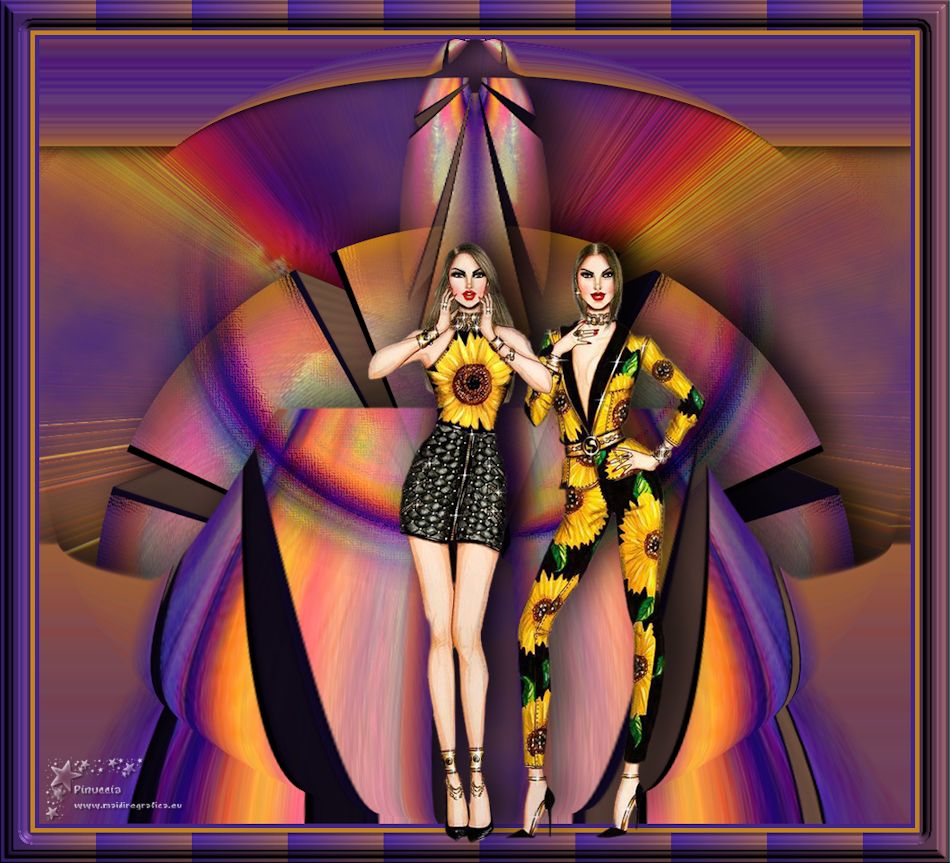
TOP MAJO


Thanks Luz Cristina for your invitation to translate your tutorials into english

This tutorial, created with PSP2022, was translated with PspX7, but it can also be made using other versions of PSP.
Since version PSP X4, Image>Mirror was replaced with Image>Flip Horizontal,
and Image>Flip with Image>Flip Vertical, there are some variables.
In versions X5 and X6, the functions have been improved by making available the Objects menu.
In the latest version X7 command Image>Mirror and Image>Flip returned, but with new differences.
See my schedule here
 French Translation here French Translation here
 Your versions here Your versions here

For this tutorial, you will need:

Tubes by Luz Cristina .
(The links of the tubemakers here).

consult, if necessary, my filter section here
Filters Unlimited 2.0 here
VM Extravaganza - Shoutin here
FM Tile Tools - Saturation Emboss here
Flaming Pear - Flexify here
Flaming Pear - Flood here
Alien Skin Eye Candy 5 - Extrude here
Artistics - Rough Pastel here
Filters VM Extravaganza can be used alone or imported into Filters Unlimited.
(How do, you see here)
If a plugin supplied appears with this icon  it must necessarily be imported into Unlimited it must necessarily be imported into Unlimited

You can change Blend Modes according to your colors.

Copy the preset Emboss 3 in the Presets Folder.
1. Open a new transparent image 1000 x 600 pixels.
2. Set your foreground color to #d69d6b,
and your background color to #432585.
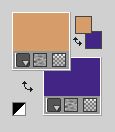
Set your foreground color to a Foreground/Background Gradient, style Linear.
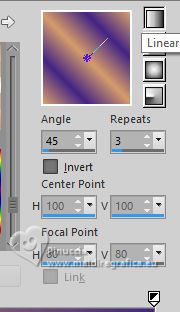
Flood Fill  the transparent image with your Gradient. the transparent image with your Gradient.
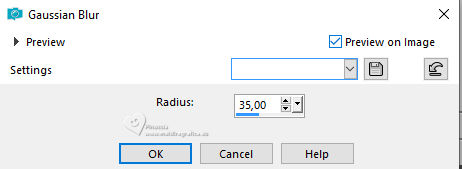
3. Adjust>Blur>Gaussian Blur - radius 35.
4. Effects>Plugins>VM Extravaganza - Shoutin'
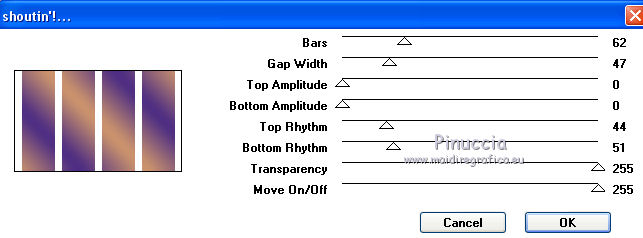
5. Activate your Magic Wand Tool 
and click in the white zones to select them
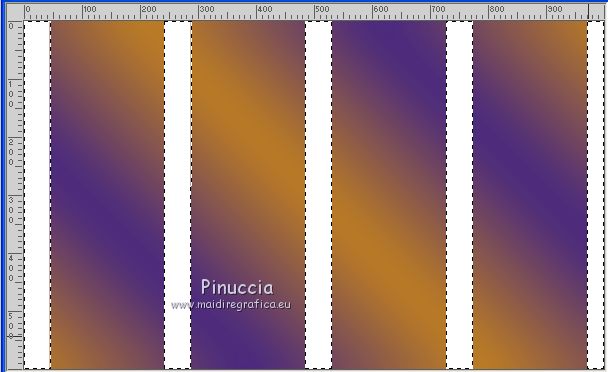
Press CANC on the keyboard 
6. Selections>Invert.
7. Effects>Plugins>Artistic - Rough Pastels
if you use the french version of this filter:
Effects>Plugins>Artistiques>Pastels
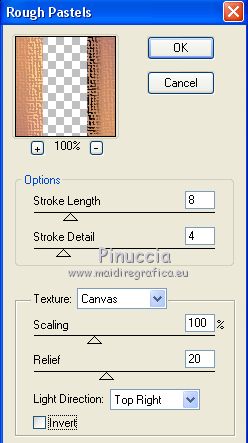 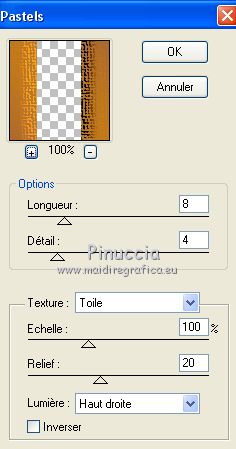
8. Open the misted 5285-luzcristina 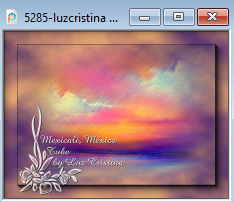
Edit>Copy.
Go back to your work and go to Edit>Paste into Selection.
Selections>Select None.
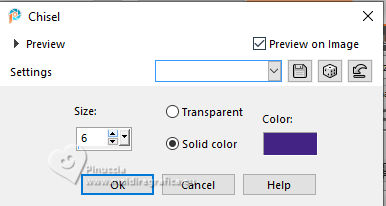
9. Effects>3D Effects>Chisel - background color.
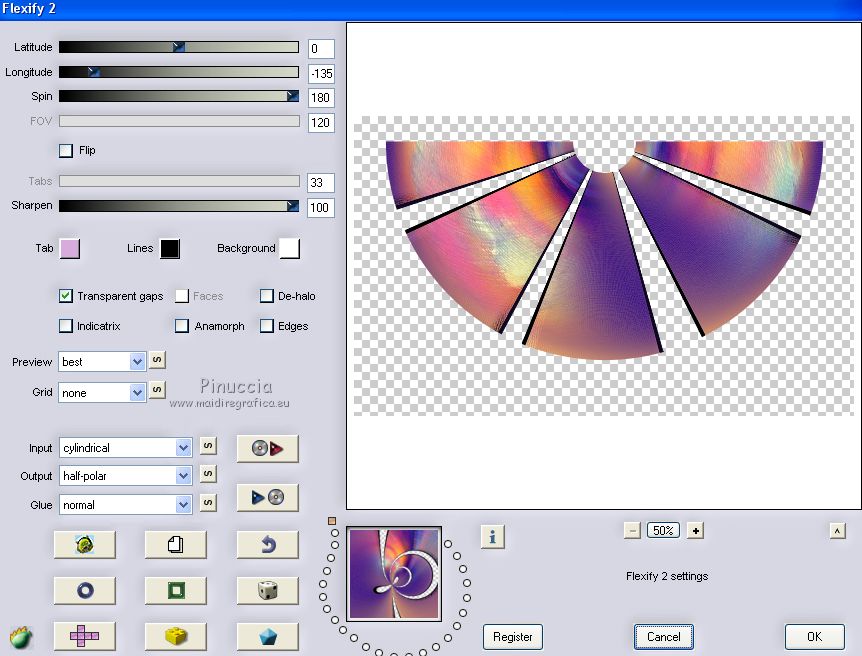
10. Effects>Plugins>Flaming Pear - Flexify 2.
11. Image>Mirror>Mirror Vertical (Image>Flip).
12. Effects>Reflection Effects>Rotating Mirror.

13. Layers>New Raster Layer.
Layers>Arrange>Send to Bottom.
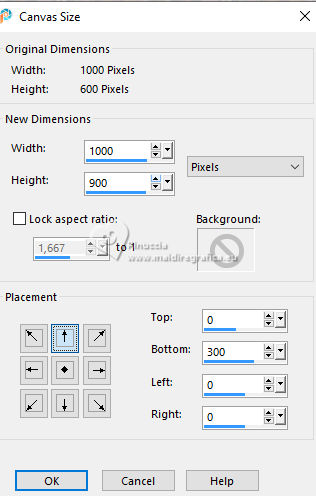
14. Image>Canvas Size - 1000 x 900 pixels.
15. Change the settings of your Gradient: Repeats to 0
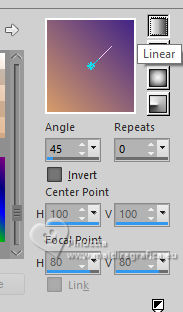
Flood Fill  the layer with your Gradient. the layer with your Gradient.
16. Effects>Plugins>Filters Unlimited 2.0 - Render - Clouds (fore/background color), default settings.

17. Activate the layer Raster 1.
Effects>Plugins>Alien Skin Eye Candy 5 Impact - Extrude.
Highlight color: foreground color
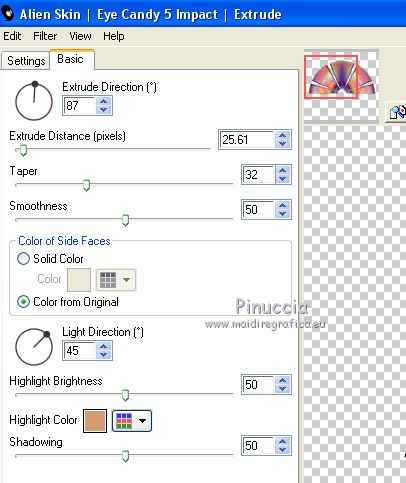
18. Edit>Paste as new layer (the misted is still in memory).
Move  the tube at the upper left. the tube at the upper left.
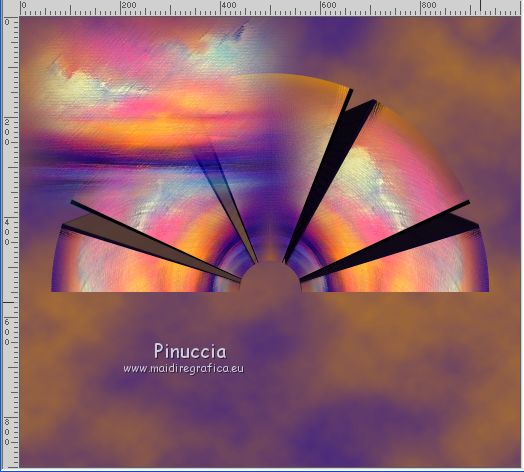
19. Effects>Reflection Effects>Rotating Mirror.

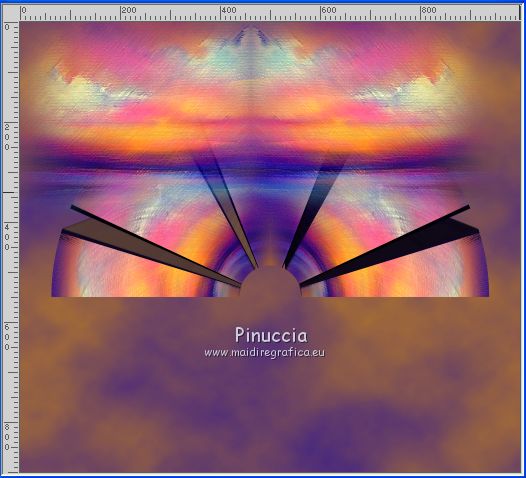
20. Layers>Arrange>Move Down.
21. Effects>Plugins>Flaming Pear - Flood
adjust Horizon according to your tube
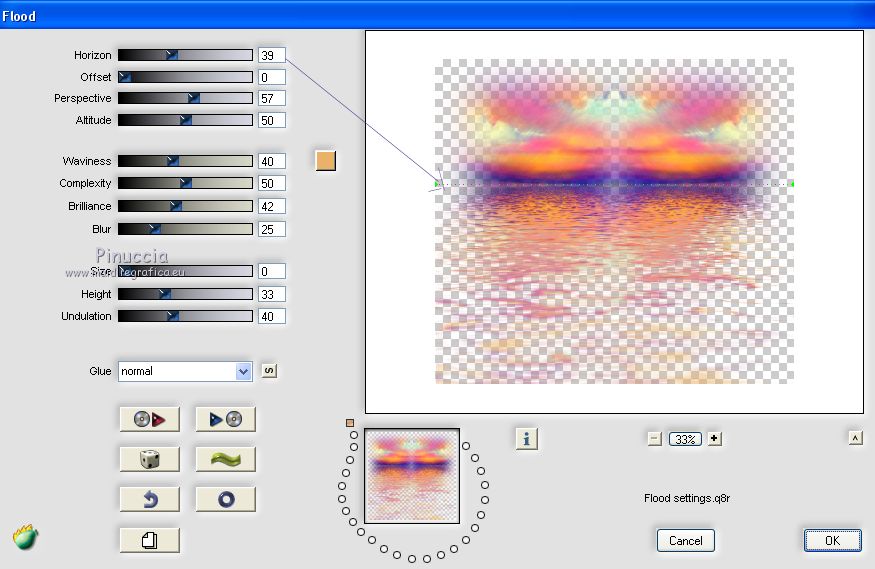
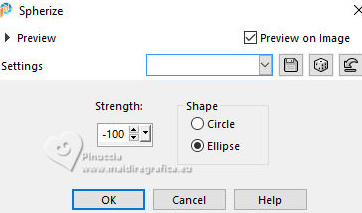
22. Effects>Geometric Effects>Spherize - 3 times with these settings.
23. Effects>User Defined Filter - select the preset Emboss 3 and ok.

24. Effects>Plugins>FM Tile Tools - Saturation Emboss, default settings.

25. Effects>3D Effects>Drop Shadow.

26. Activate the layer Raster 1.
Edit>Repeat Drop Shadow.
27. Layers>Duplicate.
Image>Mirror>Mirror Vertical (Image>Flip).
28. Effects>Image Effects>Seamless Tiling, default settings.

29. Image>Mirror>Mirror Vertical (Image>Flip).
30. Effects>Geometric Effects>Perspective vertical.
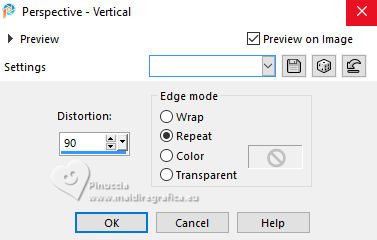
31. Image>Mirror>Mirror Vertical (Image>Flip).
32. Effects>Distortion Effects>Pinch.

33. Effects>3D Effects>Drop Shadow, last settings.
34. Effects>Geometric Effects>Spherize.
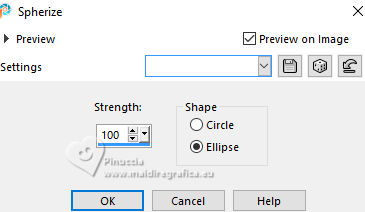
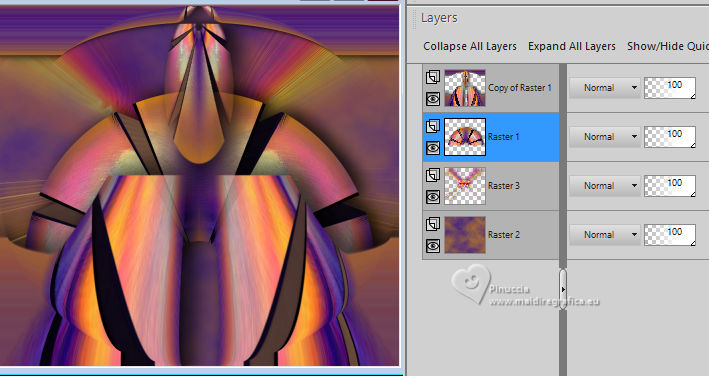
35. Activate the layer Raster 1.
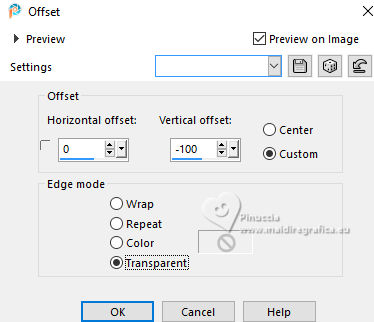
Effects>Image Effects>Offset.
36. Activate your top layer.
Edit>Paste as new layer (the misted is still in memory)
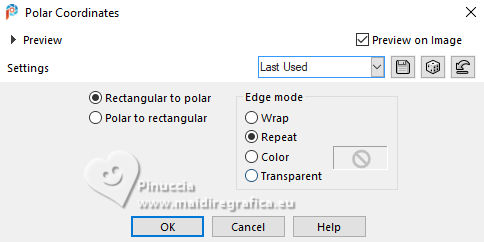
37. Effects>Distortion Effects>Polar Coordinates
Effects>Image Effects>Offset.
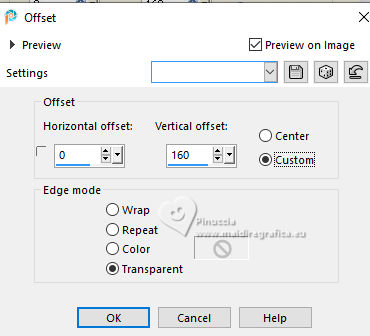
Change the Blend Mode of this layer to Darken, or other.
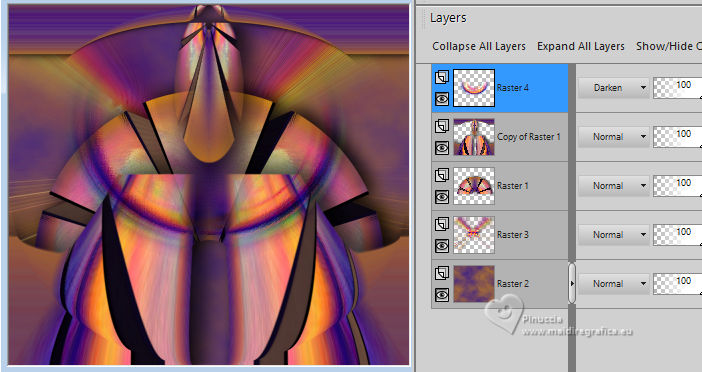
38. Effects>Plugins>Artistic - Rough Pastels, same settings
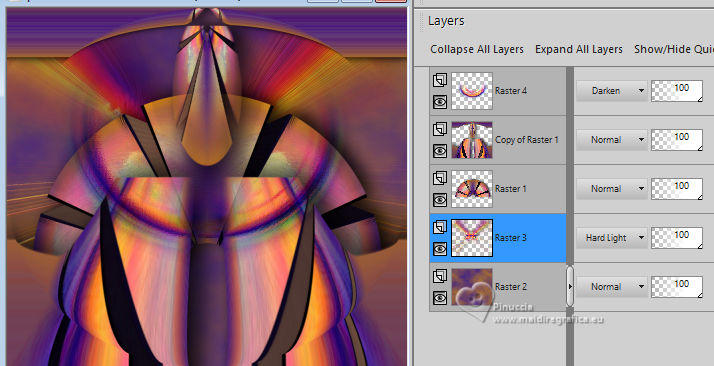
39. Change the Blend Mode of the layer Raster 3 to Hard Light.
(you can move it to your liking)
40. Image>Add Borders, 5 pixels, symmetric, dark color.
Image>Add Borders, 5 pixels, symmetric, light color.
Image>Add Borders, 35 pixels, symmetric, dark color
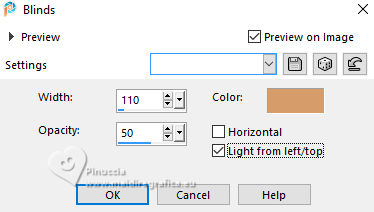
41. Select the dark border with your Magic Wand Tool 
Effects>Texture Effects>Blinds, light foreground color.
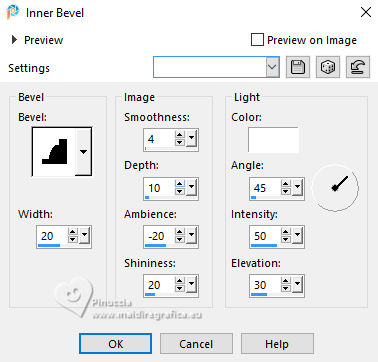
42. Effects>3D Effects>Inner Bevel.
Selections>Select None.
43. Open the tube 5273-luzcristina 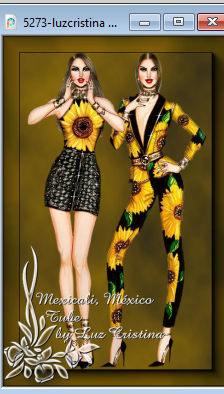
Edit>Copy.
Go back to your work and go to Edit>Paste as new layer.
Effects>3D Effects>Drop shadow, at your choice.
44. Image>Resize, to 84%, resize all layers checked.
Sign your work and save as jpg.
For the tubes of these versions thanks
Luz Cristina and Cal
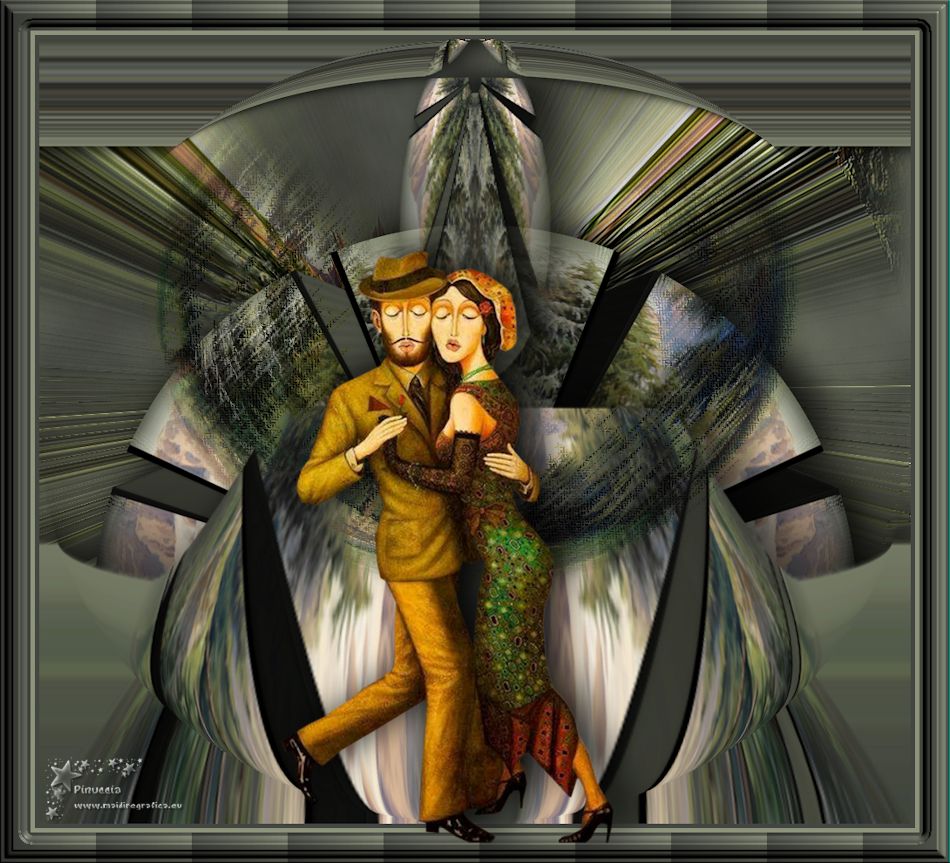
Luz Cristina and Jewel
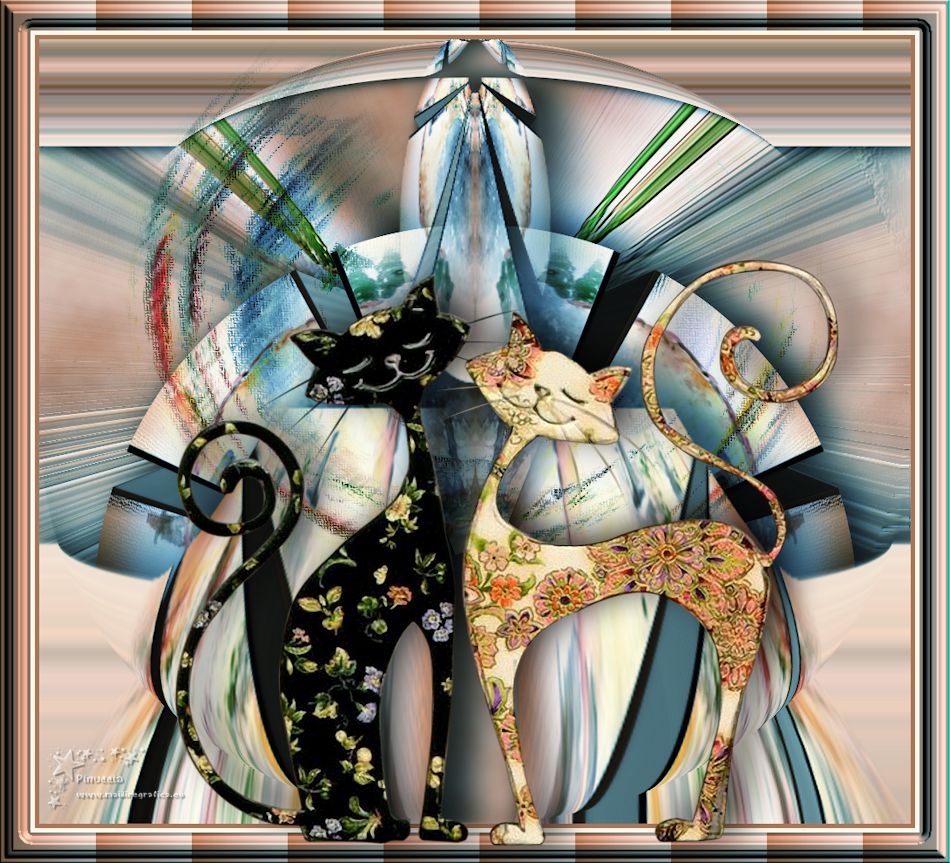


If you have problems or doubts, or you find a not worked link,
or only for tell me that you enjoyed this tutorial, write to me.
20 March 2024
|

