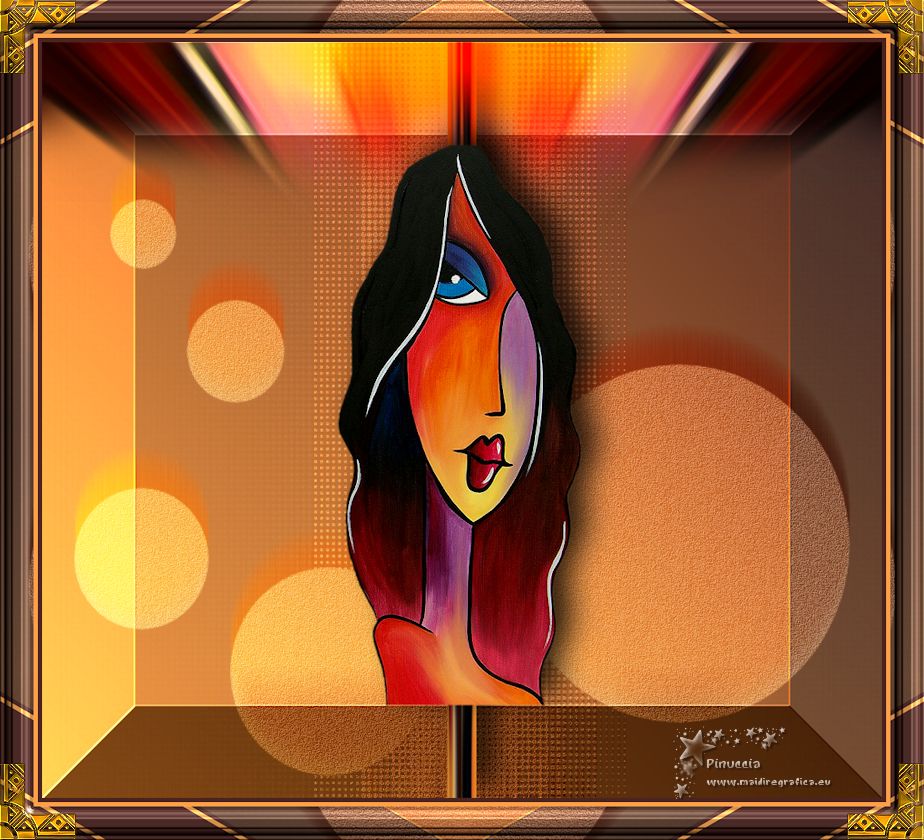
|
TOP MANDARINA


Thanks Luz Cristina for your invitation to translate your tutorials into english

This tutorial, created with PSP2022, was translated with PspX7, but it can also be made using other versions of PSP.
Since version PSP X4, Image>Mirror was replaced with Image>Flip Horizontal,
and Image>Flip with Image>Flip Vertical, there are some variables.
In versions X5 and X6, the functions have been improved by making available the Objects menu.
In the latest version X7 command Image>Mirror and Image>Flip returned, but with new differences.
See my schedule here
 French Translation here French Translation here
 Your versions here Your versions here

For this tutorial, you will need:

Thanks for the tube Luz Cristina.
(The links of the tubemakers here).

consult, if necessary, my filter section here
Filters Unlimited 2.0 ici
AFS IMPORT - AFHBev2b ici
FM Tile Tools - Blend Emboss, Saturation Emboss ici
Filters AFS IMPORT can be used alone or imported into Filters Unlimited.
(How do, you see here)
If a plugin supplied appears with this icon  it must necessarily be imported into Unlimited it must necessarily be imported into Unlimited

You can change Blend Modes according to your colors.
In the newest versions of PSP, you don't find the foreground/background gradient (Corel_06_029).
You can use the gradients of the older versions.
The Gradient of CorelX here

Copy the preset in the Presets Folder.
Open the mask in PSP and minimize it with the rest of the material.
1. Open a new transparent image 1000 x 900 pixels.
2. Set your foreground color to #ffa047,
and your background color to #4b241f.
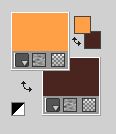
Set your foreground color to a Foreground/Background Gradient, style Linear.
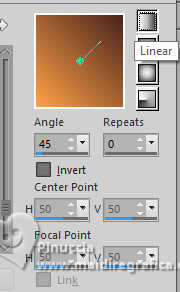
Flood Fill  the transparent image with your Gradient. the transparent image with your Gradient.
3. Effects>Plugins>Filters Unlimited 2.0 - AFS Import - AFHbev2b.
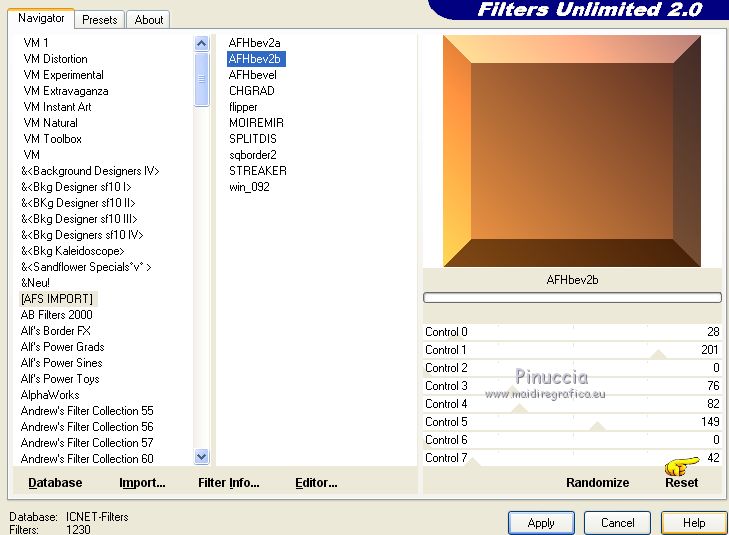
Effects>User Defined Filter - select the preset Emboss 3 and ok.

4. Layers>Duplicate.
5. Layers>New Mask layer>From image
Open the menu under the source window and you'll see all the files open.
Select the mask 0ac_orig.
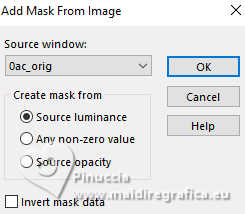
Don't worry if you see nothing
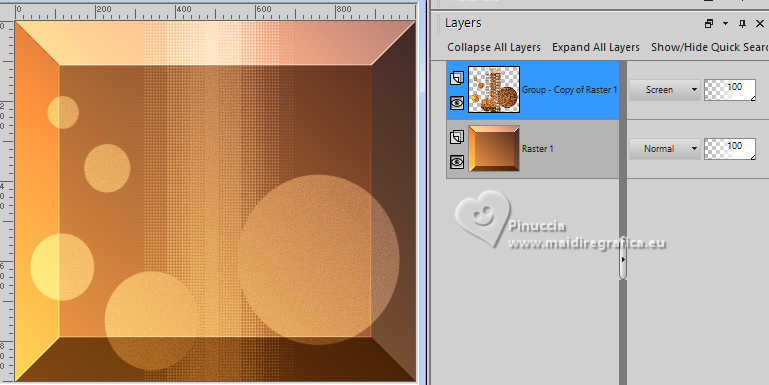
Layers>Merge>Merge Group.
6. Change the Blend Mode of this layer to Screen.
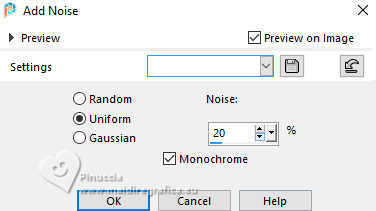
7. Adjust>Add/Remove Noise>Add Noise.
8. Effects>Plugins>FM Tile Tools - Blend Emboss, default settings.

9. Layers>Duplicate.
Layers>Arrange>Move Down.
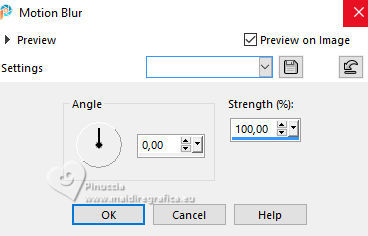
10. Adjust>Blur>Motion Blur.
11. Change the Blend Mode of this layer to Hard Light.
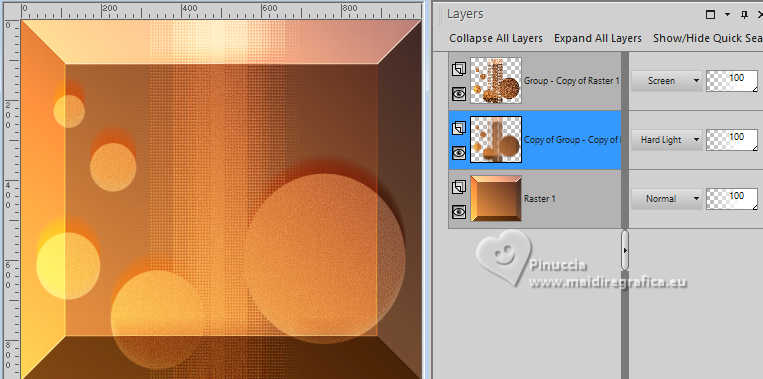
12. Layers>New Raster Layer.
Selections>Select All.
13. Open the tube 5381-luzcristina 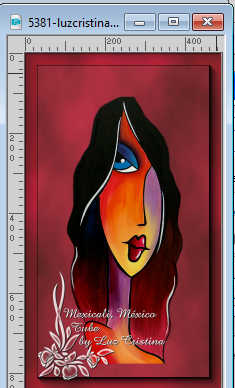
Edit>Copy.
Go back to your work and go to Edit>Paste into Selection.
Selections>Select None.
14. Effects>Image Effects>Seamless Tiling, default settings.

15. Adjust>Blur>Gaussian Blur - radius 20.

16. Effects>Geometric Effects>Perspective vertical.
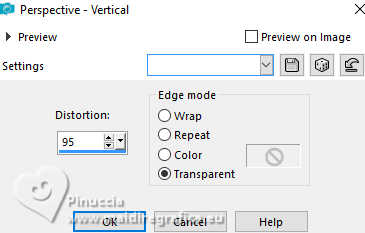
17. Image>Mirror>Mirror vertical (Image>Flip).
18. Repeat Effects>Geometric Effects>Perspective vertical.

19. Effects>Distortion Effects>Pinch.

20. Layers>Arrange>Bring to Top.
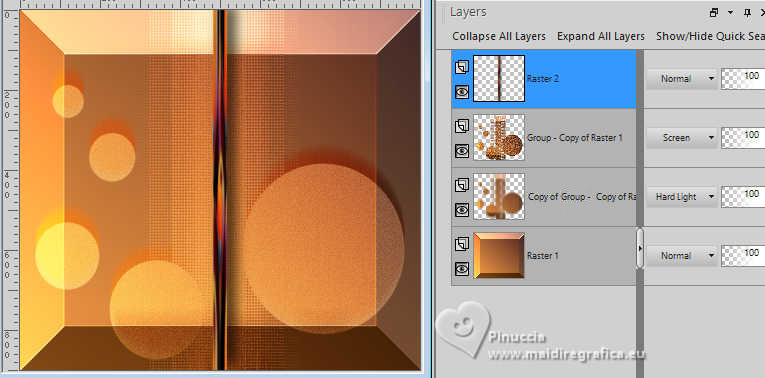
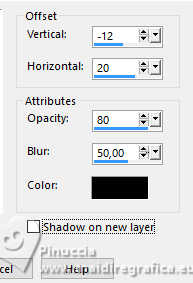
21. Effects>3D Effects>Drop Shadow.
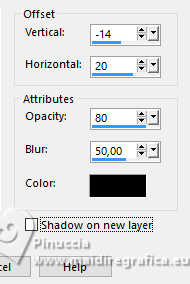
22. Edit>Paste as new layer (the tube is still in memory).
23. Effects>Image Effects>Seamless Tiling.

24. Effects>Distortion Effects>Polar Coordinates.
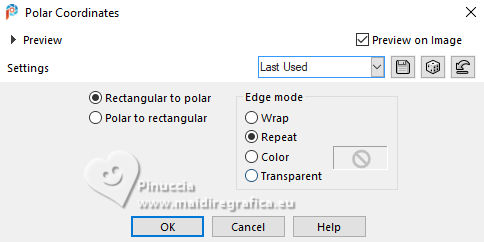
25. Activate your Selection Tool 
(no matter the type of selection, because with the custom selection your always get a rectangle)
clic on the Custom Selection 
and set the following settings.
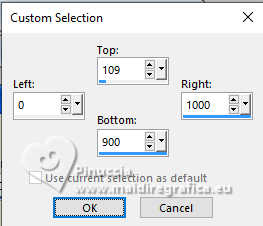
Press CANC on the keyboard 
Selections>Select None.
26. Effects>Reflection Effects>Rotating Mirror.

27. Adjust>Blur>Radial Blur.
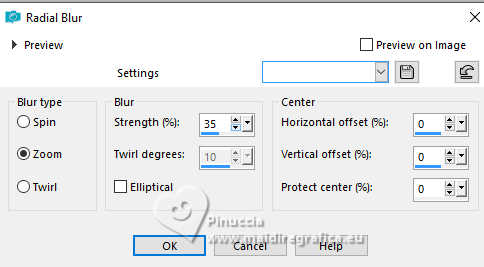
Edit>Repeat Radial Blur.
28. Effects>Plugins>FM Tile Tools - Saturation Emboss.

Change the Blend Mode of this layer to Hard Light (optional).
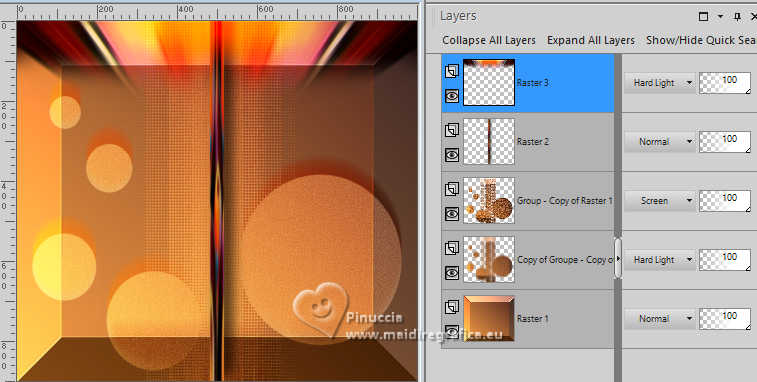
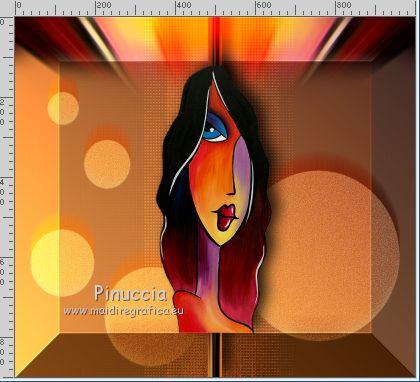
29. Edit>Paste as new layer (the tube is always in memory).
Image>Resize, to 92%, resize all layers not checked.
For my example I didn't resized.
Place  correctly the tube. correctly the tube.
30. Effects>3D Effects>Drop Shadow.
31. Image>Add Borders, 5 pixels, symmetric, dark color.
Image>Add Borders, 5 pixels, symmetric, light color.
Image>Add Borders, 40 pixels, symmetric, dark color.
32. Activate your Magic Wand Tool 
and click in the last border to select it.
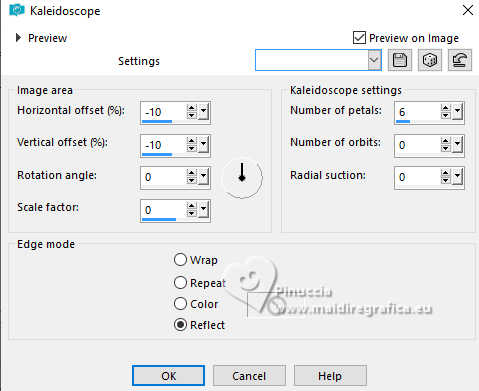
Effects>Reflection Effects>Kaleidoscope.
33.Effects>3D Effects>Inner Bevel.
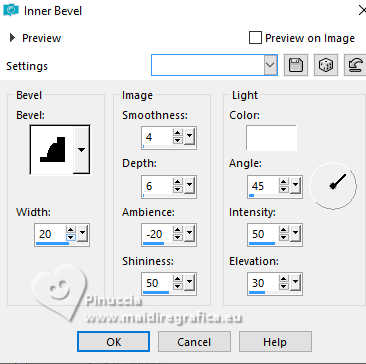
Selections>Select None.
34. Image>Resize, to 84%, resize all layers checked.
35. Open the corner 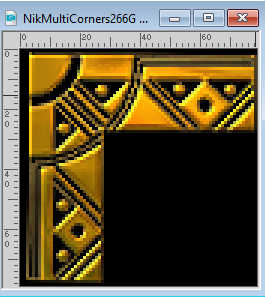
Edit>Copy.
Go back to your work and go to Edit>Paste as new layer.
36. Sign your work on a new layer.
If you want, add the author and translator's watermark.
Layers>Merge>Merge All and save as jpg.
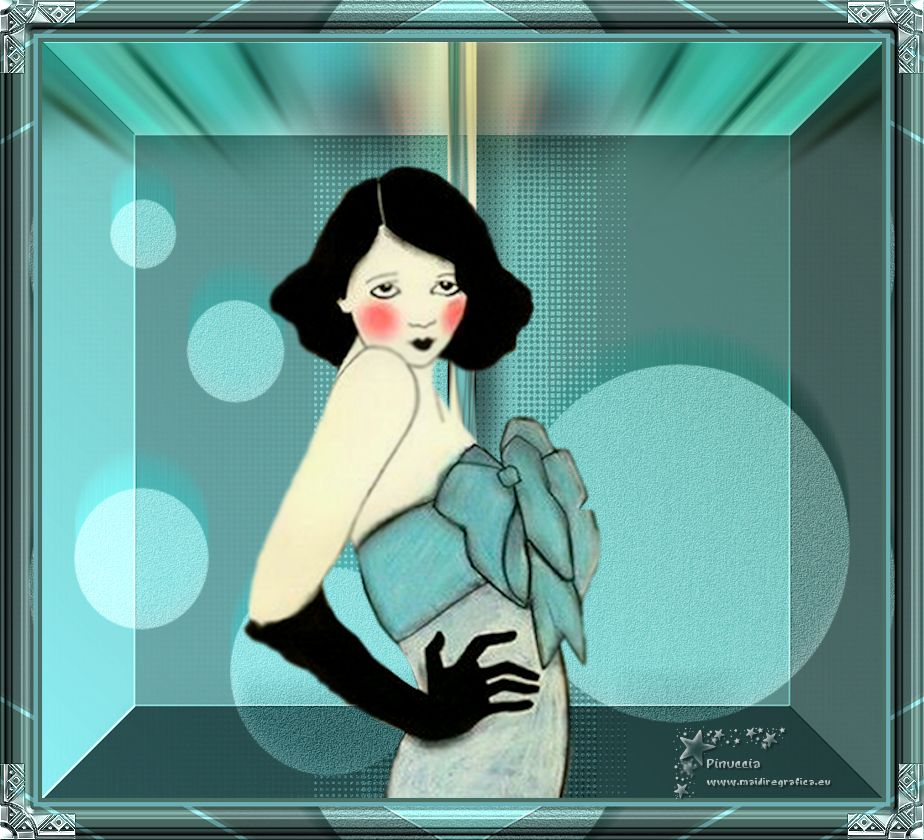
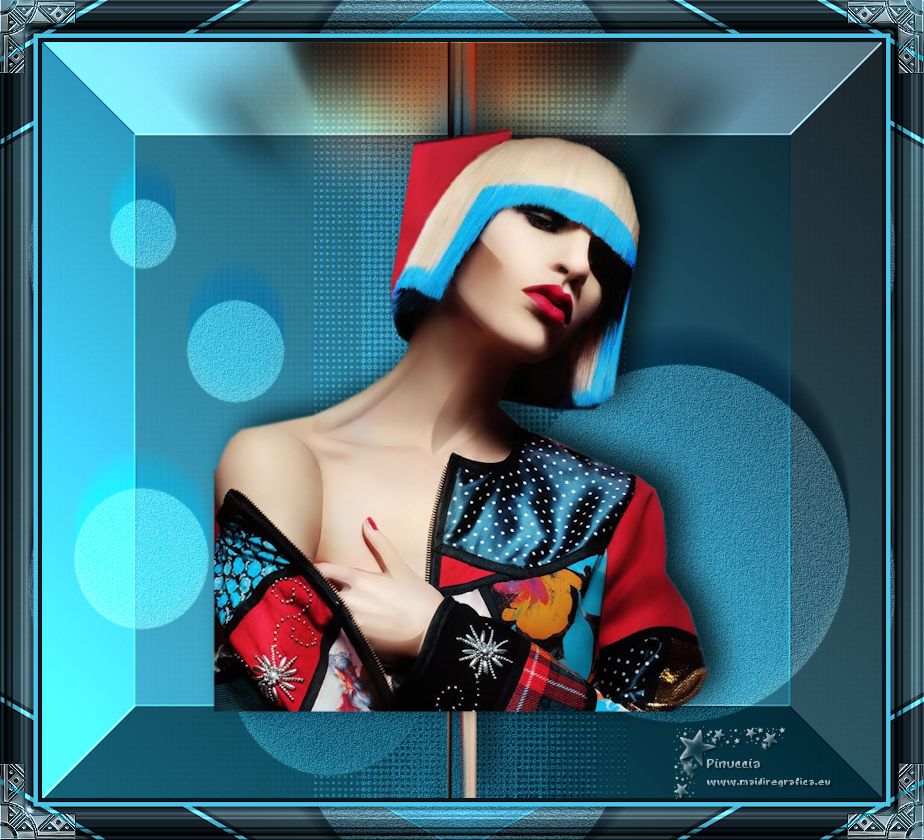
I did several tests to understand which choice is best for a good result,
but the choice isn't easy...
Here you go, looking for it.
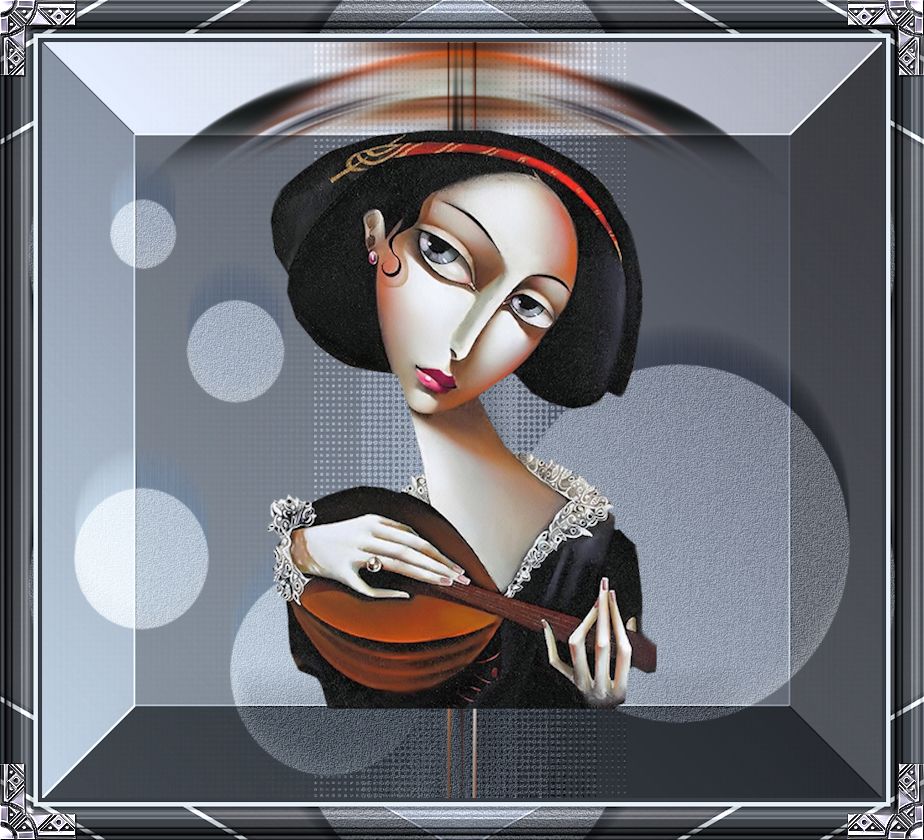
All the tubes are by Luz Cristina.


If you have problems or doubts, or you find a not worked link,
or only for tell me that you enjoyed this tutorial, write to me.
20 July 2025
|

