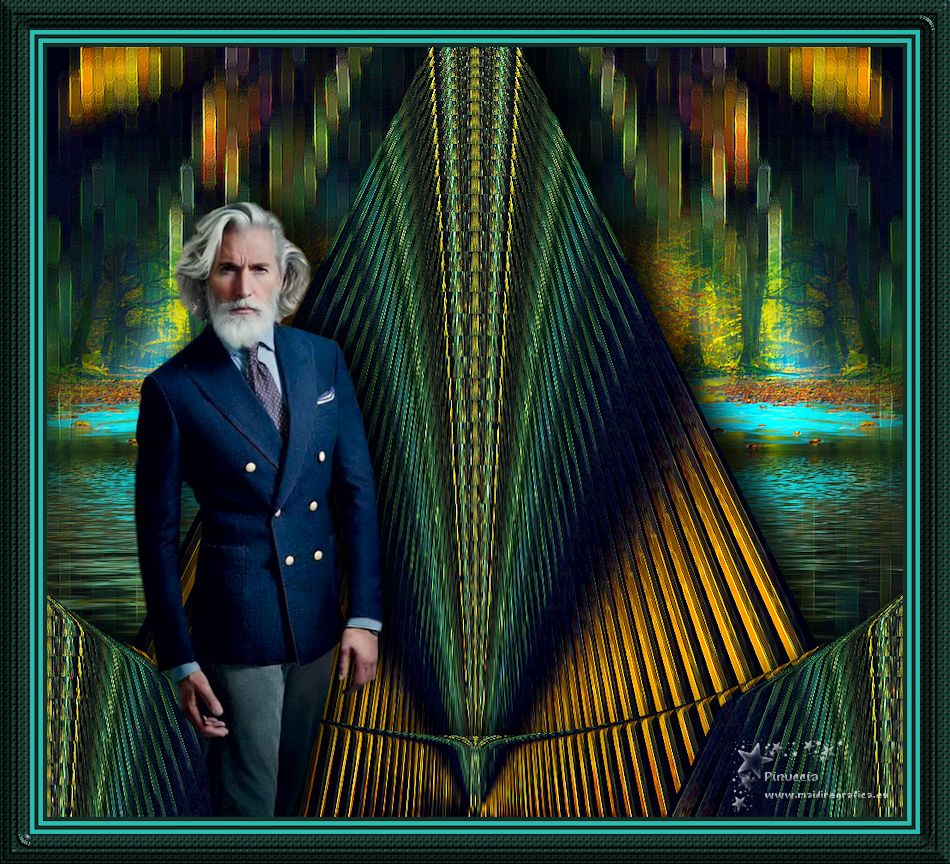
|
TOP MARCELO


Thanks Luz Cristina for your invitation to translate your tutorials into english

This tutorial, created with PSP2022, was translated with PspX7, but it can also be made using other versions of PSP.
Since version PSP X4, Image>Mirror was replaced with Image>Flip Horizontal,
and Image>Flip with Image>Flip Vertical, there are some variables.
In versions X5 and X6, the functions have been improved by making available the Objects menu.
In the latest version X7 command Image>Mirror and Image>Flip returned, but with new differences.
See my schedule here
 French Translation here French Translation here
 Your versions here Your versions here

For this tutorial, you will need:

Tubes by Luz Cristina and Grisi.
(The links of the tubemakers here).

consult, if necessary, my filter section here
Filters Unlimited 2.0 here
CPK Designs here
Artistiques - Barbouillage here
FM Tile Tools - Saturation Emboss here
Nik Software - Color Efex Pro here
Flaming Pear - Flood here
Mura's Meister - Tone here
Filters CPK Design can be used alone or imported into Filters Unlimited.
(How do, you see here)
If a plugin supplied appears with this icon  it must necessarily be imported into Unlimited it must necessarily be imported into Unlimited

You can change Blend Modes according to your colors.

1. Open a new transparent image 1000 x 900 pixels.
2. Selections>Select Tll.
Open the fractal pmardeltutorial 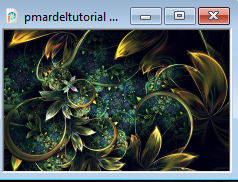
Edit>Copy.
Go back to your work and go to Edit>Paste into Selection.
Selections>Select None.
3. Effects>Plugins>CPK Designs - CK Pegs

4. Adjust>Blur>Motion Blur.
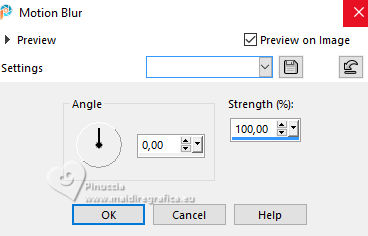
5. Effects>Plugins>Artistique - Barbouillage
if you use the english version of this filter:
Effects>Plugins>Artistic>Paint Daubs
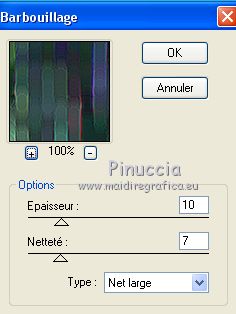 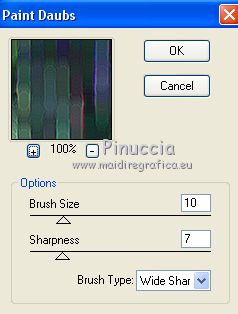
6. Effects>Plugins>FM Tile Tools - Saturation Emboss, default settings.

7. Effects>Reflection Effects>Rotating Mirror.

8. Layers>Duplicate.
9. Effects>Reflection Effects>Feedback.
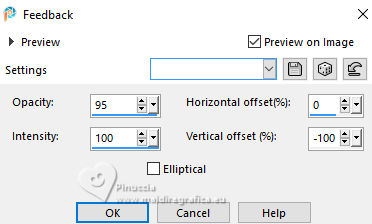
10. Effects>Geometric Effects>Perspective vertical.
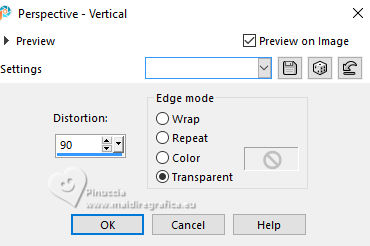
11. Image>Mirror>Mirror vertical (Image>Flip).
12. Effects>Plugins>Nik Software - Color Efex Pro - Tonal Contrast, default settings.
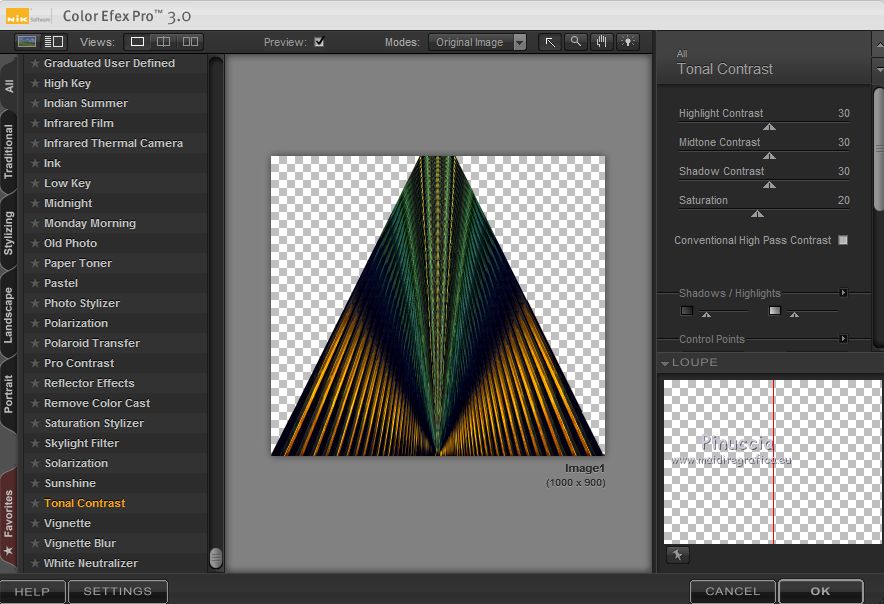
13. Layers>Duplicate.
14. Effects>Image Effects>Seamless Tiling, default settings.

15. Activate your Selection Tool 
(no matter the type of selection, because with the custom selection your always get a rectangle)
clic on the Custom Selection 
and set the following settings.
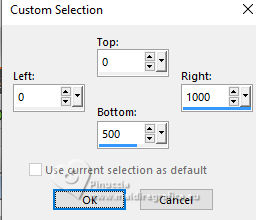
Press CANC on the keyboard 
Selections>Select None.
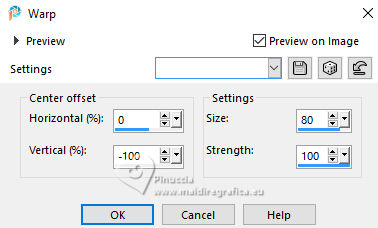
16. Effects>Distortion Effects>Warp - 3 times with these settings.
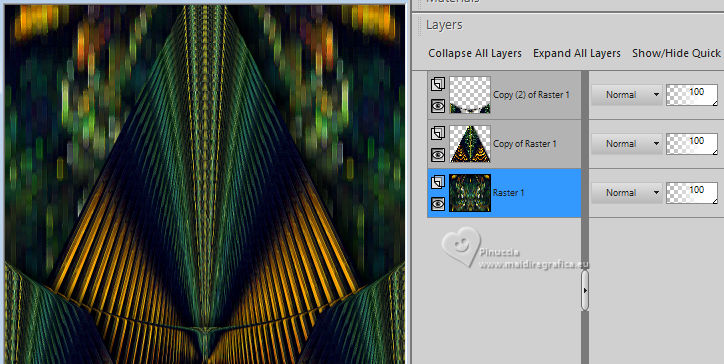
17. Activate the layer Raster 1.
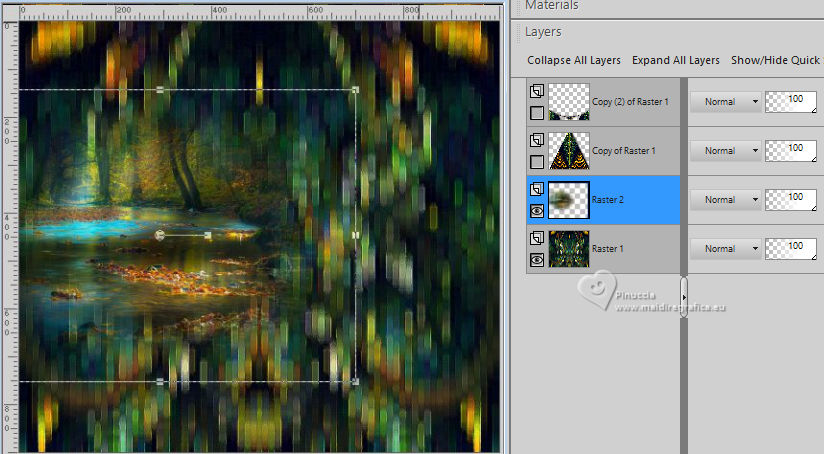
Open the misted GrisiMistedLand368 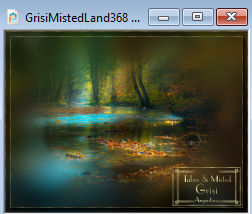
Édition>Copier.
Revenir sur votre travail et Édition>Coller comme nouveau calque.
Move  the tube to the left side. the tube to the left side.
close the other layers, if necessary to see better
18. Layers>Duplicate.
Image>Mirror>Mirror horizontal.
Layers>Merge>Merge Down.
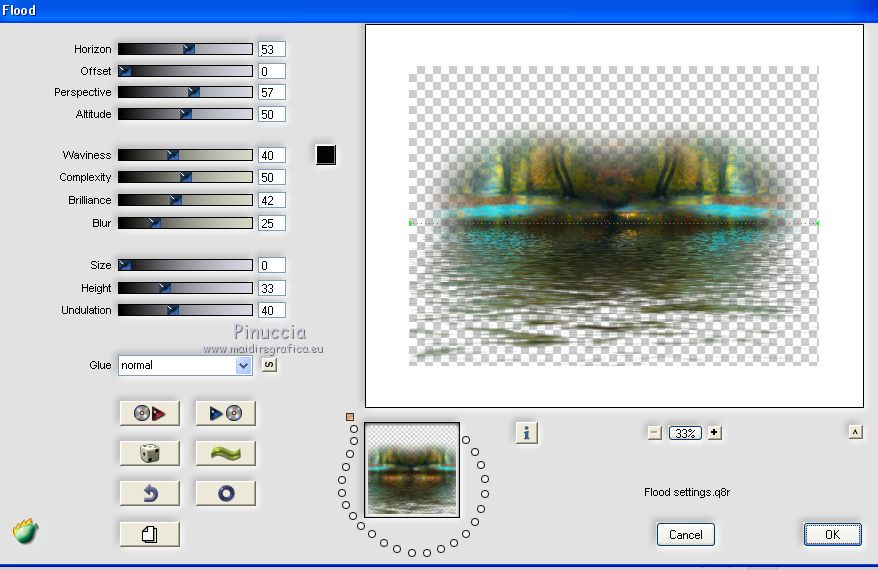
19. Effects>Plugins>Flaming Pear - Flood.
20. Effects>Plugins>FM Tile Tools - Saturation emboss, default settings.

21. Open the two top layers
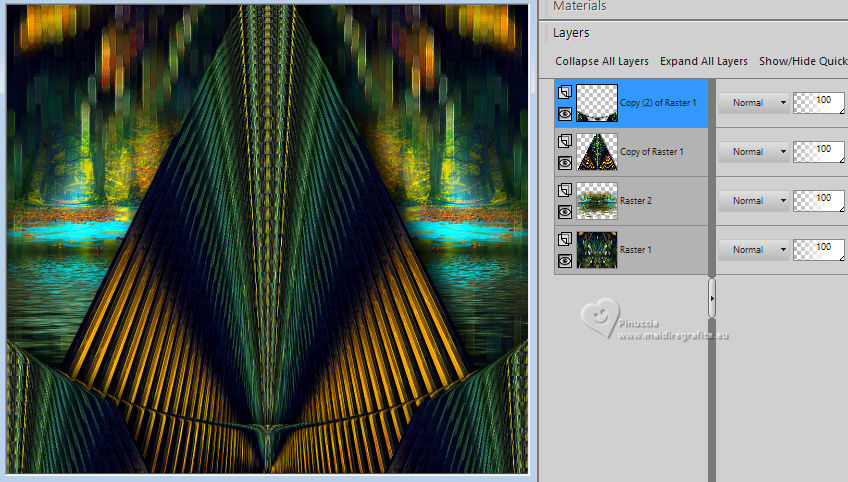
On the other two layers: Adjust>Sharpness>Sharpen (Optional).
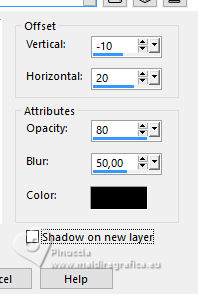
22. On the 2 layers:
Effects>3D Effects>Drop Shadow.
23. Open the man's tube 4989-luzcristina 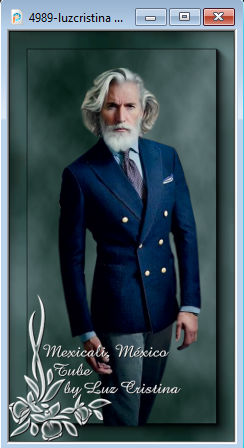
Edit>Copy.
Go back to your work and go to Edit>Paste as new layer.
Move  the tube to the left side. the tube to the left side.
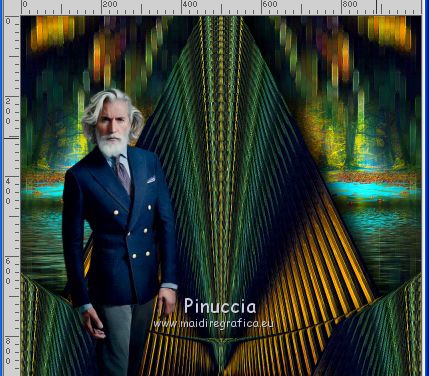
Effects>3D Effects>Drop Shadow, same settings.
24. for the borders: set your foreground color to #2abcb0,
and your background color to #143029.
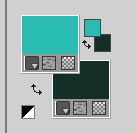
25. Image>Add Borders, 5 pixels, symmetric, dark color.
Image>Add Borders, 5 pixels, symmetric, light color.
Image>Add Borders, 5 pixels, symmetric, dark color.
Image>Add Borders, 5 pixels, symmetric, light color.
Image>Add Borders, 35 pixels, symmetric, dark color.
26. Activate your Magic Wand Tool 
and click in the last border to select it.
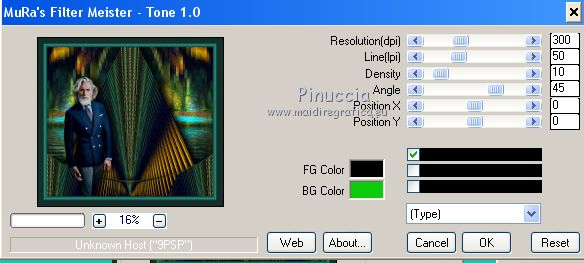
27. Effects>Plugins>Mura's Meister - Tone.
28. Effects>Plugins>FM Tile Tools - Blend Emboss, default settings.

29. Effects>3D Effects>Inner Bevel.
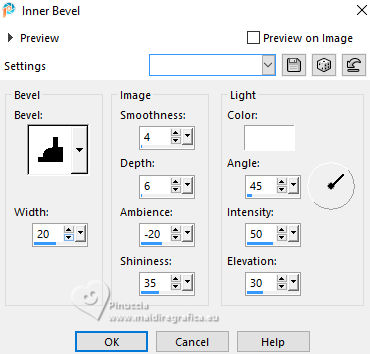
Selections>Select None.
30. Image>Resize, to 84%, resize all layers checked.
31. Sign your work and save as jpg.
For the tubes of this version thanks Beatriz and Nena Silva
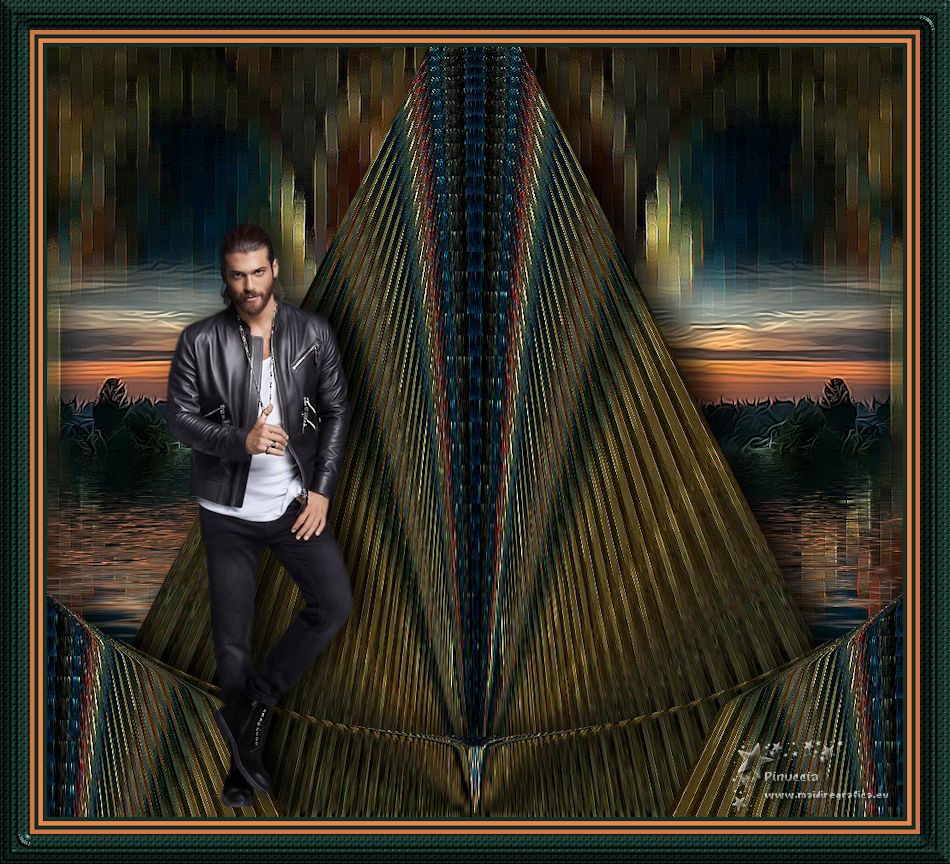


If you have problems or doubts, or you find a not worked link,
or only for tell me that you enjoyed this tutorial, write to me.
20 March 2024
|

