|
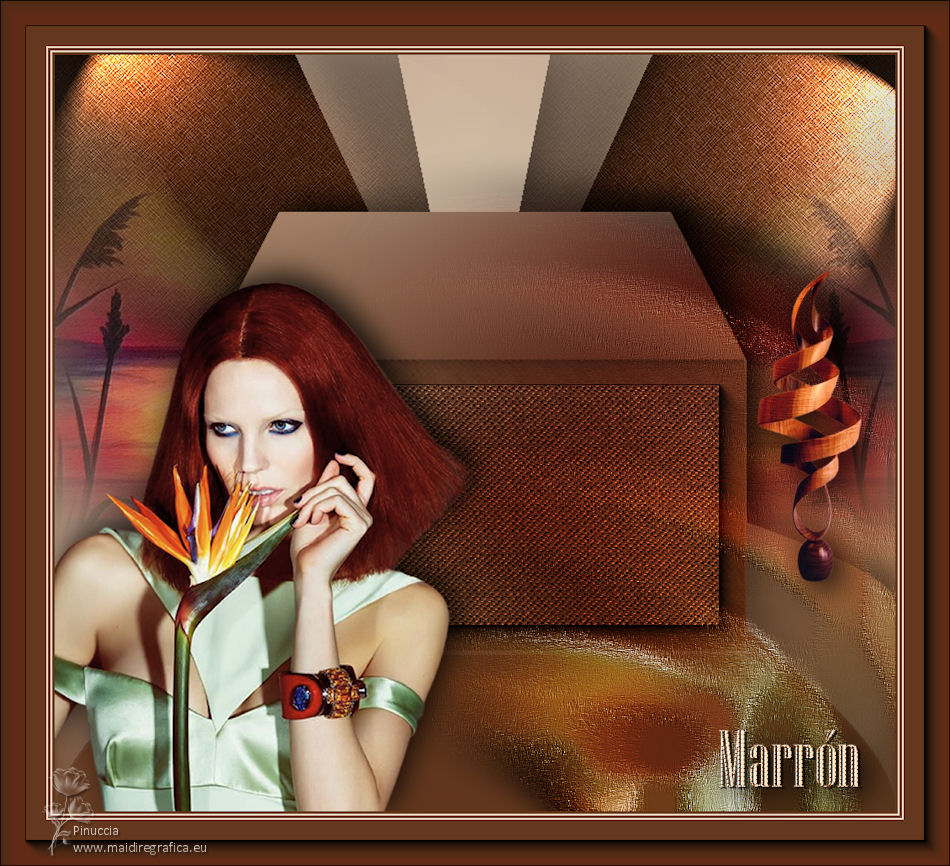
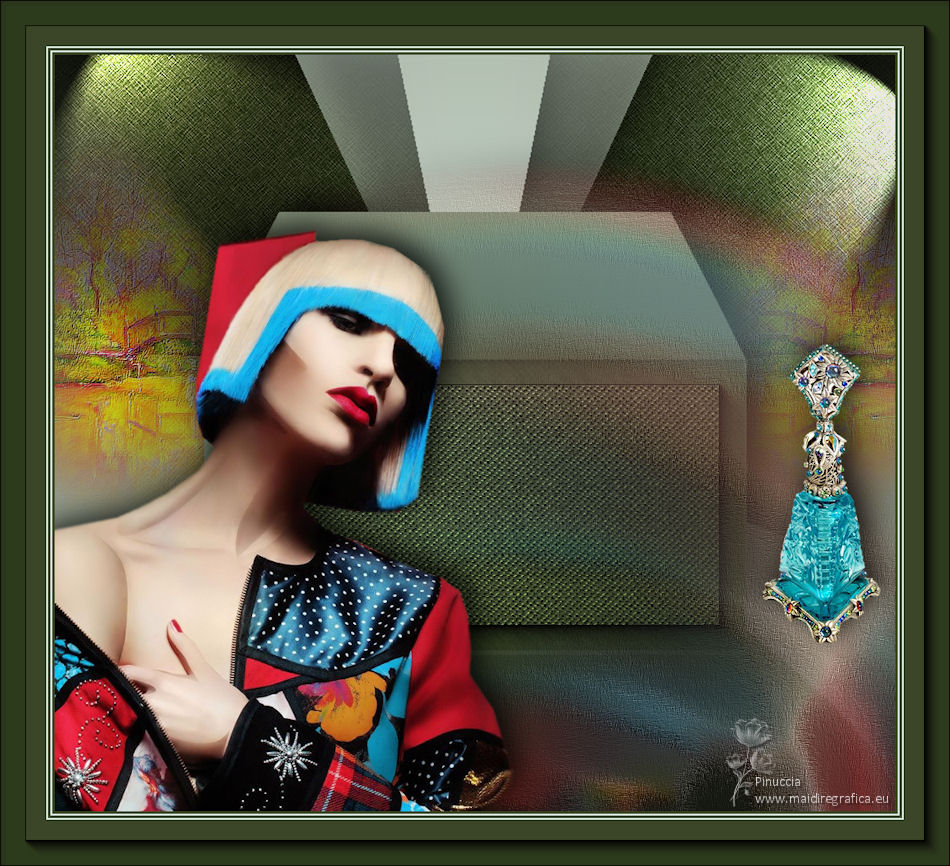
TOP MARRON


Thanks Luz Cristina for your invitation to translate your tutorials into english

This tutorial, created with PSP9, was translated with Psp2020, but it can also be made using other versions of PSP.
Since version PSP X4, Image>Mirror was replaced with Image>Flip Horizontal,
and Image>Flip with Image>Flip Vertical, there are some variables.
In versions X5 and X6, the functions have been improved by making available the Objects menu.
In the latest version X7 command Image>Mirror and Image>Flip returned, but with new differences.
See my schedule here
 French Translation here French Translation here
 Your versions here Your versions here

For this tutorial, you will need:

For the tubes thanks Luz Cristina
(The links of the tubemakers here).

consult, if necessary, my filter section here
Filters Unlimited 2.0 here
Filter Factory Gallery B - Button Deluxe here
FM Tile Tools - Saturation Emboss, Blend Emboss here
Mura's Meister - Tone here
Artistic - Rough Pastels here
AAA Frames - Foto Frame here
Brush Strokes - Crosshatch here
Filters Factory Gallery can be used alone or imported into Filters Unlimited.
(How do, you see here)
If a plugin supplied appears with this icon  it must necessarily be imported into Unlimited it must necessarily be imported into Unlimited

You can change Blend Modes according to your colors.
In the newest versions of PSP, you don't find the foreground/background gradient (Corel_06_029).
You can use the gradients of the older versions.
The Gradient of CorelX here

1. Open a new transparent image 1000 x 900 pixels.
2. Set your foreground color to #64381e,
and your background color to #f3ddc5.
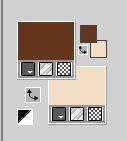
Set your foreground color to a Foreground/Background Gradient, style Linear.
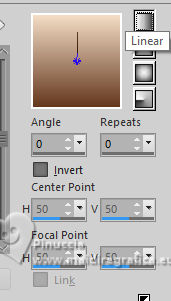
Flood Fill  the transparent image with your gradient. the transparent image with your gradient.
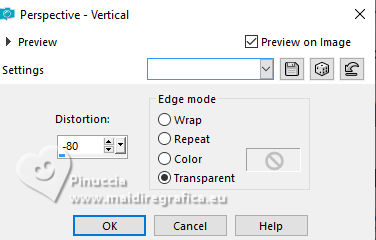
3. Effects>Geometric Effects>Perspective vertical.
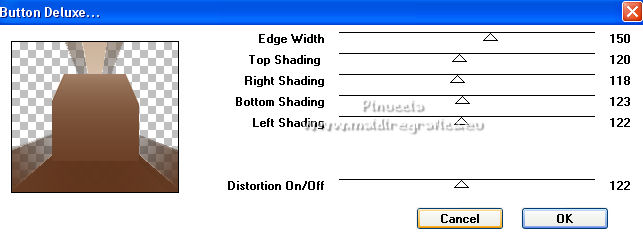
4. Effects>Plugins>Filter Factory Gallery B - Button Deluxe
5. Layers>New Raster Layer.
Layers>Arrange>Send to Bottom.
Flood Fill  the layer with your Gradient. the layer with your Gradient.
Image>Mirror>Mirror Vertical (Image>Flip).
Stay on this layer.
6. Open your landscape misted misted-luzcristina 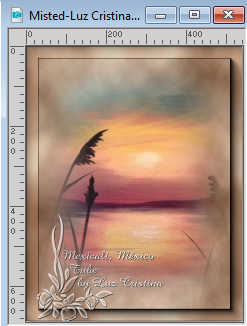
Edit>Copy.
Go back to your work and go to Edit>Paste as new layer.
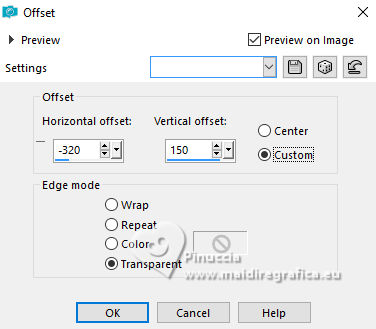
7. Effects>Image Effects>Offset.
8. Effects>Reflection Effects>Rotating Mirror.

9. Effects>Plugins>FM Tile Tools - Saturation Emboss.

10. Activate your top layer, Raster 1.
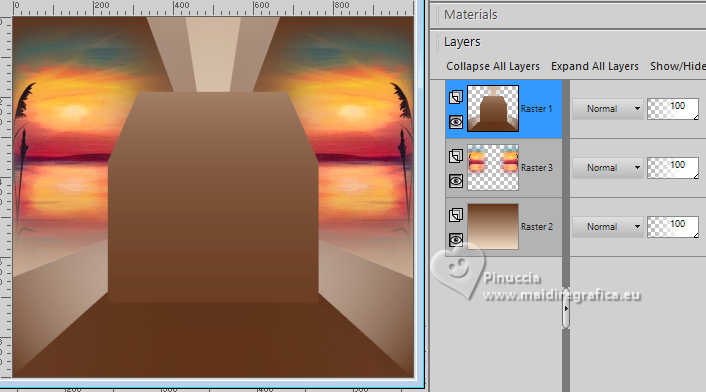
Effects>Geometric Effects>Cylinder Vertical.
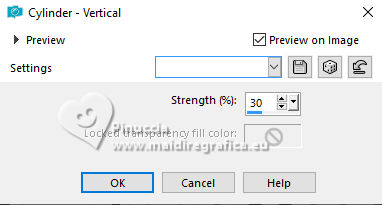
11. Activate your Freehand Selection Tool  with these settings with these settings

12. Select the rectangle, as below.
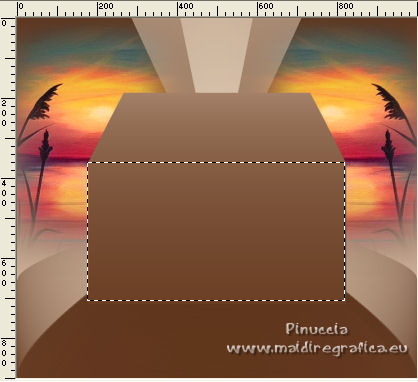
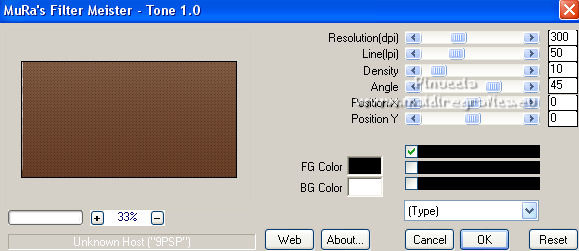
13. Effects>Plugins>Mura's Meister - Tone, default settings.
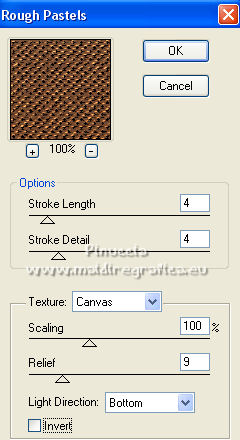
14. Effects>Plugins>Artistic - Rough Pastels.
If you use the french version the result doesn't change:
Effects>Plugins>Artistiques>Pastels
 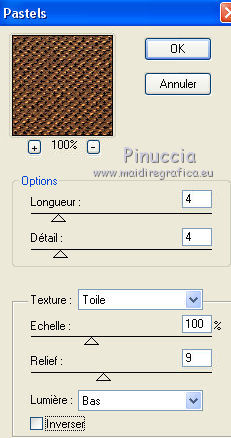
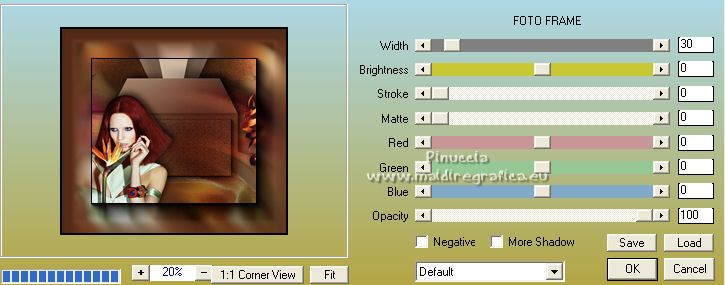
15. Effects>Plugins>AAA Frames - Foto Frame.
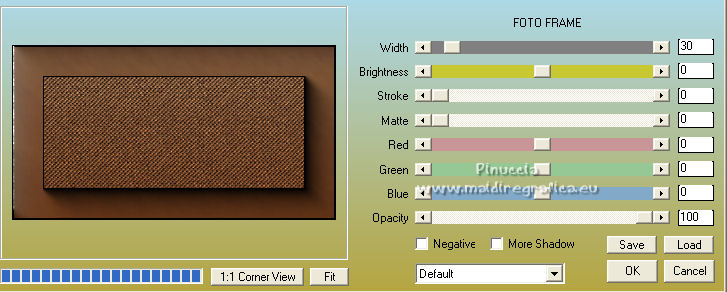
Selections>Select None.
16. Effects>3D Effects>Drop Shadow.
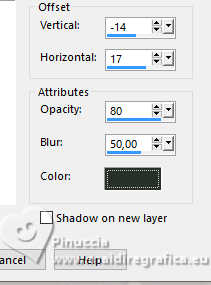
17. Layers>Duplicate.
Layers>Arrange>Move Down.
18. Adjust>Blur>Radial Blur.
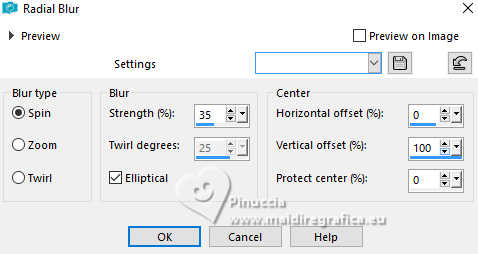
Image>Mirror>Mirror Vertical (Image>Flip).
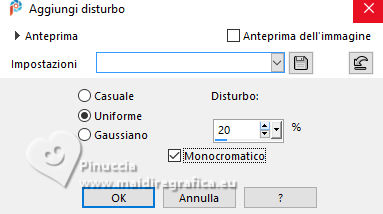
19. Adjust>Add/Remove Noise>Add Noise.
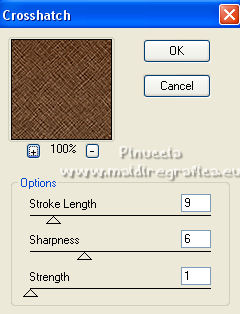
20. Effects>Plugins>Brush Strokes - Crosshatch.
21. Effects>Illumination Effects>Lights.
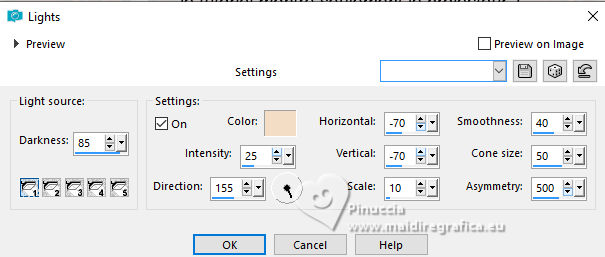
The tutorial only shows projector 1
If you don't like your results, here are my settings for the other projectors
2
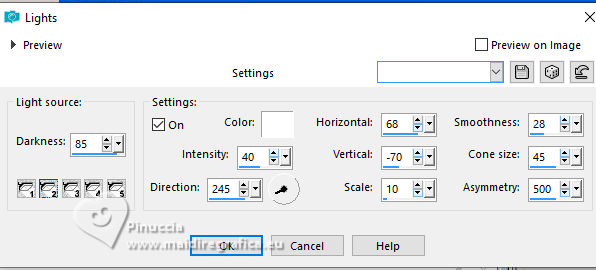
3
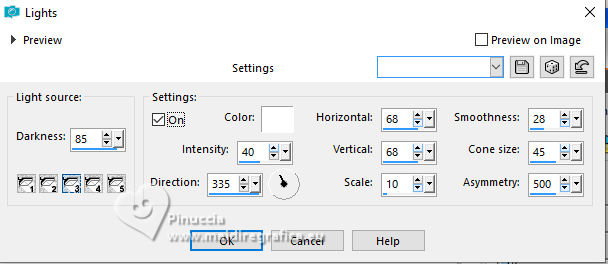
4
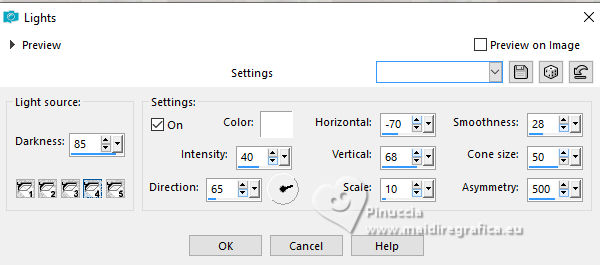
5
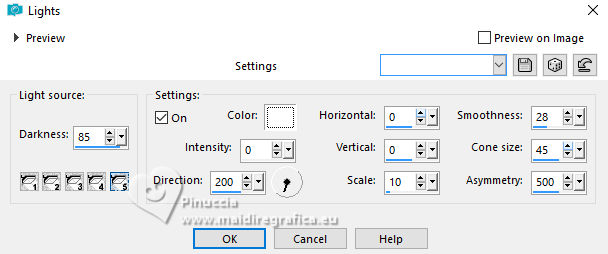
22. Activate the layer raster 1.
Open your woman's tube 7322-LuzCristina 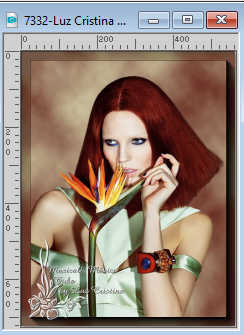
Edit>Copy.
Go back to your work and go to Edit>Paste as new layer.
Move  the tube at the bottom left. the tube at the bottom left.
23. Effects>3D Effects>Drop Shadow.
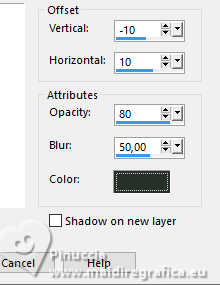
24. Layers>Duplicate.
Layers>Arrange>Move Down.
Image>Mirror>Mirror horizontal.
25. Adjust>Blur>Radial Blur, same settings.

26. Effects>Geometric Effects>Spherize.
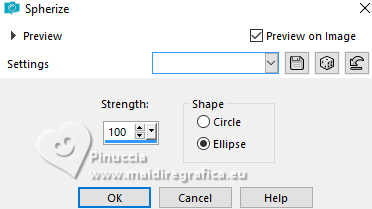
27. Effects>Art Media Effects>Brush Strokes.
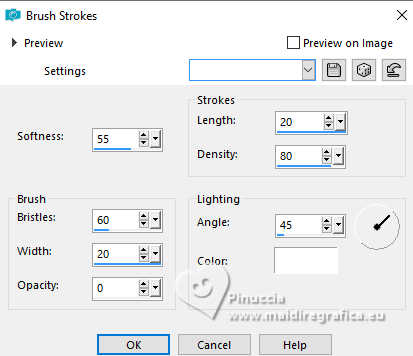
28. Effects>Plugins>FM Tile Tools - Blend Emboss.

29. Change the Blend Mode of this layer to Hard Light
(adapt Blend Mode and opacity to your liking).
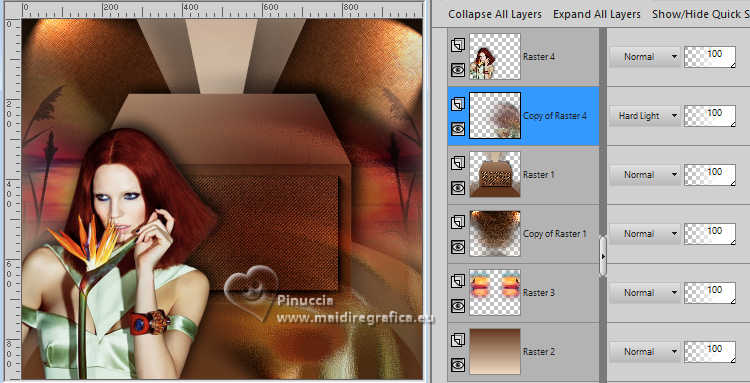
30. Open the deco tube deco9-luzcristina 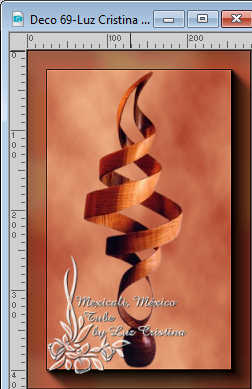
Edit>Copy.
Go back to your work and go to Edit>Paste as new layer.
Move  the tube to your liking. the tube to your liking.
Effects>3D Effects>Drop Shadow, same settings.
31. Image>Add Borders, 3 pixels, symmetric, dark color.
Image>Add Borders, 2 pixels, symmetric, light color.
Image>Add Borders, 3 pixels, symmetric, dark color.
Image>Add Borders, 3 pixels, symmetric, light color.
Image>Add Borders, 55 pixels, symmetric, dark color.
32. Effects>Plugins>AAA Frames - Foto Frame, same settings.
33. Open the text 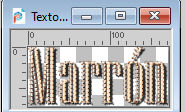
Edit>Copy.
Go back to your work and go to Edit>Paste as new layer.
Place  the text to your liking. the text to your liking.
34. Layers>Merge>Merge visible.
Image>Resize, to 83%, resize all layers checked.
35. Sign your work and save as jpg.
For the tubes of these versions thanks
Luz Cristina and Mentali
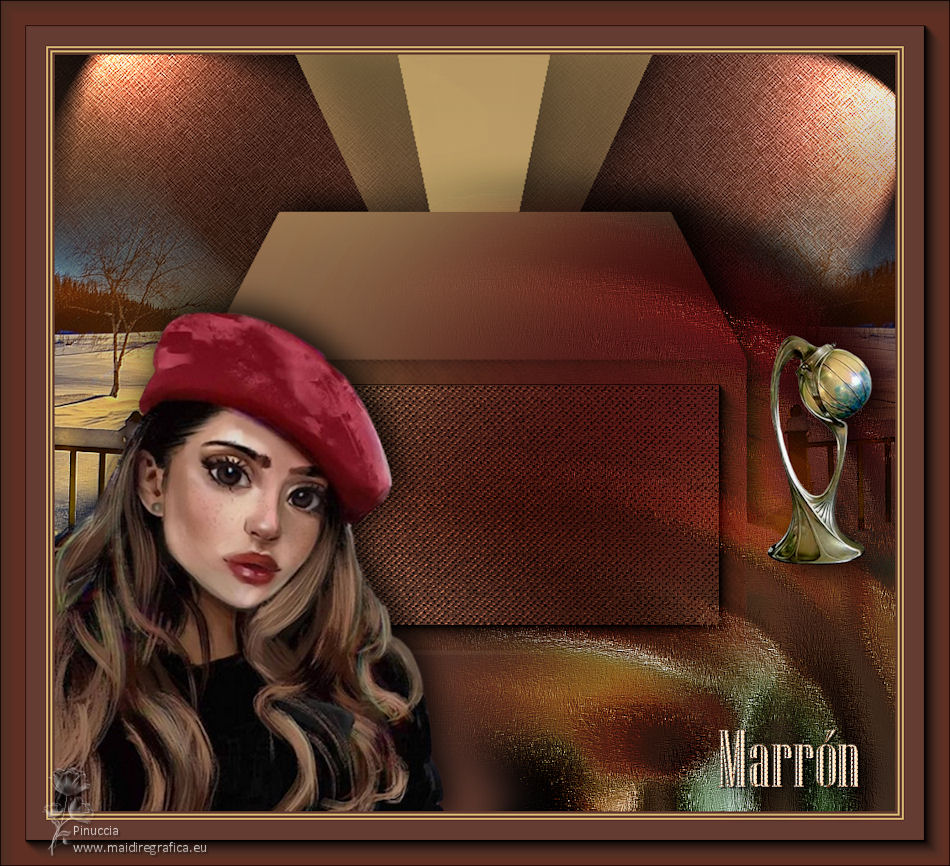
Luz Cristina

If you have problems or doubts, or you find a not worked link,
or only for tell me that you enjoyed this tutorial, write to me.
18 April 2025

|

