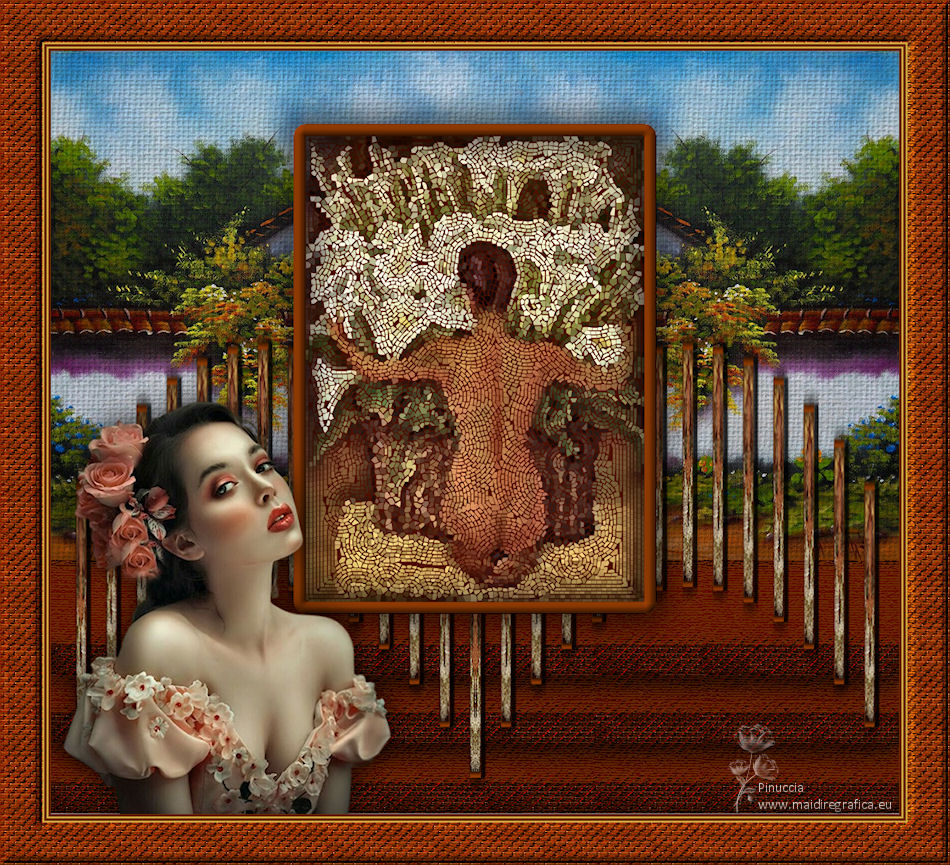
|
TOP MOSAICO


Thanks Luz Cristina for your invitation to translate your tutorials into english

This tutorial, created with PSP2022, was translated with PspX7, but it can also be made using other versions of PSP.
Since version PSP X4, Image>Mirror was replaced with Image>Flip Horizontal,
and Image>Flip with Image>Flip Vertical, there are some variables.
In versions X5 and X6, the functions have been improved by making available the Objects menu.
In the latest version X7 command Image>Mirror and Image>Flip returned, but with new differences.
See my schedule here
 French Translation here French Translation here
 Your versions here Your versions here

For this tutorial, you will need:

Tubes by Luz Cristina .
(The links of the tubemakers here).
*It is forbidden to remove the watermark from the supplied tubes, distribute or modify them,
in order to respect the work of the authors

consult, if necessary, my filter section here
Artistic - Rough Pastel here
Mura's Meister - Copies ici
Alien Skin Eye Candy 5 Impact - Extrude ici
Xenofex 2 - Classic Mosaic ici

You can change Blend Modes according to your colors.

Copy the textures in the Textures Fonder.
1. Open a new transparent image 1000 x 900 pixels.
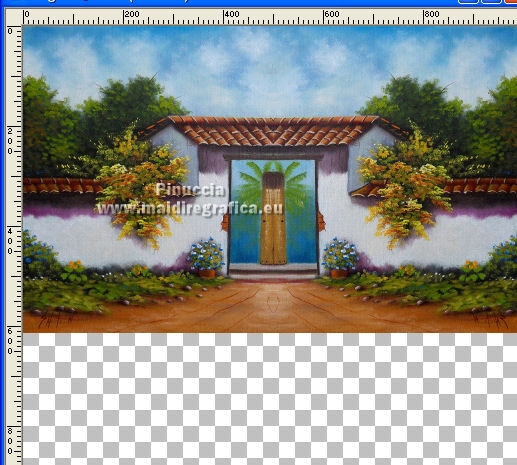
2. Open the jpg image image.jpg.jpg 2.dat 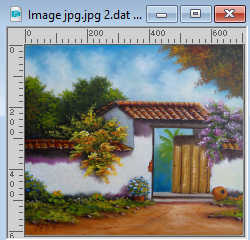
Edit>Copy.
Go back to your work and go to Edit>Paste as new layer.
Move  the tube up. the tube up.
Activate your Pick Tool 
Position X and Y to 0,00.
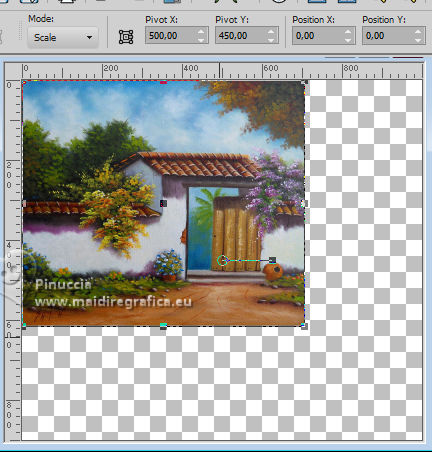
3. Effects>Reflection Effects>Rotating Mirror.

4. You are free to skip the next step; it depends on your image.
This step is only necessary if you are using the provided image.
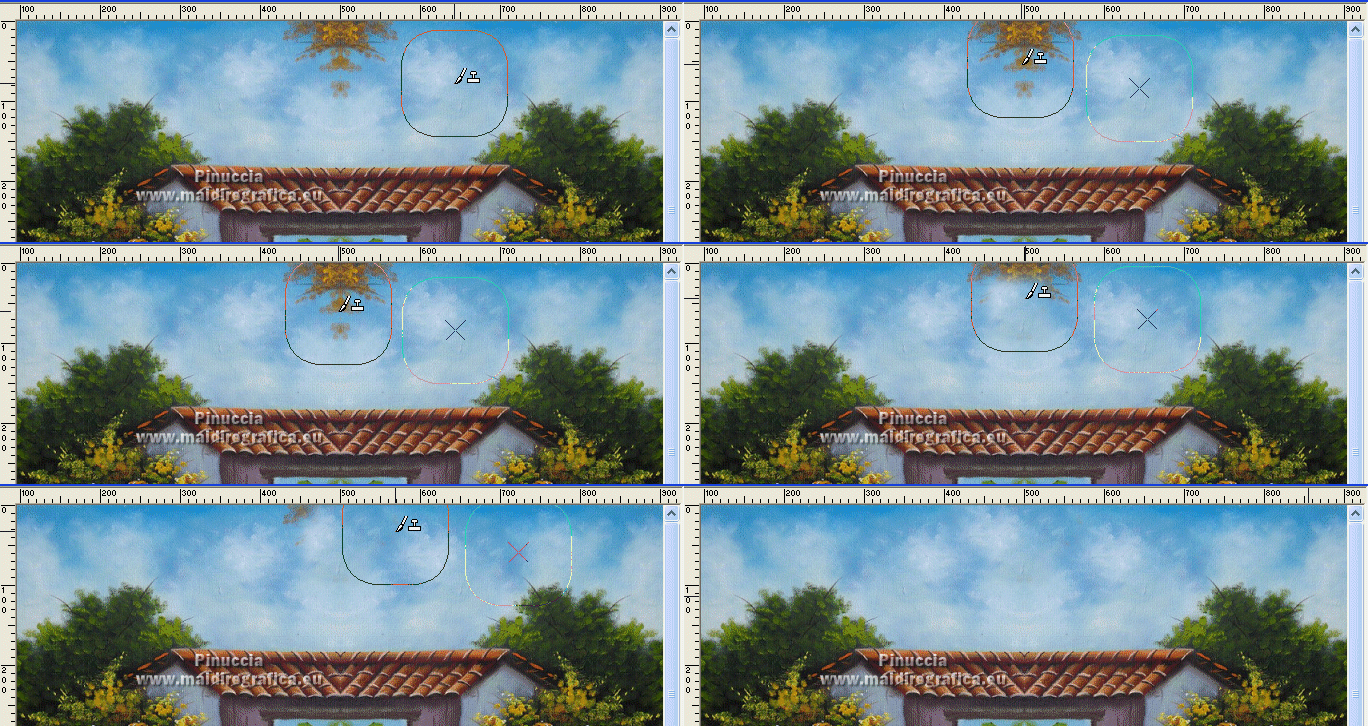
Activate your Clone Brush 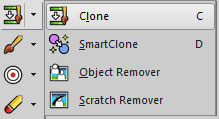 with these settings with these settings

Right-click on a piece of the sky
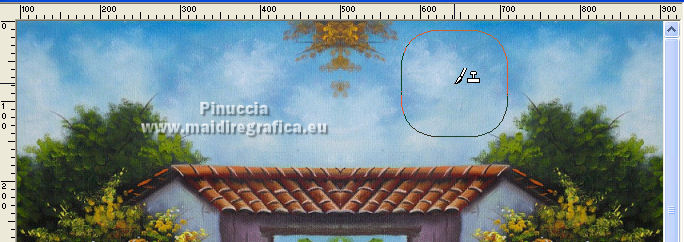
and then left-click in the center
to apply the cloud to the previous image.
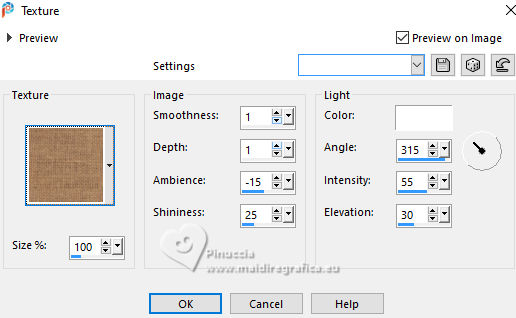
5. Effects>Texture Effects>Texture - select the texture Hessian1
6. Layers>New Raster Layer.
Selection Tool 
(no matter the type of selection, because with the custom selection your always get a rectangle)
click on the Custom Selection 
and set the following settings.
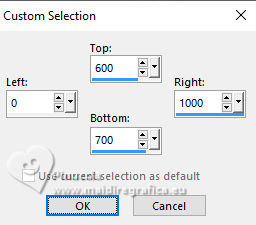
7. Set your foreground color to #692b03 
Flood Fill  the selection with your foreground color. the selection with your foreground color.
Selections>Select None.
8. Effects>Plugins>Alien Skin Eye Candy 5 Impact - Extrude.
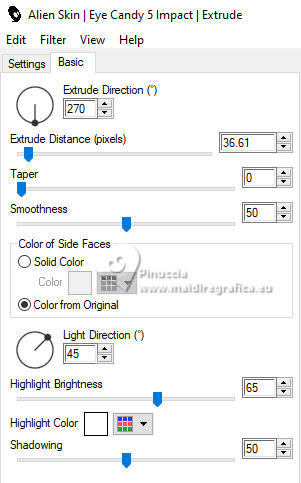
9. Activate your Magic Wand Tool 
and click in the dark part to select it.
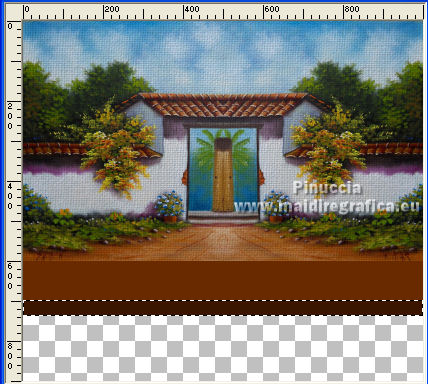
Effects>Texture Effects>Texture - select the texture Ladrillos pequeños
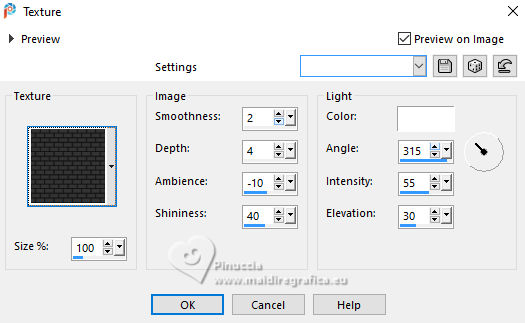
Selections>Select None.
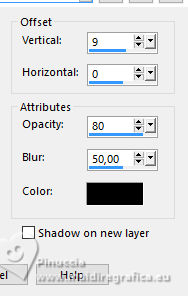
Effects>3D Effects>Drop shadow.
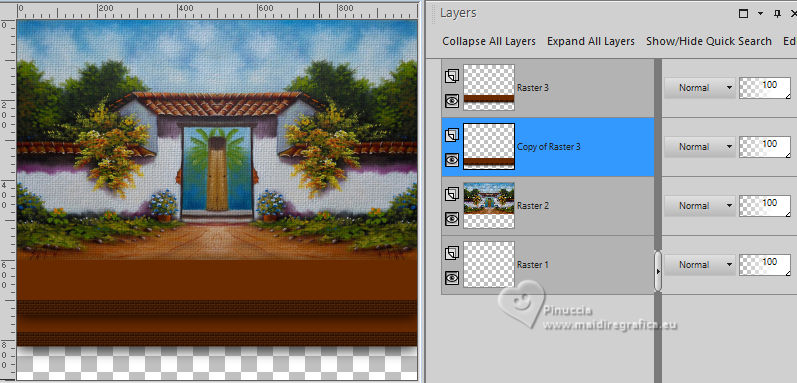
10. Layers>Duplicate.
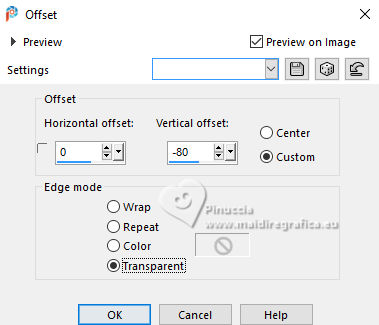
Effects>Image Effects>Offset.
Layers>Arrange>Move Down.
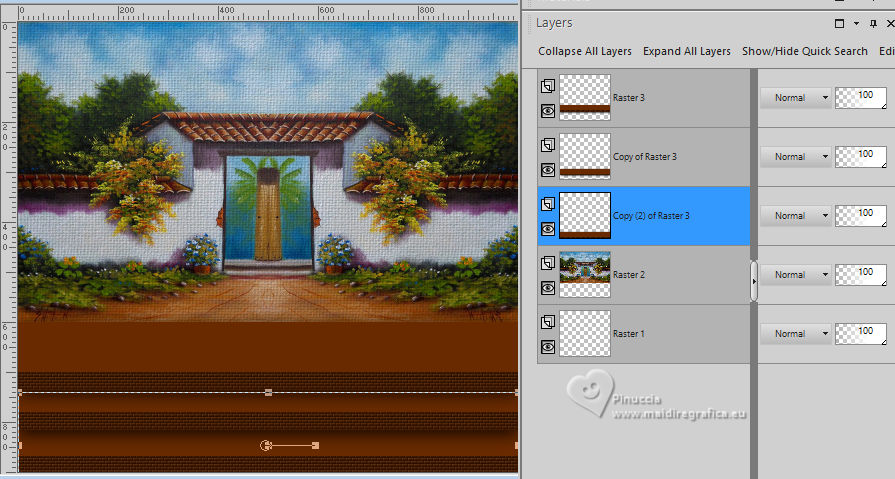
11. Layers>Duplicate.
Layers>Arrange>Move Down.
And we have a three-step staircase.
Move  the third step to the bottom edge. the third step to the bottom edge.
12. Activate your top layer, Raster 3.
Layers>Merge>Merge Down - 2 times,
to have the steps on a single layer.
13. Effects>Plugins>Artistic - Rough Pastels
If you use the french version of this filter (the result doesn't change):
Effects>Plugins>Artistiques>Pastels
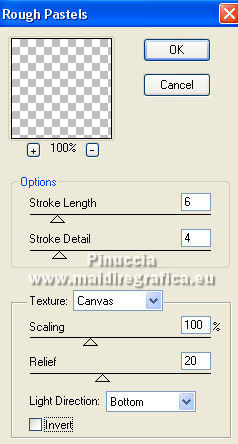 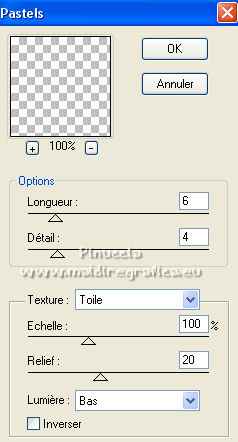
If you want the fabric to be coarser, you can reapply the filter;
My version and my third version have two applications.
My second version only one.
14. Layers>New Raster Layer.
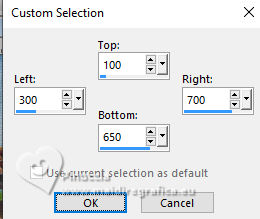
Custom Selection 
15. Open the painting Pintura Diego Rivera (mexican painter) 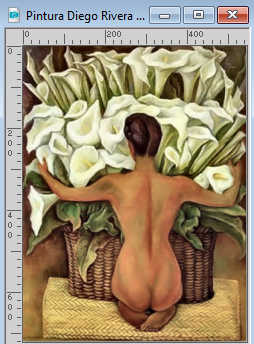
Edit>Copy.
Go back to your work and go to Edit>Paste into Selection.
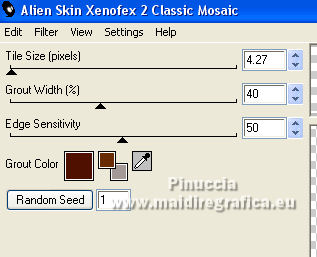
16. Effects>Plugins>Alien Skin Xenofex 2 - Classic Mosaic
17. Selections>Modify>Select Selection Borders.
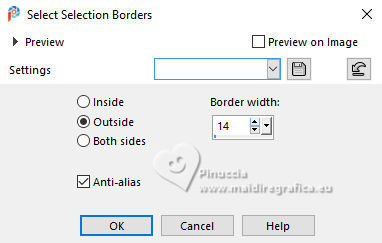
Flood Fill  the selection with your foreground color. the selection with your foreground color.
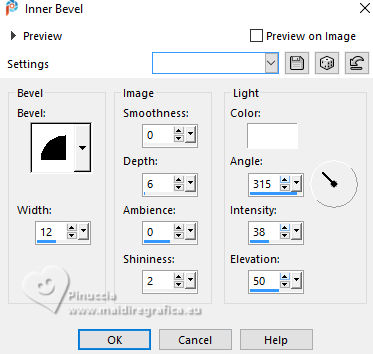
18. Effects>3D Effects>Inner Bevel.
19. Effects>3D Effects>Drop Shadow.
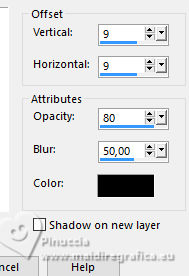
Repeat Drop Shadow, vertical and horizontal -9.
Selections>Select None.
20. Duplicate the painting: Layers>Duplicate.
21. Effects>Geometric Effects>Perspective vertical.
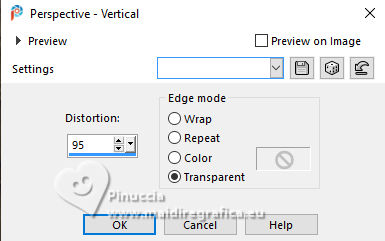
Image>Mirror>Mirror vertical (Image>Flip).
Effects>Geometric Effects>Perspective Vertical, same settings.
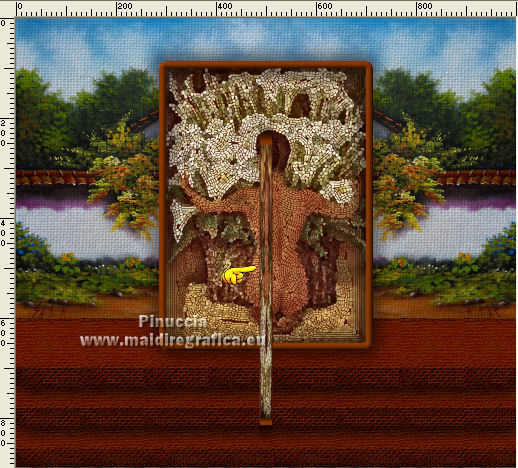
Image>Resize, to 50%, resize all layers not checked.
22. Effects>Plugins>Mura's Meister - Copies.
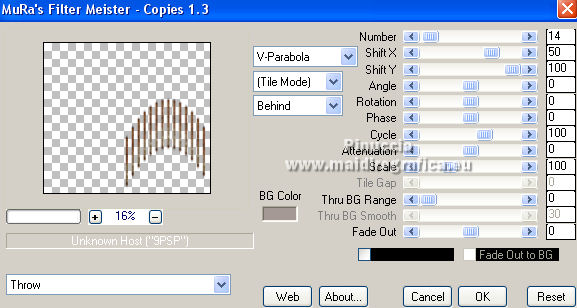
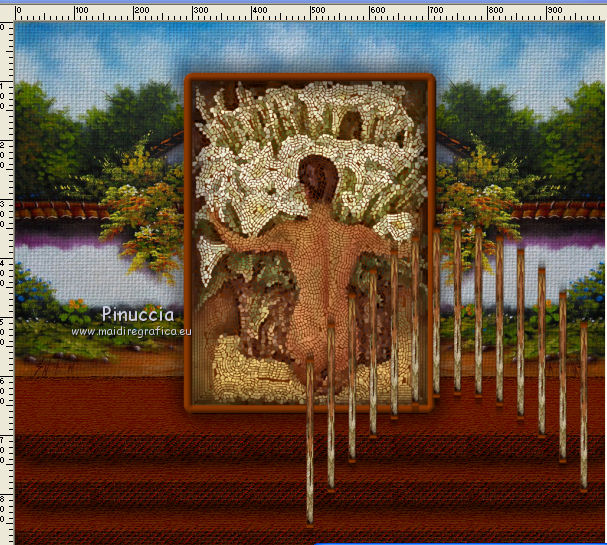
23. Image>Mirror>Mirror horizontal (Image>Mirror).
Effects>Reflection Effects>Rotating Mirror.

24. Effects>3D Effects>Drop shadow.
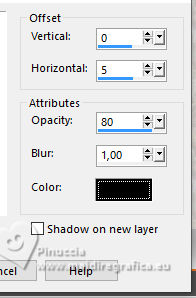
Layers>Arrange>Move Down.
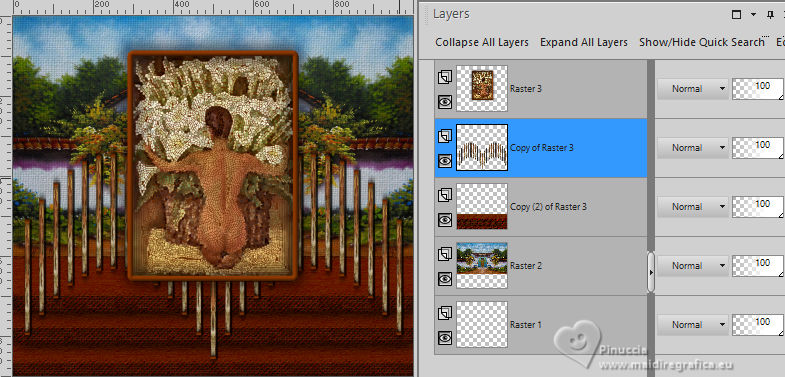
25. Activate your top layer.
Open the woman's tube 7227-Luz Cristina 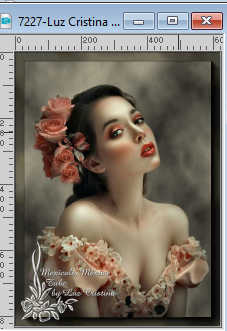
Edit>Copy.
Go back to your work and go to Edit>Paste as new layer.
Image>Resize, to 70%, resize all layers not checked.
Move  the tube to the left side. the tube to the left side.
26. Effects>3D Effects>Drop Shadow.
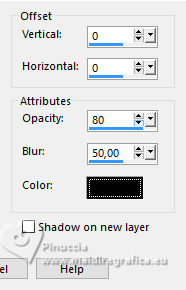
27. Set your background color to #cfa33f
(your foreground color is still #692b03).
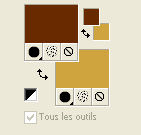
Image>Add borders, 3 pixels, symmetric, foreground color #692b03.
Image>Add borders, 2 pixels, symmetric, background color #cfa33f.
Image>Add borders, 3 pixels, symmetric, foreground color #692b03.
Image>Add borders, 2 pixels, symmetric, background color #cfa33f.
Image>Add borders, 50 pixels, symmetric, dark foreground color #692b03.
Activate your Magic Wand Tool 
and click in the last border to select it.
28. Effects>Texture Effects>Textures, last settings (texture Ladrillos pequeños)

29. Effects>Plugins>Artistic - Rough Pastels, same settings.

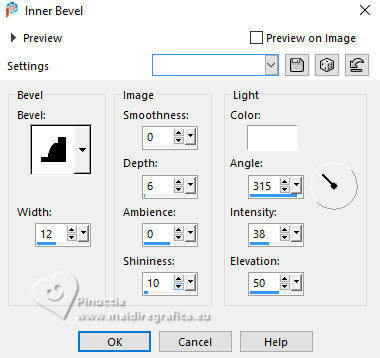
30. Effects>3D Effects>Inner Bevel.
Selections>Select None.
Image>Resize, to 84%, resize all layers not checked.
Sign your work and save as jpg.
For the tubes of these version thanks Luz Cristina
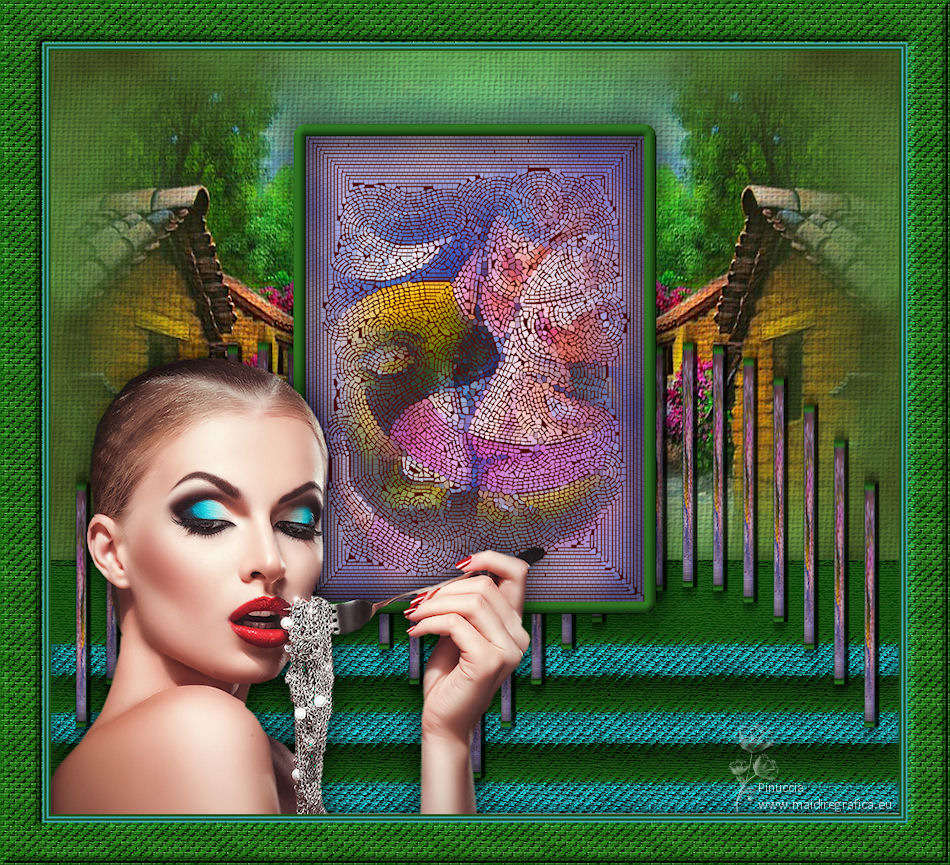
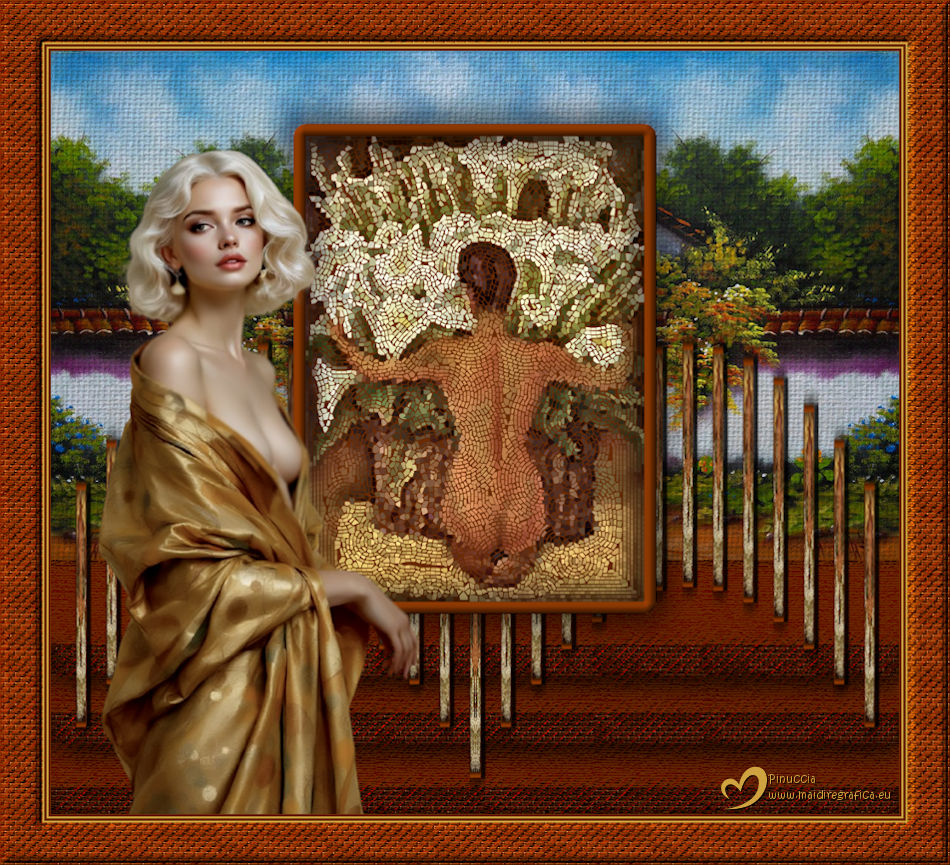


If you have problems or doubts, or you find a not worked link,
or only for tell me that you enjoyed this tutorial, write to me.
20 March 2025

|

