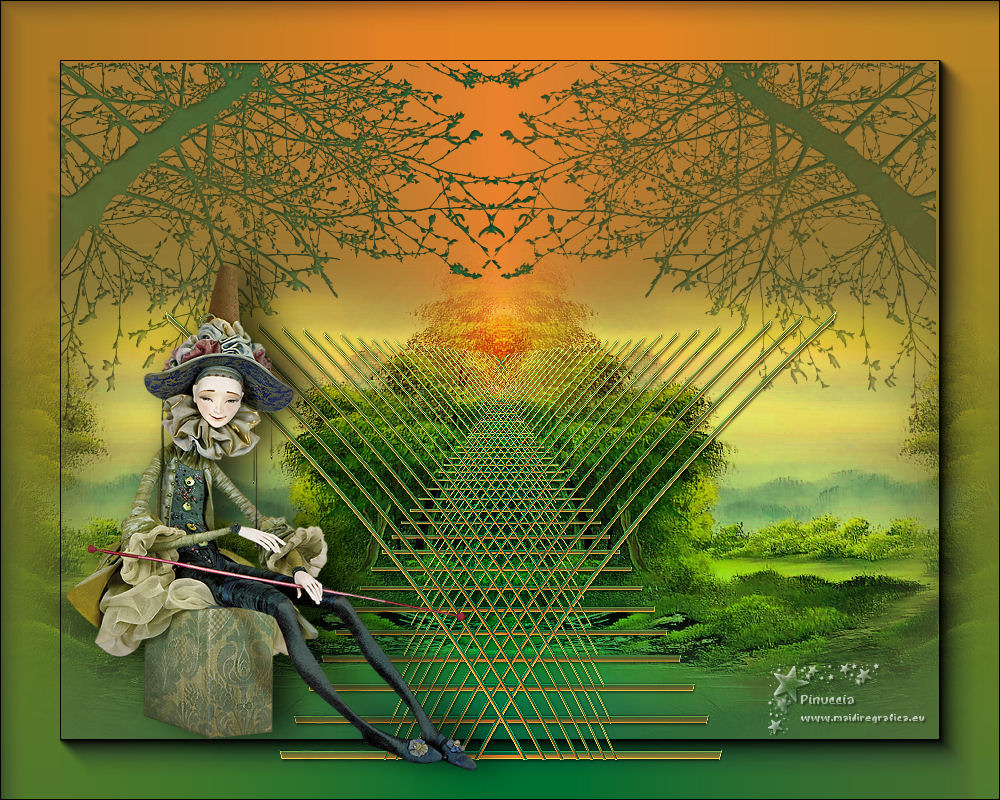
|
TOP MUNDO FANTASTICO


Thanks Luz Cristina for your invitation to translate your tutorials into english

This tutorial, created with PSP9, was translated with PspX9, but it can also be made using other versions of PSP.
Since version PSP X4, Image>Mirror was replaced with Image>Flip Horizontal,
and Image>Flip with Image>Flip Vertical, there are some variables.
In versions X5 and X6, the functions have been improved by making available the Objects menu.
In the latest version X7 command Image>Mirror and Image>Flip returned, but with new differences.
See my schedule here
 French Translation here French Translation here
 Your versions here Your versions here

For this tutorial, you will need:

For the tubes thanks Luz Cristina and Jhanna.
(The links of the tubemakers here).

consult, if necessary, my filter section here
AAA Frames - Foto Frame here

You can change Blend Modes according to your colors.
In the newest versions of PSP, you don't find the foreground/background gradient (Corel_06_029).
You can use the gradients of the older versions.
The Gradient of CorelX here

Copy the brush in the Brushs Folder.
Attention, please, the brush is composed by two files, you must place both the files in the folder.
See my notes about Brushes here
1. Open a new transparent image 1000 x 800 pixels.
2. Set your foreground color to #eb182d,
and your background color to #02653d.
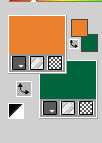
Set your foreground color to a Foreground/Background Gradient, style Radial
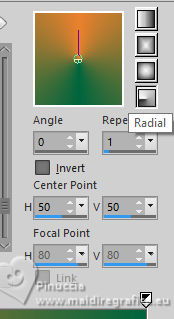
Flood Fill  the transparent image with your Gradient. the transparent image with your Gradient.
3. Layers>Duplicate.
Activate the layer Raster 1.
Image>Mirror>Mirror Vertical (Image>Flip).
Activate again the layer Copy of Raster 1.
Activate your Erase Tool  , ,
select the brush aDr_spring_branches001, with these settings.

Apply about 3 strokes with the brush, leaving a gap in the length and width.
Use the ruler in width they rest at 300 and in length at 250.
5 Image>Mirror>Mirror Horizontal.
Apply the brush again as in the previous step and you'll have something like this:
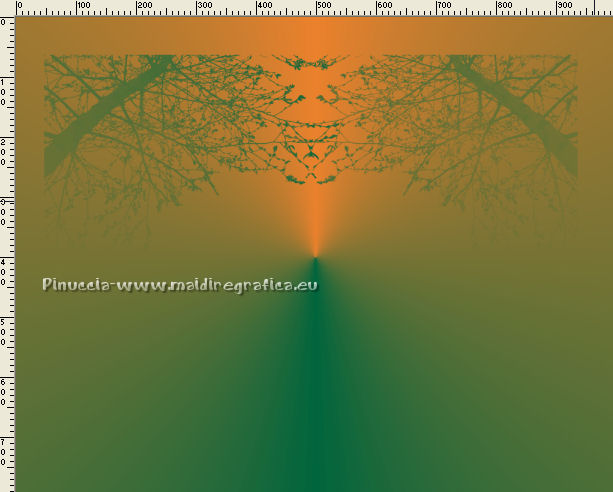
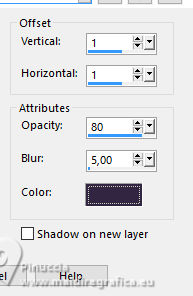
6. Effects>3D Effects>Drop Shadow.
7. Activate the layer Raster 1.
Layers>Duplicate.
Layers>Arrange>Bring to Top.
8. Effects>Geometric Effects>Perspective horizontal.
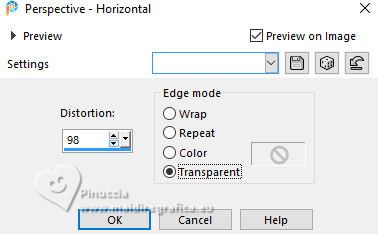
Image>Mirror>Mirror Horizontal.
Repeat Effects>Geometric Effects>Perspective horizontal, same settings.
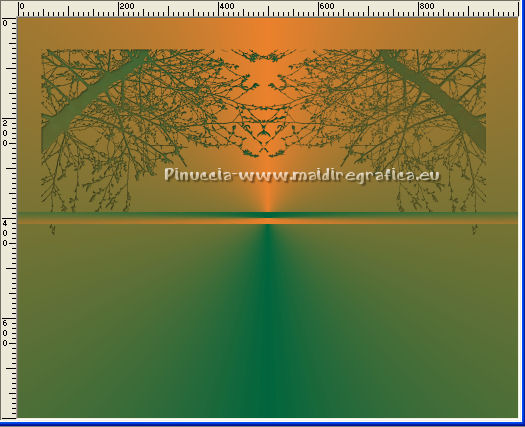
Resultat
9. Image>Resize, to 80%, resize all layers not checked.
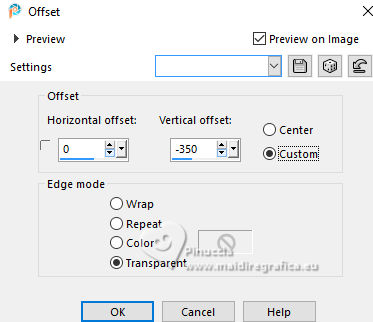
10. Effects>Image Effects>Offset.
11. Effects>Reflection Effects>Feedback.
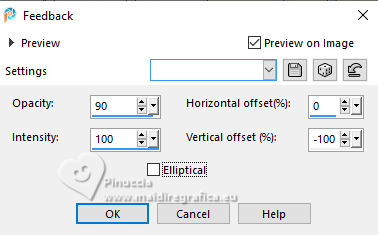
12. Activate your Pick Tool 
mode Scale 
drag the top center node down, down to 400 pixels
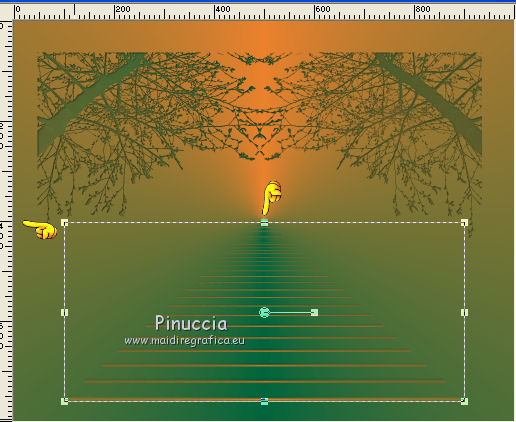
13. Layers>Duplicate.
14. Effects>Geometric Effects>Skew.
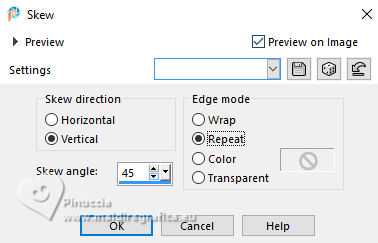
15. Effects>Image Effects>Offset.
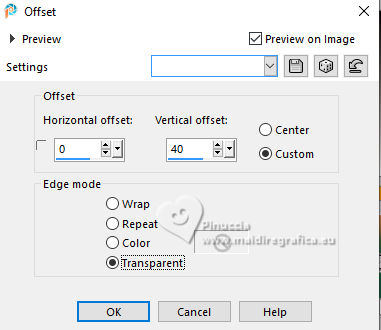
16. Layers>Duplicate.
Image>Mirror>Mirror Horizontal.
Layers>Merge>Merge Down - 2 times.
17. Effects>3D Effects>Drop Shadow.

18. Effects>Geometric Effects>Pentagon.
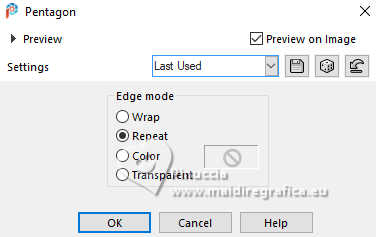
Effects>Edge Effects>Enhance (optional).
19. Open the landscape 3038-luzcristina 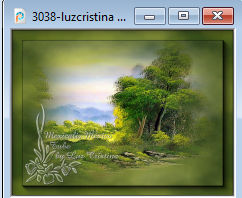
Edit>Copy.
Go back to your work and go to Edit>Paste as new layer.
Move  the tube to the left side. the tube to the left side.
20. Layers>Arrange>Move Down.
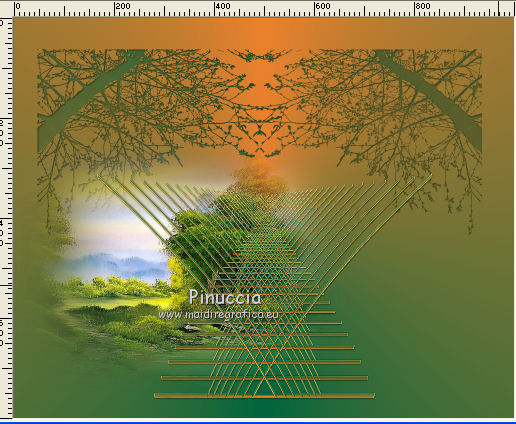
21. Layers>Duplicate.
Image>Mirror>Mirror Horizontal.
Change the Blend Mode of these two layer to Overlay, or to your liking.
22. Activate the layer Copy of Raster 1.
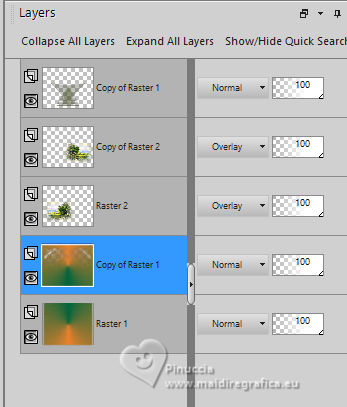
Layers>Merge>Merge Down.
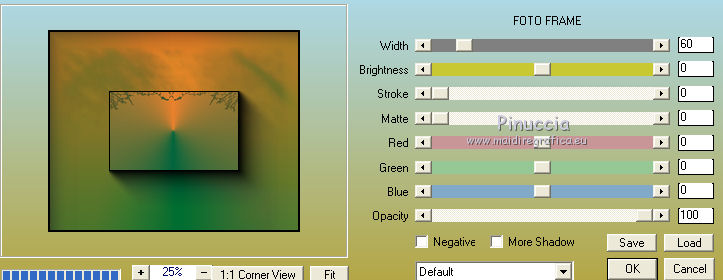
23. Effects>Plugins>AAA Frames - Foto Frame.
24. Activate your top layer.
Open the tube JHanna_499©N.Tomskaya 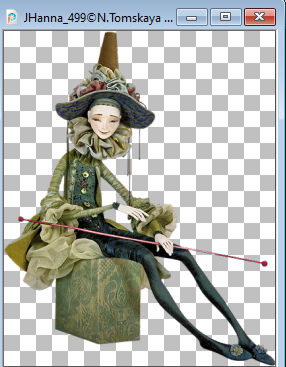
Edit>Copy.
Go back to your work and go to Edit>Paste as new layer.
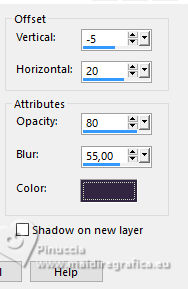
Effects>3D Effects>Drop Shadow.
26. Sign your work on a new layer.
Layers>Merge>Merge All and save as jpg.
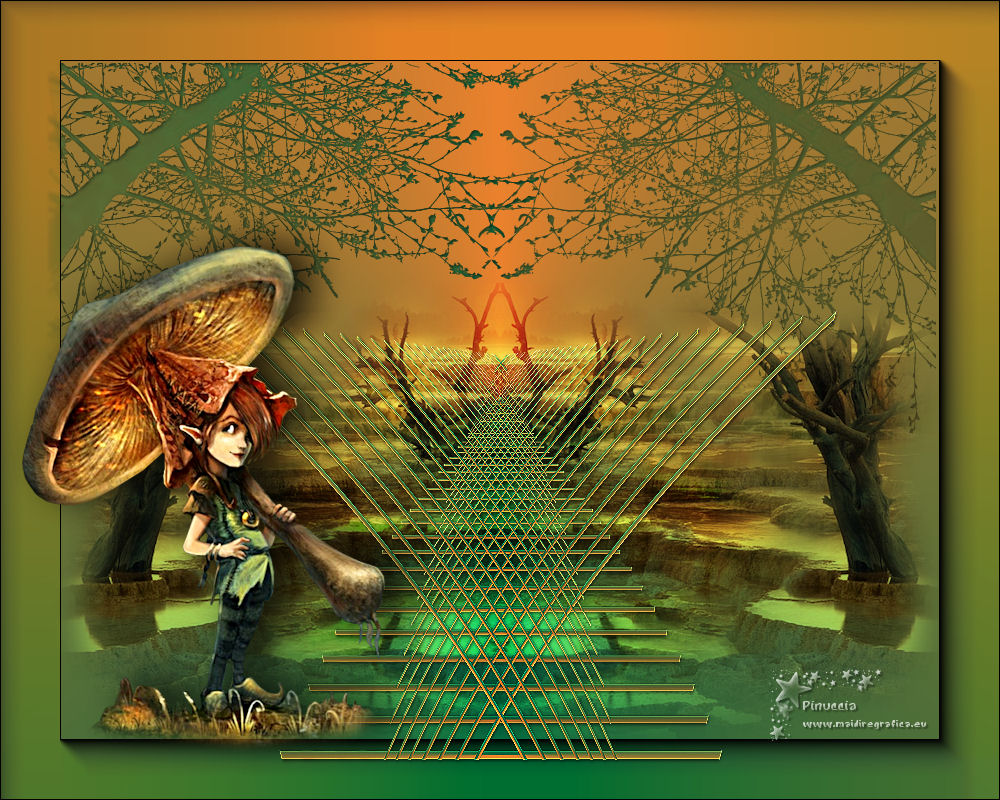
For the tubes of this version thanks Nikita
 Vos versioni here Vos versioni here

If you have problems or doubts, or you find a not worked link,
or only for tell me that you enjoyed this tutorial, write to me.
19 June 2025
|

