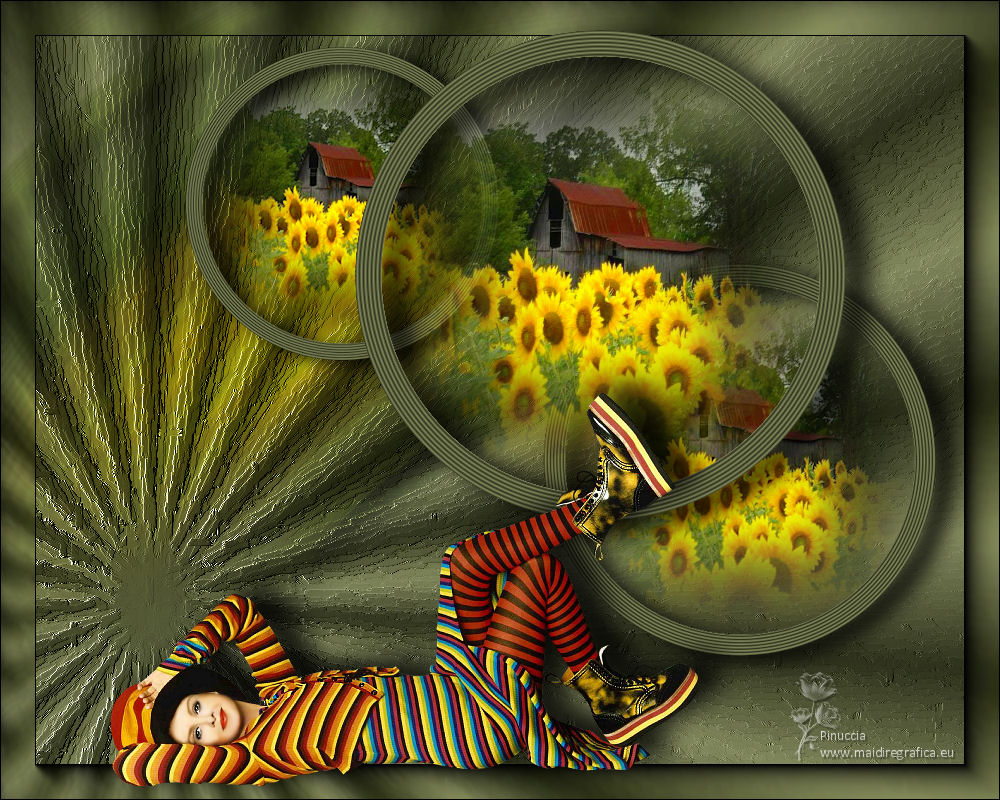
|
TOP NANI


Thanks Luz Cristina for your invitation to translate your tutorials into english

This tutorial, created with PSP2022, was translated with PspX7, but it can also be made using other versions of PSP.
Since version PSP X4, Image>Mirror was replaced with Image>Flip Horizontal,
and Image>Flip with Image>Flip Vertical, there are some variables.
In versions X5 and X6, the functions have been improved by making available the Objects menu.
In the latest version X7 command Image>Mirror and Image>Flip returned, but with new differences.
See my schedule here
 French Translation here French Translation here
 Your versions here Your versions here

For this tutorial, you will need:

For the tubes thanks Luz Cristina and Tocha.
(The links of the tubemakers here).

consult, if necessary, my filter section here
Mura's Meister - Pole Transform ici
AAA Frames - Foto Frame ici

You can change Blend Modes according to your colors.
In the newest versions of PSP, you don't find the foreground/background gradient (Corel_06_029).
You can use the gradients of the older versions.
The Gradient of CorelX here

1. Open a new transparent image1000 x 800 pixels.
2. Set your foreground color to #2e321c,
and your background color to #868c60.
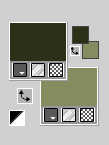
Set your foreground color to a Foreground/Background Gradient, style Radial.
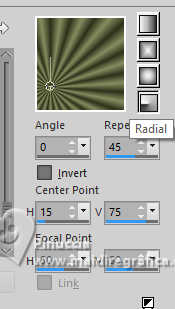
Flood Fill  the transparent image with your gradient. the transparent image with your gradient.
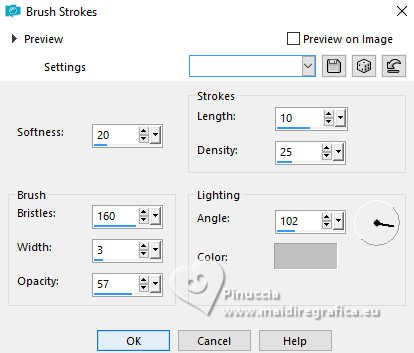
3. Effects>Art Media Effects>Brush Strokes, color #c0c0c0.
4. Effects>Plugins>AAA Frames - Foto Frame.
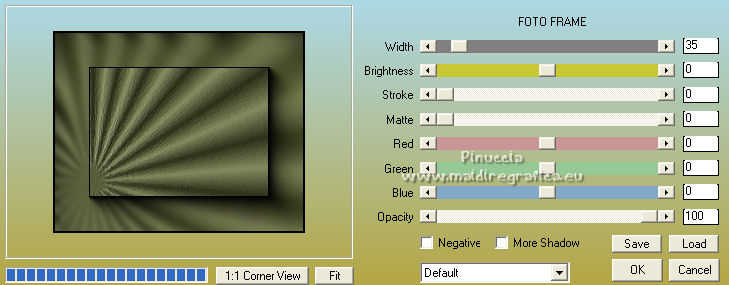
5. Change the settings of your Gradient, style Linear.
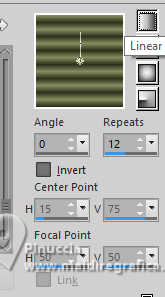
Layers>New Raster Layer.
Flood Fill  the layer with your Gradient. the layer with your Gradient.
6. Effects>Geometric Effects>Perspective horizontal.
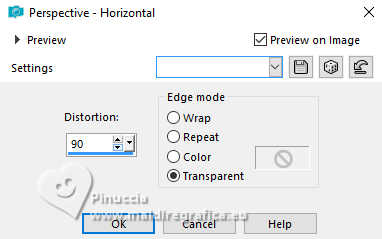
Image>Mirror>Mirror Horizontal.
Repeat Effects>Geometric Effects>Perspective horizontal, same settings.
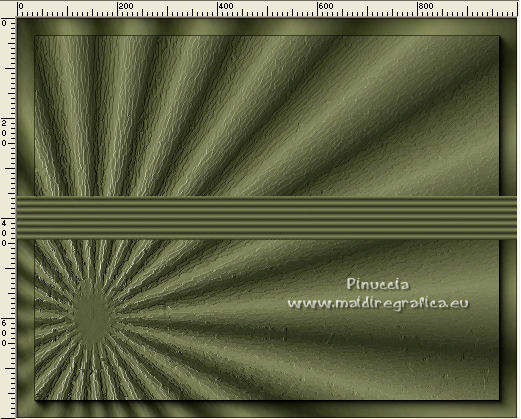
7. Effects>Plugins>Mura's Meister - Pole Transform.
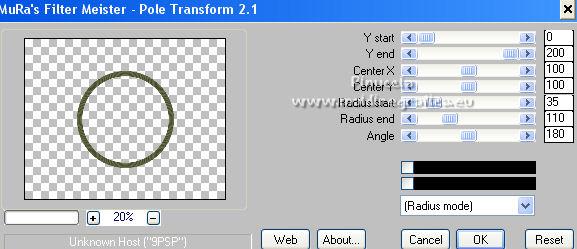
8. Close the layer Raster 1 to see better, and stay on the layer above.
Activate your Magic Wand Tool 
and click in the circle to select it.
Open the misted 3164-luzcristina 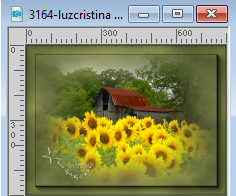
Edit>Copy.
Go back to your work and go to Edit>Paste into Selection.
Selections>Select None.
9. Effects>3D Effects>Drop Shadow.
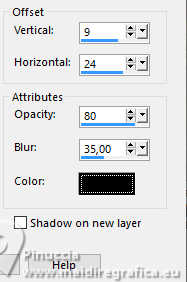
10. Open the layer Raster 1 and stay always on the layer Raster 2.
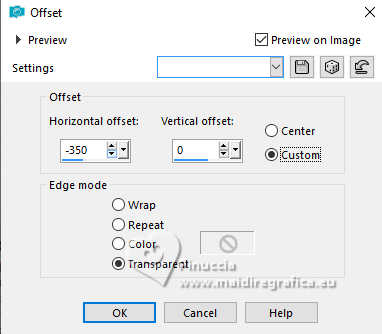
Effects>Image Effects>Offset.
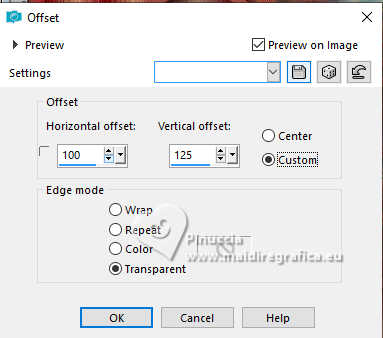
11. Layers>Duplicate.
Image>Resize, to 80%, resize all layers not checked.
Effects>Image Effects>Offset.
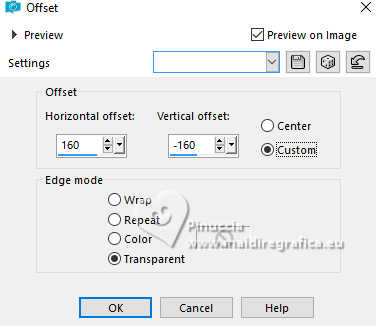
12. Layers>Duplicate.
Image>Resize, to 80%, resize all layers not checked.
Effects>Image Effects>Offset.
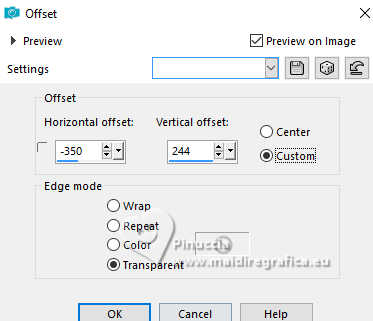
13. Activate the layer Raster 2.
Layers>Arrange>Bring to Top.
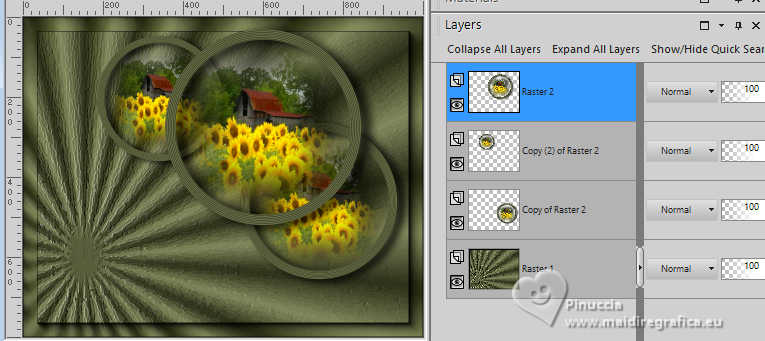
14. Stay on this layer.
Layers>Duplicate.
Adjust>Blur>Radial Blur.
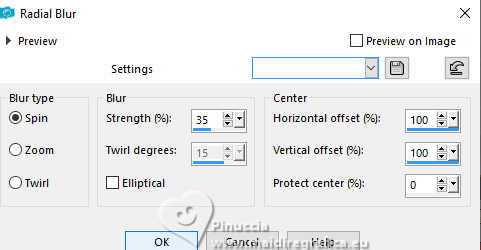
15. Effects>Image Effects>Offset.
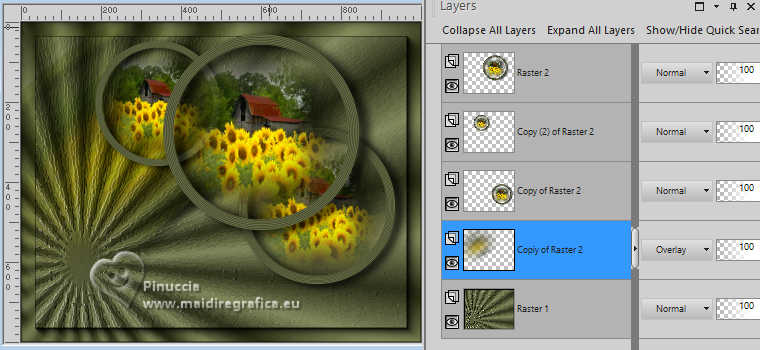
16. Move this layer over the layer Raster 1.
Change the Blend Mode of this layer to Overlay, or to your liking.
17. Activate your top layer.
Open the tube Tocha24285 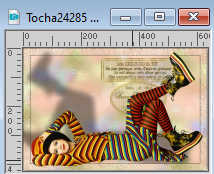
Edit>Copy.
Go back to your work and go to Edit>Paste as new layer.
Move  the tube down. the tube down.
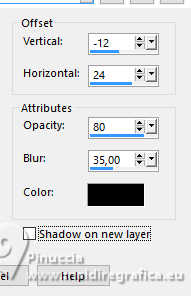
Effects>3D Effects>Drop Shadow.
18. Sign your work on a new layer.
Layers>Merge>Merge All and save as jpg.
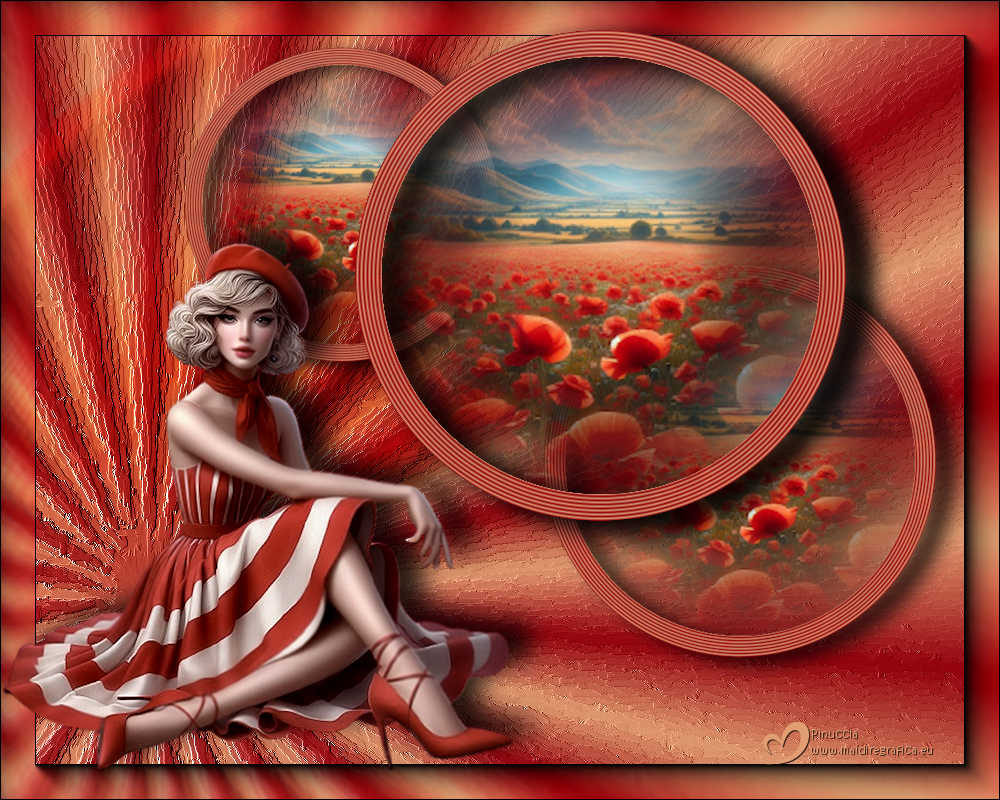
For the tubes of this version thanks Luz Cristina and Virginia
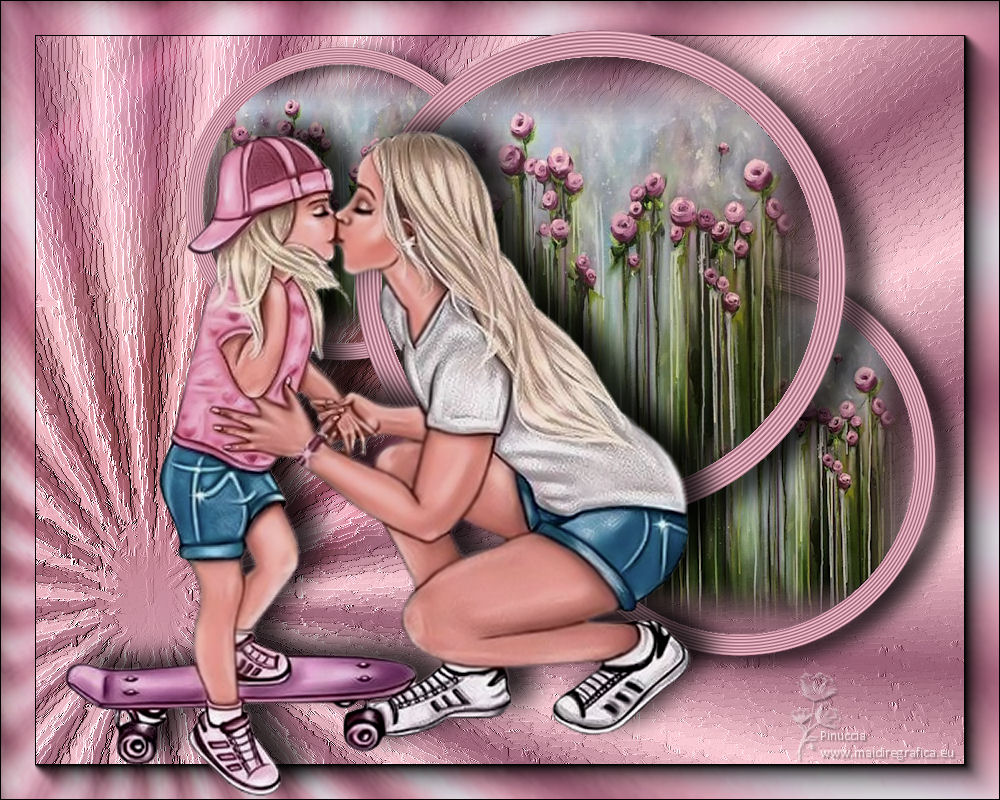
For the tubes of this version thanks Luz Cristina and Riet


If you have problems or doubts, or you find a not worked link,
or only for tell me that you enjoyed this tutorial, write to me.
20 March 2025

|

