|
TOP NENA


Thanks Luz Cristina for your invitation to translate your tutorials into english

This tutorial, created with PSP9, was translated with PspX9, but it can also be made using other versions of PSP.
Since version PSP X4, Image>Mirror was replaced with Image>Flip Horizontal,
and Image>Flip with Image>Flip Vertical, there are some variables.
In versions X5 and X6, the functions have been improved by making available the Objects menu.
In the latest version X7 command Image>Mirror and Image>Flip returned, but with new differences.
See my schedule here
 French Translation here French Translation here
 Your versions here Your versions here

For this tutorial, you will need:

For the tube thanks Grisi.
(The links of the tubemakers here).

consult, if necessary, my filter section here
Filters Unlimited 2.0 here
AAA Frames - Transparent Frame here
FM Tile Tools - Saturation Emboss here
Simple - Top Left Mirror here
Xero - Fritillary here
Filters Simple can be used alone or imported into Filters Unlimited.
(How do, you see here)
If a plugin supplied appears with this icon  it must necessarily be imported into Unlimited it must necessarily be imported into Unlimited

You can change Blend Modes according to your colors.
In the newest versions of PSP, you don't find the foreground/background gradient (Corel_06_029).
You can use the gradients of the older versions.
The Gradient of CorelX here

Copy the preset Emboss 3 in the Presets Folder.
Open the masks in PSP and minimize them with the rest of the material.
1. Open a new transparent image 1000 x 750 pixels.
2. Set your foreground color to #984b45,
and your background color to #2b312a.
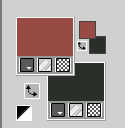
Set your foreground color to a Foreground/Background Gradient, style Rectangular.
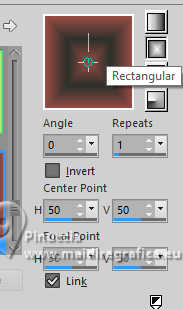
Flood Fill  the transparent image with your Gradient. the transparent image with your Gradient.
3. Selections>Select All.
Open the woman's tube Grisi woman 318 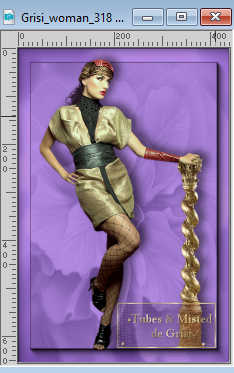
Edit>Copy.
Go back to your work and go to Edit>Paste into Selection.
Selections>Select None.
4. Adjust>Blur>Radial Blur.
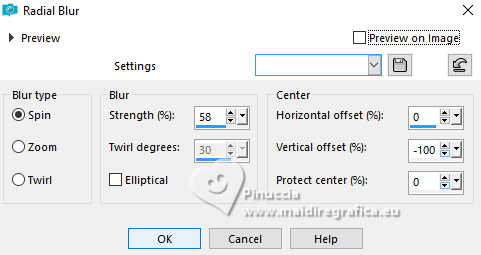
5. Effects>Reflection Effects>Rotating Mirror.
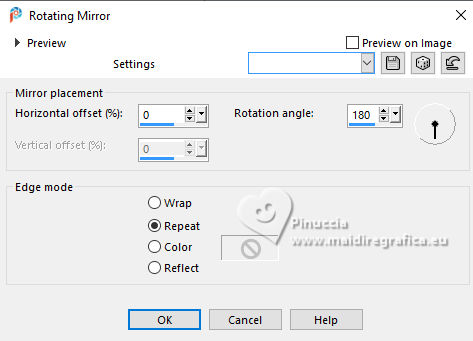
6. Layers>New Mask layer>From image
Open the menu under the source window and you'll see all the files open.
Select the mask marge-topfade.
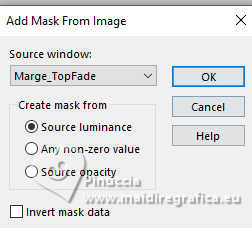
Layers>Merge>Merge Group.
7. Effects>Geometric Effects>Circle.
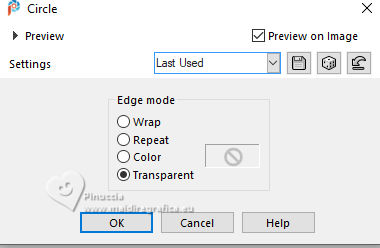
8. Effects>User Defined Filter - select the preset Emboss 3 and ok.

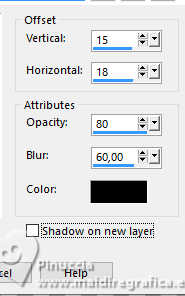
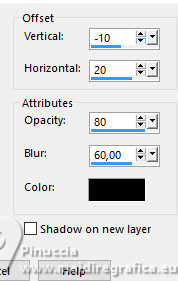
Effects>3D Effects>Drop Shadow.
9. Layers>New Raster Layer.
Layers>Arrange>Send to Bottom.
Flood Fill  the layer with your Gradient. the layer with your Gradient.
Again Effects>User Defined Filter - Emboss 3.
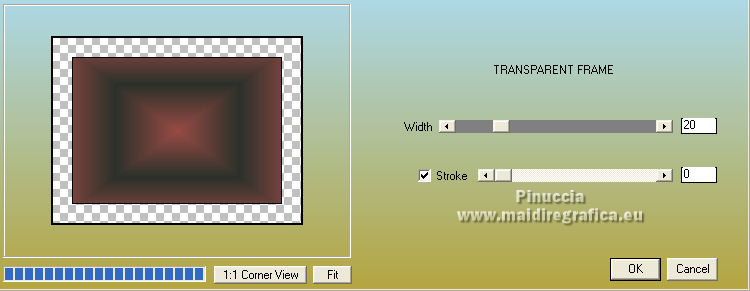
10. Effects>Plugins>AAA Frames - Transparent Frame.
11. Change the settings of your Gradient, style Linear.

Layers>New Raster Layer.
Layers>Arrange>Send to Bottom.
Flood Fill  the layer with your Gradient. the layer with your Gradient.
12. Activate your top layer.
Edit>Paste as new layer (the woman's tube is still in memory).
13. Effects>Image Effects>Seamless Tiling, default settings.

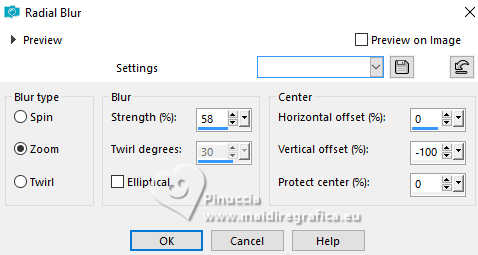
14. Adjust>Blur>Radial Blur, last settings, but Zoom checked.
15. Effects>User Defined Filter - Emboss 3.
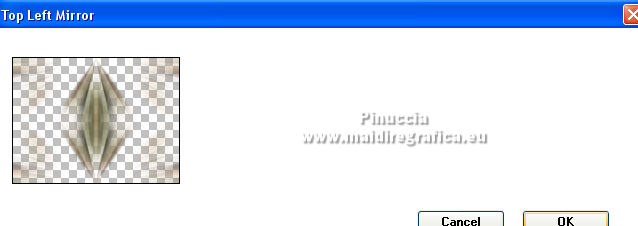
16. Effects>Plugins>Simple - Top left Mirror.
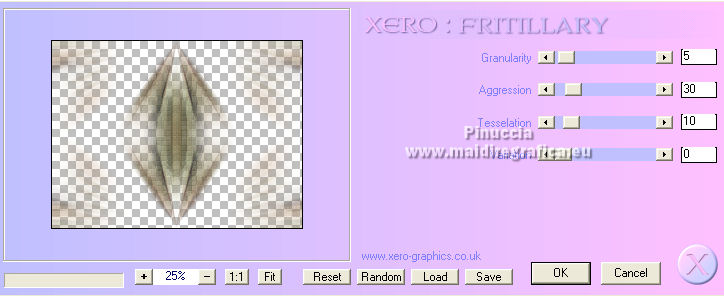
17. Effects>Plugins>Xero - Fritillary.
18. Effects>Plugins>FM Tile Tools - Saturation Emboss, default settings, 2 times.

19. Effects>3D Effects>Drop Shadow - 2 times last settings (optional).
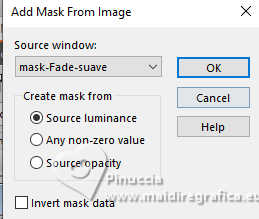
20. Layers>New Mask layer>From image
Open the menu under the source window
and select the mask mask fadesuave.
Layers>Merge>Merge Group.
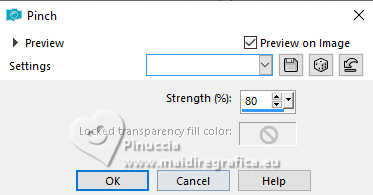
21. Effects>Distortion Effects>Pinch.
22. Open the misted Grisi_Misted_Escalera 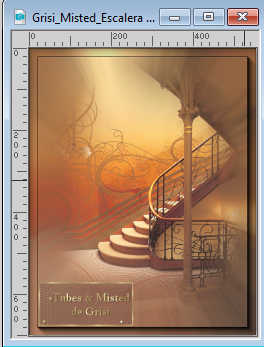
Edit>Copy.
Go back to your work and go to Edit>Paste as new layer.
Move  the tube to the left side. the tube to the left side.
23. Layers>Arrange>Move Down.
Change the Blend Mode of this layer to Hard Light (optional).
24. Activate again your woman's tube and go to Edit>Copy.
Go back to your work and go to Edit>Paste as new layer.
Move  the tube to the left. the tube to the left.
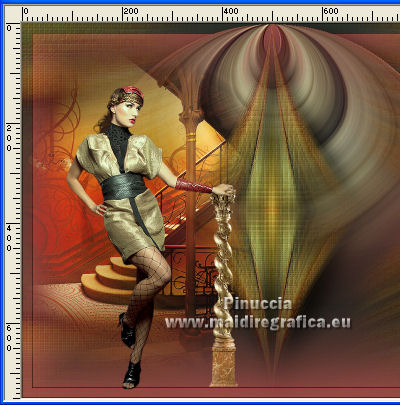
Effects>3D Effects>Drop Shadow.
25. Sign your work on a new layer.
Layers>Merge>Merge All and save as jpg.
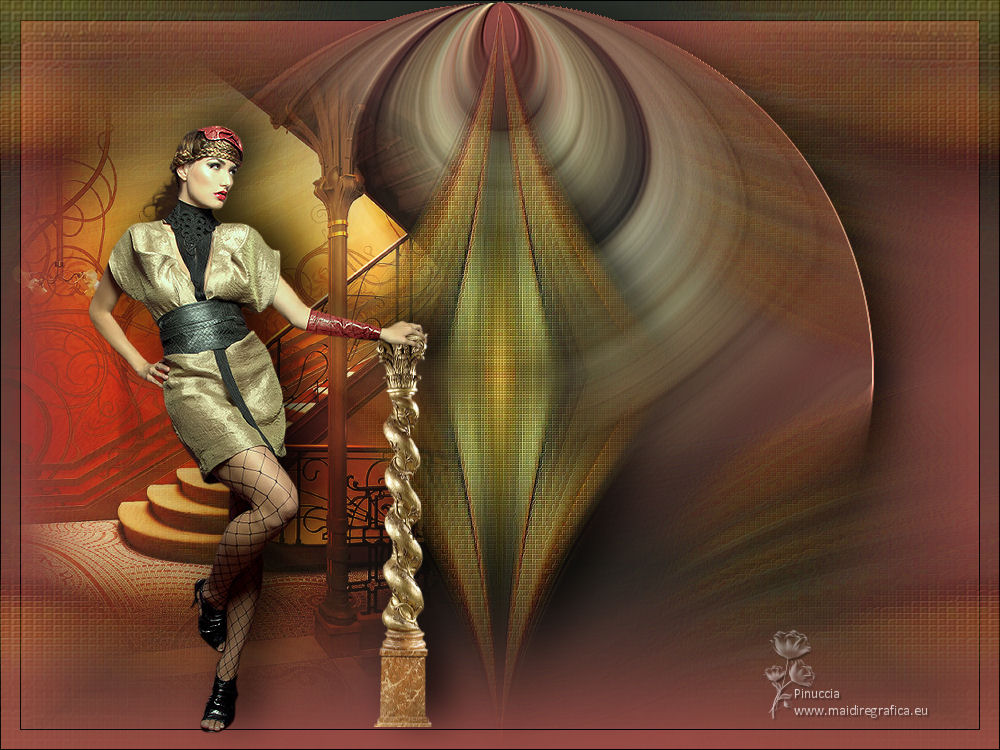
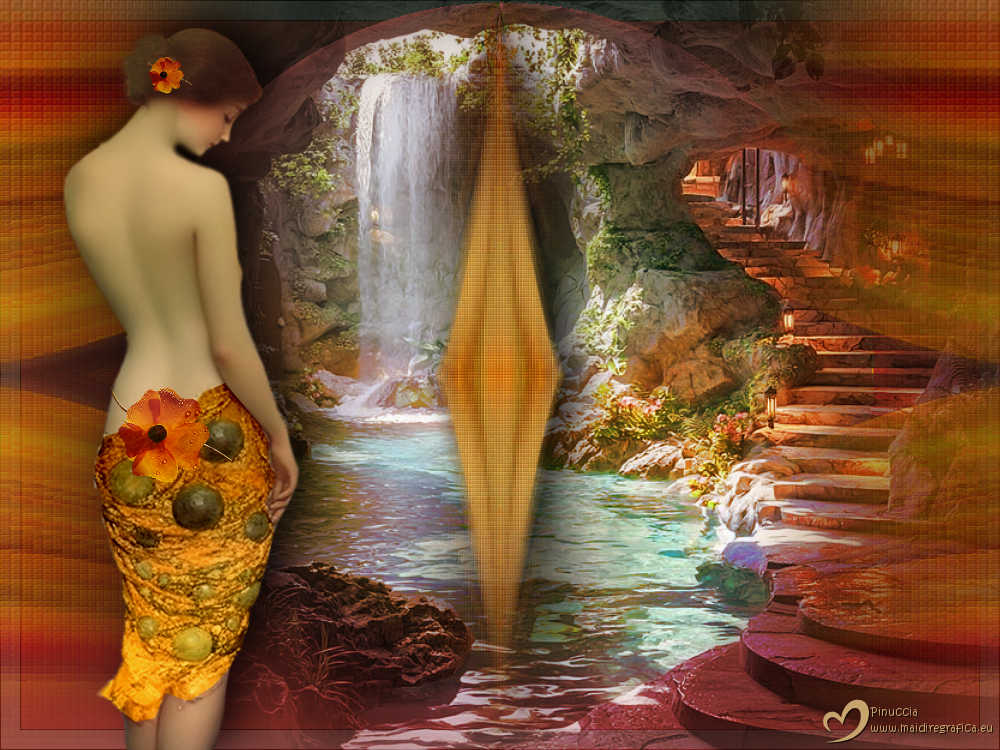
Version with tube by Luz Cristina one of my misted.

If you have problems or doubts, or you find a not worked link,
or only for tell me that you enjoyed this tutorial, write to me.
19 May 2025

|

