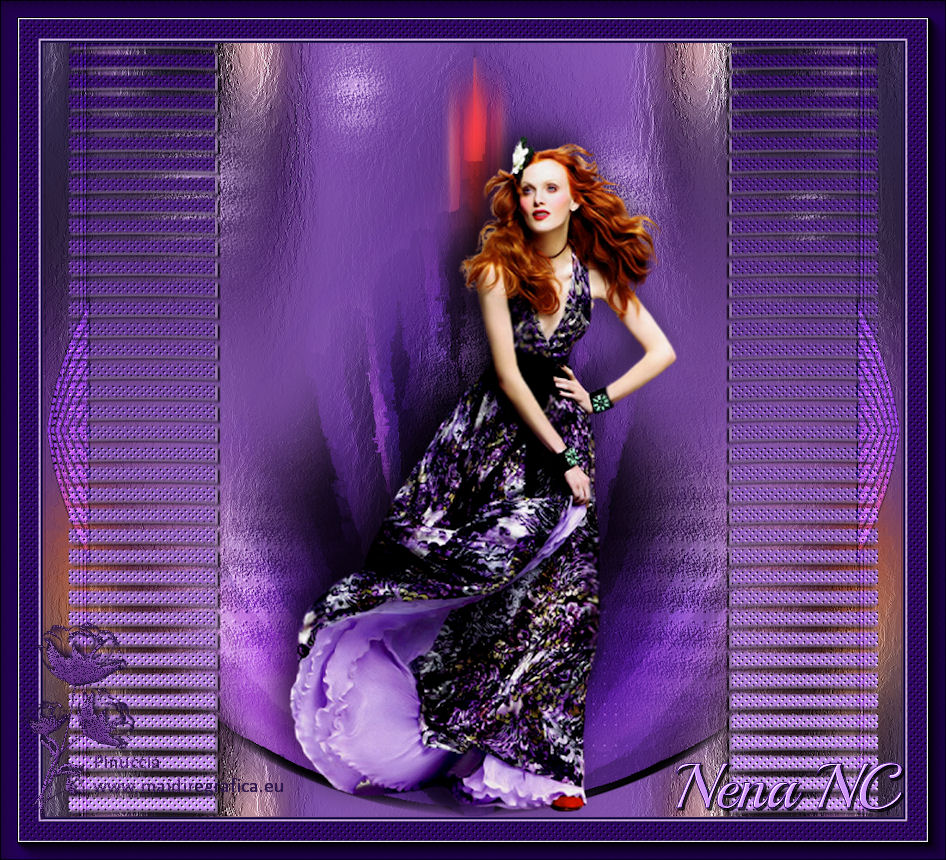
|
TOP NENA NC


Thanks Luz Cristina for your invitation to translate your tutorials into english

This tutorial, created with PSP2022, was translated with PspX7, but it can also be made using other versions of PSP.
Since version PSP X4, Image>Mirror was replaced with Image>Flip Horizontal,
and Image>Flip with Image>Flip Vertical, there are some variables.
In versions X5 and X6, the functions have been improved by making available the Objects menu.
In the latest version X7 command Image>Mirror and Image>Flip returned, but with new differences.
See my schedule here
 French Translation here French Translation here
 Your versions here Your versions here

For this tutorial, you will need:

Tubes by Luz Cristina .
(The links of the tubemakers here).
*It is forbidden to remove the watermark from the supplied tubes, distribute or modify them,
in order to respect the work of the authors

consult, if necessary, my filter section here
Filters Unlimited 2.0 here
Mehdi 2 - Flat Median here
Mura's Meister - Tone here
Simple - Top Left Mirror here
Carolaine and Sensibility - CS-Reflection here
Artistiques - Coteau à palette here
FM Tile Tools - Saturation Emboss here
AAA Frames - Foto Frame here
Filters Simple can be used alone or imported into Filters Unlimited.
(How do, you see here)
If a plugin supplied appears with this icon  it must necessarily be imported into Unlimited it must necessarily be imported into Unlimited

You can change Blend Modes according to your colors.
In the newest versions of PSP, you don't find the foreground/background gradient (Corel_06_029).
You can use the gradients of the older versions.
The Gradient of CorelX here

Copy the preset Emboss 3 in the Presets Folder.
Open the mask in PSP and minimize it with the rest of the material.
1. Open a new transparent image 1000 x 900 pixels.
2. Set your foreground color to #c8a6e0,
and your background color to #30174f.
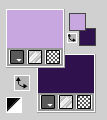
Set your foreground color to a Foreground/Background Gradient, style Linear.
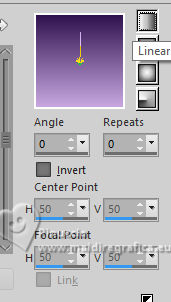
Flood Fill  the transparent image with your Gradient. the transparent image with your Gradient.
3. Selections>Select All.
Open the woman's tube 6506-LuzCristina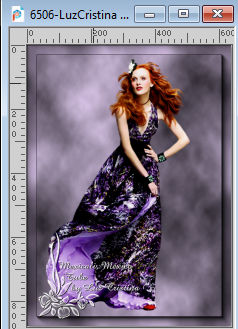
Edit>Copy.
Go back to your work and go to Edit>Paste into Selection.
Selections>Select None.
4. Effects>Image Effects>Seamless Tiling, default settings.

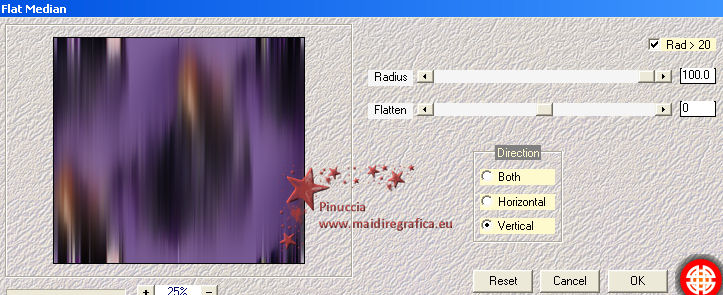
5. Effects>Plugins>Mehdi 2 - Flat Median.
6. Effects>Plugins>FM Tile Tools - Saturation Emboss, default settings.

7. Effects>Reflection Effects>Rotating Mirror.

8. Layers>New Raster Layer.
Selection Tool 
(no matter the type of selection, because with the custom selection your always get a rectangle)
clic on the Custom Selection 
and set the following settings.
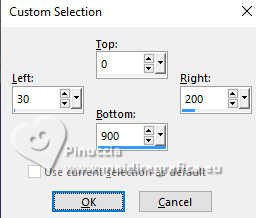
Flood Fill  the selection with your Gradient. the selection with your Gradient.
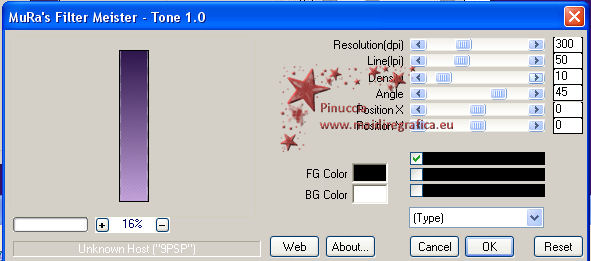
9. Effects>Plugins>Mura's Meister - Tone.
10. Effects>Plugins>FM Tile Tools - Saturation Emboss, default settings.

Selections>Select None
11. Activate your Erase Tool  with these settings with these settings

12. Starting from the top, lower the tool to the bottom, holding down the left mouse button without moving it
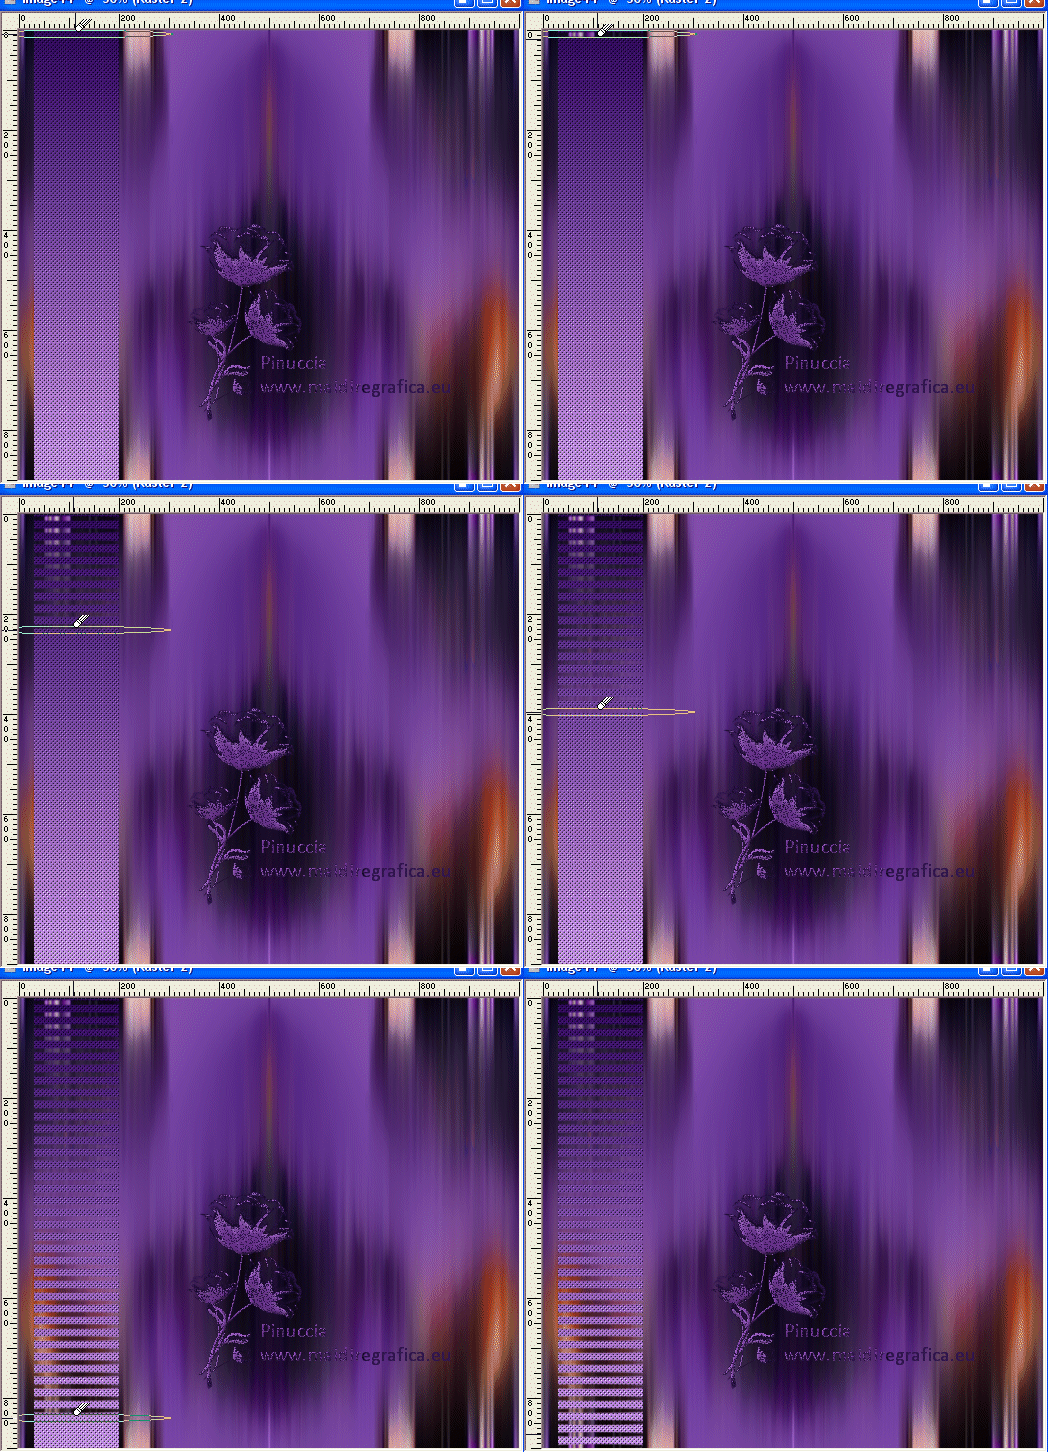
If you close the bottom layer, you see this
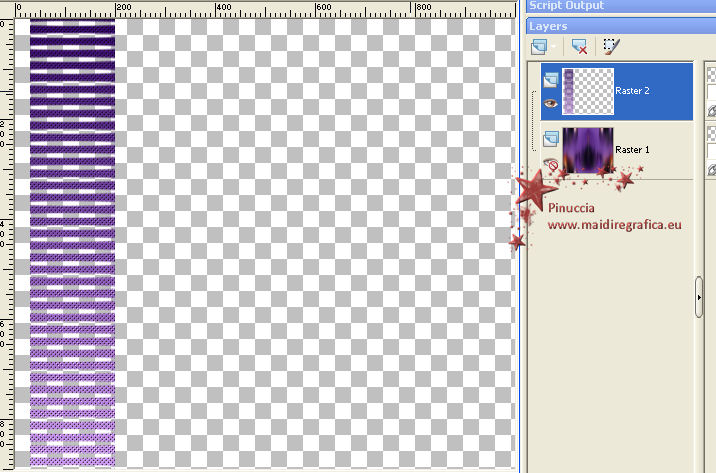
13. Effects>3D Effects>Drop Shadow, foreground color.
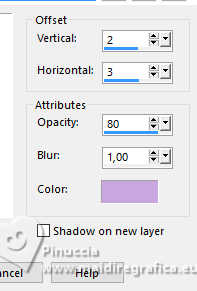
14. Repeat Drop Shadow, but with color black.
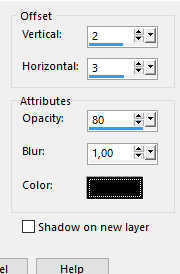
15. Effects>Reflection Effects>Rotating Mirror, same settings.

16. Layers>Duplicate.
Effects>Geometric Effects>Skew.
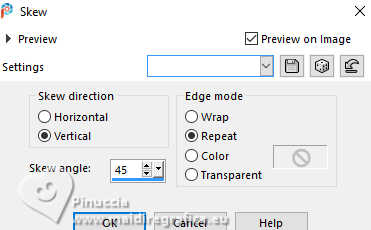
17. Image>Mirror>Mirror Horizontal (Image>Mirror).
Image>Mirror>Mirror Vertical (Image>Flip).
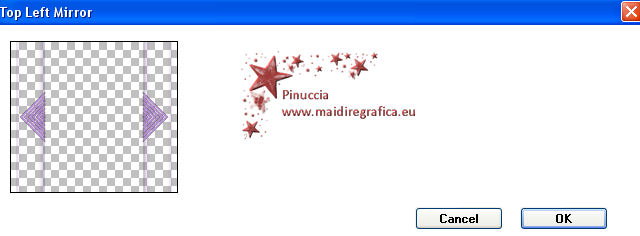
18. Effects>Plugins>Simple - Top Left Mirror.
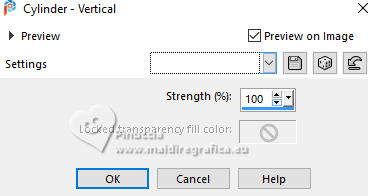
19. Effects>Geometric Effects>Cylinder vertical.
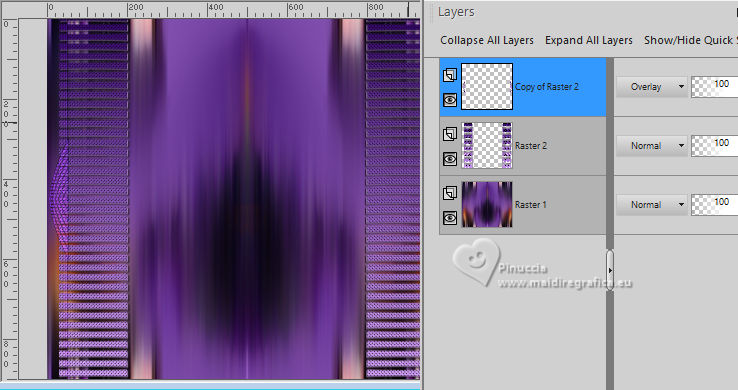
20. Change the Blend Mode of this layer to Overlay, or to your liking.
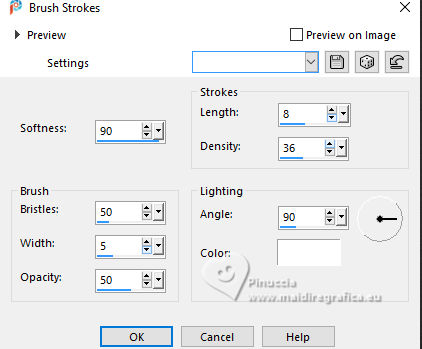
21. Activate your bottom layer, Raster 1.
Effects>Art Media Effects>Brush Strokes.
22. Edit>Paste as new layer (the woman's tube is still in memory).
23. Layers>Duplicate.
Layers>Arrange>Move Down.
24. Adjust>Blur>Radial Blur.
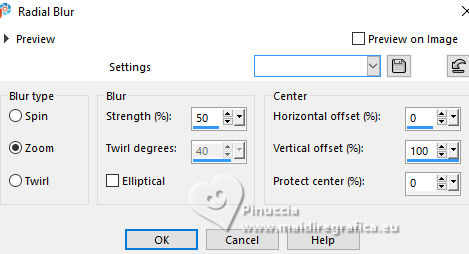
25. Effects>Reflection Effects>Rotating Mirror, same settings.

26. Effects>Plugins>Carolaine and Sensibility - CS-Reflection.
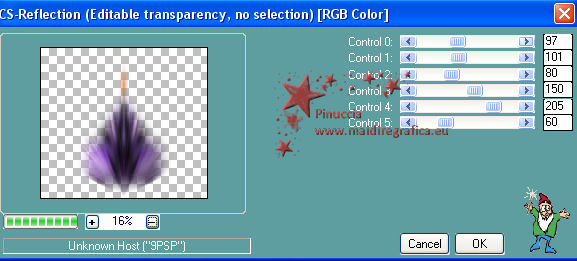
27. Effects>Geometric Effects>Spherize.
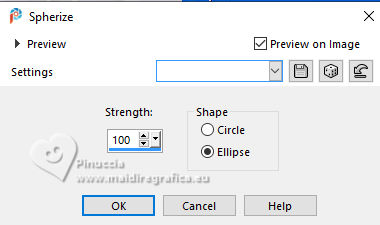
28. Effects>User Defined Filter - select the preset Emboss 3 and ok

if you prefer, apply 2 times the plugin FM Tile Tools>Blend Emboss, default settings.
29. Effects>Plugins>Artistiques - Couteau à palette
is you use the english version of this filter (the result doesn't change):
Effects>Plugins>Artistic>Palette Knife
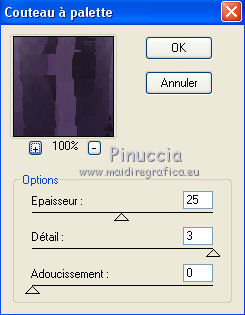 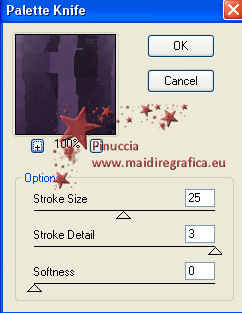
30. Change the Blend Mode of this layer to Hard Light, or to your liking.
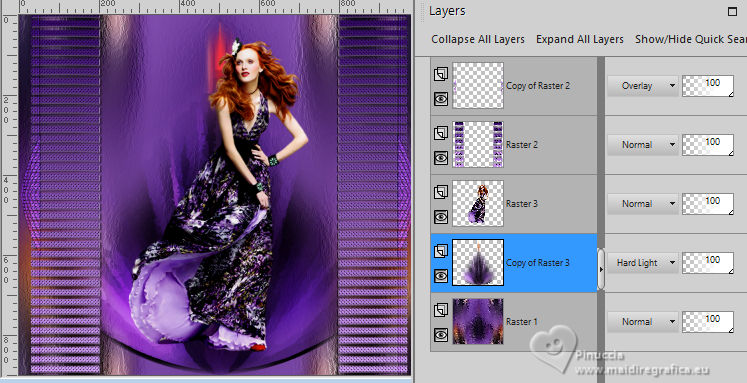
31. Activate the layer above of the original tube, Raster 3.
Effects>3D Effects>Drop Shadow, color black.

32. Move  the tube down, over the border. the tube down, over the border.
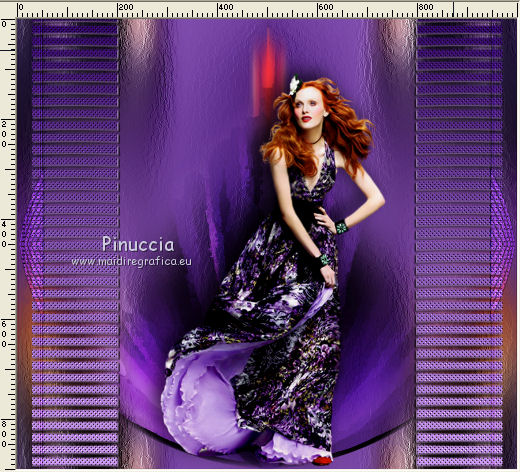
33. Set your foreground color to Colo.
Layers>New Raster Layer.
Flood Fill  the layer with your light color #c8a6e0. the layer with your light color #c8a6e0.
34. Layers>New Mask layer>From image
Open the menu under the source window and you'll see all the files open.
Select the mask 23-Luz Cristina.
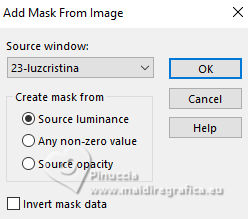
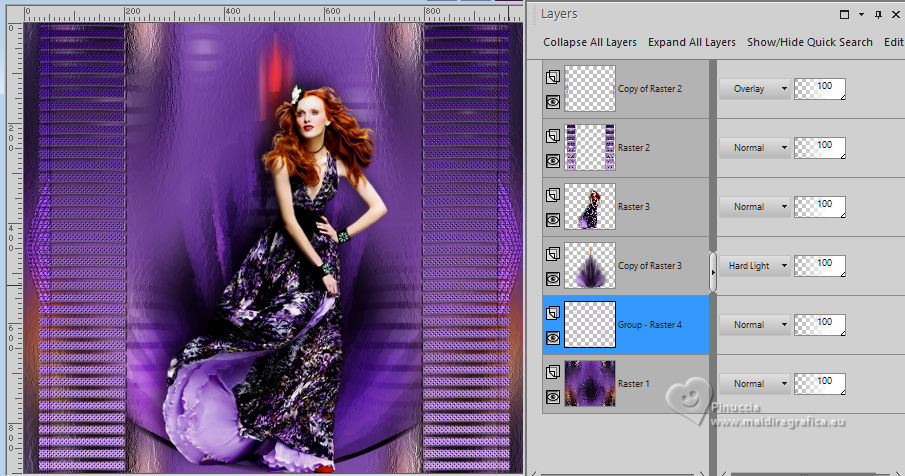
Layers>Merge>Merge Group.
35. Layers>Arrange>Move Down - 2 times (over the layer Raster 1)
Change the Blend Mode of this layer to Screen or to your liking.
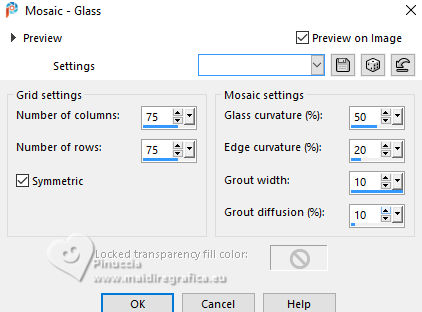
36. Effects>Texture Effects>Mosaic - Glass
37. Effects>User Defined Filter - select the preset Emboss 3 and ok.

38. Image>Add Borders, 3 pixels, symmetric, dark color.
Image>Add Borders, 2 pixels, symmetric, light color.
Image>Add Borders, 45 pixels, symmetric, dark color.
39. Activate your Magic Wand Tool 
and click in the last border to select it.
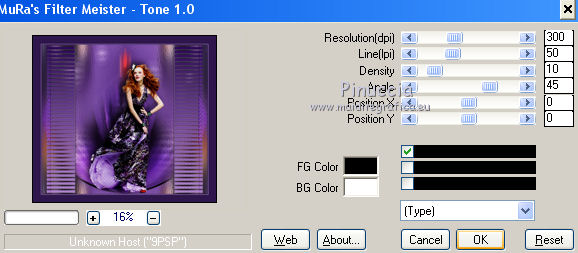
40. Effects>Plugins>Mura's Meister - Tone, same settings.
41. Effects>Plugins>FM Tile Tools - Saturation Emboss, default settings.

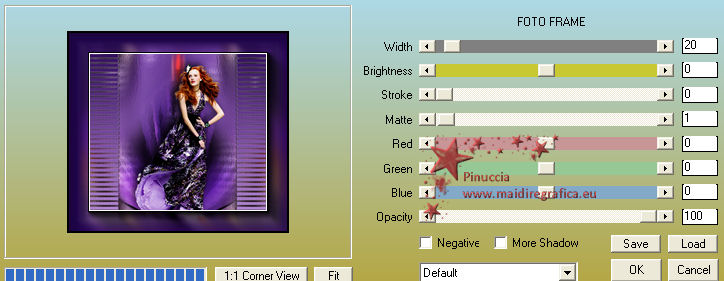
42. Effects>Plugins>AAA Frames - Foto Frame.
Selections>Select None.
43. Image>Resize, to 86%, resize all layers checked.
44. Open the text OpneText 
Edit>Copy.
Go back to your work and go to Edit>Paste as new layer.
Move  the text at the bottom right. the text at the bottom right.
45. Sign your work and save as jpg.
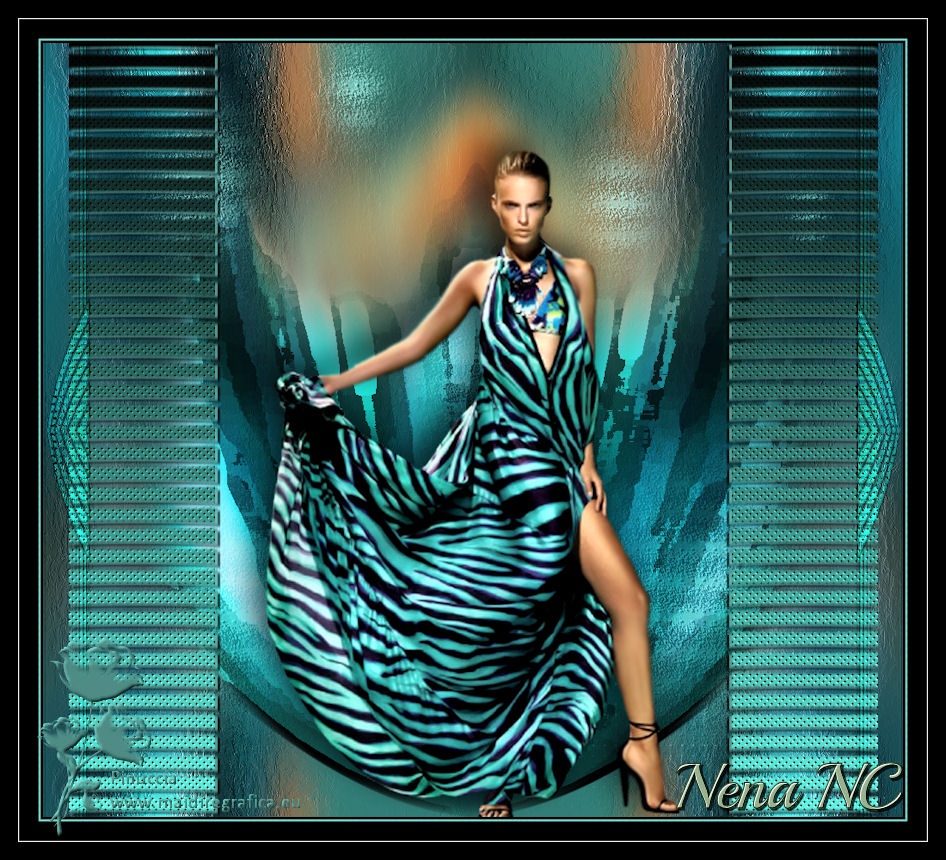
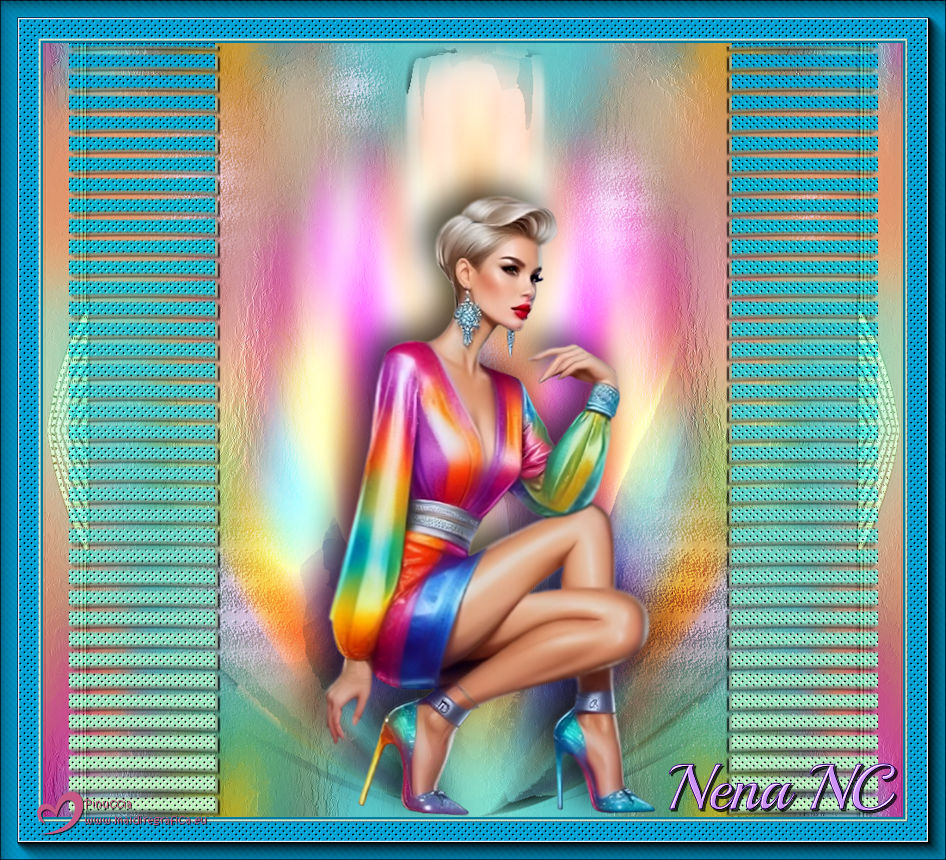
Versions with tubes by Luz Cristina.


If you have problems or doubts, or you find a not worked link,
or only for tell me that you enjoyed this tutorial, write to me.
20 March 2025
|

