|
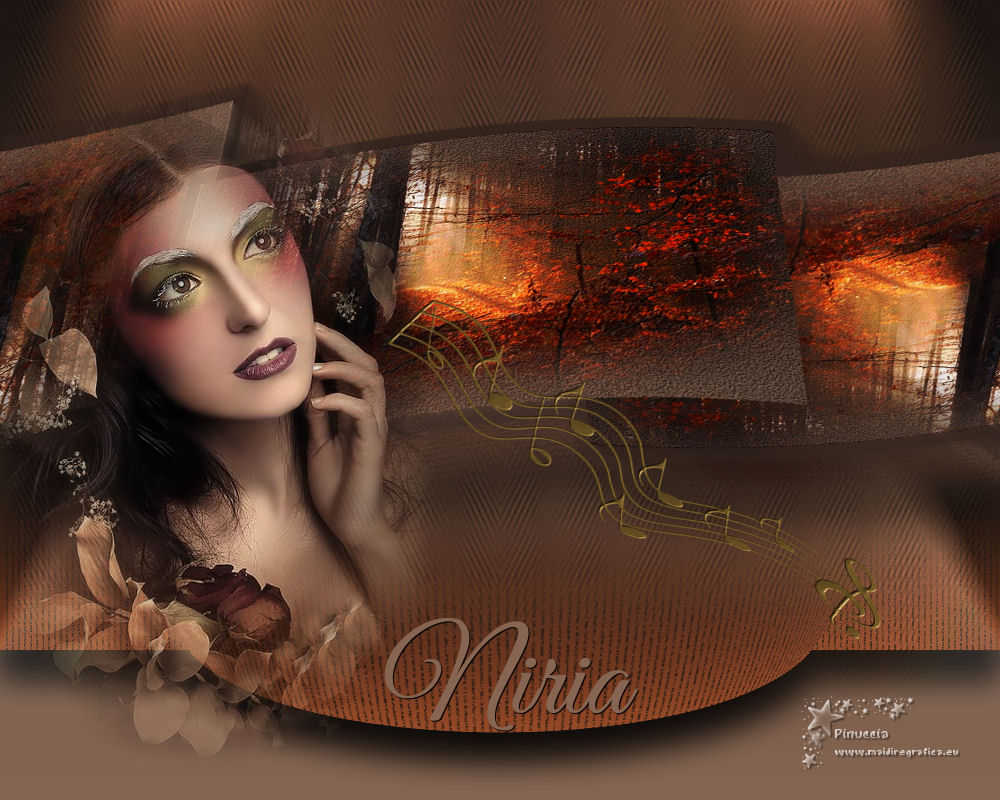
TOP NIRIA 1


Thanks Luz Cristina for your invitation to translate your tutorials into english

This tutorial, created with PSP9, was translated with PspX9, but it can also be made using other versions of PSP.
Since version PSP X4, Image>Mirror was replaced with Image>Flip Horizontal,
and Image>Flip with Image>Flip Vertical, there are some variables.
In versions X5 and X6, the functions have been improved by making available the Objects menu.
In the latest version X7 command Image>Mirror and Image>Flip returned, but with new differences.
See my schedule here
 French Translation here French Translation here
 Your versions here Your versions here

For this tutorial, you will need:

For the tubes thanks Karine, Guismo and Colacao.
(The links of the tubemakers here).

consult, if necessary, my filter section here
FM Tile Tools - Saturation Emboss, Blend Emboss here
Mura's Meister - Copies here

You can change Blend Modes according to your colors.
In the newest versions of PSP, you don't find the foreground/background gradient (Corel_06_029).
You can use the gradients of the older versions.
The Gradient of CorelX here

Copy the Texture in the Textures Folder.
Open the mask in PSP and minimize it with the rest of the material.
1. Open a new transparent image 500 x 300 pixels.
2. Set your foreground color to #866652,
and your background color to #32231d.
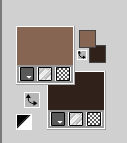
Set your foreground color to a Foreground/Background Gradient, style Linear.
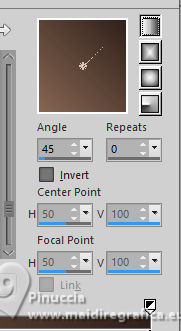
Flood Fill  the transparent image with your Gradient. the transparent image with your Gradient.
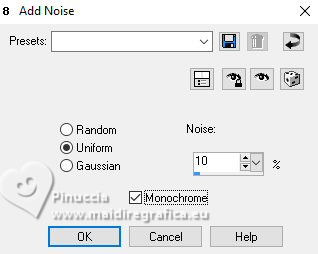
3. Adjust>Add/Remove Noise>Add Noise.
4. Effects>Plugins>FM Tile Tools - Blend Emboss, default settings.

5. Layers>New Raster Layer.
Selections>Select All.
Open the misted cal_guism_30_08_2008_mist_foret 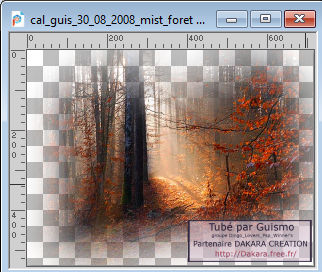
Edit>Copy.
Go back to your work and go to Edit>Paste into Selection.
Selections>Select None.
Change the Blend Mode of this layer to Hard Light, or according to your work.
6. Layers>Merge>Merge Visible.
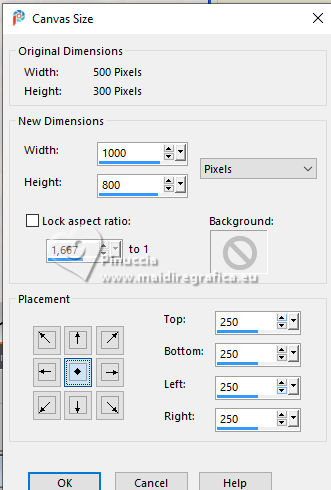
7. Image>Canvas Size - 1000 x 800 pixels.
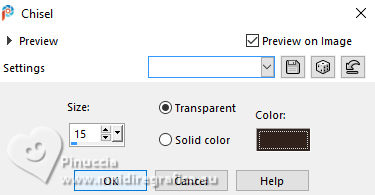
8. Effects>3D Effects>Chisel - background color #32231d.
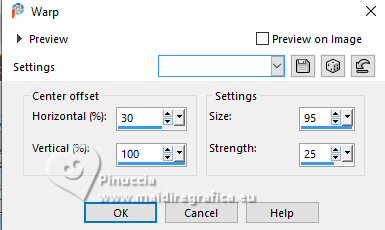
9. Effects>Distortion Effects>Warp.
10. Effects>Plugins>Mura's Meister - Copies.
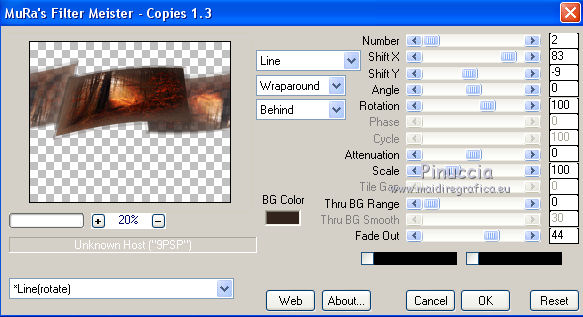
11. Repeat Effects>Plugins>Mura's Meister - Copies, with these settings.
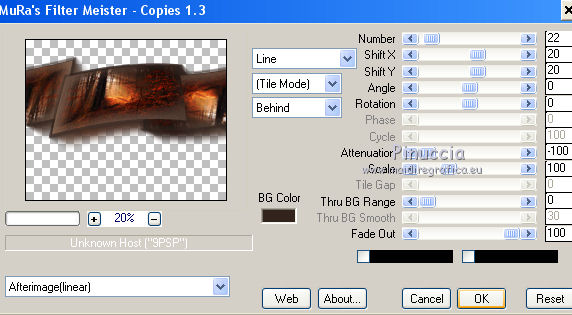
12. Effects>3D Effects>Drop Shadow.
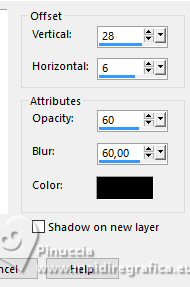
13. Layers>New Raster Layer.
Layers>Arrange>Send to Bottom.
Flood Fill  the layer with your Gradient. the layer with your Gradient.
14. Effects>Texture Effects>Texture - select the texture winni.texture11
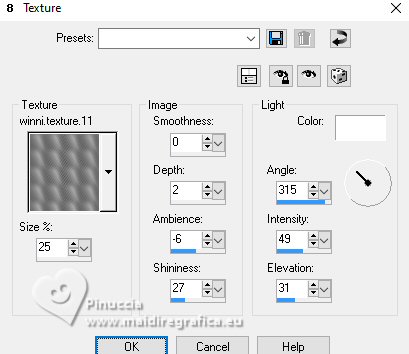
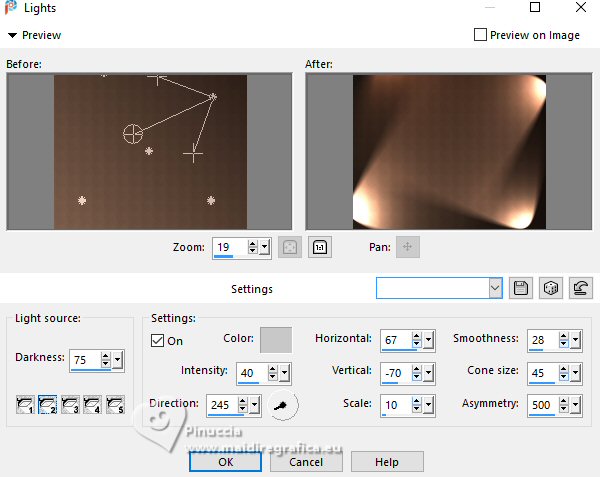
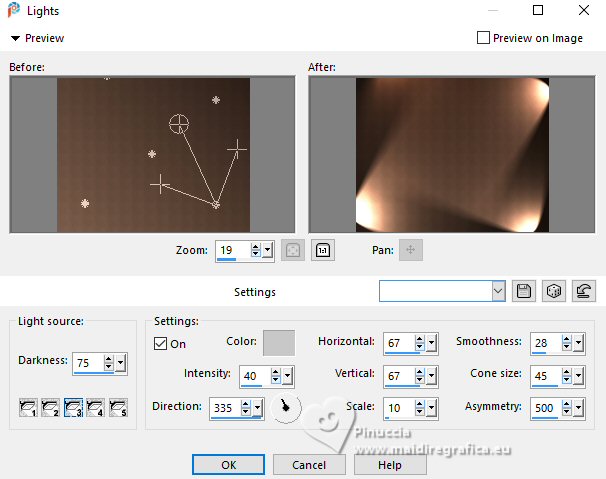
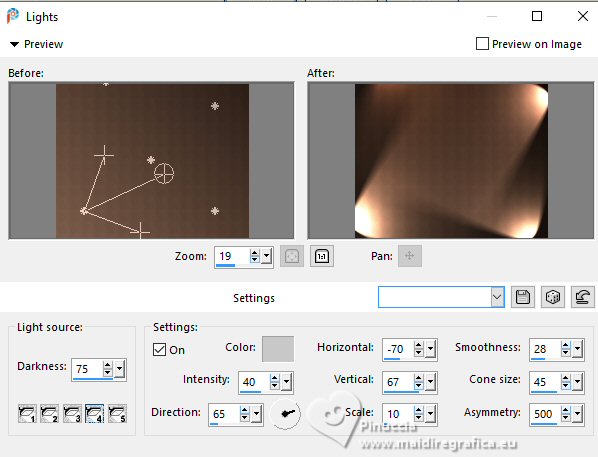
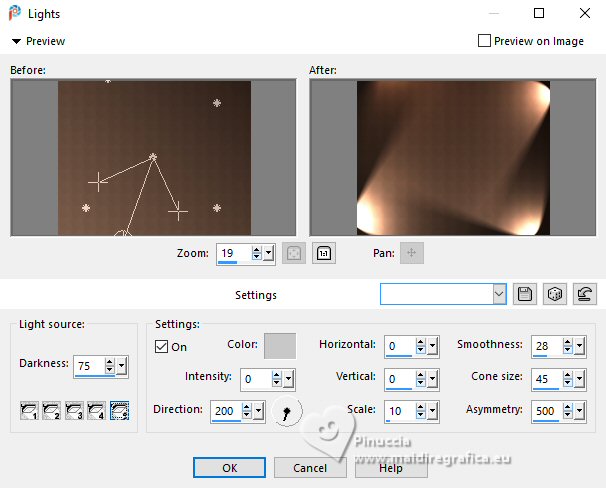
15. Effects>Illumination Effects>Lights - foreground color.
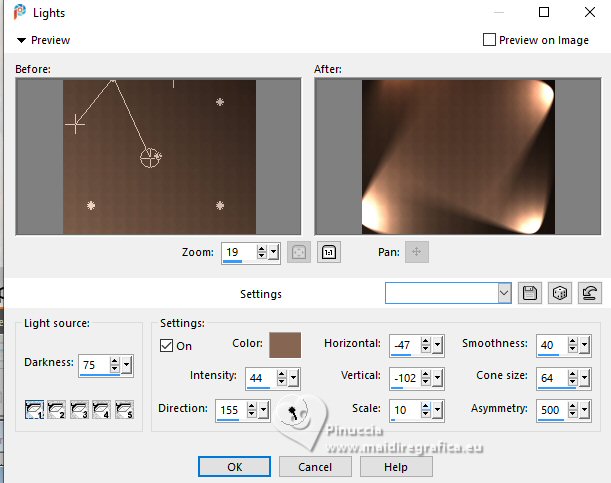
The settings provided are for projector 1.
I experimented with different settings for the other projectors,
to achieve a result as close as possible to that of the original tutorial.
Below are my settings for the other projectors.
Projector 2
Projector 3
Projector 4
Project0r 5
16. Layers>New Mask layer>From image
Open the menu under the source window and you'll see all the files open.
Select the mask Marge-Topfade.
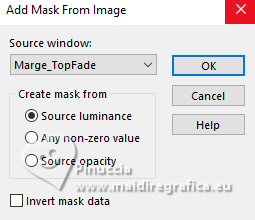
Layers>Duplicate, to apply the mask 2 times.
Layers>Merge>Merge Group.
17. Layers>New Raster Layer.
Activate your Selection Tool 
(no matter the type of selection, because with the custom selection your always get a rectangle)
clic on the Custom Selection 
and set the following settings.
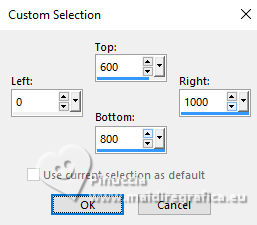
18. Change the settings of your gradient.
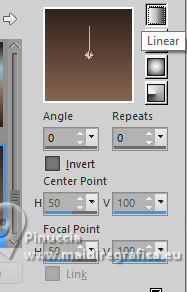
Flood Fill  the selection with your Gradient. the selection with your Gradient.
19. Activate your Erase Tool 

Move the tool from left to right without releasing the mouse.
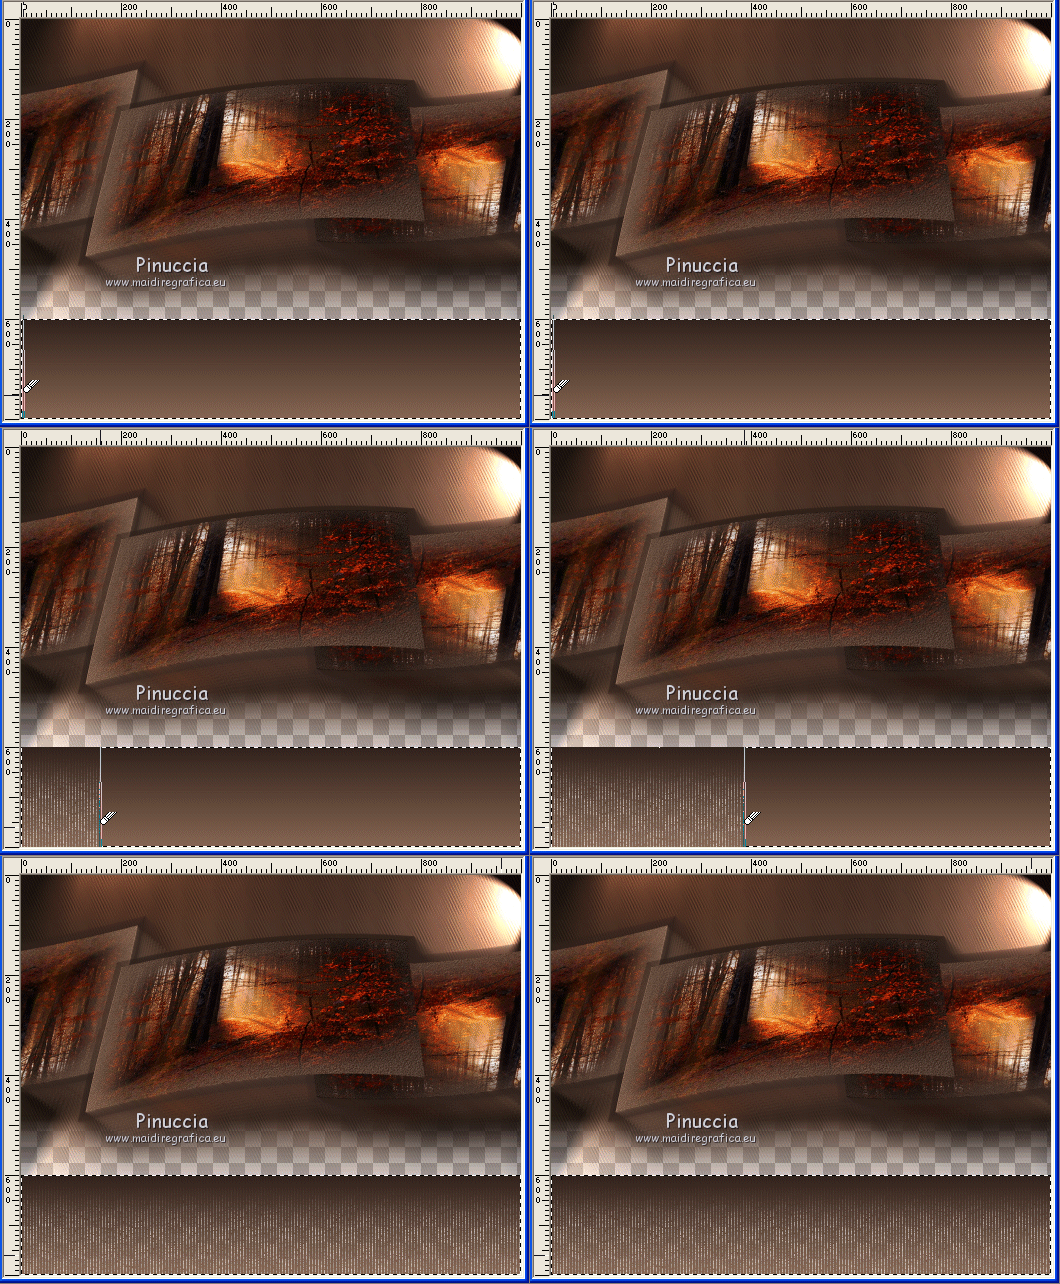
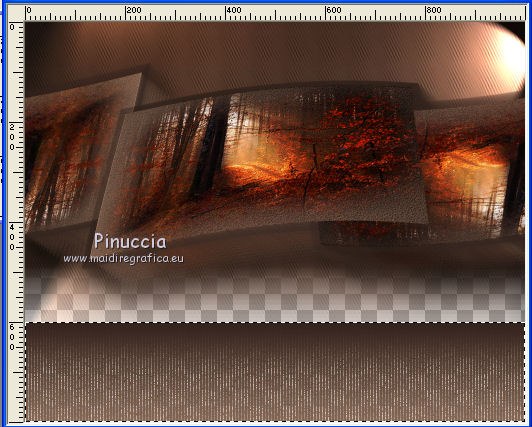
20. Effects>3D Effects>Drop Shadow.
21. Effects>Plugins>FM Tile Tools - Saturation Emboss, default settings.

22. Effects>Image Effects>Offset.
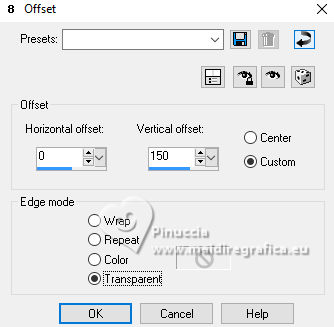
23. Effects>Geometric Effects>Spherize.
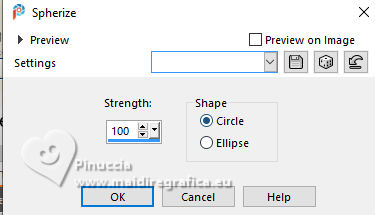
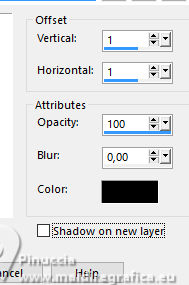
24. Effects>3D Effects>Drop Shadow.
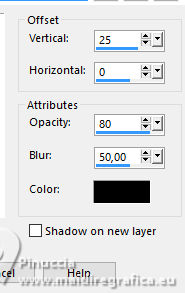
25. Layers>Arrange>Move Down.
Change the Blend Mode of this layer to Hard Light (or to your liking).
26. Layers>New Raster Layer.
Layers>Arrange>Send to Bottom.
Flood Fill  the layer with the last Gradient. the layer with the last Gradient.
27. Activate the layer of the mask.
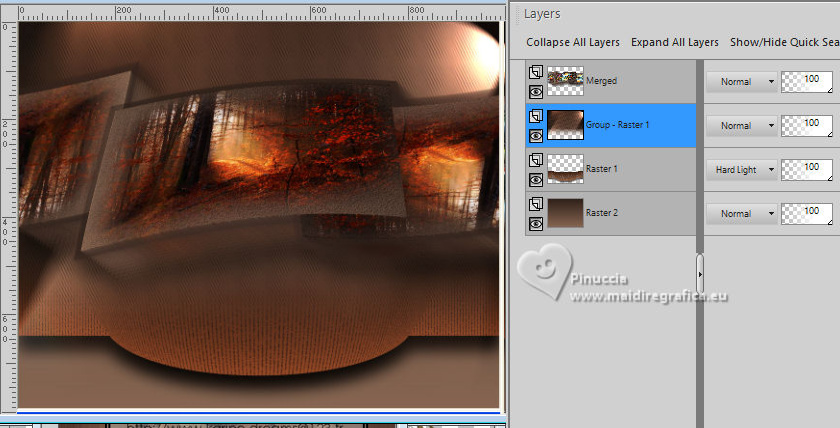
Effects>Reflection Effects>Rotating Mirror.

28. Activate your top layer.
Open the tube k©rine_dreams_Misted_Woman_1732_Juin_2011 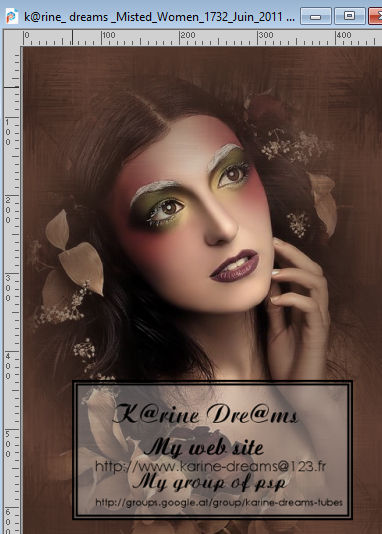
Edit>Copy.
Go back to your work and go to Edit>Paste as new layer.
Move  the tube to the left side. the tube to the left side.
29. Open the tube pentagramma-Colacao 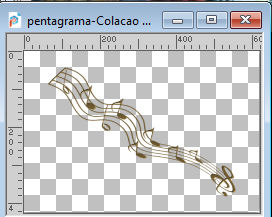
Edit>Copy.
Go back to your work and go to Edit>Paste as new layer.
Move  the tube to the right. the tube to the right.
30. Add, if you want, a text.
31. Sign your work on a new layer.
Layers>Merge>Merge All and save as jpg.
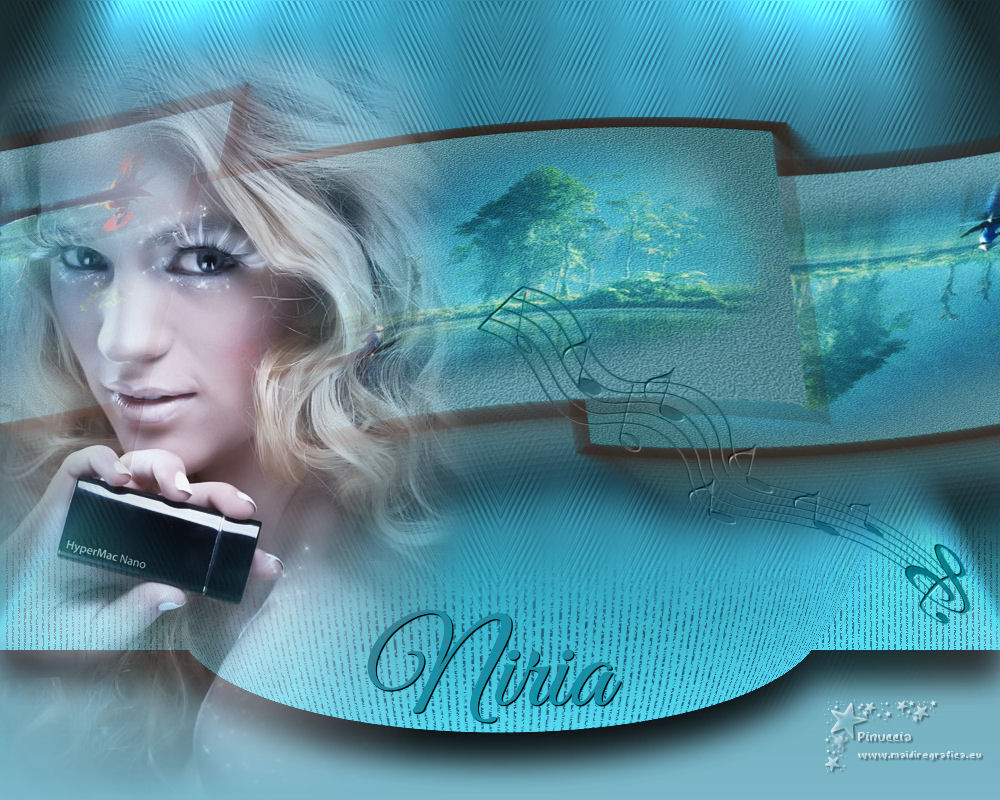
Version avec tubes by Mentali
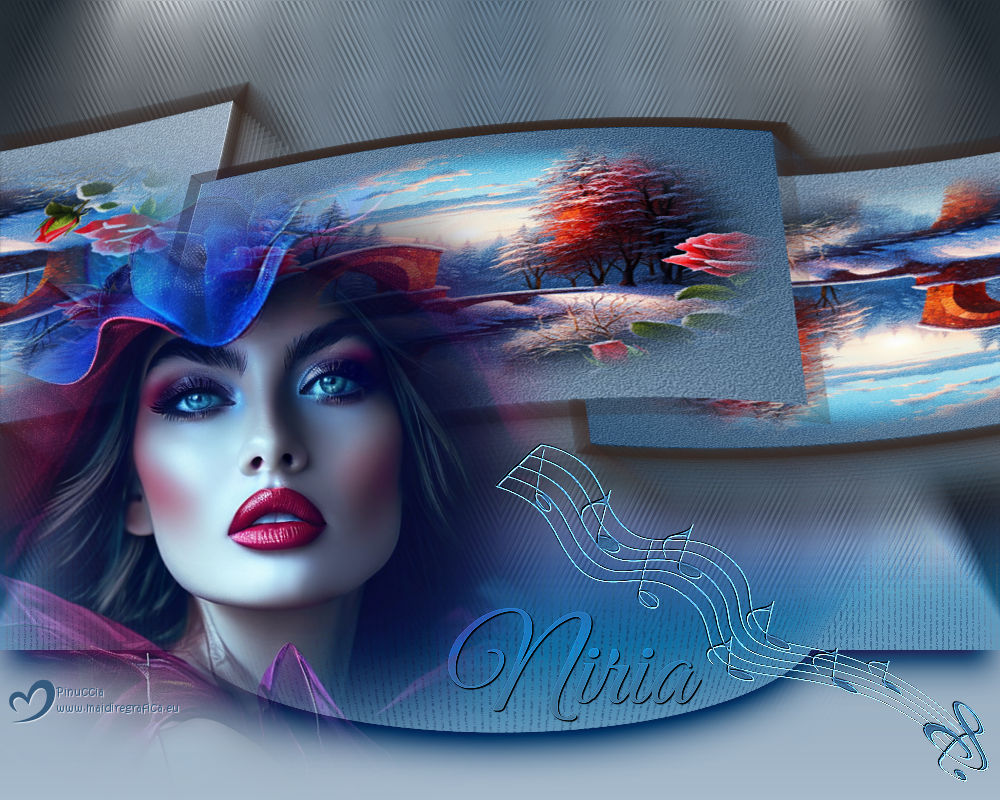
Version avec tube by Guismo

If you have problems or doubts, or you find a not worked link,
or only for tell me that you enjoyed this tutorial, write to me.
6 June 2025
|

