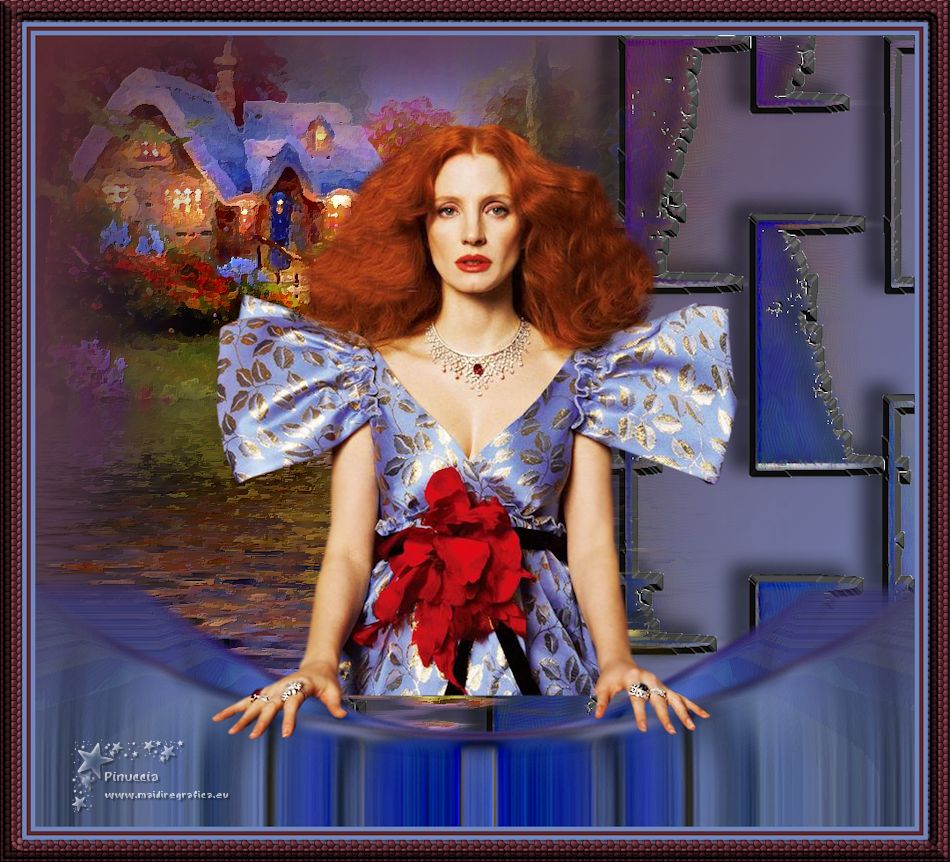
|
TOP NORA


Thanks Luz Cristina for your invitation to translate your tutorials into english

This tutorial was translated with PSP 2022, but it can also be made using other versions of PSP.
Since version PSP X4, Image>Mirror was replaced with Image>Flip Horizontal,
and Image>Flip with Image>Flip Vertical, there are some variables.
In versions X5 and X6, the functions have been improved by making available the Objects menu.
In the latest version X7 command Image>Mirror and Image>Flip returned, but with new differences.
See my schedule here
 French Translation here French Translation here
 Your versions here Your versions here

For this tutorial, you will need:

Tubes de Luz Cristina
(The links of the tubemakers here).

consult, if necessary, my filter section here
Filters Unlimited 2.0 here
FM Tile Tools - Saturation Emboss here
Virtual Painter here
Flaming Pear - Flood here
Mura's Meister - Perspective Tiling here
Nik Software - Color Efex Pro here
Artistiques - Pinceau à sec here

You can change Blend Modes according to your colors.
In the newest versions of PSP, you don't find the foreground/background gradient (Corel_06_029).
You can use the gradients of the older versions.
The Gradient of CorelX here

Open the mask in PSP and minimize it with the rest of the material.
1. Open a new transparent image 1000 x 900 pixels.
2. Set your foreground color to #5a2830,
and your background color to #7187bb.
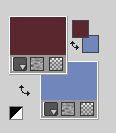
Set your foreground color to a Foreground>Background Gradient, style Linear
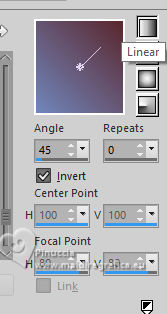
Flood Fill  the transparent image with your Gradient. the transparent image with your Gradient.
3. Layers>Duplicate.
4. Layers>New Mask layer>From image
Open the menu under the source window and you'll see all the files open.
Select the mask pNo1.3
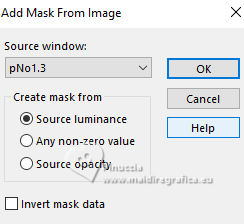
Layers>Merge>Merge Group.
Don't worry if you see nothing.
5. Effects>3D Effects>Drop shadow.
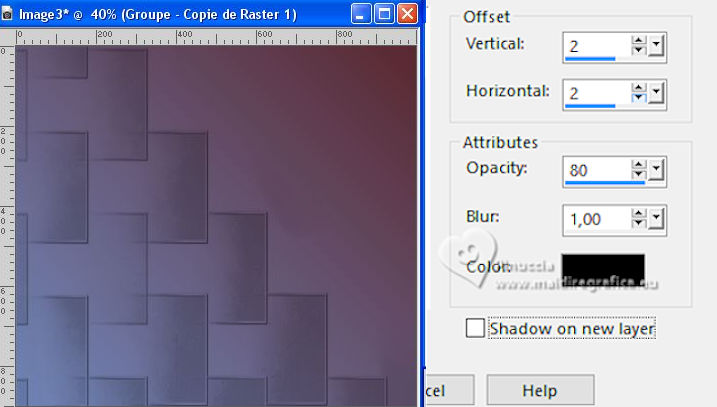
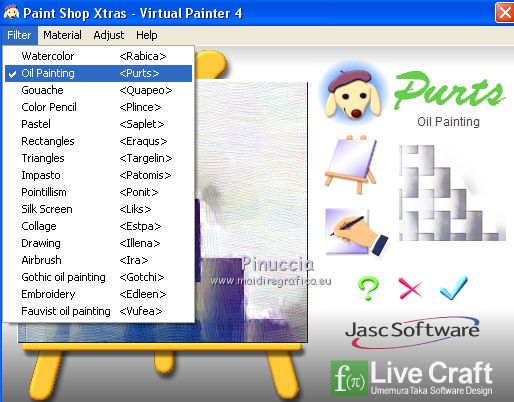
6. Effects>Plugins>Virtual Painter - Oil Painting.
Filter: Oil Painting
 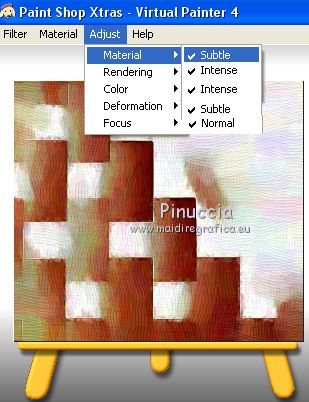
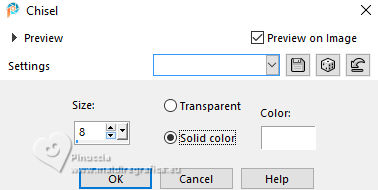
7. Effects>3D Effects>Chisel - color #ffffff.
8. Effects>Plugins>FM Tile Tools - Saturation Emboss, default settings.

9. Effects>3D Effects>Drop Shadow.
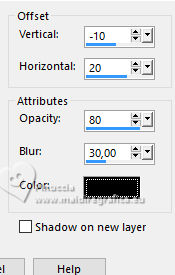
10. Layers>Merge>Merge visible.
11. Layers>Duplicate.
Effects>Reflection Effects>Rotating Mirror.

12. Effects>Plugins>Mura's Meister - Perspective Tiling.
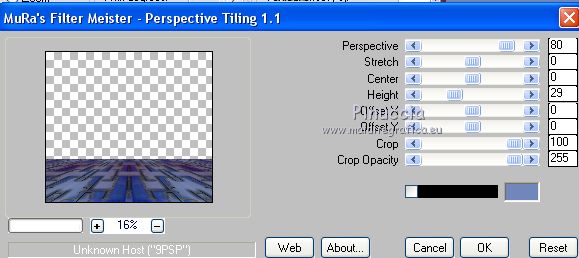
13. Adjust>Blur>Radial Blur.
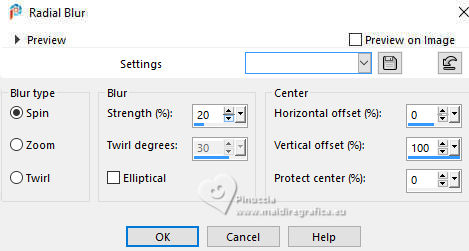
14. Adjust>Blur>Motion Blur - 3 times
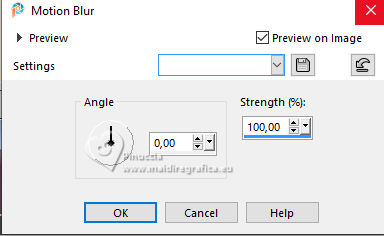
15. Effects>User Defined Filter - select the preset Emboss 3 and ok.

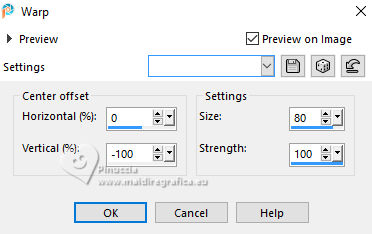
16. Effects>Distortion Effects>Warp - 2 times
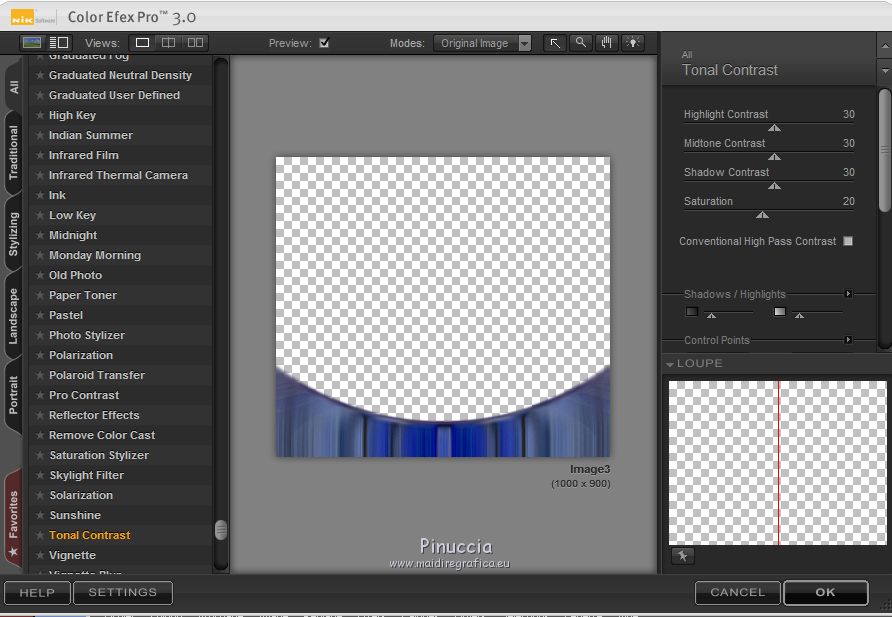
17. Effects>Plugins>Nik Software - Color Efex Pro - Tonal Contrast, default settings
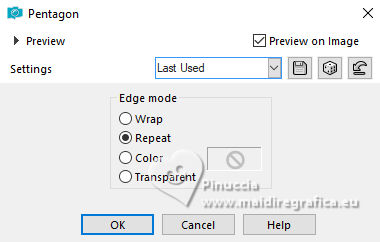
18. Layers>Duplicate.
Effects>Geometric Effects>Pentagon.
19. Layers>Arrange>Move Down.
20. Effects>Plugins>FM Tile Tools - Saturation Emboss, default settings.

21. Activate the layer Merged.
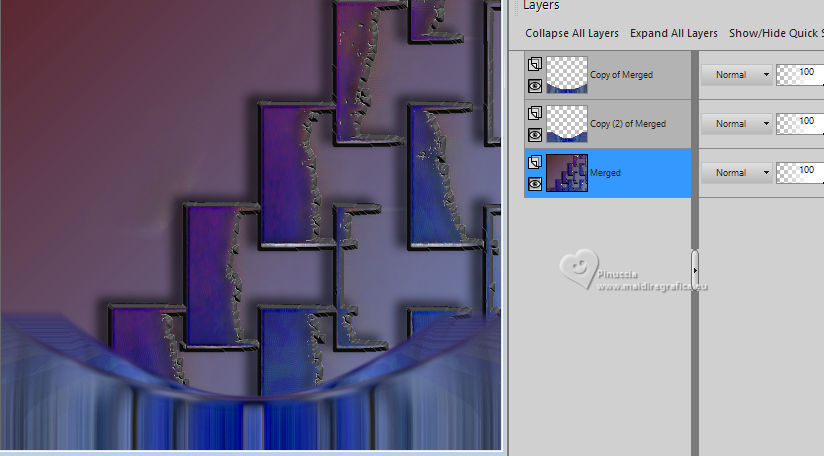
Image>Mirror>Mirror Horizontal.
22. Open the misted 5304-luzcristina 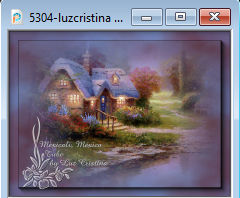
Edit>Copy.
Go back to your work and go to Edit>Paste as new layer.
Move  the tube at the upper left. the tube at the upper left.
23. Effects>Plugins>Flaming Pear - Flood
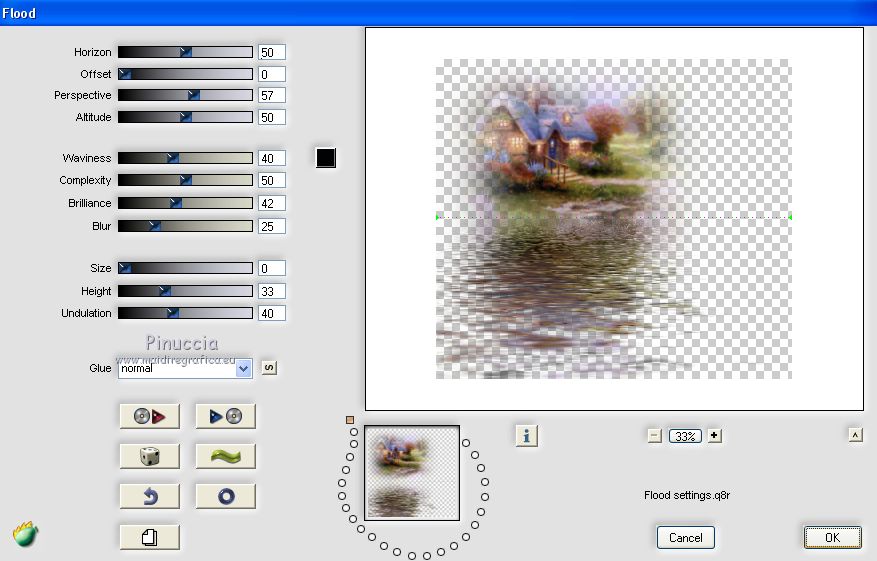
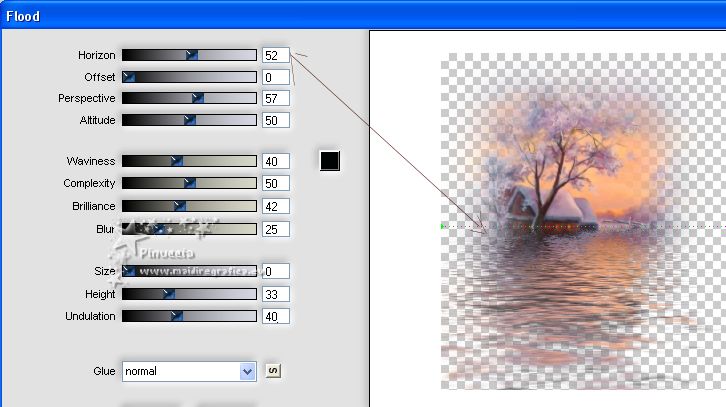
Adapt Horizon according to your tube
24. Effects>Plugins>Artistiques - Pinceau à sec
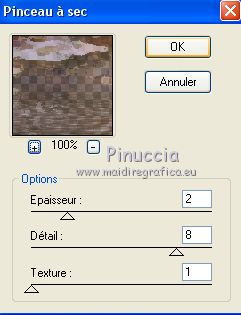
if you use the english version: Artistic>Dry Brush
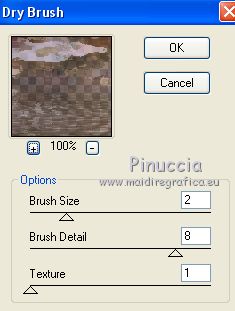
25. Effects>Plugins>FM Tile Tools - Saturation Emboss, default settings.

26. Activate your top layer.
Open your main tube 5278-luzcristina 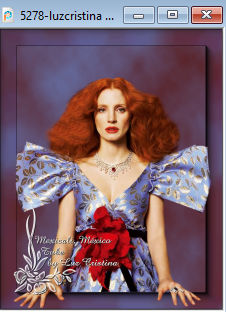
Edit>Copy.
Go back to your work and go to Edit>Paste as new layer.
Place  correctly the tube. correctly the tube.
27. Effects>3D Effects>Drop Shadow.

28. Image>Add Borders, 5 pixels, symmetric, light color.
Image>Add Borders, 5 pixels, symmetric, dark color.
Image>Add Borders, 5 pixels, symmetric, light color.
Image>Add Borders, 25 pixels, symmetric, dark color.
29. Activate your Magic Wand Tool 
and click in the last border to select it.
30. Effects>Texture Effects>Tiles
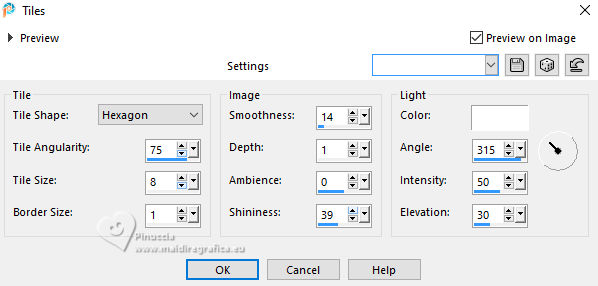
31. Effects>3D Effects>Inner Bevel.
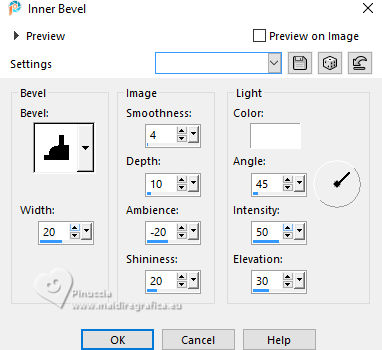
Selections>Select None.
32. Image>Resize, to 86%, resize all layers checked.
Sign your work on a new layer.
Layers>Merge>Merge All and save as jpg.
For the tubes of these versions thanks
Luz Cristina
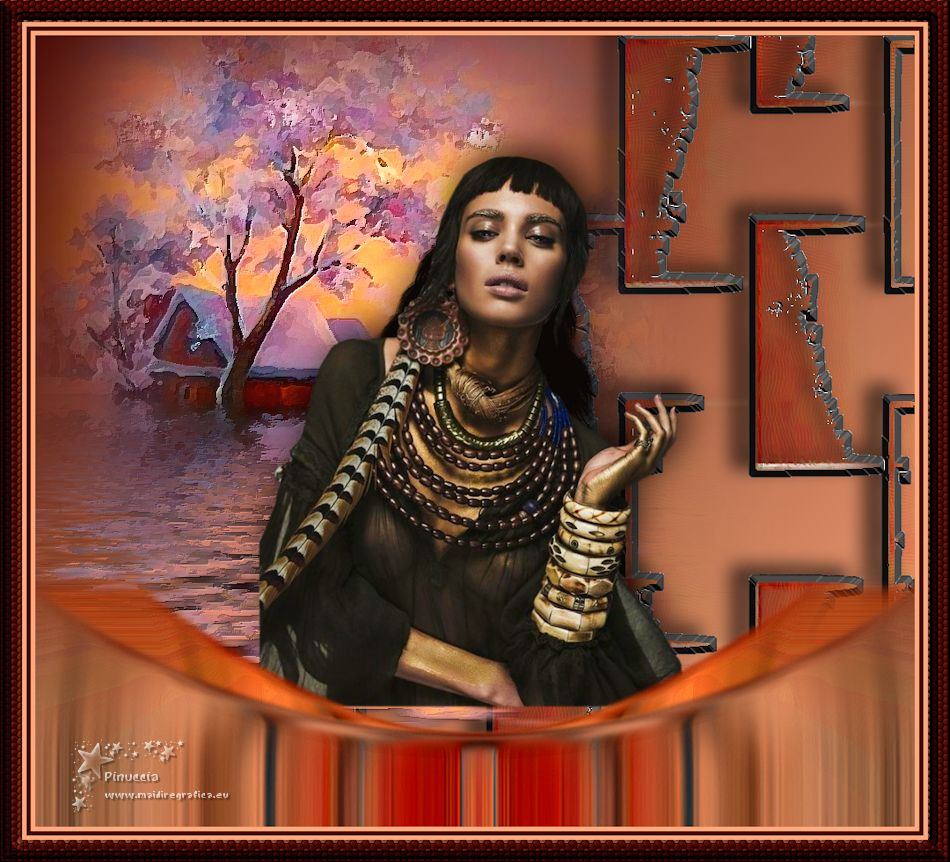
Mina
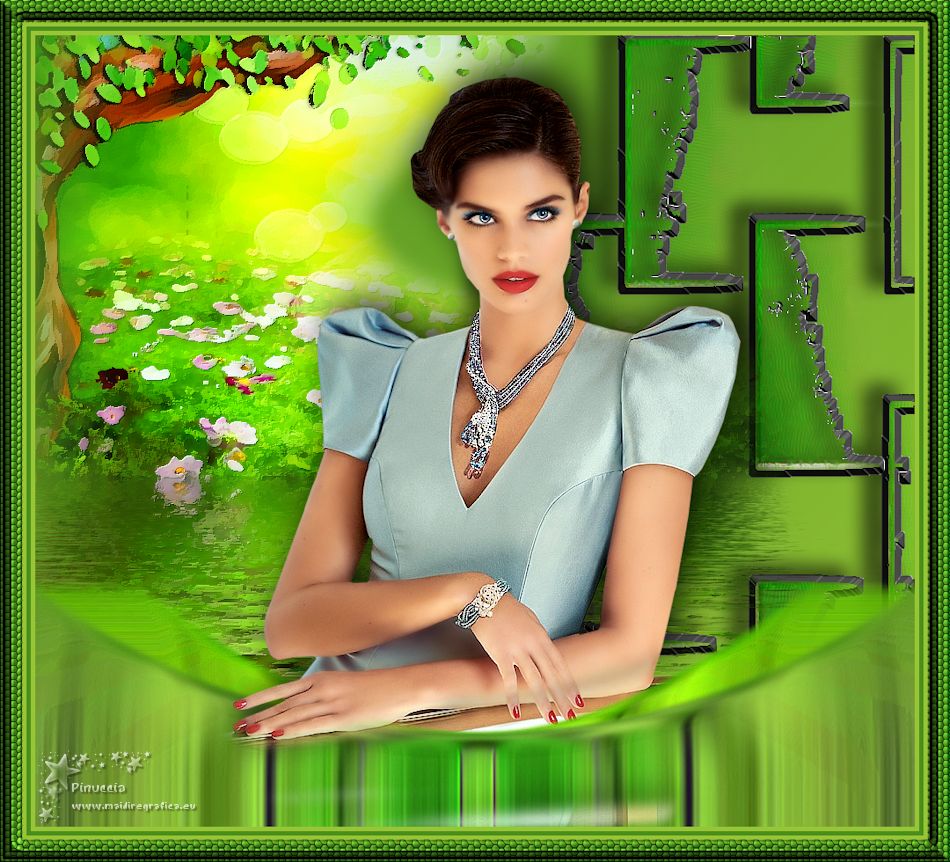


If you have problems or doubts, or you find a not worked link,
or only for tell me that you enjoyed this tutorial, write to me.
20 Juillet 2025
|

