|
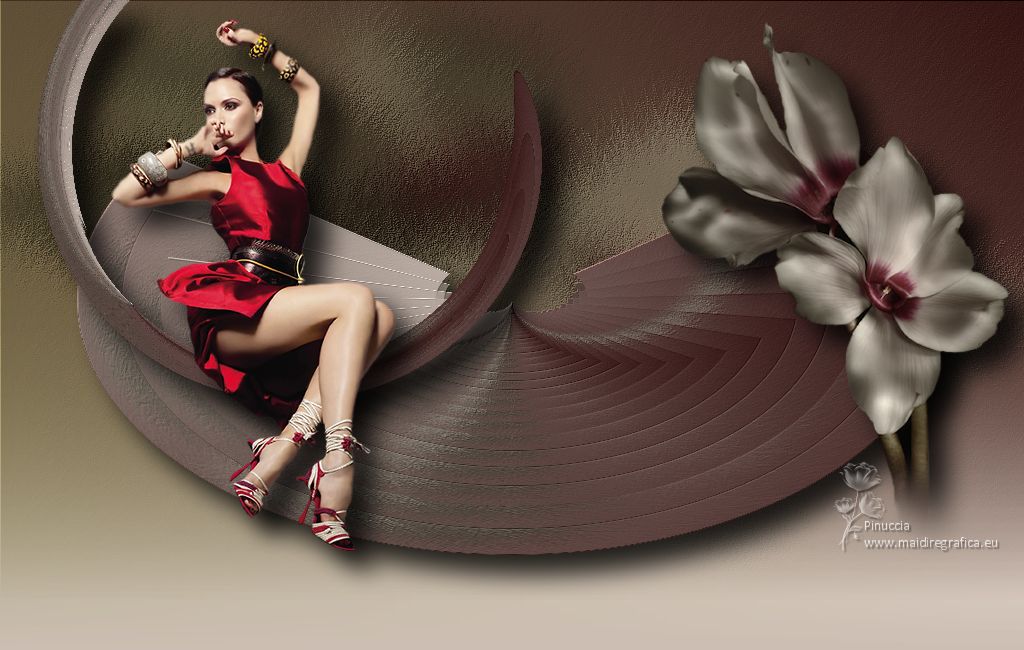
TOP NOSTALGIA


Thanks Luz Cristina for your invitation to translate your tutorials into english

This tutorial, created with PSP9, was translated with Psp2020, but it can also be made using other versions of PSP.
Since version PSP X4, Image>Mirror was replaced with Image>Flip Horizontal,
and Image>Flip with Image>Flip Vertical, there are some variables.
In versions X5 and X6, the functions have been improved by making available the Objects menu.
In the latest version X7 command Image>Mirror and Image>Flip returned, but with new differences.
See my schedule here
 French Translation here French Translation here
 Your versions here Your versions here

For this tutorial, you will need:

For the tubes thanks Luz Cristina.
(The links of the tubemakers here).

consult, if necessary, my filter section here
Xero - Artworx here
FM Tile Tools - Blend Emboss here
Mura's Meister - Pool Transform here

You can change Blend Modes according to your colors.
In the newest versions of PSP, you don't find the foreground/background gradient (Corel_06_029).
You can use the gradients of the older versions.
The Gradient of CorelX here

Open the mask and minimize it with the rest of the material.
1. Open a new transparent image1024 x 600 pixels.
2. Set your foreground color to #ccbeb3,
and your background color to #361312.
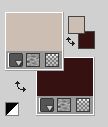
Set your foreground color to a Foreground/Background Gradient, style Linear.
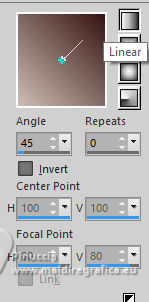
Flood Fill  the transparent image with your gradient. the transparent image with your gradient.
3. Selections>Select All.
Open the flowers tube 1479-luzcristina 
Edit>Copy.
Minimize the tube; you'll use it again
Go back to your work and go to Edit>Paste into Selection.
Selections>Select None.
4. Adjust>Blur>Gaussian Blur - radius 20.

5. Effects>Plugins>Xero - Artworx
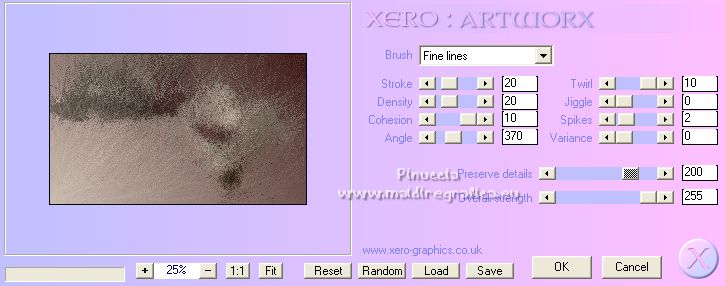
6. Effects>Plugins>FM Tile Tools - Blend Emboss, default settings.

7. Layers>Duplicate.
Image>Resize, to 70%, resize all layers not checked.
8. Effects>Reflection Effects>Feedback.

9. Image>Mirror>Mirror Vertical (Image>Flip).
10. Effects>Distortion Effects>Polar Coordinates.
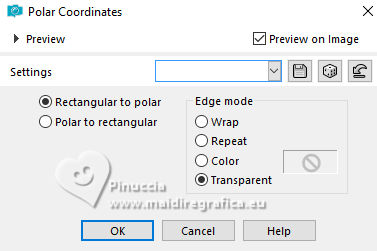
11.Effects>Plugins>FM Tile Tools - Blend Emboss, default settings.
12. Layers>Duplicate.
Effects>Plugins>Mura's Meister>Pole Transform
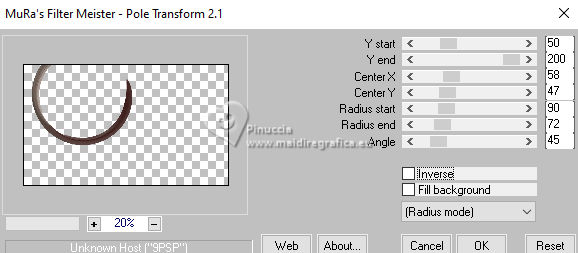
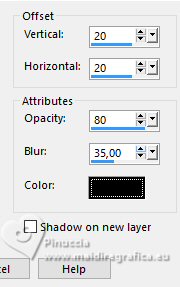
13. Effects>3D Effects>Drop Shadow, color black.
14. Open your woman's tube 1474-luz cristina 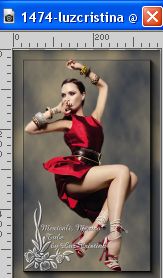
Edit>Copy.
Go back to your work and go to Edit>Paste as new layer.
Place  correctly the tube on the arch. correctly the tube on the arch.
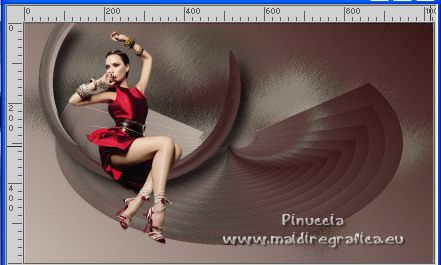
Effects>3D Effects>Drop Shadow, same settings.
15. Activate the layer Copy of Raster 1.
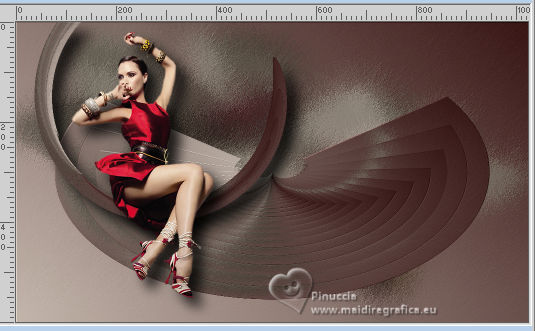
Effects>3D Effects>Drop Shadow, same settings.
16. Activate your bottom layer, Raster 1.
Layers>New Mask layer>From image
Open the menu under the source window and you'll see all the files open.
Select the mask gradiente worisch.
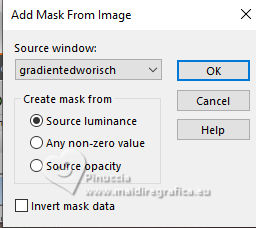
Layers>Merge>Merge Group.
Change the Blend Mode of this layer to Multiply.
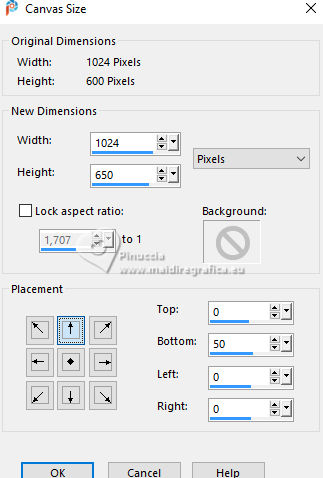
17. Image>Canvas Size - 1024 x 650 pixels.
18. Layers>New Raster Layer.
Layers>Arrange>Send to Bottom.
Set your foreground color to Color.
Flood Fill  the layer with your foreground color #ccbeb3. the layer with your foreground color #ccbeb3.
19. Keep your foreground color to #ccbeb3,
and set your background color to #214818.
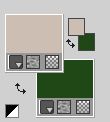
Change the Gradient's settings
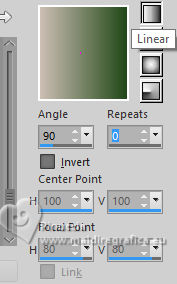
Layers>New Raster Layer.
Flood Fill  the layer with your gradient. the layer with your gradient.
Image>Mirror>Mirror Horizontal.
(Remember that you are free to create a gradient with any color you like that matches your work)
20. Repeat Layers>New Mask layer>From image
Open the menu under the source window
and select the mask gradiente worisch
Layers>Merge>Merge Group.
Change the Blend Mode of this layer to Overlay.
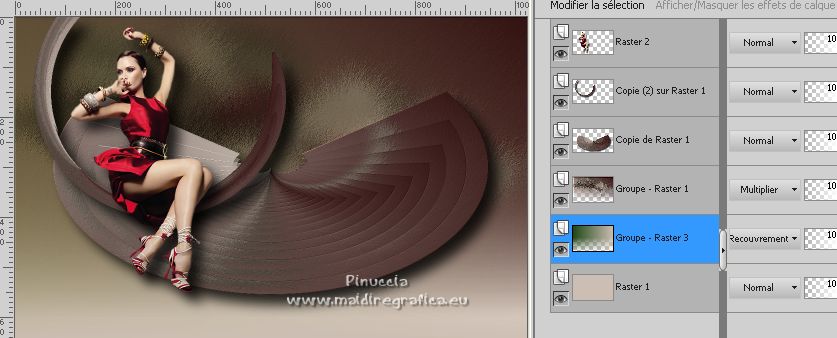
21. Activate your top layer.
Activate again the flowers tube 1479-luzcristina and go to Edit>Copy.
Go back to your work and go to Edit>Paste as new layer.
Image>Resize, to 110%, resize all layers not checked.
Move  the tube to the right side. the tube to the right side.
Effects>3D Effects>Drop Shadow, same settings.
22. Sign your work on a new layer.
Layers>Merge>Merge All and save as jpg.
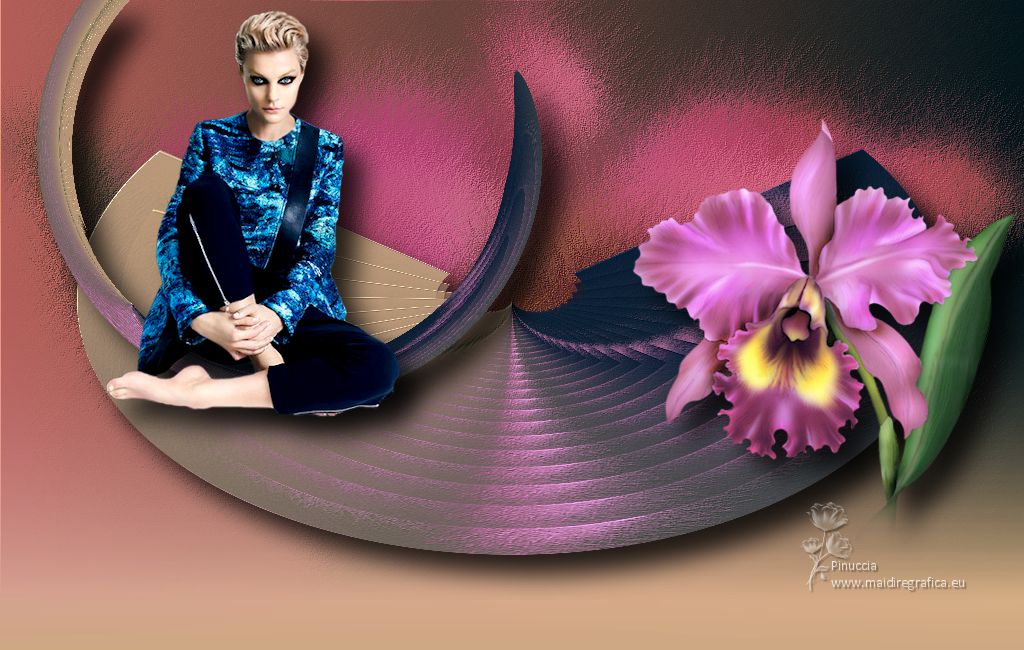
For the tubes of this version thanks Luz Cristina and Nikita

For the tubes of this version thanks Luz Cristina and Cal

If you have problems or doubts, or you find a not worked link,
or only for tell me that you enjoyed this tutorial, write to me.
20 Aprile 2025

|

