|
TOP PALOMA


Thanks Luz Cristina for your invitation to translate your tutorials into english

This tutorial, created with PSP2022, was translated with PspX7, but it can also be made using other versions of PSP.
Since version PSP X4, Image>Mirror was replaced with Image>Flip Horizontal,
and Image>Flip with Image>Flip Vertical, there are some variables.
In versions X5 and X6, the functions have been improved by making available the Objects menu.
In the latest version X7 command Image>Mirror and Image>Flip returned, but with new differences.
See my schedule here
 French Translation here French Translation here
 Your versions here Your versions here

For this tutorial, you will need:

Tubes by Luz Cristina.
(The links of the tubemakers here).

consult, if necessary, my filter section here
Filters Unlimited 2.0 here
Mehdi 2 - Flat Median here
Mura's Meister - Perspective Tiling here
Simple - Top Left Mirror here
Simple - Left Right Wrap (bonus) here
FM Tile Tools - Blend Emboss, Saturation Emboss here
Filters Simple can be used alone or imported into Filters Unlimited.
(How do, you see here)
If a plugin supplied appears with this icon  it must necessarily be imported into Unlimited it must necessarily be imported into Unlimited

You can change Blend Modes according to your colors.
In the newest versions of PSP, you don't find the foreground/background gradient (Corel_06_029).
You can use the gradients of the older versions.
The Gradient of CorelX here

1. Open a new transparent image 1000 x 900 pixels.
2. Set your foreground color to #0c658d,
and your background color to #ba843a.
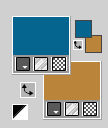
Set your foreground color to a Foreground/Background Gradient, stile Linear.
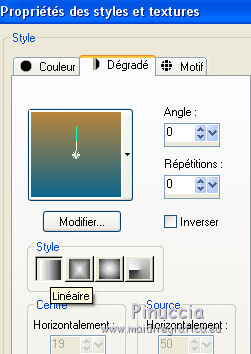
Flood Fill  the transparent image with your Gradient. the transparent image with your Gradient.
3. Selections>Select All.
Open the misted 5066-luzcristina 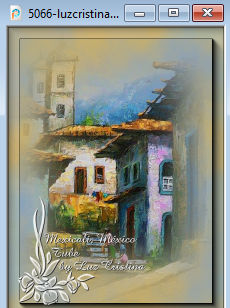
Edit>Copy.
Go back to your work and go to Edit>Paste into Selection.
Selections>Select None.
4. Adjust>Blur>Radial blur.
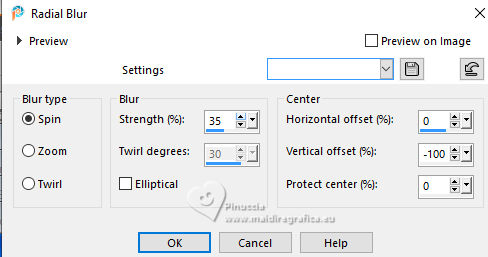
5. Effects>Art Media Effects>Brush Strokes.
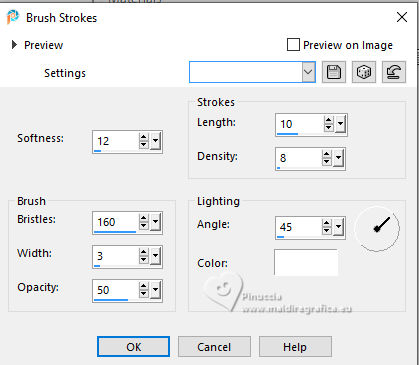
6. Effects>Plugins>FM Tile Tools - Saturation Emboss, default settings.

7. Layers>Duplicate.
8. Effects>Plugins>Mura's Meister - Perspective Tiling.
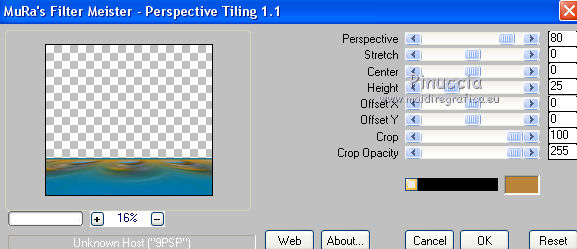
9. Close the layer Raster 1, to see better and stay on the layer of the Copy.
Activate your Magic Wand Tool  , feather 30, , feather 30,

and click in the transparent part to select it.
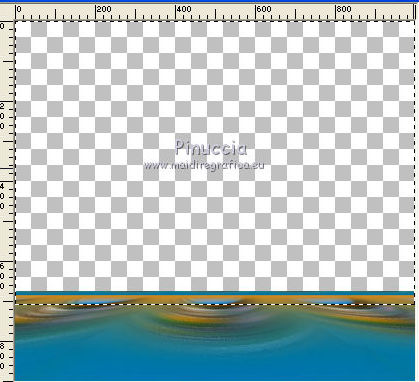
Press 5 times CANC on the keyboard  to soften the border. to soften the border.
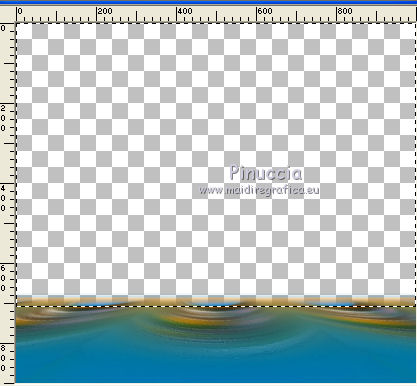
Selections>Select none.
Open the layer Raster 1 and stay on the layer of the Copy.
10. Layers>Duplicate, 2 times to have 3 equal layers.
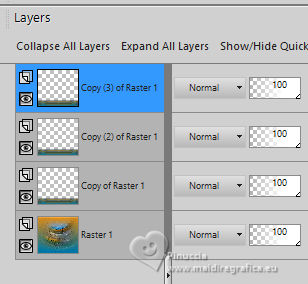
11. Stay on the layer of the third copy.
Image>Mirror>Mirror Vertical (Image>Flip).
Layers>Merge>Merge Down.
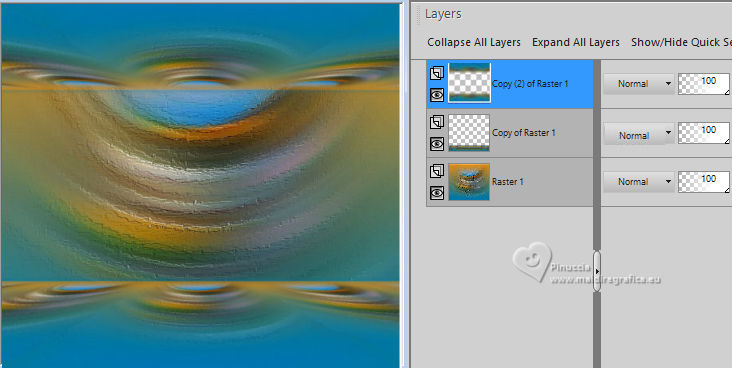
12. Effects>Geometric Effects>Perspective horizontal.
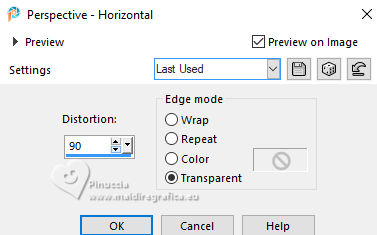
13. Effects>Geometric Effects>Skew.
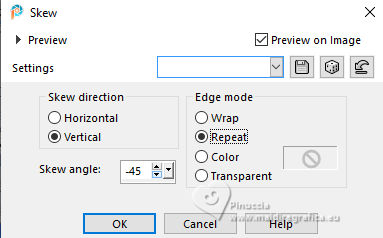
14. Effects>Geometric Effects>Pentagon.
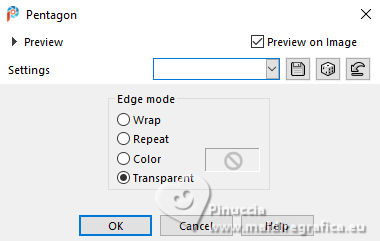
15. Activate your Eraser Tool 
and erase the line on the forme
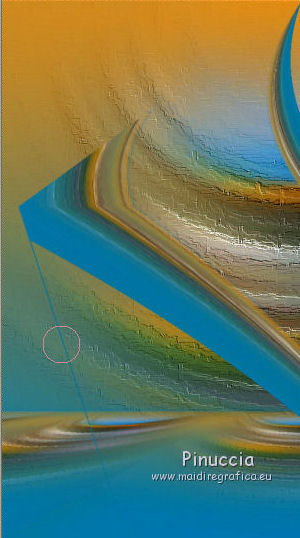 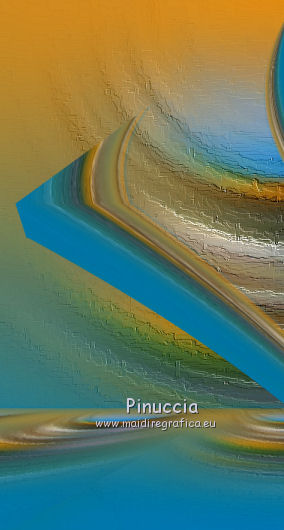
16. Effects>Reflection Effects>Rotating Mirror.

17. Effects>Geometric Effects>Spherize.
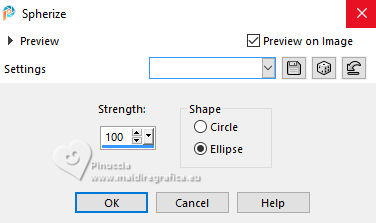
18. Effects>Plugins>Simple - Left Right Wrap.
This effect works without window; result
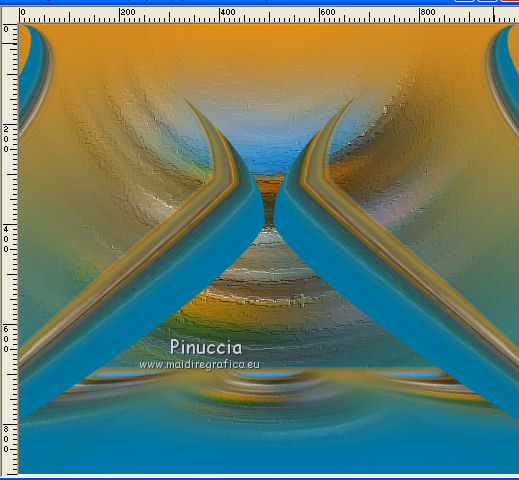
19. Effects>Distortion Effects>Pinch.
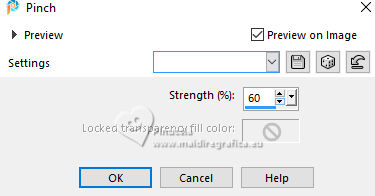
20. Activate the layer Copy of Raster 1.
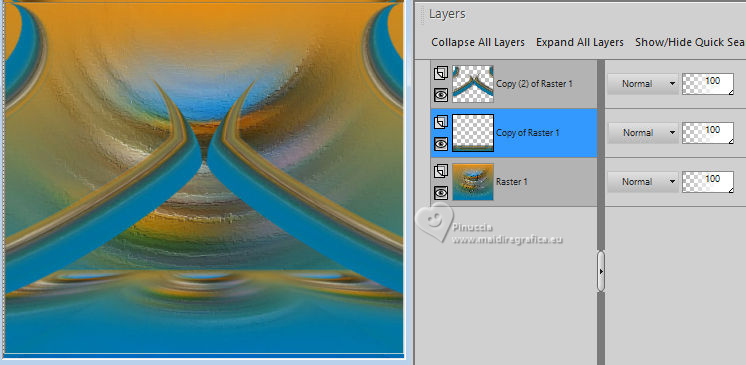
Layers>Duplicate.
21. Effects>Reflection Effects>Feedback.
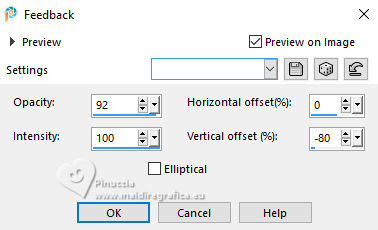
22. Image>Resize, to 80%, resize all layers not checked.
23. Effects>Plugins>Simple - Top Left Mirror.
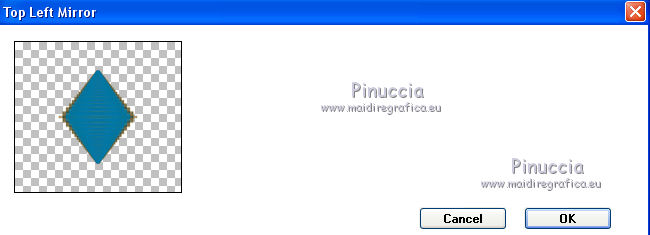
24. Layers>Arrange>Move Down.
25. Effects>Plugins>FM Tile Tools - Blend Emboss, default settings.

26. Effects>3D Effects>Drop Shadow.
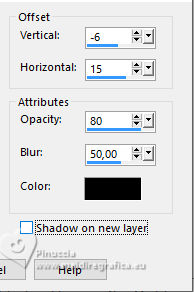
Edit>Repeat Drop Shadow (Optional).
27. Image>Resize, to 80%, resize all layers not checked.
28. Edit>Paste as new layer (the misted is still in memory).
Move  the tube at the upper left. the tube at the upper left.
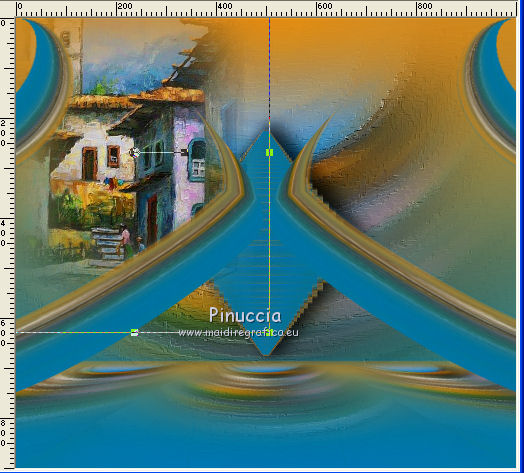
29. Layers>Duplicate.
Image>Mirror>Mirror Horizontal.
Layers>Merge>Merge Down.
Change the Blend Mode of this layer to Hard Light (optional).
Change the Blend Mode of this layer also on the layer of the figure and of the ground.
30. Activate your top Layer, Copy 2 of Raster 1
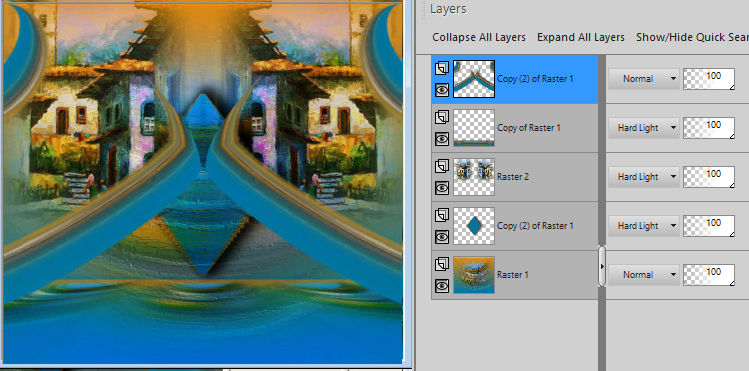
Effects>3D Effects>Drop shadow, same settings.
Edit>Repeat Drop shadow.
31. Activate the layer Copy of Raster 1 (the ground).
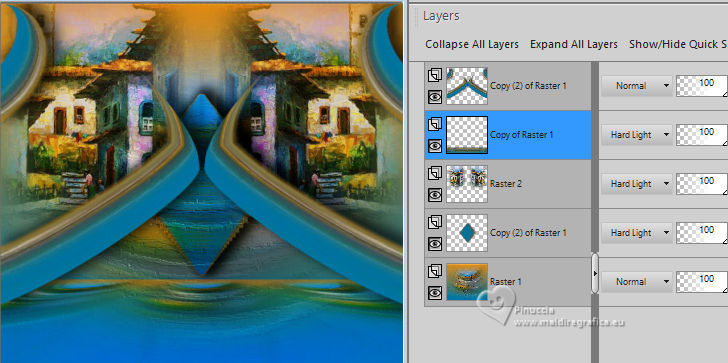
Effects>Geometric Effects>Pentagon.
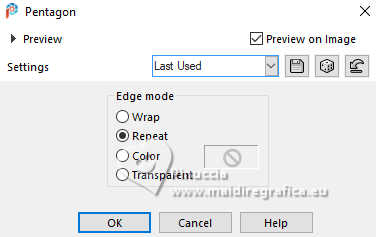
Edit>Repeat Pentagon.
32. Effects>Plugins>Simple - Left Right Wrap
33. Effects>Reflection Effects>Rotating Mirror.

Image Effects>Offset.
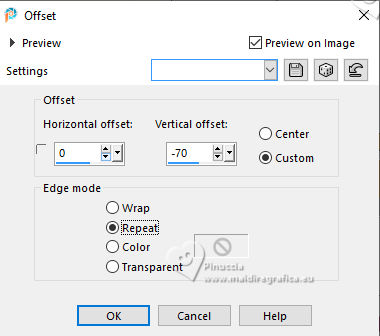
35. Effects>Plugins>FM Tile Tools - Blend Emboss, default settings.

Effects>3D Effects>Drop Shadow, same settings.
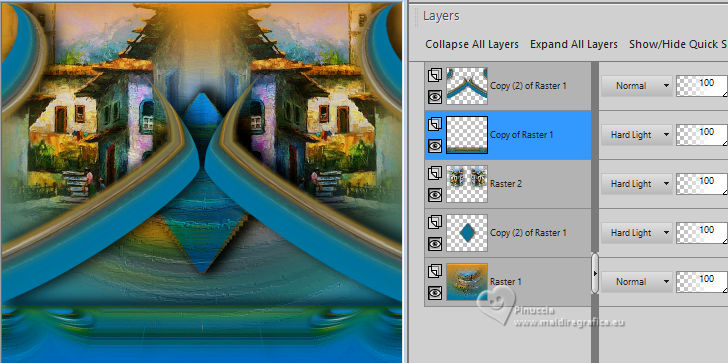
You should have this
36. Image>Add Borders, 5 pixels, symmetric, foreground color.
Image>Add Borders, 2 pixels, symmetric, background color
Image>Add Borders, 5 pixels, symmetric, foreground color.
Image>Add Borders, 2 pixels, symmetric, background color
Image>Add Borders, 45 pixels, symmetric, foreground color.
37. Activate your Magic Wand Tool  , feather 1, , feather 1,
and click in the last border to select it 
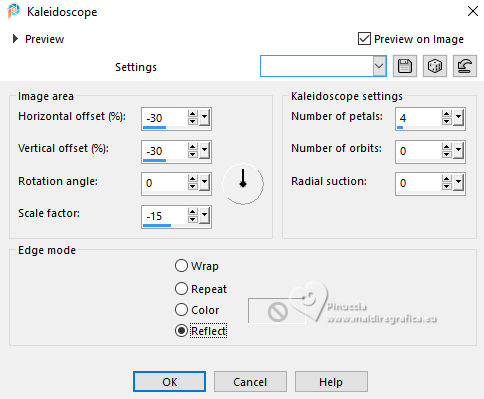
Effects>Reflection Effects>Kaleidoscope.
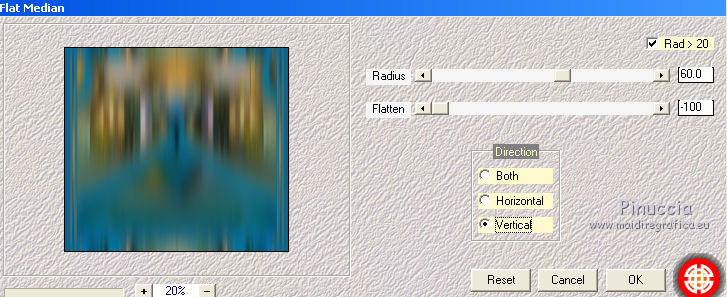
38. Effects>Plugins>Mehdi 2 - Flat Median
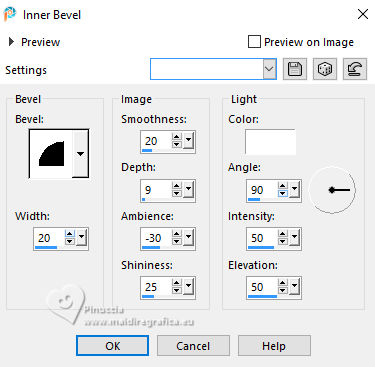
39. Effects>3D Effects>Inner Bevel.
Selections>Select None.
40. Image>Resize, to 84%, resize all layers not checked.
41. Open the woman's tube 5110-luzcristina 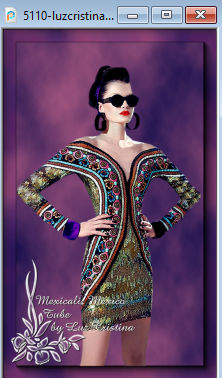
Edit>Copy.
Go back to your work and go to Edit>Paste as new layer.
Move  the tube to the left. the tube to the left.
Effects>3D Effects>Drop shadow, same settings.
42. Sign your work on a new layer.
Layers>Merge>Merge visible and save as jpg.
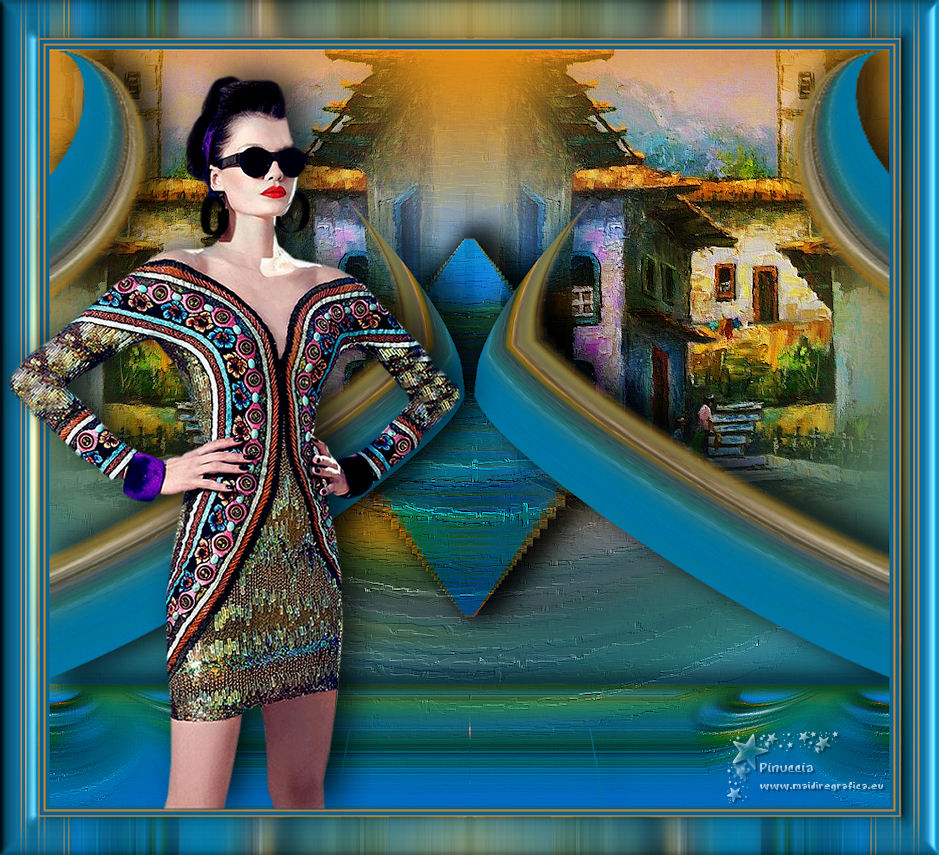
Version with tubes by Luz Cristina
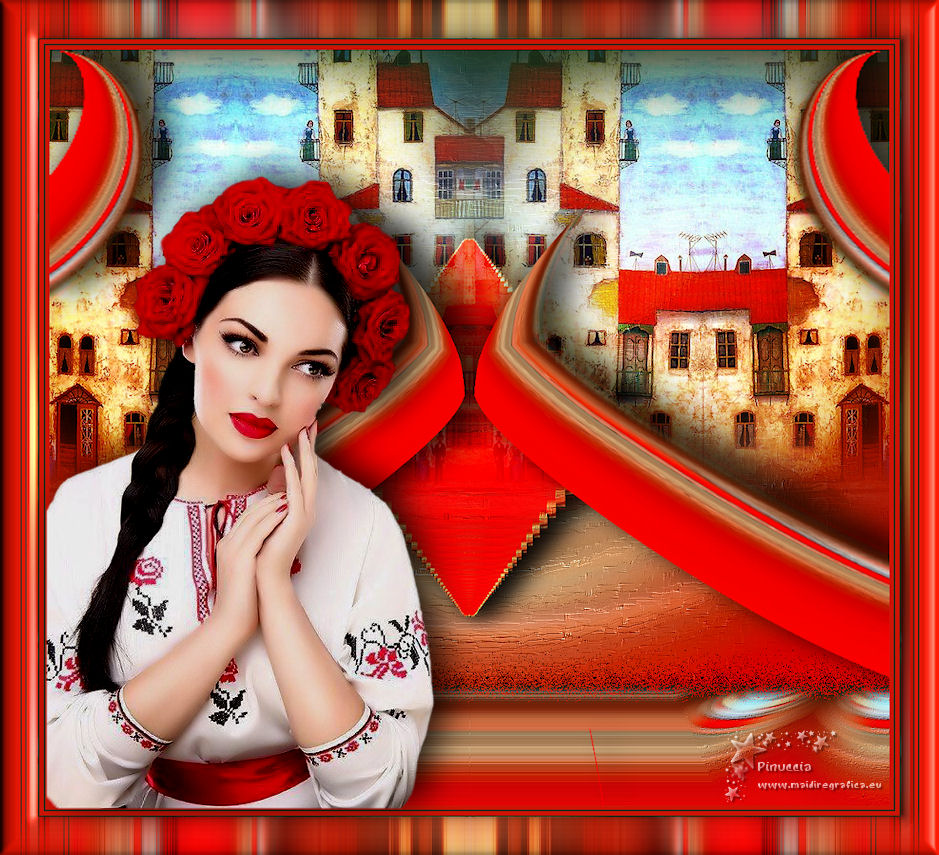


If you have problems or doubts, or you find a not worked link,
or only for tell me that you enjoyed this tutorial, write to me.
25 Juillet 2025
|

