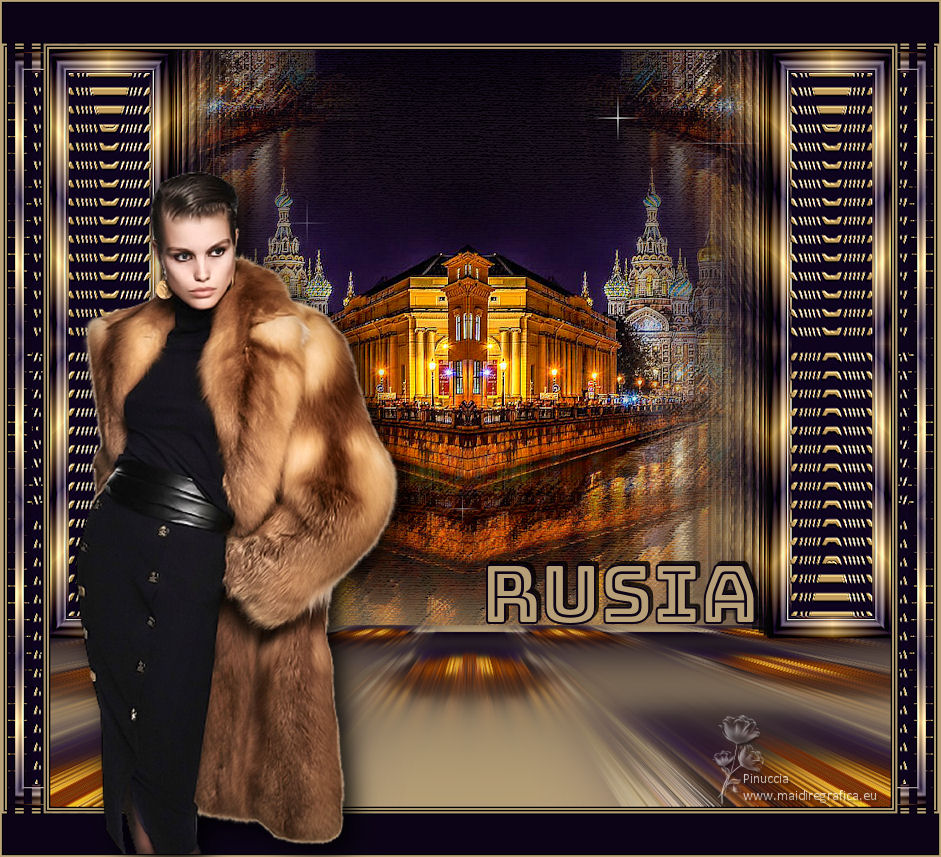
|
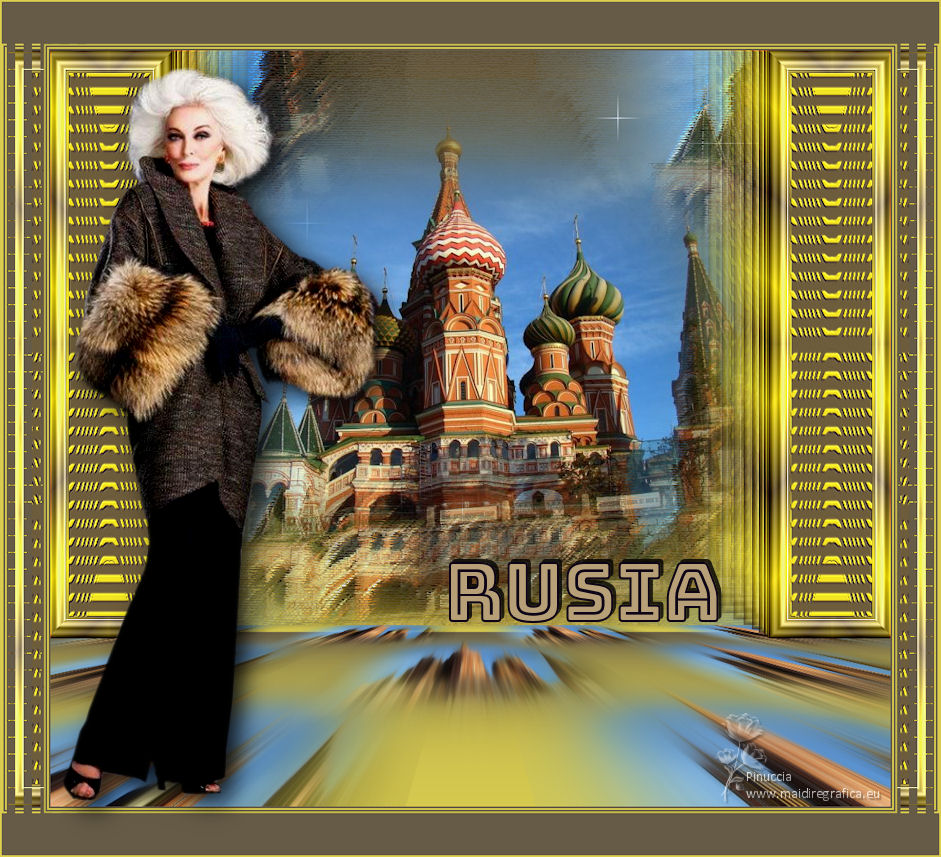
TOP RUSIA


Thanks Luz Cristina for your invitation to translate your tutorials into english

This tutorial, created with PSP9, was translated with PspX9, but it can also be made using other versions of PSP.
Since version PSP X4, Image>Mirror was replaced with Image>Flip Horizontal,
and Image>Flip with Image>Flip Vertical, there are some variables.
In versions X5 and X6, the functions have been improved by making available the Objects menu.
In the latest version X7 command Image>Mirror and Image>Flip returned, but with new differences.
See my schedule here
 French Translation here French Translation here
 Your versions here Your versions here

For this tutorial, you will need:

Tube by Luz Cristina.
(The links of the tubemakers here).

consult, if necessary, my filter section here
Filters Unlimited 2.0 - here
Simple - Top Left Mirror here
FM Tile Tools - Saturation Emboss, Blend Emboss here
Mura's Meister - Copies here
Mura's Meister - Perspective Tiling here
Mehdi 2 - Flat Median here
Artistic - Rough Pastels here
VM Natural - Sparkle here
L&K's - L&K's Katharina here
Filters Simple and VM Natural can be used alone or imported into Filters Unlimited.
(How do, you see here)
If a plugin supplied appears with this icon  it must necessarily be imported into Unlimited it must necessarily be imported into Unlimited

You can change Blend Modes according to your colors.

1. Open a new transparent image 150 x 700 pixels.
2. Set your foreground color to #b7a077,
and your background color to #0c0416.
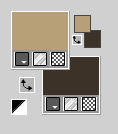
Set your foreground color to a Foreground/Background Gradient, style Linear.
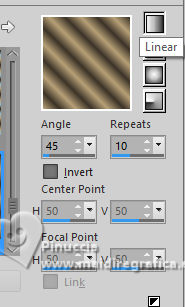
Flood Fill  the transparent image with your Gradient. the transparent image with your Gradient.
3. Effects>Plugins>Filters Unlimited 2.0 - Buttons & Frames - Glass Frame 2.

4. Selections>Select All.
Selections>Modify>Contract - 27 pixels.
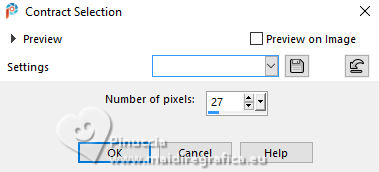
Press CANC on the keyboard
Keep selected.
5. Layers>New Raster Layer.
Layers>Arrange>Move Down.
Selections>Modify>Expand - 5 pixels.
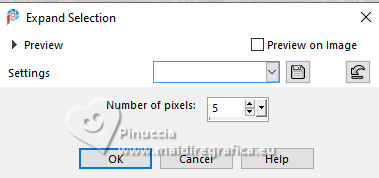
Flood Fill  the layer with your dark background color. the layer with your dark background color.
6. Activate your Erase Tool  with these settings with these settings

We're going to move the tool from top to bottom, to get something like this
 
7. Effects>Distortion Effects>Wave
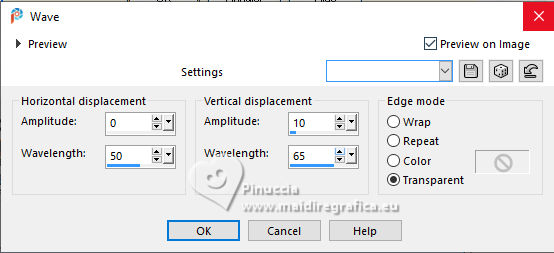
Selections>Select None.
8. Layers>New Raster Layer.
Layers>Arrange>Move Down.
Set your foreground color to Color.
Flood Fill  the layer with your light foreground color. the layer with your light foreground color.
Layers>Merge>Merge visible.
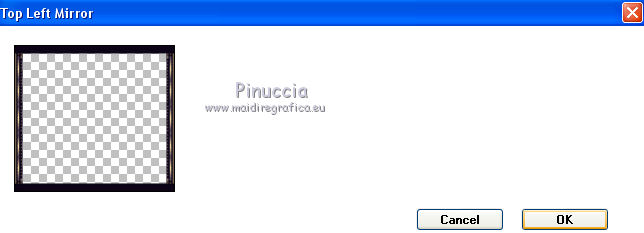
9. Effects>Plugins>Simple - Top Left Mirror.
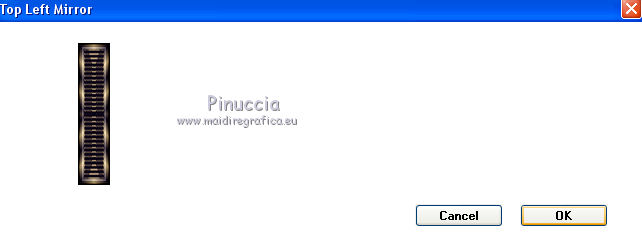
10. Effects>Plugins>FM Tile Tools - Saturation Emboss ou Blend Emboss, default settings.

11. Image>Canvas Size - 1000 x 900 pixels
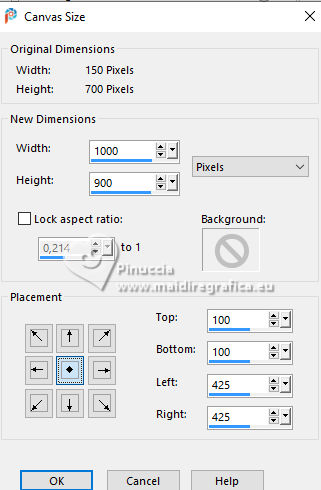
12. Effects>Image Effects>Offset.
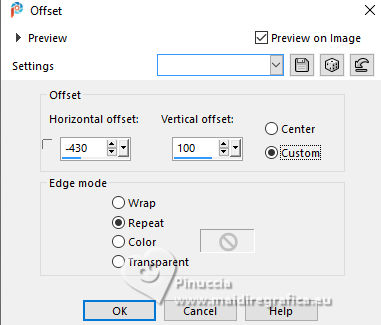
13. Effects>Plugins>Mura's Meister - Copies.
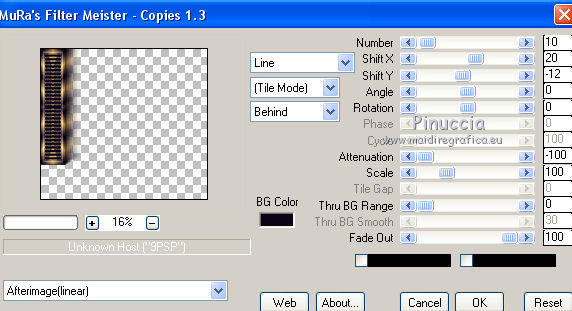
14. Effects>Plugins>FM Tile Tools - Blend Emboss, default settings.

15. Layers>Duplicate.
Image>Mirror>Mirror Horizontal.
Layers>Merge>Merge Down.
16. Layers>New Raster Layer.
Layers>Arrange>Move Down.
Set again your foreground color to the Gradient and change the settings
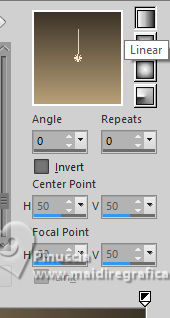
Flood Fill  the layer with your Gradient. the layer with your Gradient.
17. Layers>Duplicate.
18. Open the misted agRuRusia2 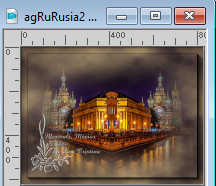
Edit>Copy.
Go back to your work and go to Edit>Paste as new layer.
19. Effects>Image Effects>Seamless Tiling, default settings.

20. Layers>Merge>Merge Down.
21. Layers>Duplicate.
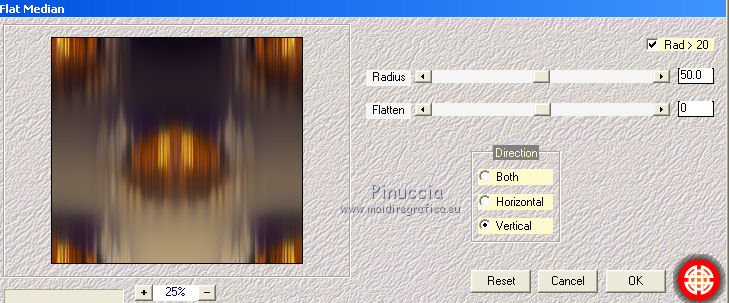
22. Effects>Plugins>Mehdi 2 - Flat Median.
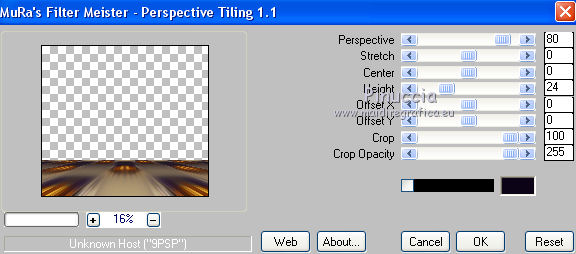
23. Effects>Plugins>Mura's Meister - Perspective Tiling.
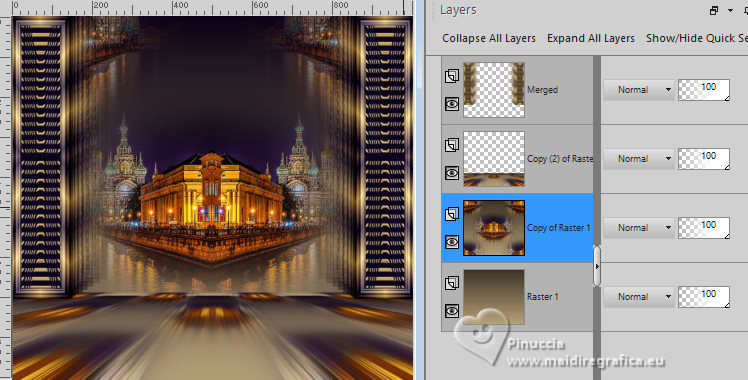
24. Activate the layer Copy of Raster 1 (the Seamless Tiling layer)
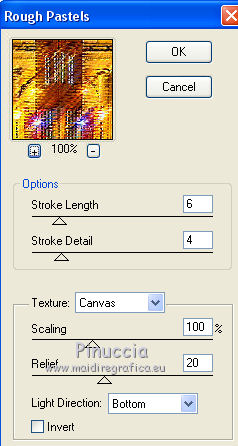
Effects>Plugins>Artistic - Rough Pastels
if you use the french version of this filter:
Plugins>Artistiques - Pastels
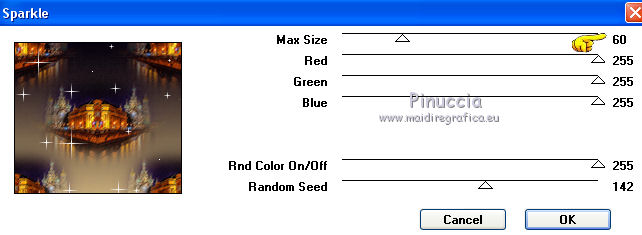
25. Effects>Plugins>VM Natural - Sparkle
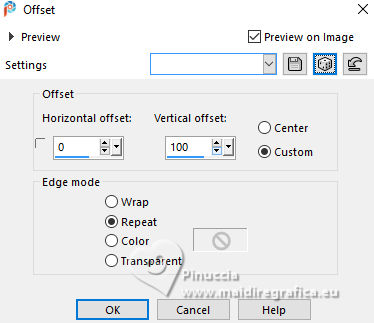
26. Edit>Paste as new layer (the landscape is still in memory).
Effects>Image Effects>Offset.
27. Image>Add Borders, 2 pixels, symmetric, dark color.
Image>Add Borders, 2 pixels, symmetric, light color.
Image>Add Borders, 2 pixels, symmetric, dark color.
Image>Add Borders, 2 pixels, symmetric, light color.
Image>Add Borders, 50 pixels, symmetric, dark color.
Activate your Magic Wand Tool 
and click in the last border of 50 pixels to select it.
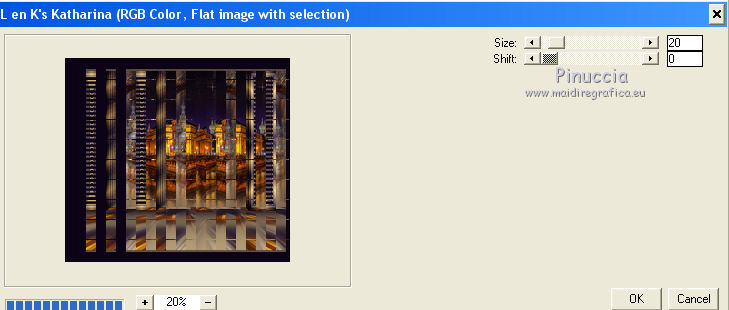
28. Effects>Plugins>L&K's - L&K's Katharina.
29. Image>Mirror>Mirror horizontal.
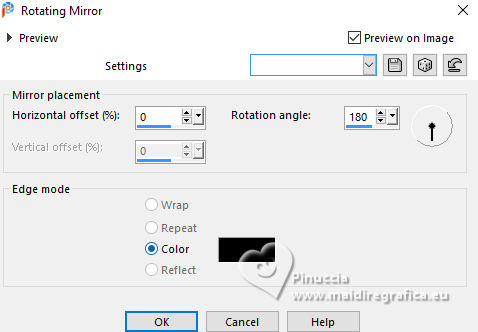
Effects>Reflection Effects>Rotating Mirror.
30. Effects>Plugins>Simple - Top Left Mirror.
Selections>Select None.
31. Image>Add Borders, 2 pixels, symmetric, light color.
32. Image>Resize, to 84%, resize all layers checked.
33. Open the woman's tube 6883-Luz Cristina 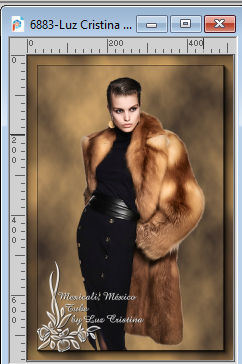
Edit>Copy.
Go back to your work and go to Edit>Paste as new layer.
Move  the tube to the left side. the tube to the left side.
Effects>3D Effects>Drop Shadow, at your choice.
34. Open the text agRuTexto 
Edit>Copy.
Go back to your work and go to Edit>Paste as new layer.
(the text has already its drop shadow).
Move  the tube to the right, see my example. the tube to the right, see my example.
Sign your work and save as jpg.
Version with tubes by
Luz Cristina
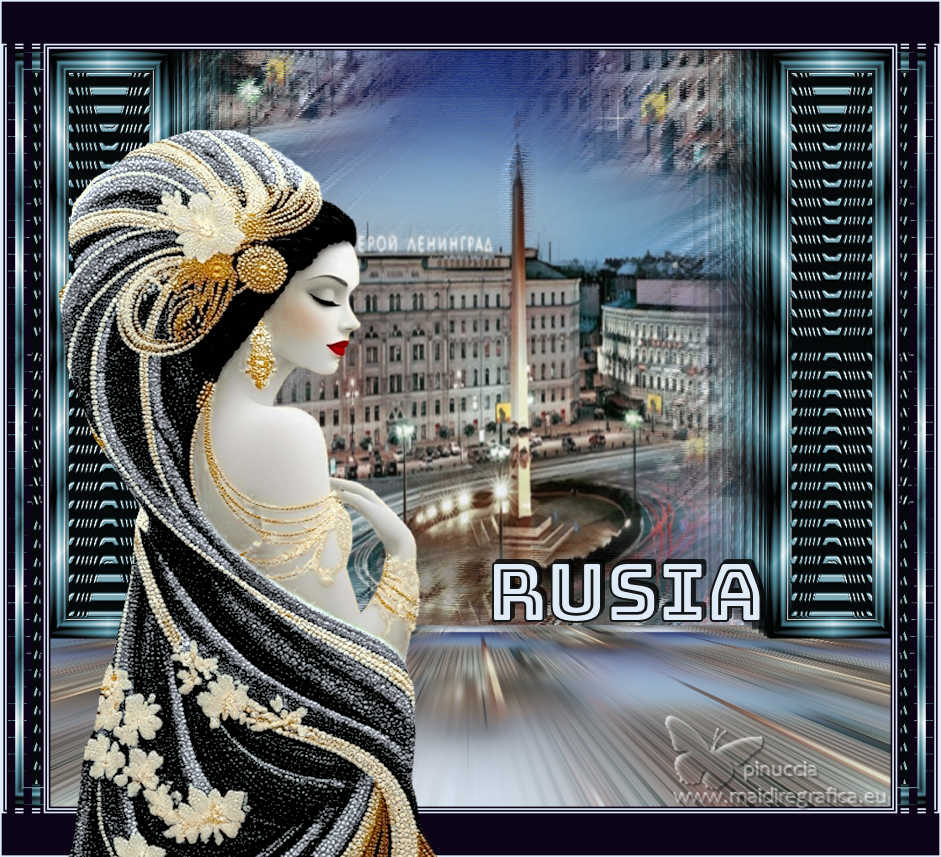
Lana
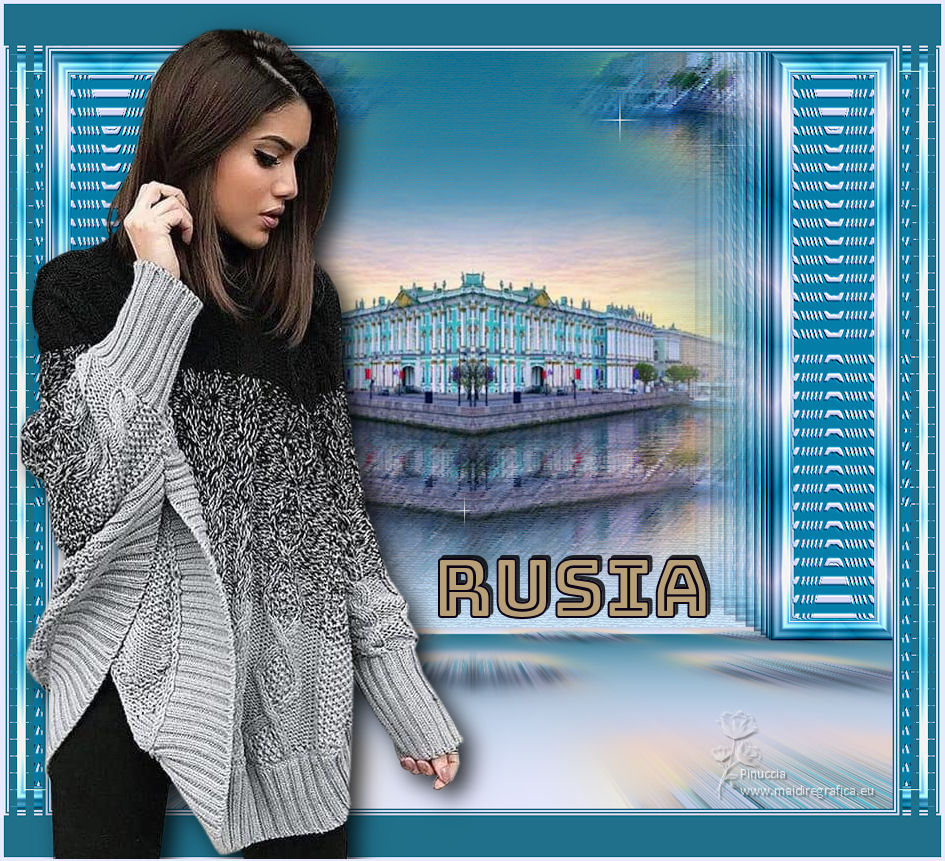
Luz Cristina

If you have problems or doubts, or you find a not worked link,
or only for tell me that you enjoyed this tutorial, write to me.
19 May 2025

|

