|
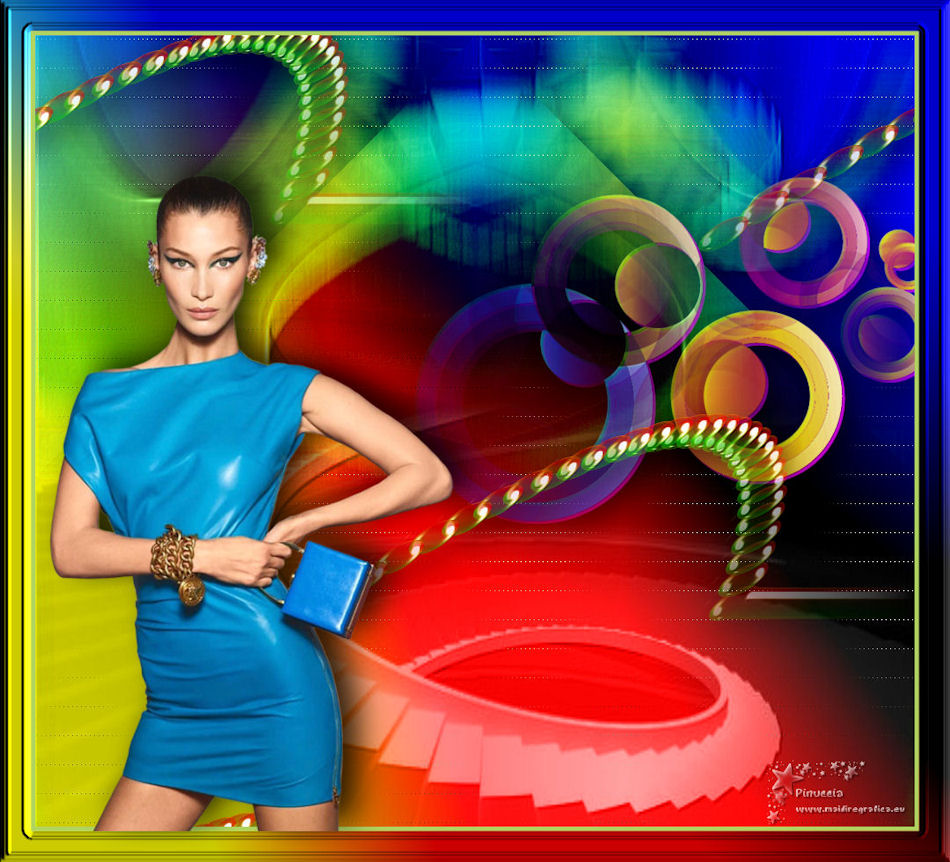
TOP SILENCIO


Thanks Luz Cristina for your invitation to translate your tutorials into english

This tutorial was translated with PSP 2022, but it can also be made using other versions of PSP.
Since version PSP X4, Image>Mirror was replaced with Image>Flip Horizontal,
and Image>Flip with Image>Flip Vertical, there are some variables.
In versions X5 and X6, the functions have been improved by making available the Objects menu.
In the latest version X7 command Image>Mirror and Image>Flip returned, but with new differences.
See my schedule here
 French Translation here French Translation here
 Your versions here Your versions here

For this tutorial, you will need:

For the tube thanks Cady
(The links of the tubemakers here).
*It is forbidden to remove the watermark from the supplied tubes, distribute or modify them,
in order to respect the work of the authors

consult, if necessary, my filter section here
Filters Unlimited 2.0 here
Mura's Meister - Copies here
Sandflowers Flowers - Color Flourish (to import in Unlimited) here
FM Tile Tools - Saturation Emboss here
Simple - Blintz here
L&K's - L&K's Zitah here
FiltersSimple can be used alone or imported into Filters Unlimited.
(How do, you see here)
If a plugin supplied appears with this icon  it must necessarily be imported into Unlimited it must necessarily be imported into Unlimited

You can change Blend Modes according to your colors.
In the newest versions of PSP, you don't find the foreground/background gradient (Corel_06_029).
You can use the gradients of the older versions.
The Gradient of CorelX here

Copy the preset Emboss 3 in the Presets Folder.
Open the mask in PSP and minimize it with the rest of the material.
1. Open a new transparent image 1000 x 900 pixels.
2. Set your foreground color to #23b0f1,
and your background color to #b0d362.
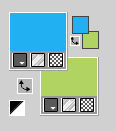
Set your foreground color to a Foreground/Background Gradient, style Linear.
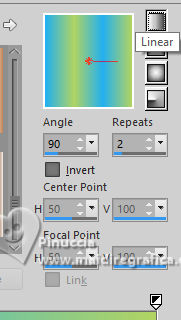
Flood Fill  the transparent image with your Gradient. the transparent image with your Gradient.
3. Effects>Reflection Effects>Rotating Mirror.

4. Layers>Duplicate.
5. Layers>New Mask layer>From image
Open the menu under the source window and you'll see all the files open.
Select the mask MasckSilencio
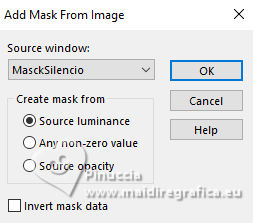
Layers>Merge>Merge Group.
for the moment you see nothing
6. Effects>3D Effects>Drop Shadow
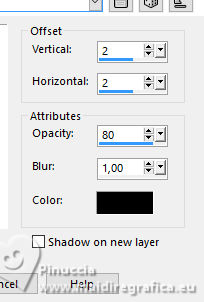
Change the Blend Mode of this layer to Luminance (legacy)
7. Activate your Selection Tool 
(no matter the type of selection, because with the custom selection your always get a rectangle)
clic on the Custom Selection 
and set the following settings.
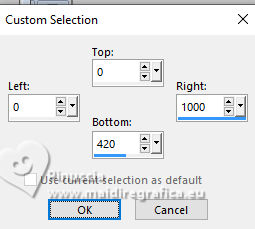
Press CANC on the keyboard 
Selections>Select None.
8. Close the layer Raster 1.
Activate your Magic Wand Tool  , feather 30 , feather 30
and click in the transparent part to select it.
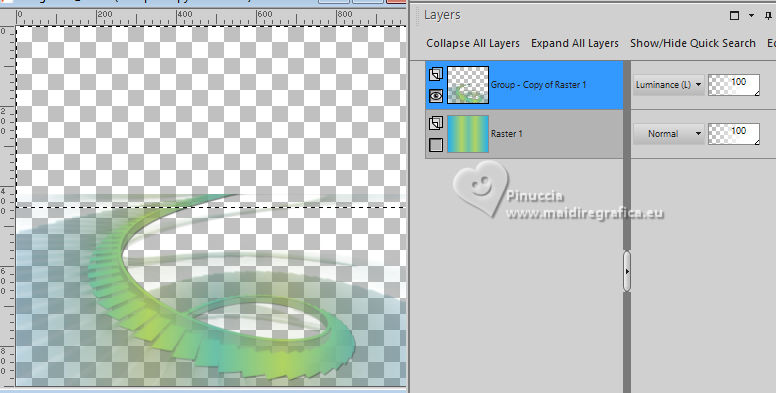
Press a few times CANC on the keyboard.
Selections>Select None.
9. Layers>Duplicate.
Image>Mirror>Mirror vertical (Image>Flip).
10. Adjust>Blur>Motion Blur.
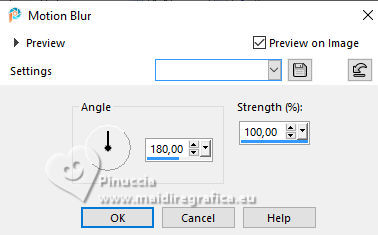
11. Effects>user Defined Filter - select the preset Emboss 3 and ok.

12. Layers>Duplicate.
13. Effects>Plugins>Simple - Blintz.
14. Effects>Reflection Effects>Rotating Mirror, same settings.

15. Change the Blend Mode of the two layer to Hard Light, or to your liking.
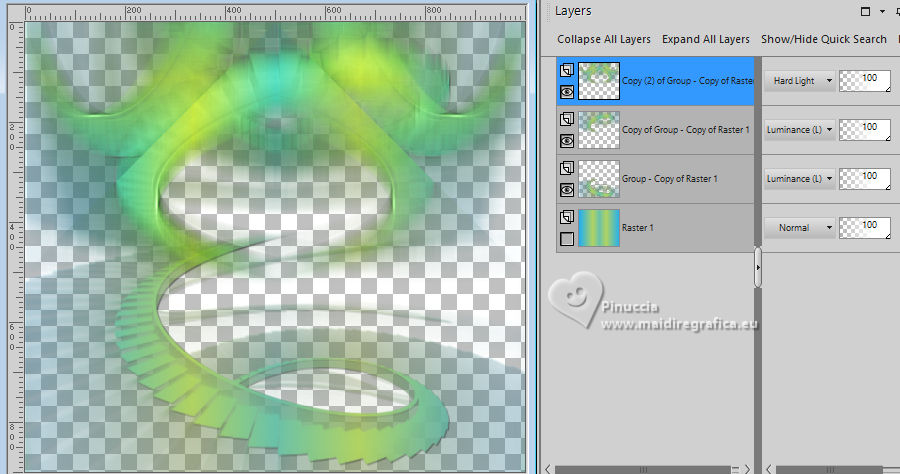
16. Re-open and activate the layer Raster 1.
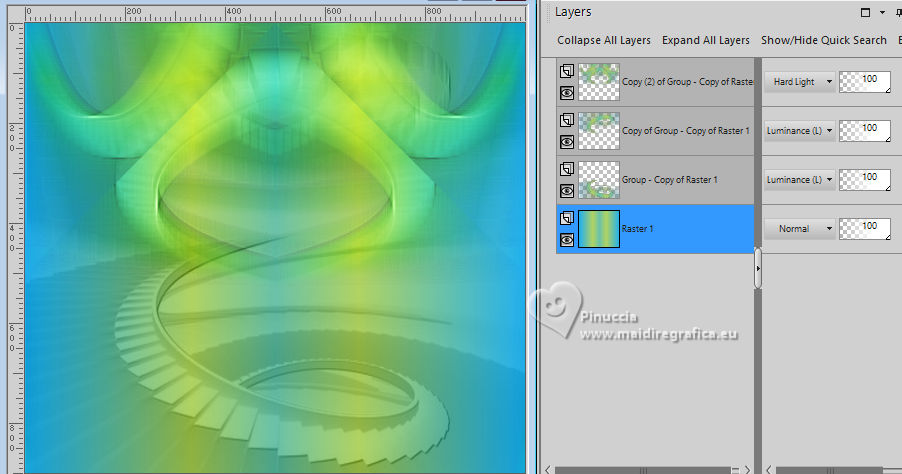
Effects>Plugins>Filters Unlimited 2.0 - &<Sandflower Specials"v"> - Color Flourish
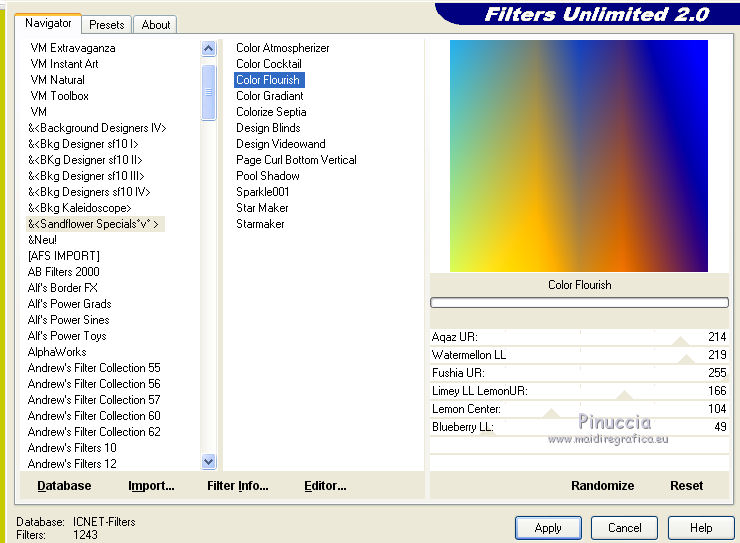
if you use other colors, you can change the settings, clicking on Random,
until you get the result you like better
I advise you to note the settings for the borders
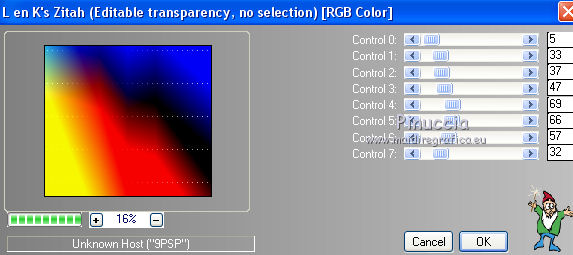
17. Effects>Plugins>L&K's - L&K's Zitah
18. Adjust>Sharpness>Sharpen More.
19. Activate your top layer Copy (2) of Group-Copy of Raster 1.
Open the deco DecoCady 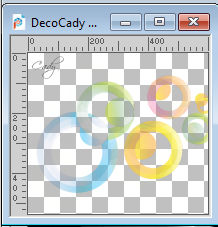
Erase the watermark and go to Edit>Copy.
Go back to your work and go to Edit>Paste as new layer.
Move  the tube at the upper right. the tube at the upper right.
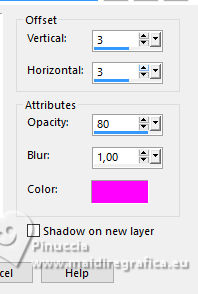
20. Effects>3D Effects>Drop Shadow, color #ff00ff.
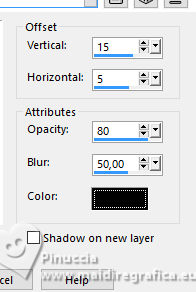
21. Effects>3D Effects>Drop Shadow, color black.
22. Effects>Plugins>FM Tile Tools - Saturation Emboss, default settings.

23. Open the tube Ding 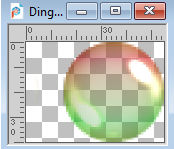
Edit>Copy.
Go back to your work and go to Edit>Paste as new layer.
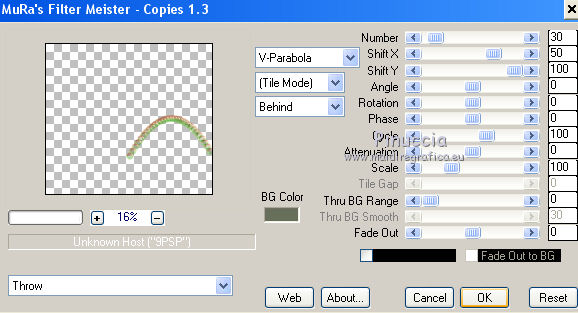
24. Effects>Plugins>Mura's Meister - Copies.
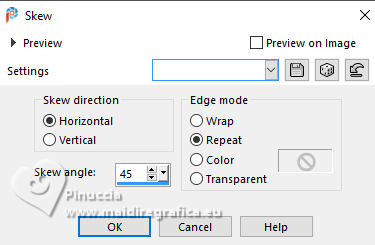
25. Effects>Geometric Effects>Skew.
26. Effects>3D Effects>Drop Shadow, same settings.
27. Effects>Plugins>FM Tile Tools - Saturation Emboss, same settings.
28. Effects>Image Effects>Seamless Tiling.

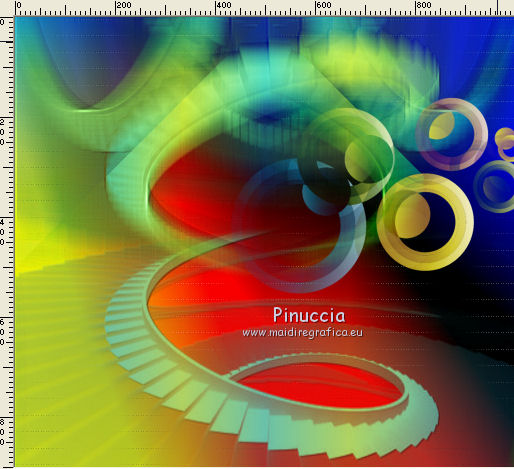
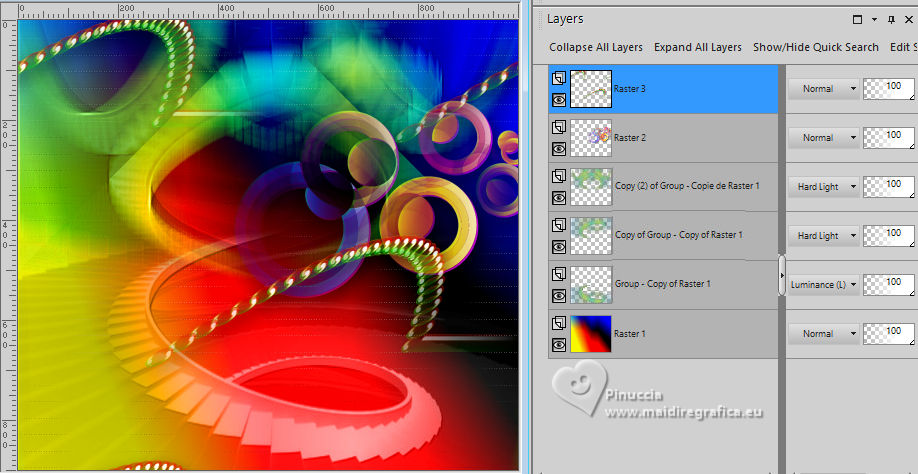
29. You should have this
30. Image>Add Borders, 5 pixels, symmetric, green color.
Image>Add Borders, 35 pixels, symmetric, blue color.
31. Activate your Magic Wand Tool  , feather 1. , feather 1.
Click on the blue border to select it.
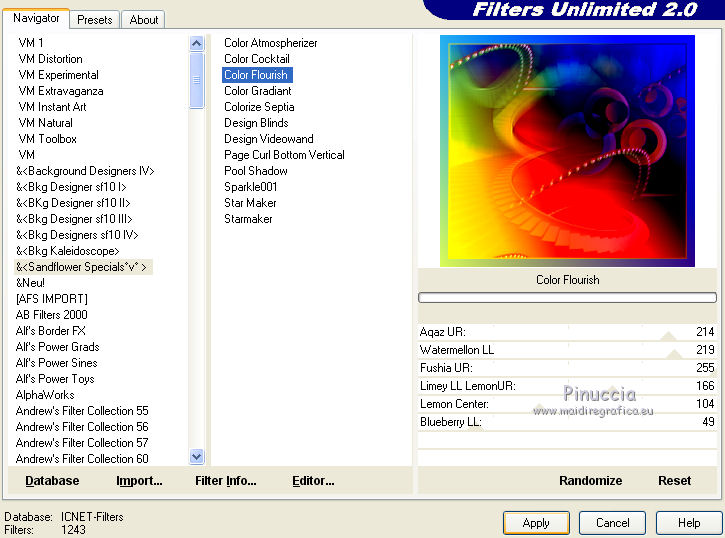
32. Effects>Plugins>Filters Unlimited 2.0 - &<Sandflower Specials"v"> - Color Flourish
33. Effects>3D Effects>Inner Bevel.
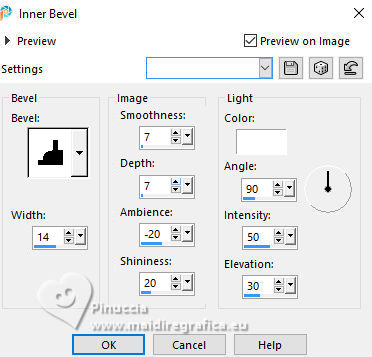
Selections>Select None.
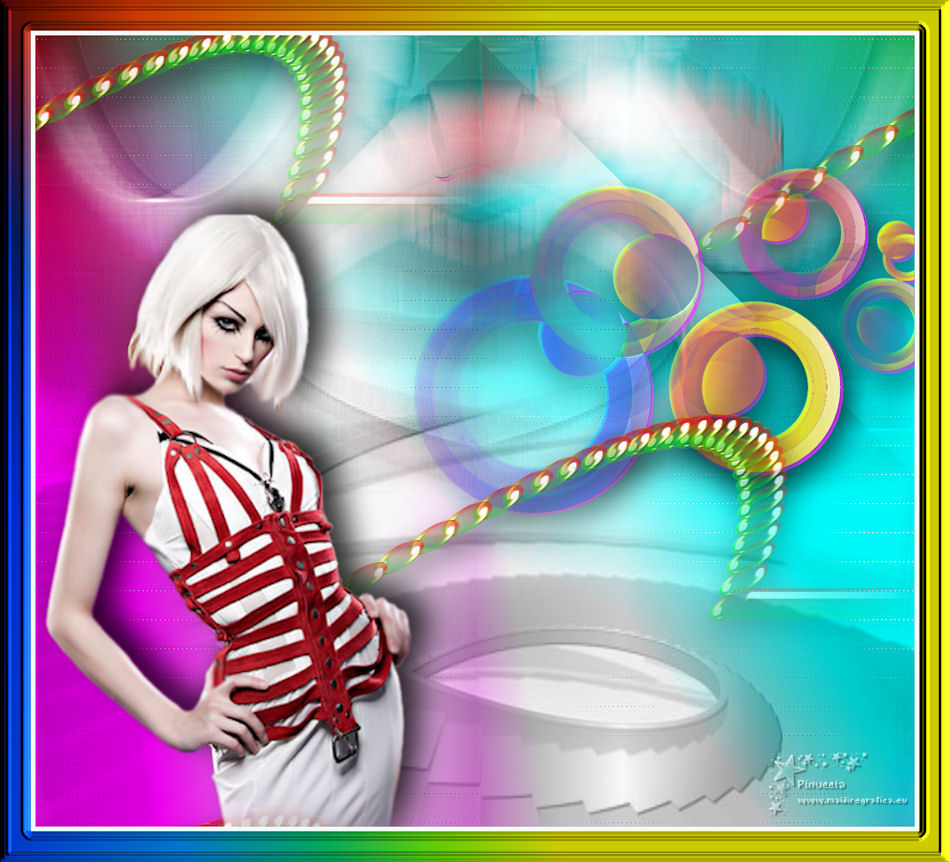
34. Open the woman's tube TubeCady 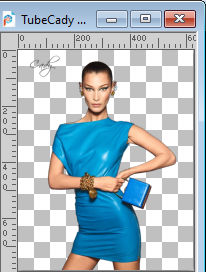
Erase the watermark and go to Edit>Copy.
Go back to your work and go to Edit>Paste as new layer.
Move  the tube at the bottom left. the tube at the bottom left.
35. Effects>3D Effects>Drop Shadow
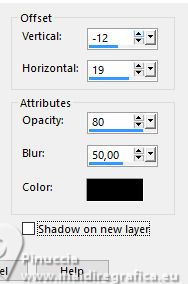
36. Layers>Merge>Merge All.
36. Image>Resize, to 86%, resize all layers checked.
Sign your work and save as jpg.
Version with tubes by Luz Cristina


If you have problems or doubts, or you find a not worked link,
or only for tell me that you enjoyed this tutorial, write to me.
20 Juillet 2025
|

