|
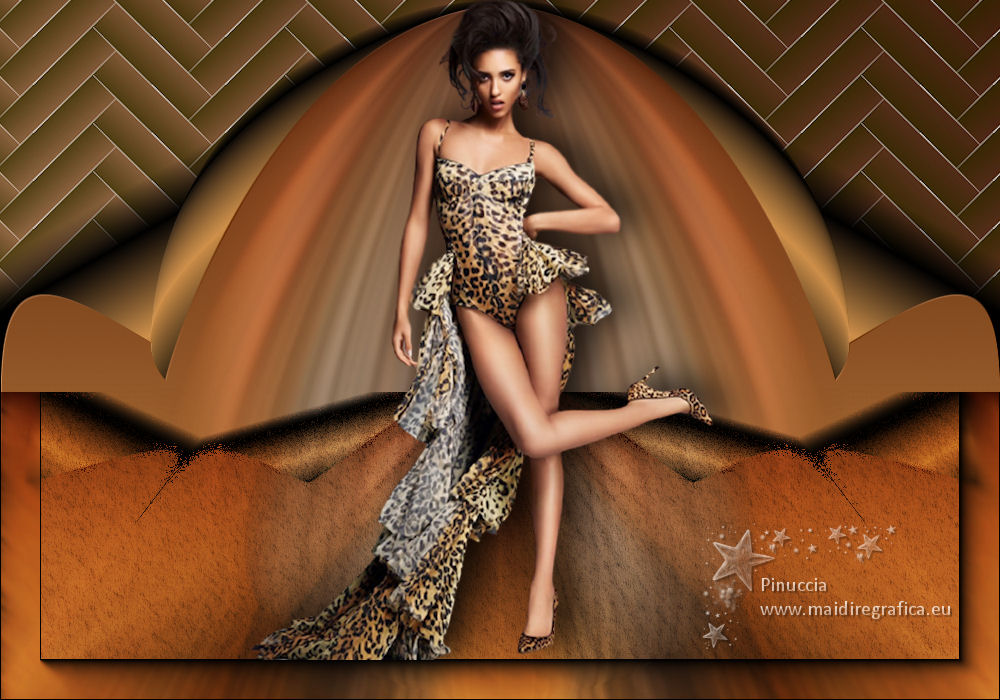
TOP VERONICA


Thanks Luz Cristina for your invitation to translate your tutorials into english

This tutorial, created with PSP9, was translated with PspX9, but it can also be made using other versions of PSP.
Since version PSP X4, Image>Mirror was replaced with Image>Flip Horizontal,
and Image>Flip with Image>Flip Vertical, there are some variables.
In versions X5 and X6, the functions have been improved by making available the Objects menu.
In the latest version X7 command Image>Mirror and Image>Flip returned, but with new differences.
See my schedule here
 French Translation here French Translation here
 Your versions here Your versions here

For this tutorial, you will need:
A tube at your choice.
The tube I used 
For the tube thanks Luz Cristina
(The links of the tubemakers here).

consult, if necessary, my filter section here
AAA Frames - Foto Frame - AAA Filters - Scatter, Textures here
FM Tile Tools - Saturation Emboss here
Redfield Jama 3D here
Mura's Meister - Perspective Tiling here

You can change Blend Modes according to your colors.
In the newest versions of PSP, you don't find the foreground/background gradient (Corel_06_029).
You can use the gradients of the older versions.
The Gradient of CorelX here

1. Open a new transparent image 1000 x 700 pixels.
2. Set your foreground color to #b48e64,
and your background color to #3b1a0d.
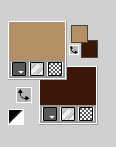
Set your foreground color to a Foreground/Background Gradient, style Linear.
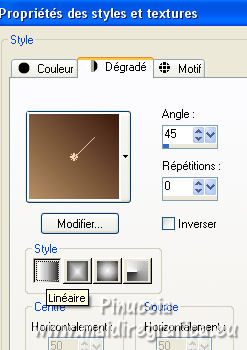
Flood Fill  the transparent image with your Gradient. the transparent image with your Gradient.
3. Effects>Plugins>Redfield - Jama 3D.
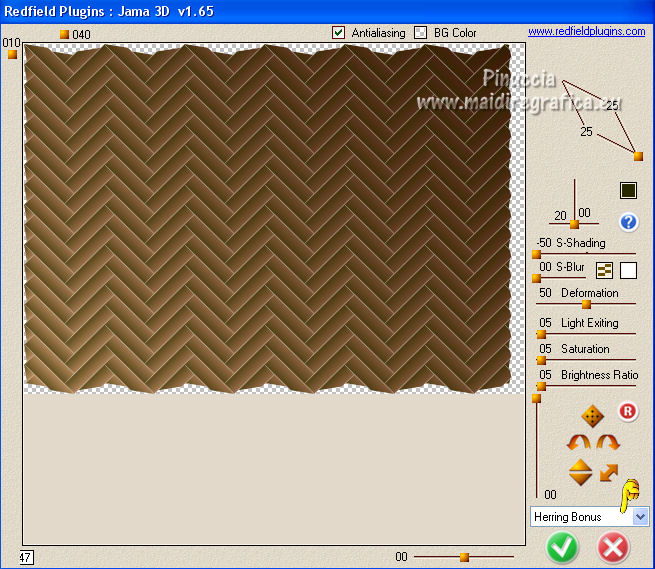
4. Image>Resize, to 120%, resize all layers not checked.
5. Adjust>Sharpness>Sharpen.
6. Change the settings of your Gradient.
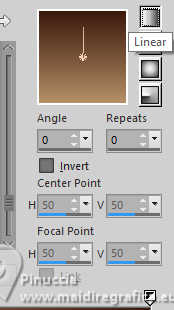
Layers>New Raster Layer.
Flood Fill  the layer with your gradient. the layer with your gradient.
7. Selections>Select All.
Open your tube and go to Edit>Copy.
Go back to your work and go to Edit>Paste into Selection.
Selections>Select None.
8. Adjust>Blur>Radial Blur.
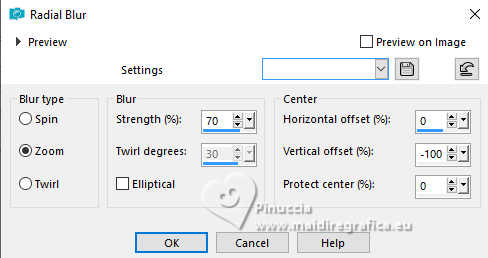
9. Effects>Image Effects>Page Curl - foreground color.
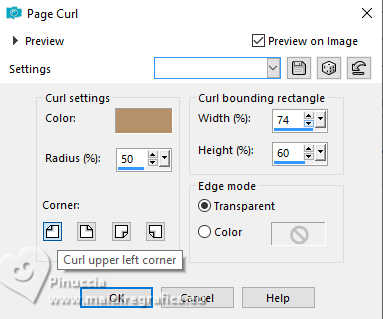
10. Effects>Reflection Effects>Rotating Mirror.
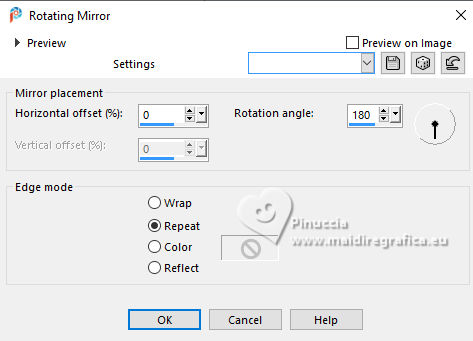
11. Layers>Duplicate.
12. Effects>Plugins>Mura's Meister - Perspective Tiling.
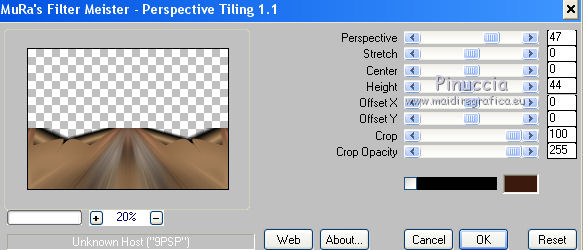
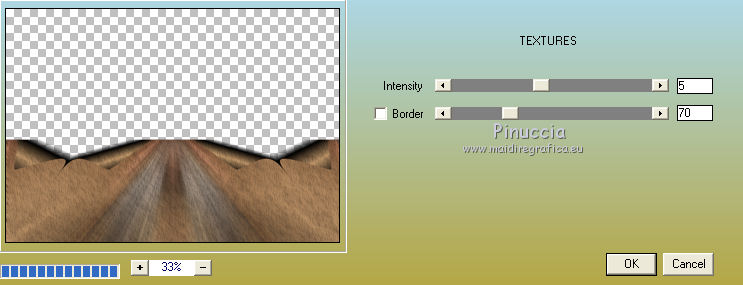
13. Effects>Plugins>AAA Filter - Textures.
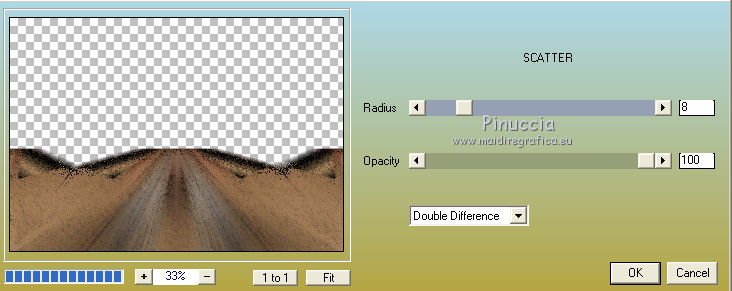
14. Effects>Plugins>AAA Filter - Scatter.
15. Effects>Plugins>AAA Frames - Foto Frame.

Change the Blend Mode of this layer to Hard Light.
16. Activate the layer below, Raster 2.
Effects>Geometric Effects>Spherize
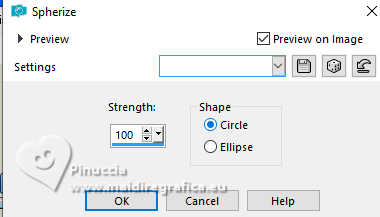
17. Effects>Plugins>FM Tile Tools - Saturation Emboss, default settings.

18. Activate your top layer.
Edit>Paste as new layer (your tube is still in memory).
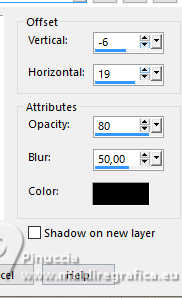
19. Effects>3D Effects>Drop Shadow.
20. Sign your work on a new layer.
Layers>Merge>Merge All and save as jpg.
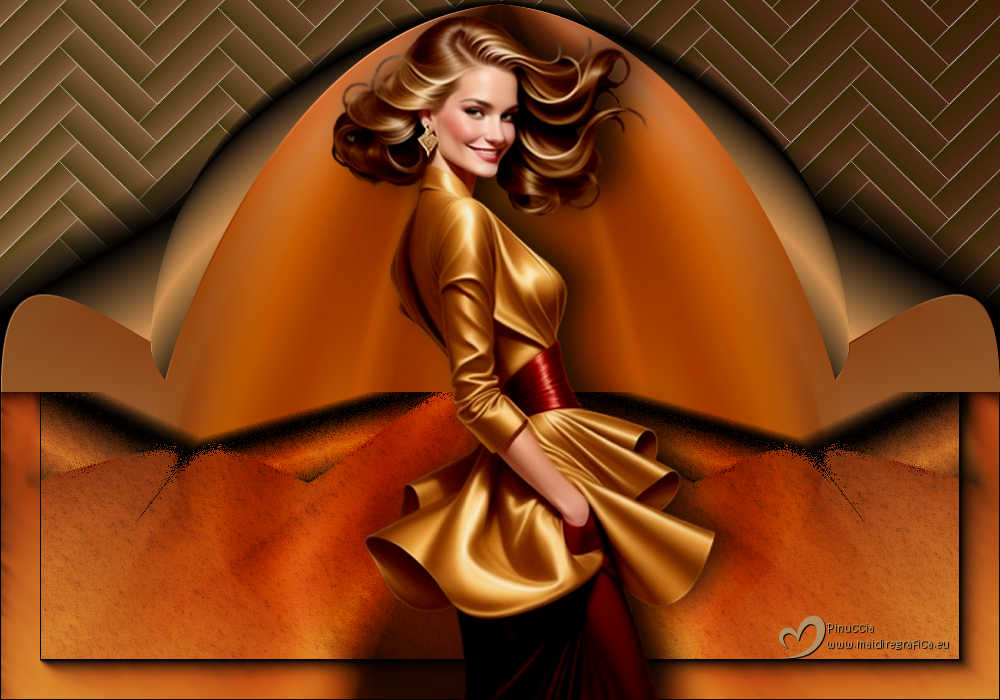
Version with tube by Luz Cristina
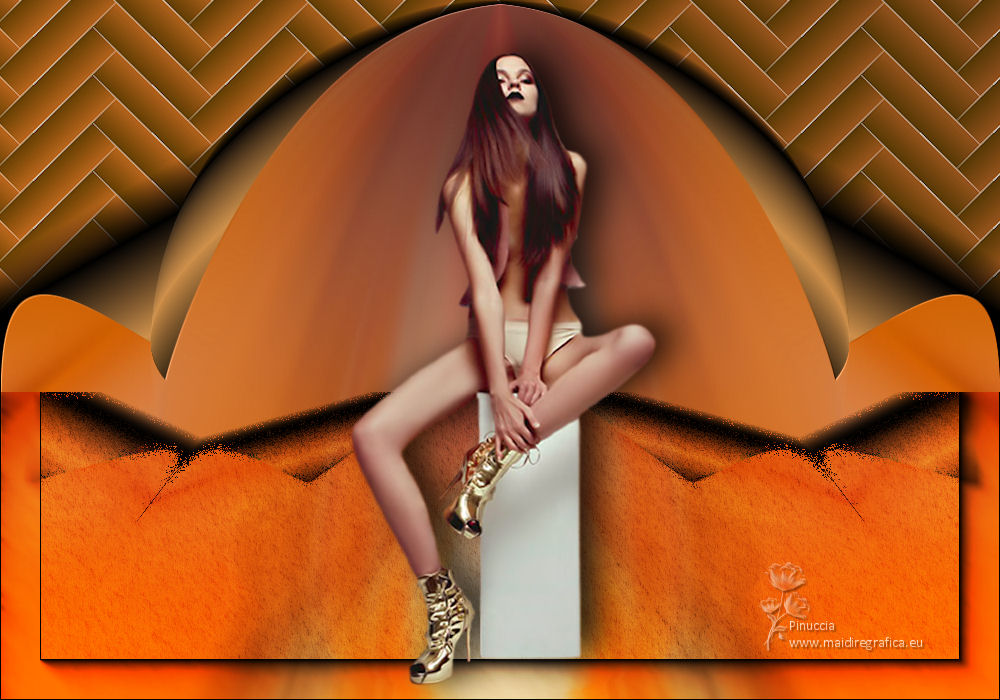
Version with tube by Grisi

If you have problems or doubts, or you find a not worked link,
or only for tell me that you enjoyed this tutorial, write to me.
19 May 2025

|

