|
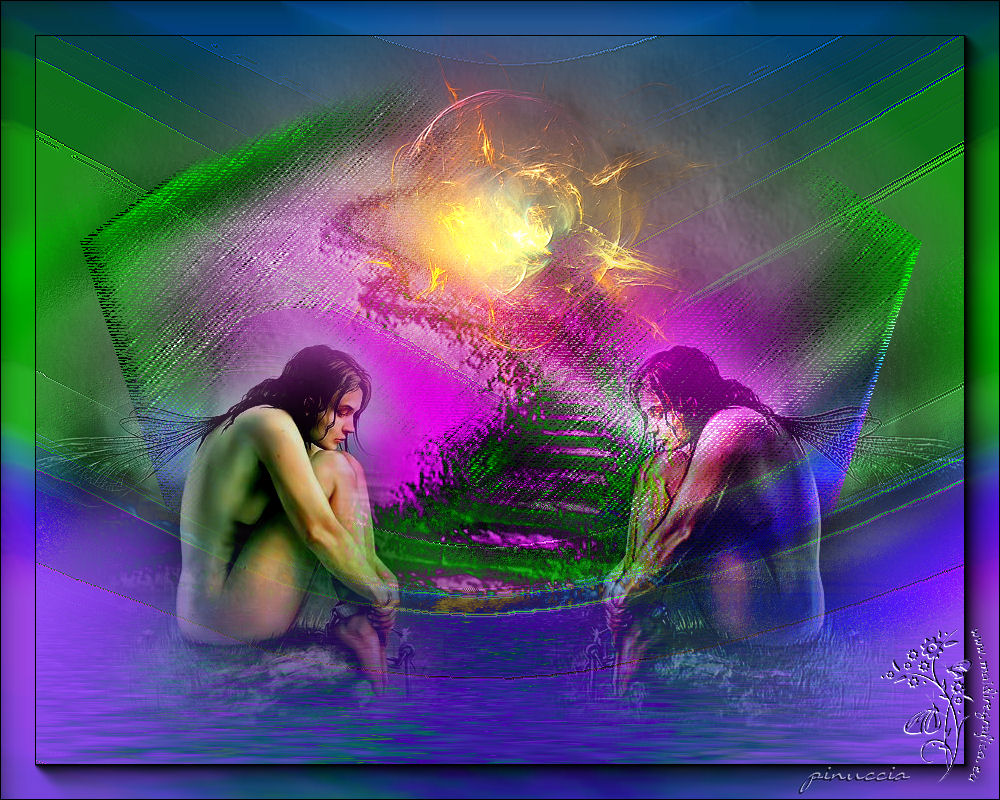
TOP ALMAS ESPEJOS


Thanks Luz Cristina for your invitation to translate your tutorials into english

This tutorial was translated with PSPX9 but it can also be made using other versions of PSP.
Since version PSP X4, Image>Mirror was replaced with Image>Flip Horizontal,
and Image>Flip with Image>Flip Vertical, there are some variables.
In versions X5 and X6, the functions have been improved by making available the Objects menu.
In the latest version X7 command Image>Mirror and Image>Flip returned, but with new differences.
See my schedule here
 French Translation here French Translation here
 Your versions here Your versions here

For this tutorial, you will need:

For the tube thanks Luz Cristina
(The links of the tubemakers here).

consult, if necessary, my filter section here
Filters Unlimited 2.0 here
Flaming Pear - Flood here
FM Tile Tools - Saturation Emboss here
Artistics - Rough Pastels here
AAA Frames - Foto Frame here
Virtual Painter here
Mehdi - Wavy Lab here

You can change Blend Modes according to your colors.

Copy the preset Emboss 3 in the Presets Folder.
1. Open a new transparent image 1000 x 800 pixels.
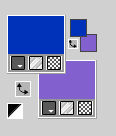
2. Set your foreground color to #0133b9,
and your background color to #8261cf.
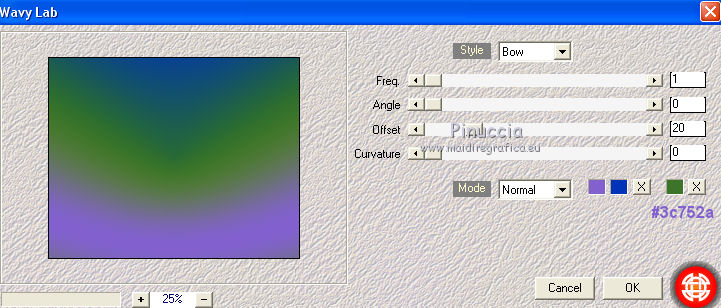
3. Effects>Plugins>Mehdi - Wavy Lab
this filter works with the colors of your palette:
the first is your background color, the second is your foreground color.
Change the third color, created by the filter, with the green #3c752a.
4. Change the Blend Mode of this layer to Difference.
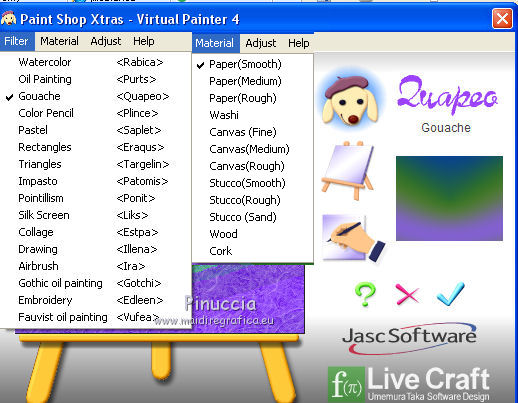
5. Effects>Plugins>Virtual Painter 4:
Filter: Gouache - Material: Pastel (smooth)
6. Effects>User defined filter - Emboss 3 and ok.

7. Effects>Edge Effects>Enhance.
8. Layers>New Raster Layer.
Layers>Arrange>Move Down.
Selections>Select All.
Open the tube escalier 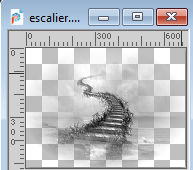
Edit>Copy.
Go back to your work and go to Edit>Paste into Selection.
Selections>Select none.
9. Effects>Plugins>Flaming Pear - Flood - color #3c752a.
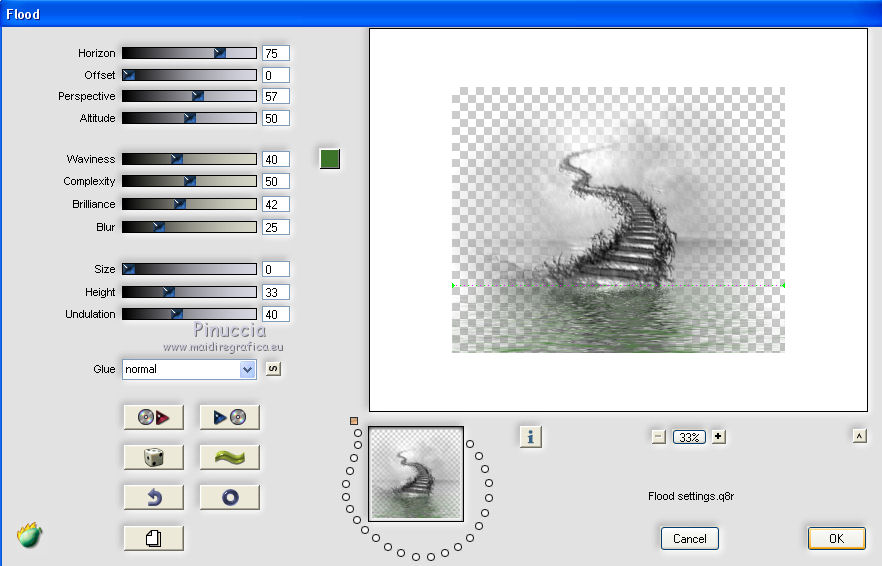
10. Layers>Duplicate.
Effects>Geometric Effects>Perspective horizontal.
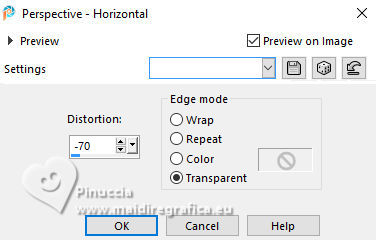
Image>Mirror>Mirror Horizontal.
Repeat Effects>Geometric Effects>Perspective horizontale, same settings.
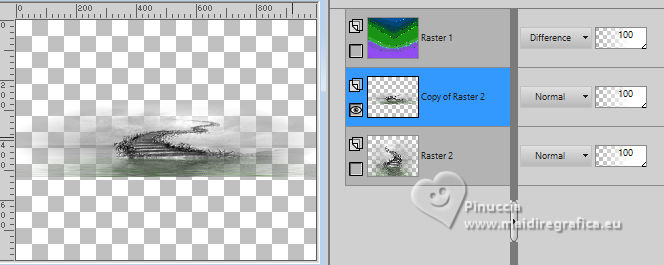
11. Effects>Distortion Effects>Pinch.

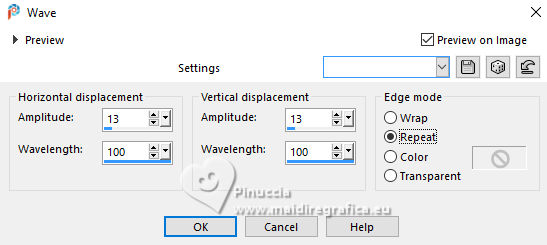
12. Effects>Distortion Effects>Wave
13. Layers>Arrange>Bring to Top.
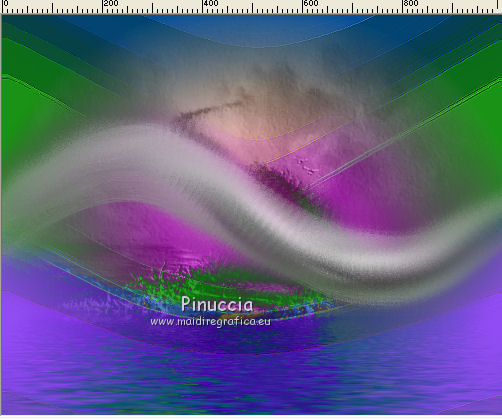
14. Activate your Smudge Brush Tool, with these settings

Gently drag the mouse over the figure, click and release, click and release,
until you get something similar to this
15. Effects>Plugins>FM Tile Tools - Saturation Emboss, default settings.

Change the Blend Mode of this layer to Overlay, or to your liking.
16. Layers>Duplicate.
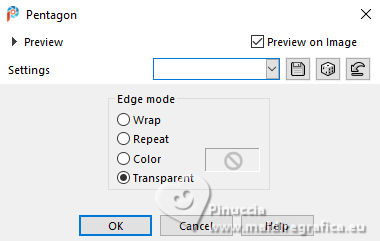
17. Effects>Geometric Effects>Pentagon.
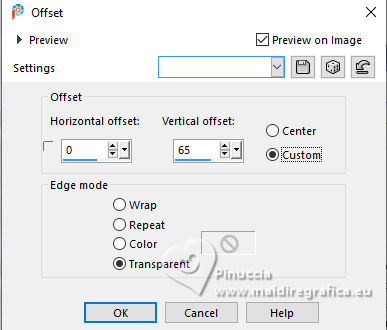
18. Effects>Image Effects>Offset.
19. Layers>Arrange>Move Down.
20. Effects>Plugins>Artistic - Rough Pastel - 2 times (the second time is to your liking)
if you use the french version (the result doesn't change): Artistiques>Pastels
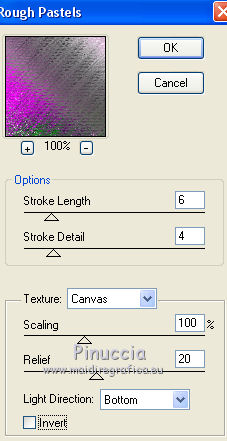
Change the Blend Mode of this layer to Hard Light.
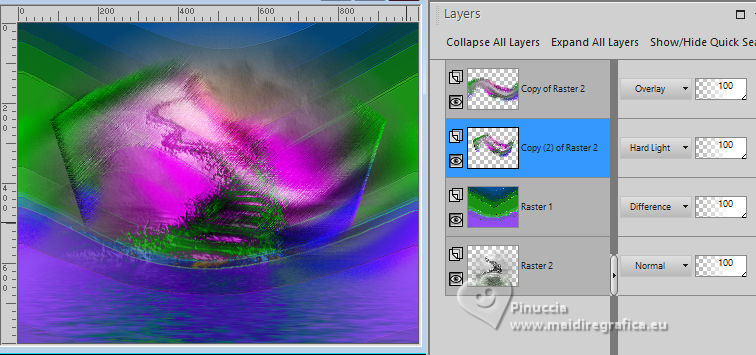
21. Activate your top layer.
Open the tube fire-in-the-hole-800 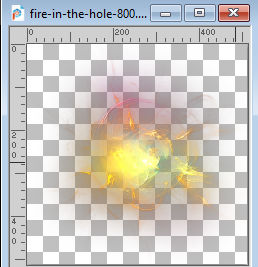
Edit>Copy.
Go back to your work and go to Edit>Paste as new layer.
22. Effects>Image Effects>Offset.
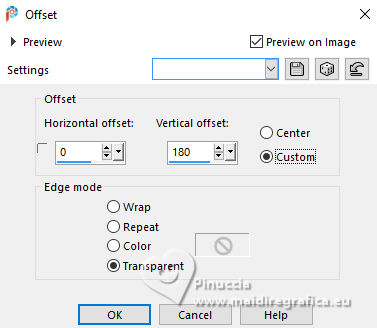
Layers>Arrange>Move Down.
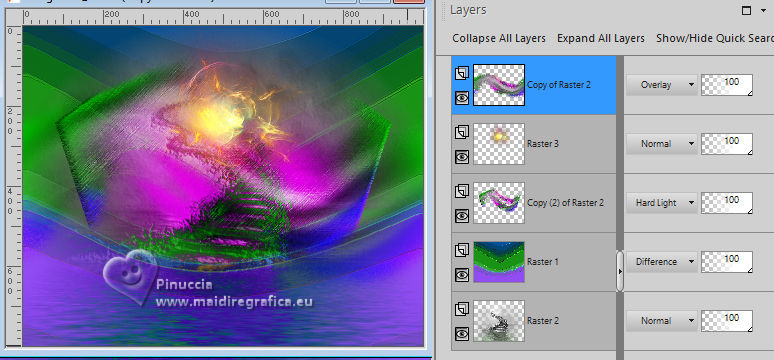
23. Activate your top layer.
Open the tube fayries24-JAN2008-creativeloves 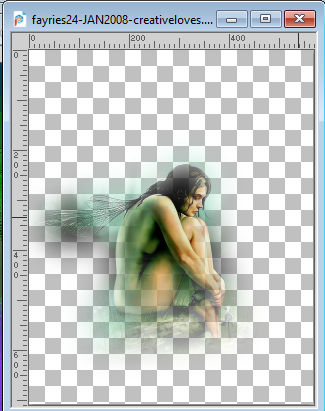
Edit>Copy.
Go back to your work and go to Edit>Paste as new layer.
Move  the tube to the left side. the tube to the left side.
24. Layers>Duplicate.
Image>Mirror>Mirror Horizontal.
25. Effects>User Defined Filter - Emboss 3.
26. Change the Blend Mode of this layer to hard Light
and reduce the opacity to 60%.
27. Layers>Merge>Merge visible.
28. Effects>Plugins>AAA Frames - Foto Frame.
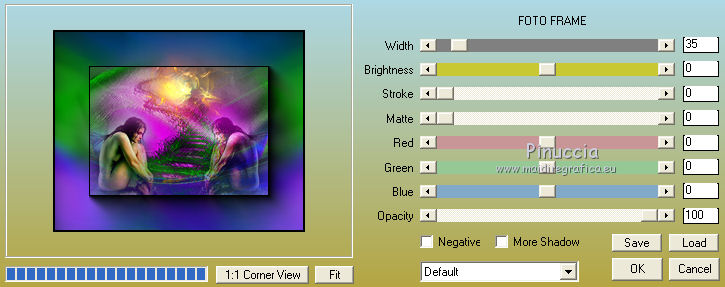
29. Sign your work and save as jpg.
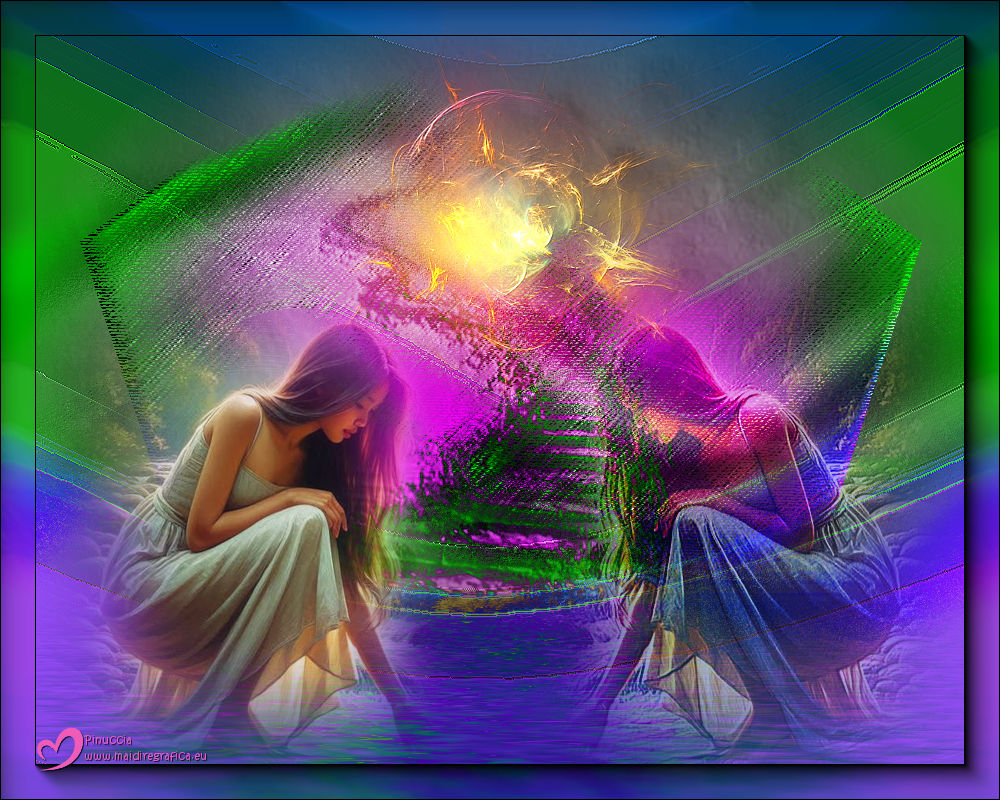


If you have problems or doubts, or you find a not worked link,
or only for tell me that you enjoyed this tutorial, write to me.
20 Novembre 2025
|

