|
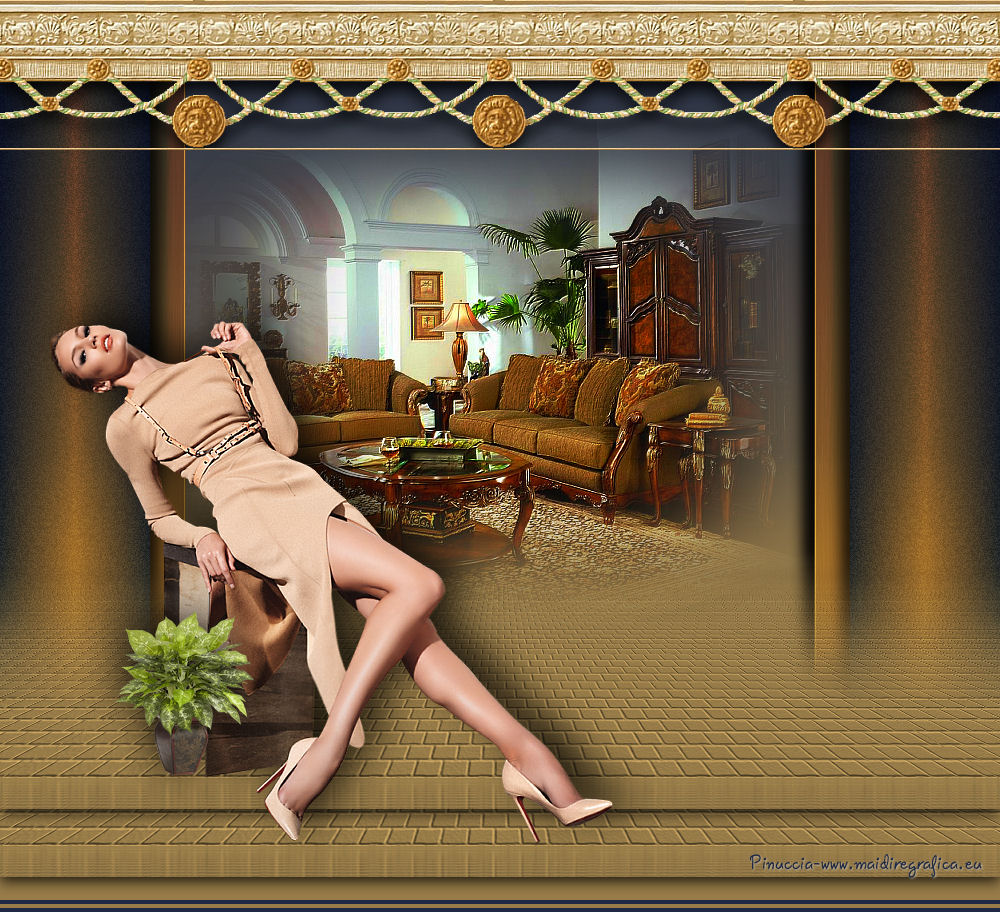
TOP BARBARITA


Thanks Luz Cristina for your invitation to translate your tutorials into english

This tutorial was translated with PSPX9 but it can also be made using other versions of PSP.
Since version PSP X4, Image>Mirror was replaced with Image>Flip Horizontal,
and Image>Flip with Image>Flip Vertical, there are some variables.
In versions X5 and X6, the functions have been improved by making available the Objects menu.
In the latest version X7 command Image>Mirror and Image>Flip returned, but with new differences.
See my schedule here
 French Translation here French Translation here
 Your versions here Your versions here

For this tutorial, you will need:

For the tube thanks Luz Cristina, Grisi and Tocha
(The links of the tubemakers here).

consult, if necessary, my filter section here
Mura's Meister - Copies, Pole Transform here

You can change Blend Modes according to your colors.
In the newest versions of PSP, you don't find the foreground/background gradient (Corel_06_029).
You can use the gradients of the older versions.
The Gradient of CorelX here

Copy the texture Ladrillo in the Textures Folder.
Open the mask and the image Border top 82 (that you'll use for the foreground pattern) in PSP,
and minimize them with the rest of the material.
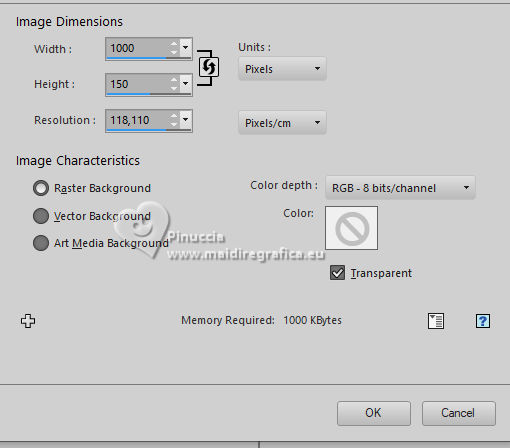
1. Open a new transparent image 1000 x 150 pixels.
2. Set your foreground color to Pattern, and select the pattern Border top 82
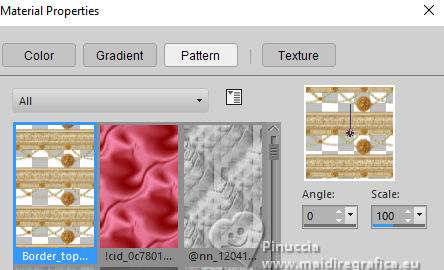
Flood Fill  the transparent with your foreground pattern. the transparent with your foreground pattern.
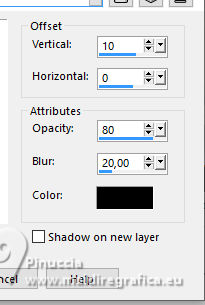
3. Effects>3D Effects>Drop Shadow.
4. Set your foreground color to #987c49,
and your background color to #1d2a45.
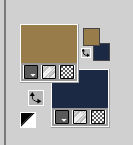
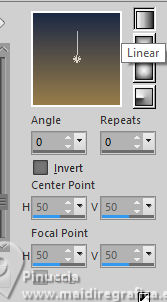
Set your foreground color to a Foreground/Background Gradient, style Linear.
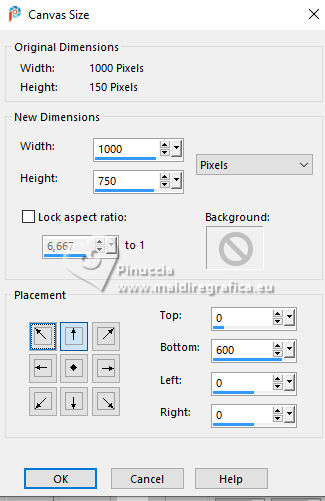
5. Image>Canvas Size - 1000 x 750 pixels.
Layers>New Raster Layer.
Layers>Arrange>Send to Bottom.
Flood Fill  the layer with your Gradient. the layer with your Gradient.
6. Ooeb the misted 3023-luzcristina 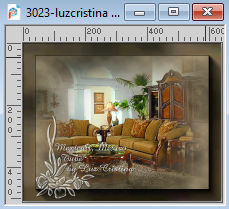
Edut>Copy.
Go back to your work and go to Edit>Paste as new layer.
Place  correctly the tube. correctly the tube.
7. Layers>New Raster Layer.
Activate your Selection Tool 
(no matter the type of selection, because with the custom selection your always get a rectangle)
clic on the Custom Selection 
and set the following settings.
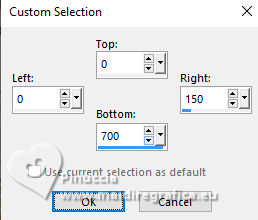
8. Change the settings of your Gradient
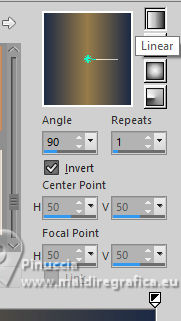
Flood Fill  the selection with your Gradient. the selection with your Gradient.
Selections>Select None.
9. Adjust>Add/Remove Noise>Add Noise.
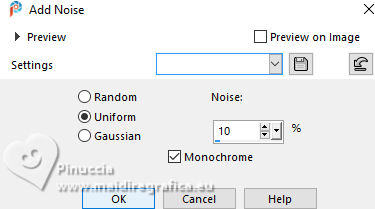
10. Layers>Duplicate.
Image>Mirror>Mirror Horizontal.
Layers>Merge>Merge Down.
11. Effects>3D Effects>Drop Shadow.
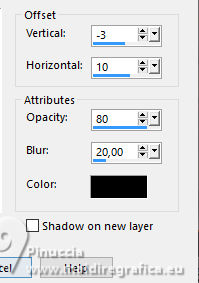
Repeat Drop Shadow, vertical -10.
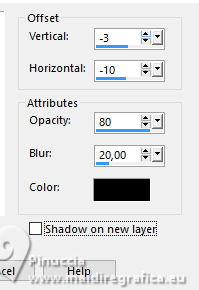
12. Layers>New Raster Layer.
Custom Selection  same settings same settings

Set your foreground color to Color
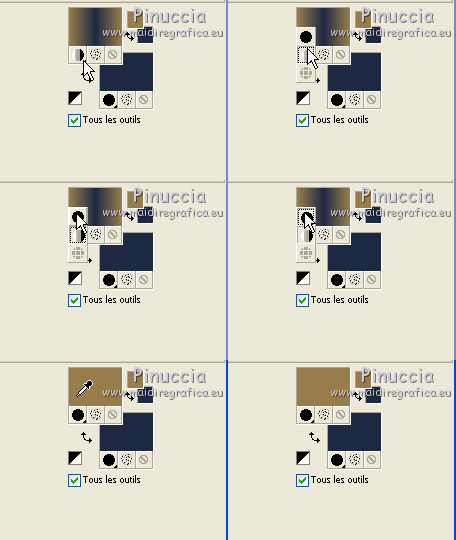
Flood Fill  the layers with your light foreground color. the layers with your light foreground color.
Adjust>Add/Remove Noise>Add Noise, same settings.

13. Adjust>Blur>Motion Blur.
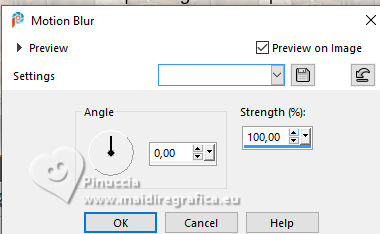
Selections>Select None.
Layers>Arrange>Move Down.
14. Effects>Image Effects>Offset.
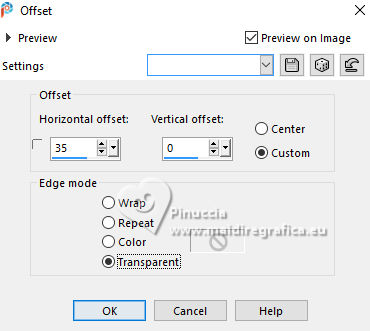
Effects>Edge Effects>Enhance.
15. Layers>Duplicate.
Image>Mirror>Mirror Horizontal.
Effects>3D Effects>Drop Shadow, last settings still in memory.

Repeat Drop shadow, vertical 10.

16. Activate the layer above, Raster 4.
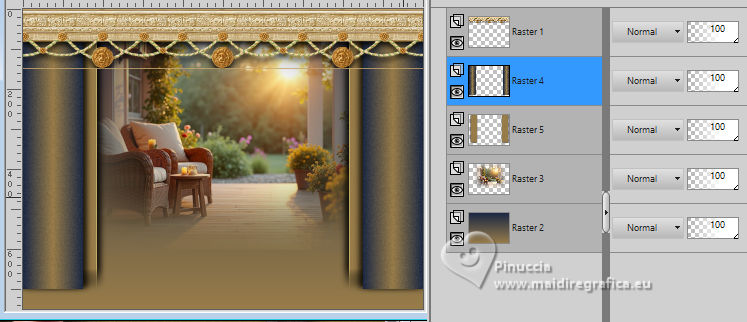
Layers>Merge>Merge Down.
17. Layers>New Mask layer>From image
Open the menu under the source window and you'll see all the files open.
Select the mask marge-topfade.
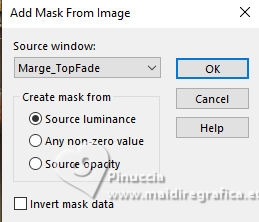
Layers>Duplicate, to apply the mask 2 times.
Layers>Merge>Merge Group.
18. Activate your bottom layer.
On this layer apply the mask one or two times, according to your colors.
For my version only one time.
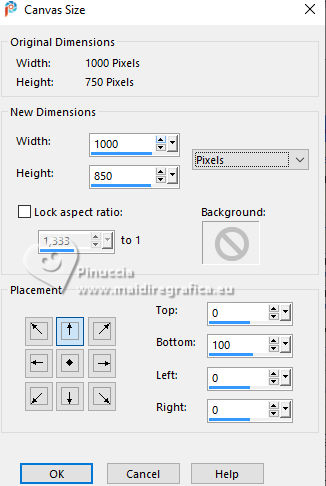
19. Image>Canvas Size - 1000 x 850 pixels.
20. Layers>New Raster Layer.
Layers>Arrange>Send to Bottom.
Flood Fill  with your light foreground color. with your light foreground color.
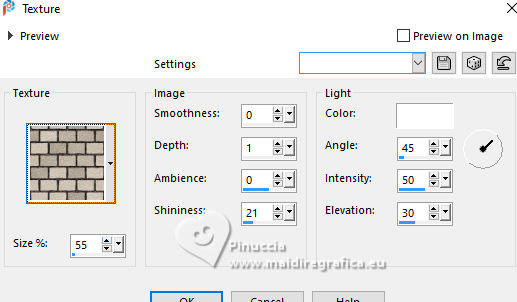
21. Effects>Texture Effects>Texture - select the texture Ladrillo,
or a texture at your choice
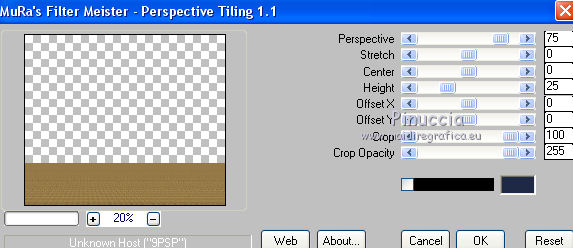
22. Effects>Plugins>Mura's Meister - Perspective Tiling.
23. Activate your Magic Wand Tool  tolerance 20 and feather 40, tolerance 20 and feather 40,
and click in the transparent part to select it.
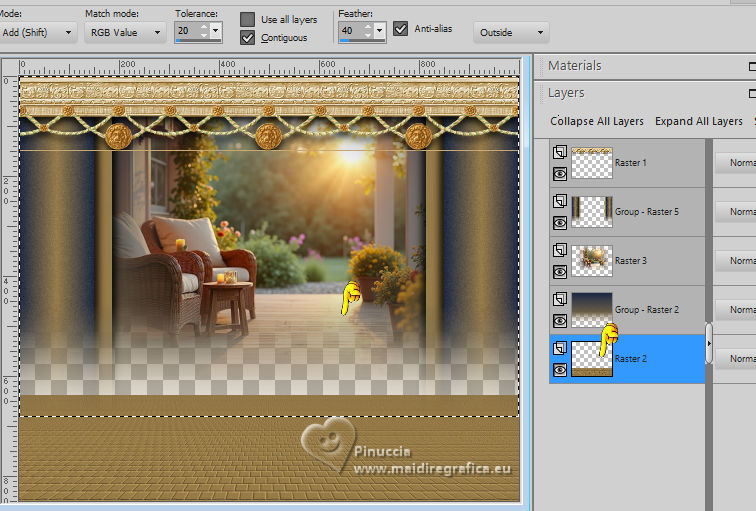
Press several times CANC on the keyboard  to soften the edge. to soften the edge.
Result
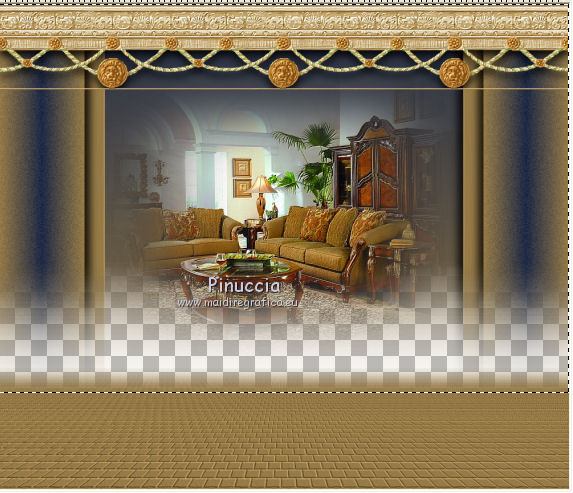
Selections>Select None.
don't forget to set again tolerance and feather to 0
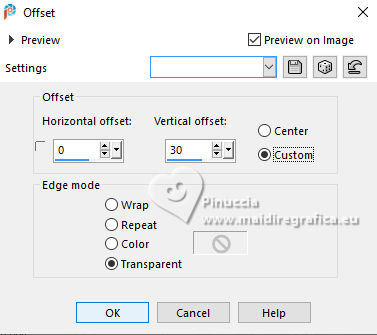
24. Effects>Image Effects>Offset.
25. Effects>Plugins>Mura's Meister - Copies.
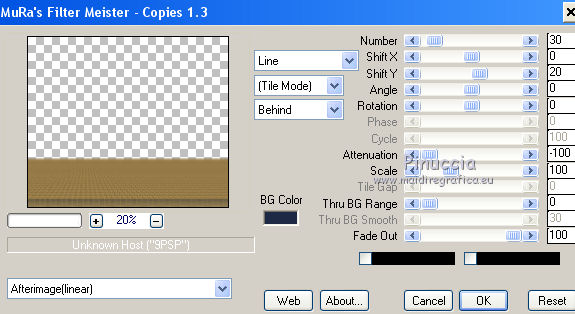
26. Image>Canvas Size - 1000 x 900 pixels.
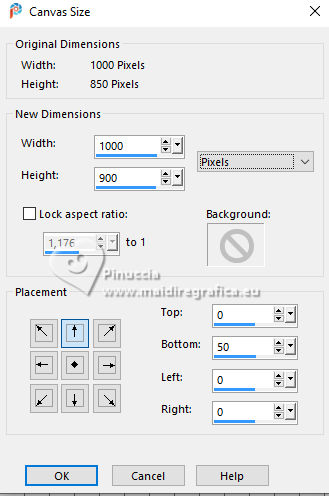
27. Effects>3D Effects>Drop Shadow.
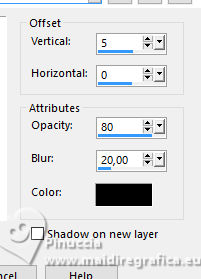
28. Layers>New Raster Layer.
Layers>Arrange>Send to Bottom.
Flood Fill  with your light foreground color. with your light foreground color.
29. Activate again the layer above, Raster 2.
Layers>Duplicate.
Move  the layer to give the illusion of a stair. the layer to give the illusion of a stair.
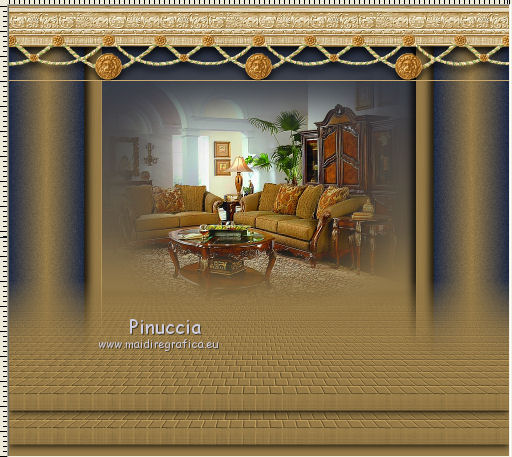
30. Activate your top layer.
Open the tube Tocha 24292 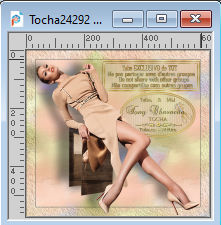
Edit>Copy.
Go back to your work and go to Edit>Paste as new layer.
Place  correctly the tube. correctly the tube.
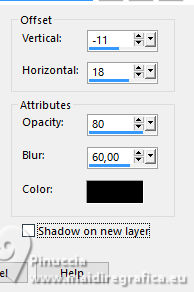
Effects>3D Effects>Drop Shadow.
31. Activate the tube Grisi_Tube_Decoration_334 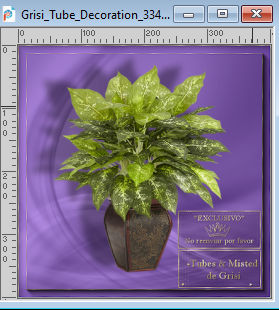
Edit>Copy.
Go back to your work and go to Edit>Paste as new layer.
Image>Resize, to your liking, resize all layers not checked.
Place  corretcly the tube. corretcly the tube.
Effects>3D Effects>Drop Shadow, at your choice.
32. On the layers of landscape and pillars change the Blend Mode to Hard Light.
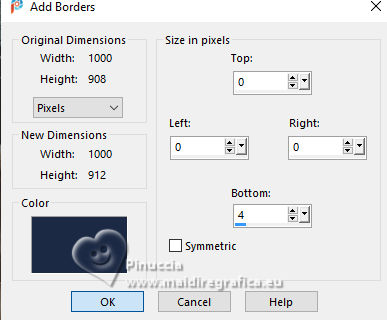
33. Image>Add borders, symmetric not checked, dark color.
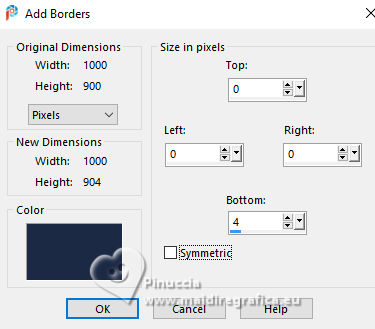
Image>Add Borders, symmetric not checked, light color.
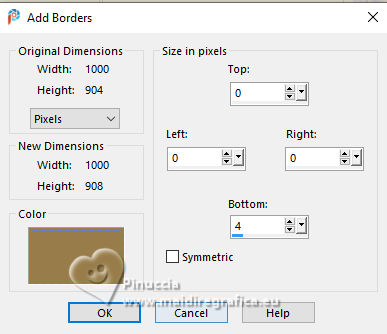
Image>Add Borders, symmetric not checked, dark color.
34. Sign your work.
33. Layers>Merge>Merge All and save as jpg.
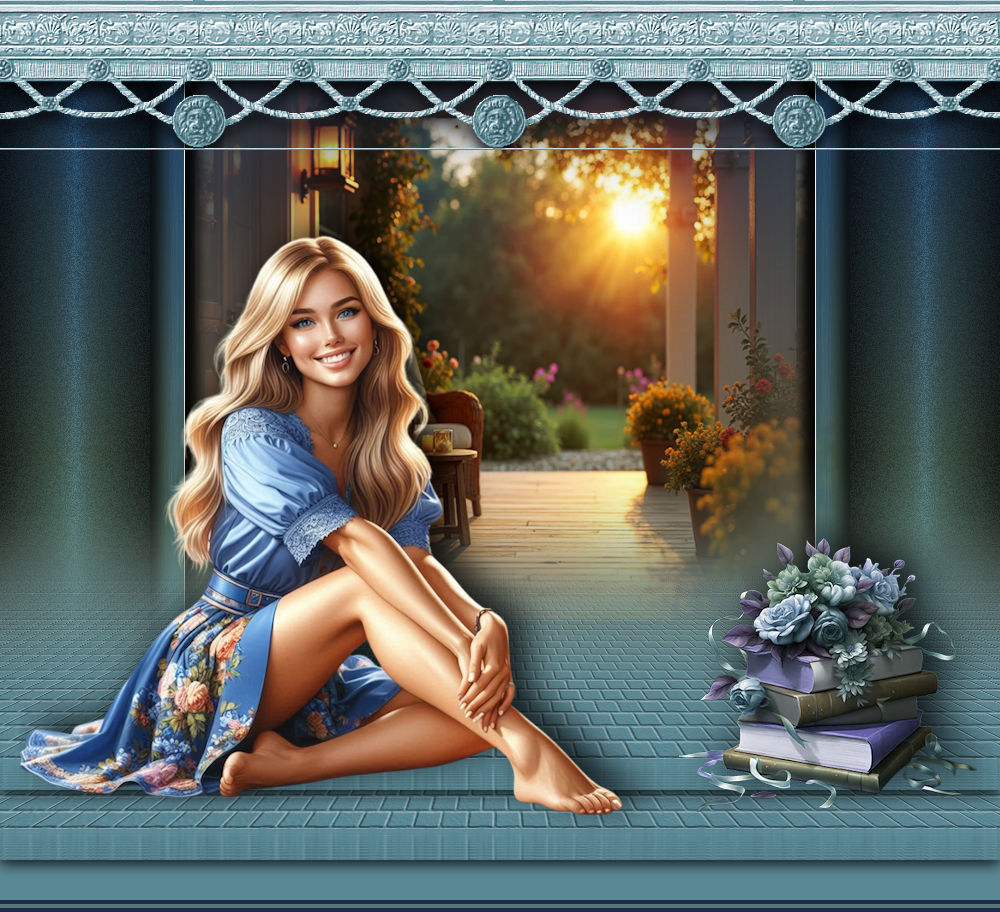
For the tubes of this version thanks Lady Valella and Kamil


If you have problems or doubts, or you find a not worked link,
or only for tell me that you enjoyed this tutorial, write to me.
20 August 2025
|

