|
TOP BOTELLITAS

Thanks Luz Cristina for your invitation to translate your tutorials into english
This tutorial, created with PSP9, was translated with PspX9 and PSP2020, but it can also be made using other versions of PSP.
Since version PSP X4, Image>Mirror was replaced with Image>Flip Horizontal,
and Image>Flip with Image>Flip Vertical, there are some variables.
In versions X5 and X6, the functions have been improved by making available the Objects menu.
In the latest version X7 command Image>Mirror and Image>Flip returned, but with new differences.
See my schedule here
 French Translation here French Translation here
 Your versions here Your versions here

For this tutorial, you will need:
Tubes by Luz Cristina
(you find here the links to the material authors' sites)
consult, if necessary, my filter section here
Filters Unlimited 2.0 here
FM Tile Tools - Saturation Emboss, Blend Emboss here
Mura's Meister - Perspective Tiling, Copies here
Alien Skin Eye Candy 5 Textures - Weave here
Virtual Painter here
Simple - Diamonds here
AAA Frames - Foto Frame here
Filters Simple can be used alone or imported into Filters Unlimited.
(How do, you see here)
If a plugin supplied appears with this icon  it must necessarily be imported into Unlimited it must necessarily be imported into Unlimited

You can change Blend Modes according to your colors.
In the newest versions of PSP, you don't find the foreground/background gradient (Corel_06_029).
You can use the gradients of the older versions.
The Gradient of CorelX here
1. Open a new transparent image 1000 x 800 pixels.
2. Set your foreground color to #b48a45,
and your background color to #372413.
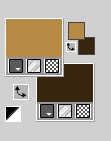
Set your foreground color to a Foreground/Background Gradient, style Linear.
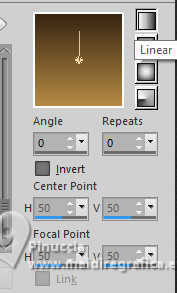
Flood Fill  the transparent image with your Gradient. the transparent image with your Gradient.
3. Effects>Plugins>Virtual Painter
Filter: Color pencil.
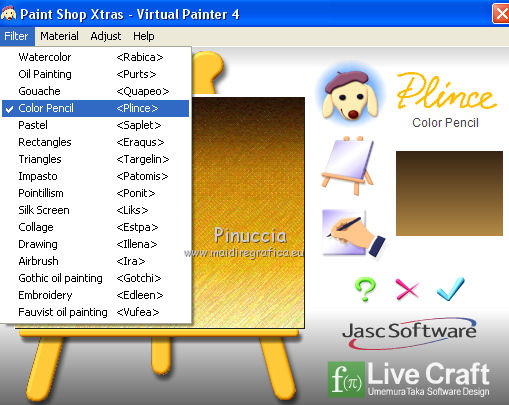
Choose the material: for me Paper (smooth)
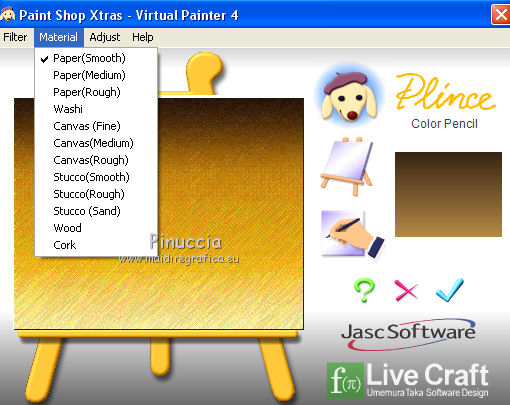
under my translation the version with Stucco (smooth)
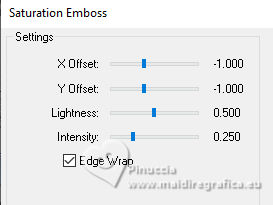
4. Effects>Plugins>FM Tile Tools - Saturation Emboss, default settings.
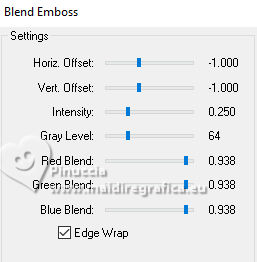
5. Effects>Plugins>FM Tile Tools - Blend Emboss, default settings.
Adjust>Sharpness>Sharpen.
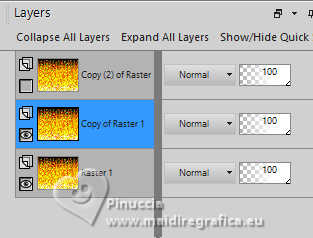
6. Layers>Duplicate - 2 times, to have 3 equal layers.
Close the top layer, copy 2 of Raster 1
and activate the layers of the first copy.
7. Effects>Plugins>Mura's Meister - Perspective Tiling.
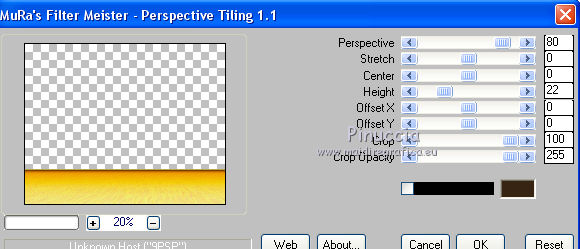
8. Effects>Plugins>FM Tile Tools - Blend Emboss, default settings.
9. Re-open and activate your top layer.
10. Effects>Plugins>Alien Skin Eye Candy 5 Textures - Weave.
Ribbon Color horizontal: foreground color
Ribbon Color vertical: background color.
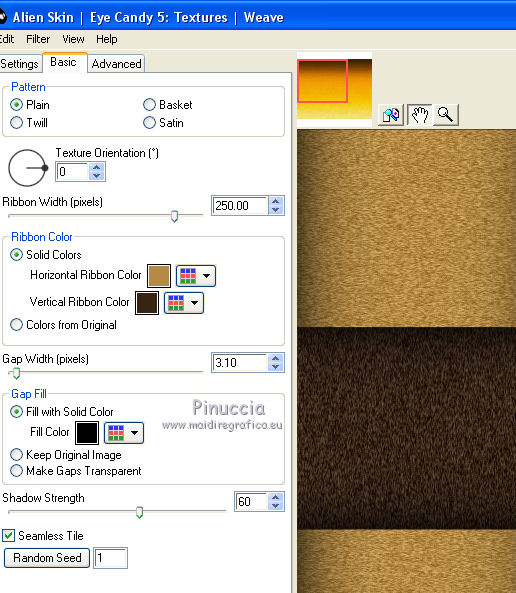
11. Effects>Plugins>Simple - Diamonds.
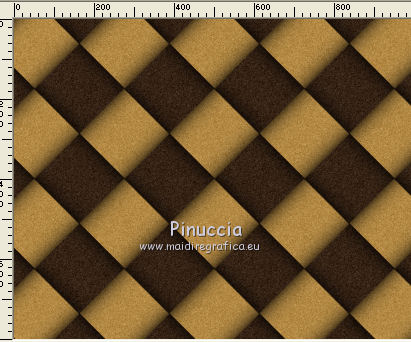
12. Effects>Plugins>FM Tile Tools - Saturation Emboss, default settings.
13. Effects>Geometric Effects>Perspective Verticale.
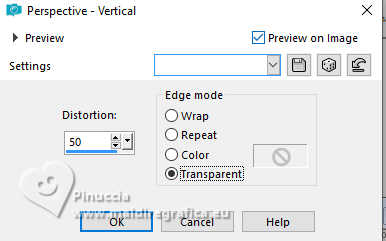
Image>Mirror>Mirror vertical (Image>Flip).
Again Effects>Geometric Effects>Perspective Verticale, last settings.
14. Activate your Magic Wand Tool 
and click in the two sides to select them.
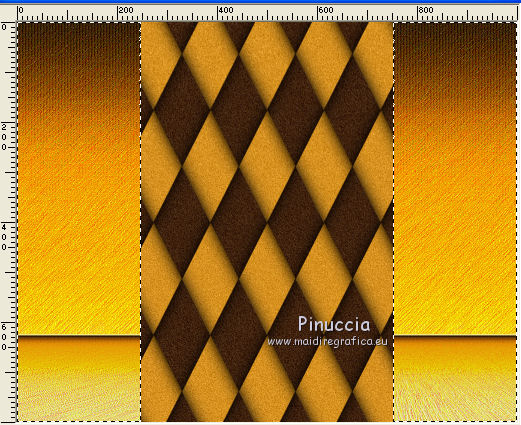
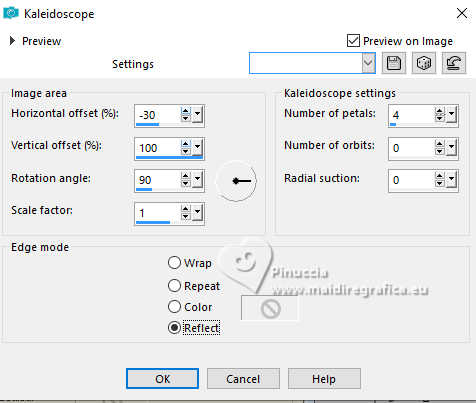
15. Effects>Reflection Effects>Kaleidoscope.
16. Selections>Select None.
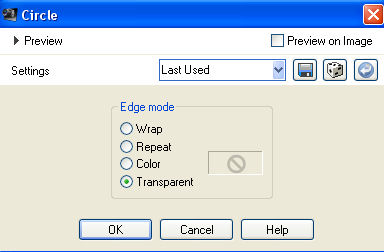
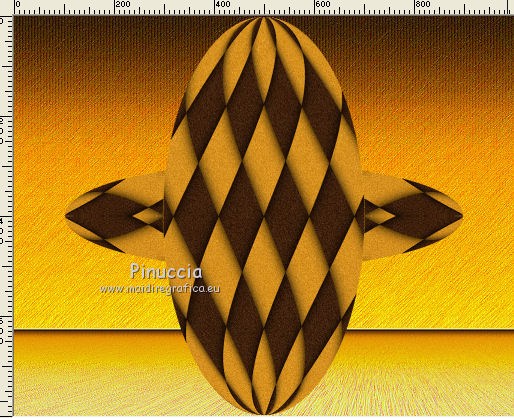
17. Effects>Geometric Effects>Circle.
Resultat
18. Image>Resize, to 80%, resize all layers not checked.
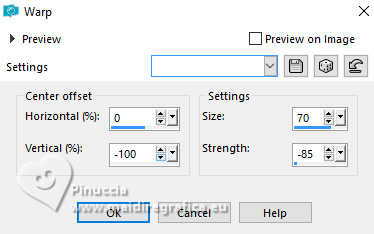
19. Effects>Distortion Effects>Warp
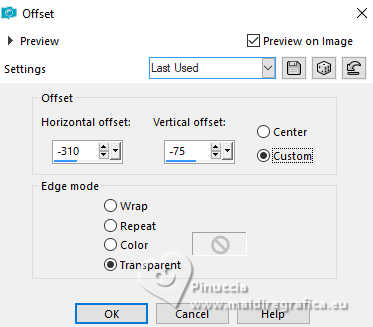
20. Image>Resize, to 70%, resize all layers not checked.
Effects>Image Effects>Offset.
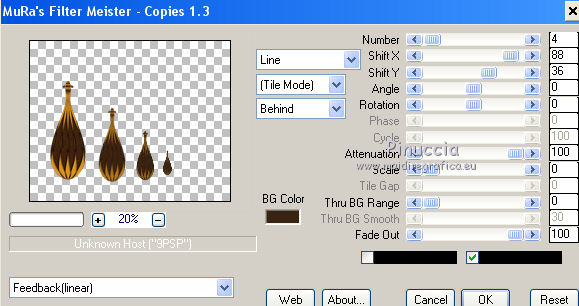
21. Effects>Plugins>Mura's Meister - Copies.
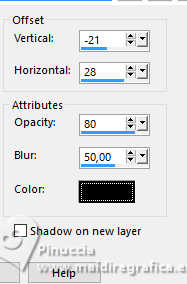
22. Effects>3D Effects>Drop Shadow.
23. Open the misted 3459-luzcristina 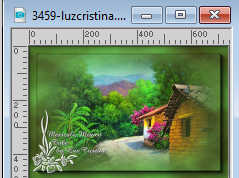
Edit>Copy.
Go back to your work and go to Edit>Paste as new layer.
K key to activate your Pick Tool 
Mode Scale 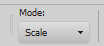
agrandir le tube as below.
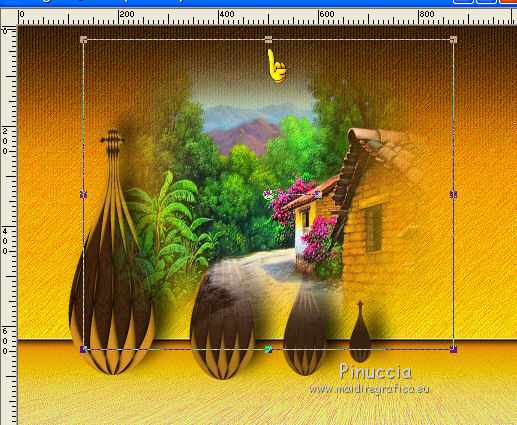
24. Layers>Arrange>Move Down.
25. Effects>Image Effects>Offset.
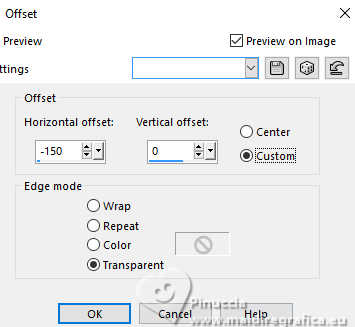
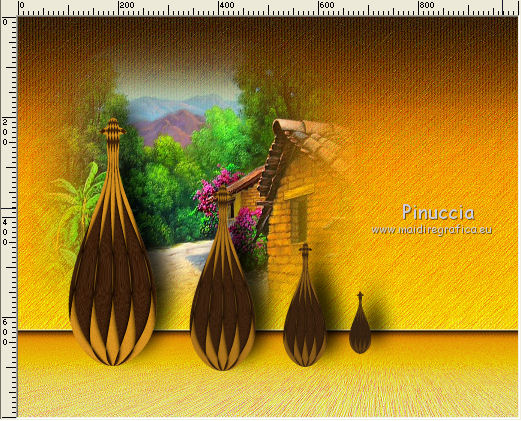
You should have this
26. Layers>Duplicate.
Image>Mirror>Mirror Horizontal.
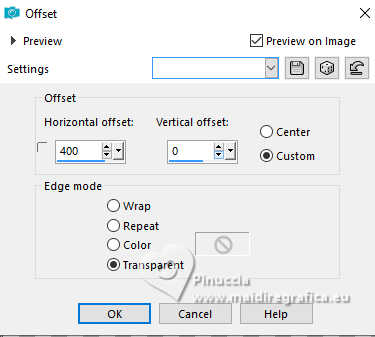
27. Effects>Image Effects>Offset.
28. Layers>Merge>Merge Down.
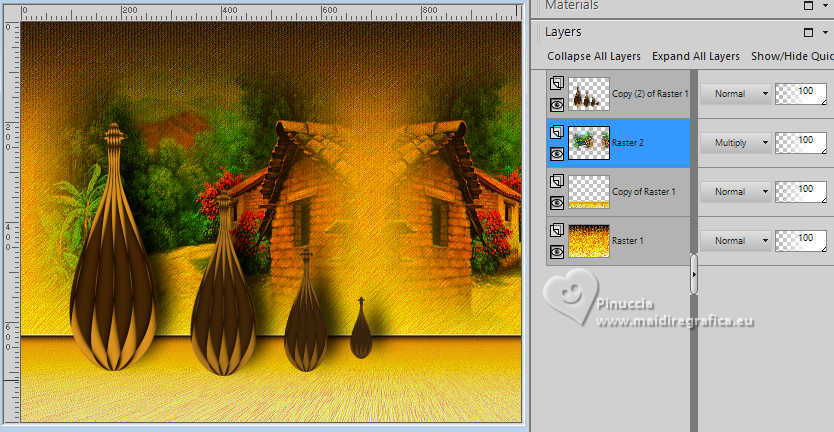
Change the Blend Mode of this layer to Multiply, or to your liking.
29. Layers>Merge>Merge visible.
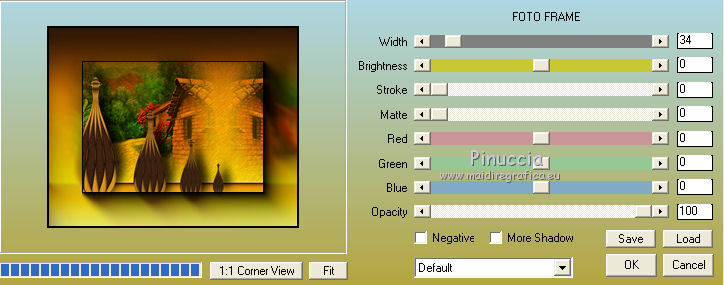
Effects>Plugins>AAA Frames - Foto Frame.
30. Open your woman's tube 4421-luzcristina 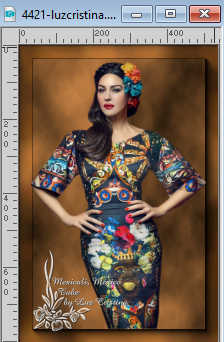
Edit>Copy.
Go back to your work and go to Edit>Paste as new layer.
Image>Resize, at your choice (for me 85%), resize all layers not checked.
Move  the tube to the right side, see my example. the tube to the right side, see my example.
Effects>3D Effects>Drop Shadow, last settings.
31. Sign your work.
Layers>Merge>Merge All and save as jpg.

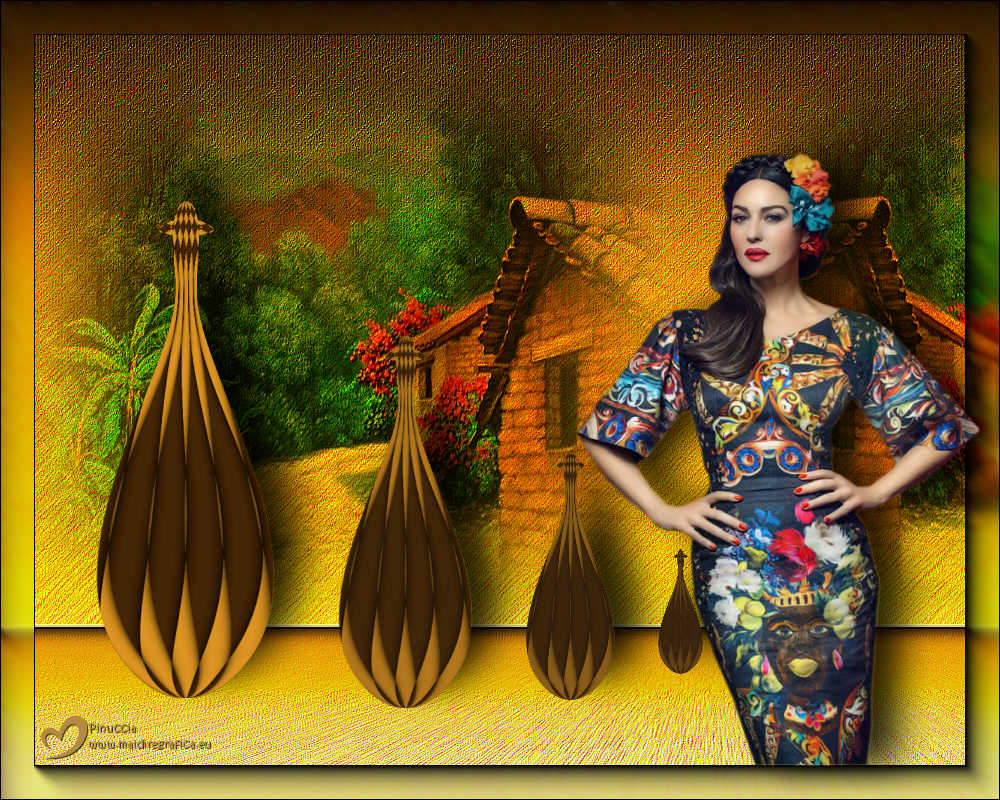
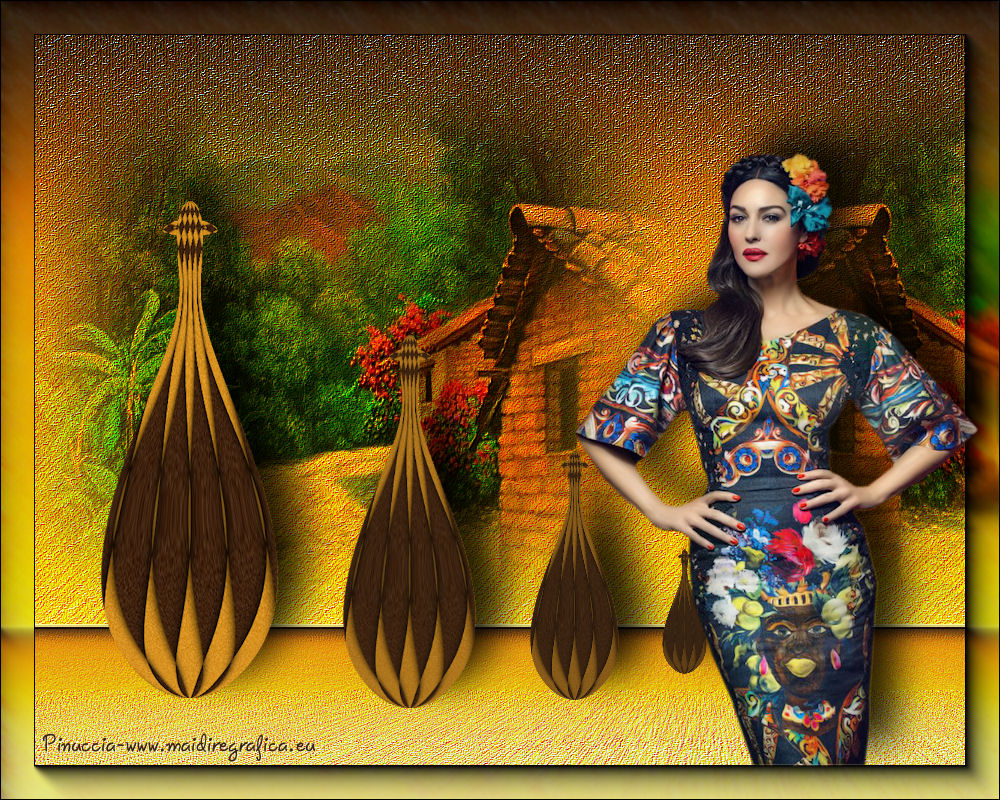
Version with tubes by Luz Cristina
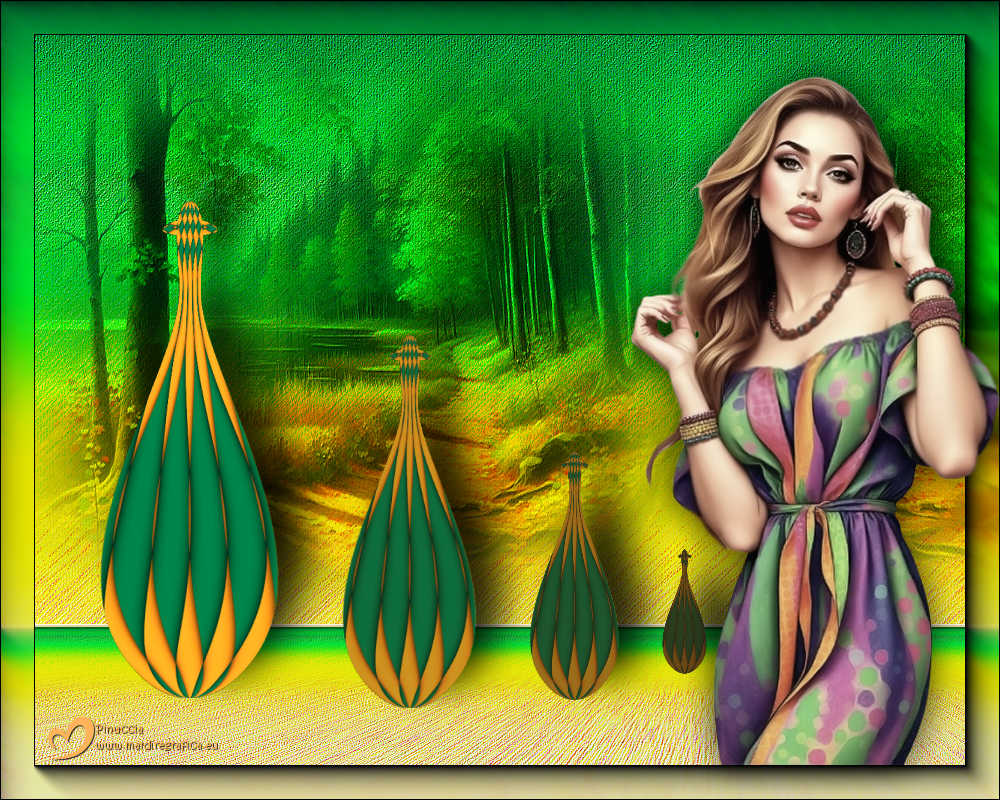
Version with the variant of Virtual Painter
If you have problems or doubts, or you find a not worked link,
or only for tell me that you enjoyed this tutorial, write to me.
12 August 2026
|