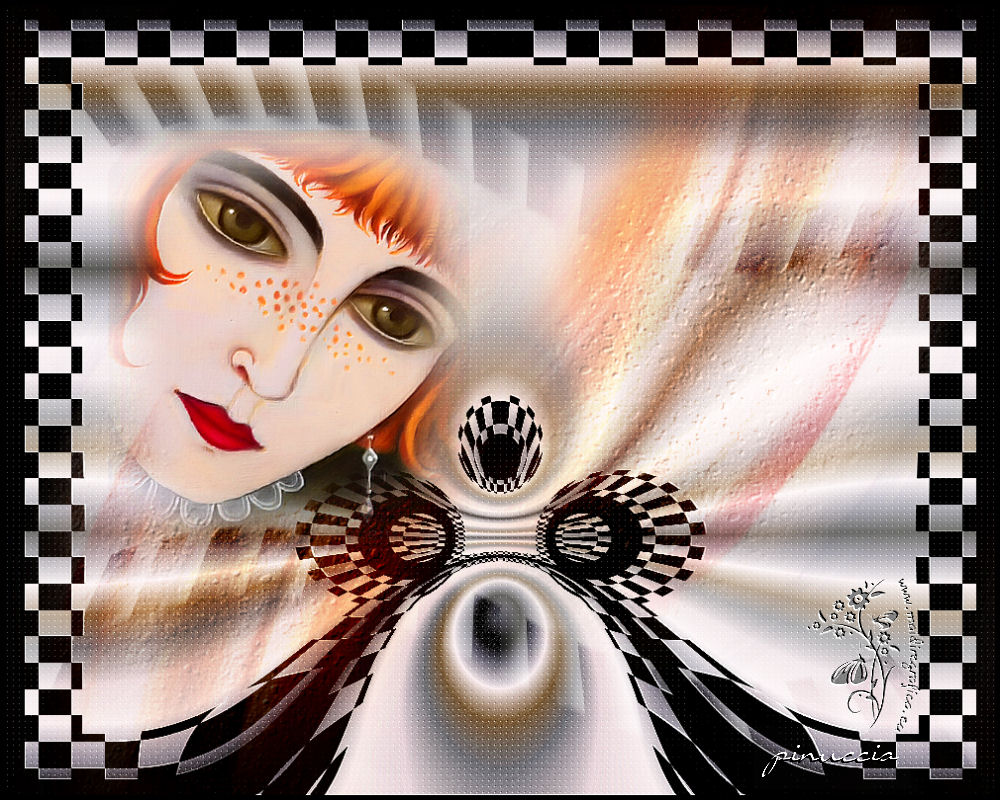
|
TOP CHECKERS


Thanks Luz Cristina for your invitation to translate your tutorials into english

This tutorial was translated with PSPX9 but it can also be made using other versions of PSP.
Since version PSP X4, Image>Mirror was replaced with Image>Flip Horizontal,
and Image>Flip with Image>Flip Vertical, there are some variables.
In versions X5 and X6, the functions have been improved by making available the Objects menu.
In the latest version X7 command Image>Mirror and Image>Flip returned, but with new differences.
See my schedule here
 French Translation here French Translation here
 Your versions here Your versions here

For this tutorial, you will need:

For the tube thanks Luz Cristina
(The links of the tubemakers here).

consult, if necessary, my filter section here
Filters Unlimited 2.0 here
Alf's Border FX - Border Checkers here
FM Tile Tools - Saturation Emboss here
Carolaine and Sensibility - CS-LDots here
Filters Alf's Border FX can be used alone or imported into Filters Unlimited.
(How do, you see here)
If a plugin supplied appears with this icon  it must necessarily be imported into Unlimited it must necessarily be imported into Unlimited

You can change Blend Modes according to your colors.

The texture Asfalto 01 is the standard texture Asphalte 01 and, in the new PSP versions, Corel_15_030.
If you don't find it in your Psp, copy the supplied texture in the Textures Folder.
Copy the gradient in the Gradients Folder.
1. Open a new transparent image 1000 x 800 pixels.
2. Set your foreground color to black #000000.
Set your background color to Gradient, and select the Gradient Metal Steel, style Linear.
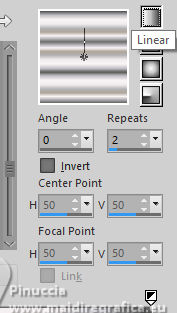 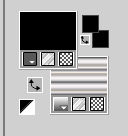
3. Flood Fill  the transparent image with your Gradient. the transparent image with your Gradient.
4. Effects>Plugins>Alf's Border FX - Border Checkers.
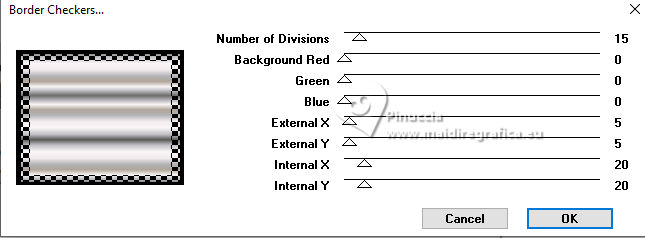
5. Activate your Magic Wand Tool 
and click in the black border to select it.
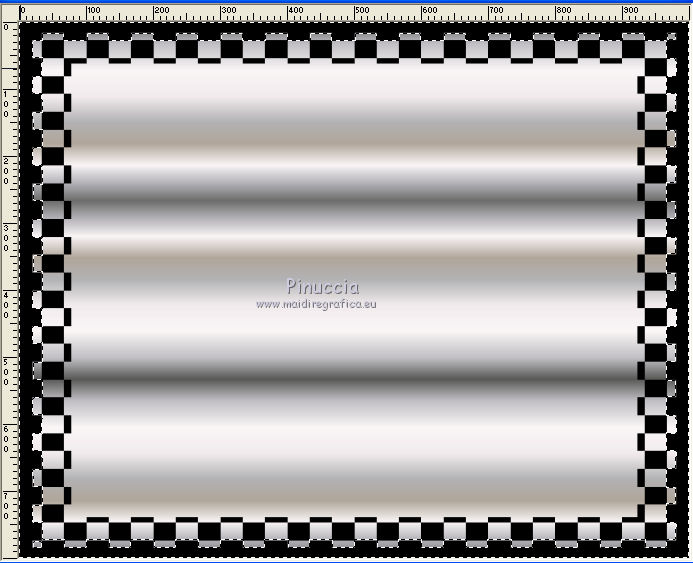
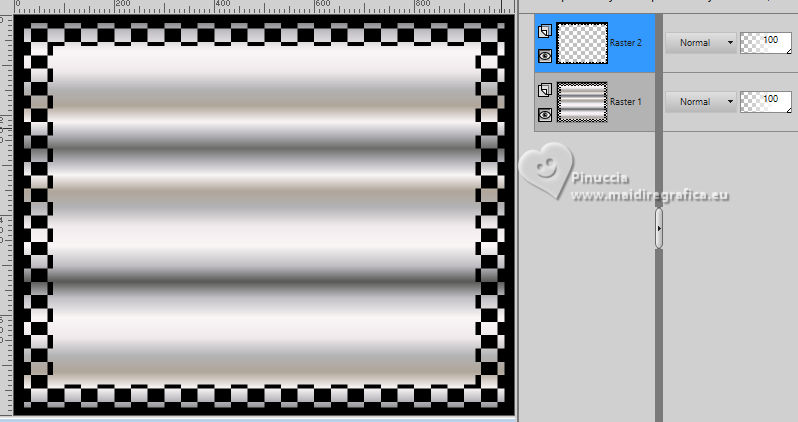
6. Edit>Copy.
Edit>Paste as new layer.
Selections>Select None.
7. Stay on the layer Raster 2.
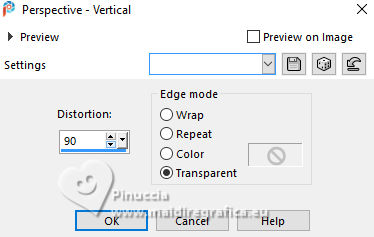
Effects>Geometric Effects>Perspective Vertical.
8. Image>Mirror>Mirror Vertical (Image>Flip).
9. Activate your Selection Tool  , rectangle, , rectangle,
and draw a selection of the top zone.
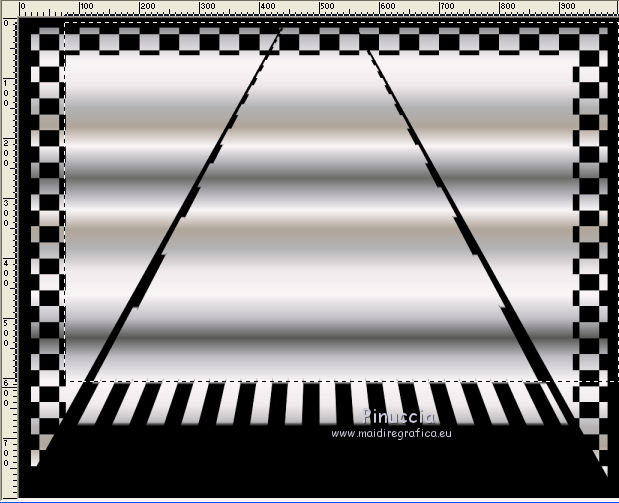
Press CANC on the keybord 
Selections>Select None.
10. Layers>Arrange>Move Down.
Change the Blend Mode of the Layer Raster 1 to Hard Light.
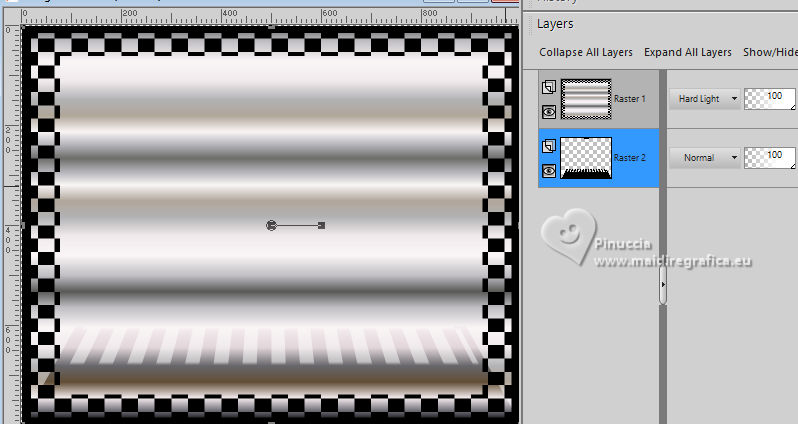
11. Stay on the layer Raster 2.
Layers>Duplicate.
Image>Mirror>Mirror Vertical (Image>Flip).
Layers>Merge>Merge Down.
12. Effects>Distortion Effects>Wave.
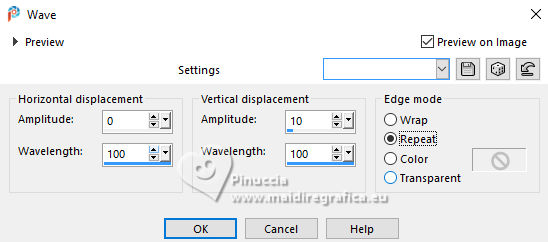
13. Adjust>Add/Remove Noise>Add Noise.
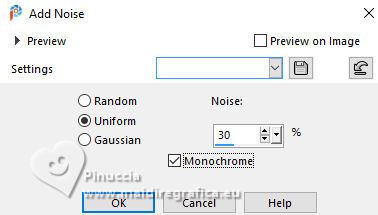
14. Effects>Plugins>FM Tile Tools - Saturation Emboss, default settings.

15. Effects>3D Effects>Drop Shadow.

16. Activate the layer Raster 1.
Effects>Distortion Effects>Warp.
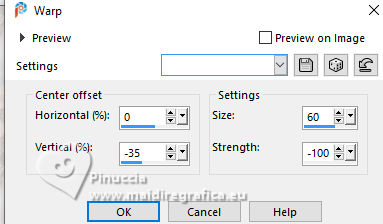
17. Effects>Reflection Effects>Rotating Mirror.

18. Effects>Plugins>Carolaine and Sensibility - CS-LDots default settings.
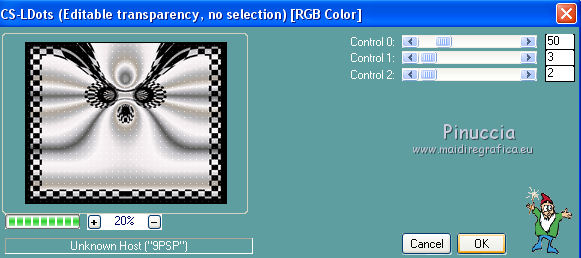
19. Effects>Plugins>FM Tile Tools - Saturation Emboss, default settings.

20. Image>Mirror>Mirror Vertical (Image>Flip).
21. Open the woman's tube 4037-luzcristina 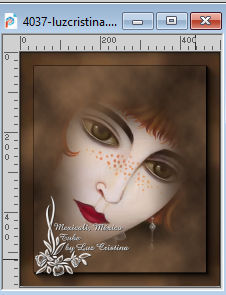
Edit>Copy.
Go back to your work and go to Edit>Paste as new layer.
Move  the tube at the upper left. the tube at the upper left.
22. Effects>Plugins>FM Tile Tools - Saturation Emboss, default settings.
23. Layers>Duplicate.
Layers>Arrange>Move Down.
Image>Mirror>Mirror Horizontal.
24. Adjust>Blur>Radial Blur.
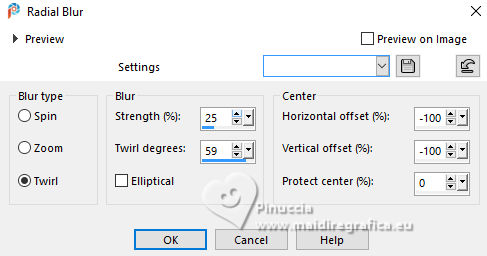
25. Effects>Texture Effects>Texture - select the texture Asphalte or Corel_15_030.
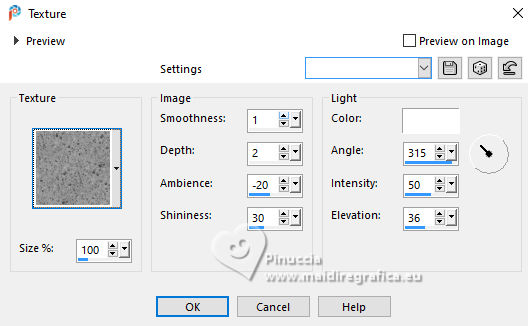
Change the Blend Mode of this layer to Hard Light.
26. Layers>Duplicate.
Image>Mirror>Mirror Horizontal.
Image>Mirror>Mirror Vertical (Image>Flip).
27. Activate your top layer.
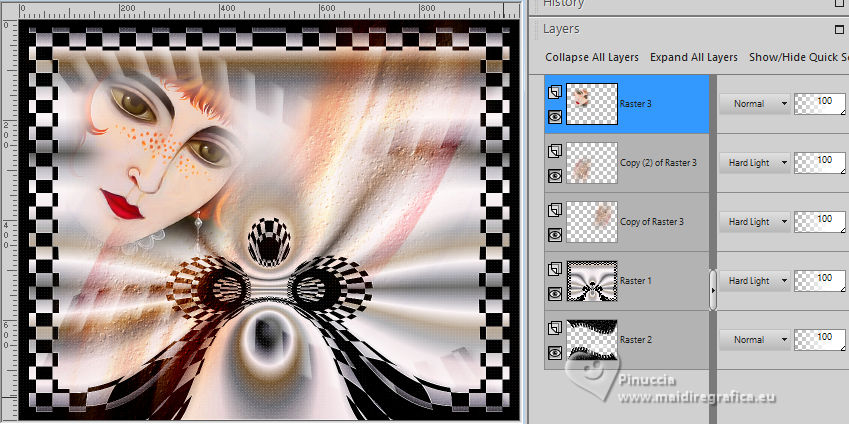
Layers>Duplicate.
28. Image>Add Borders, 5 pixels, symmetric, color black.
29. Edit>Copy.
30. Open a new transparent image 1000 x 800 pixels.
Selections>Select All.
Edit>Paste into Selection.
Selections>Select None.
31. Sign your work and save as jpg.
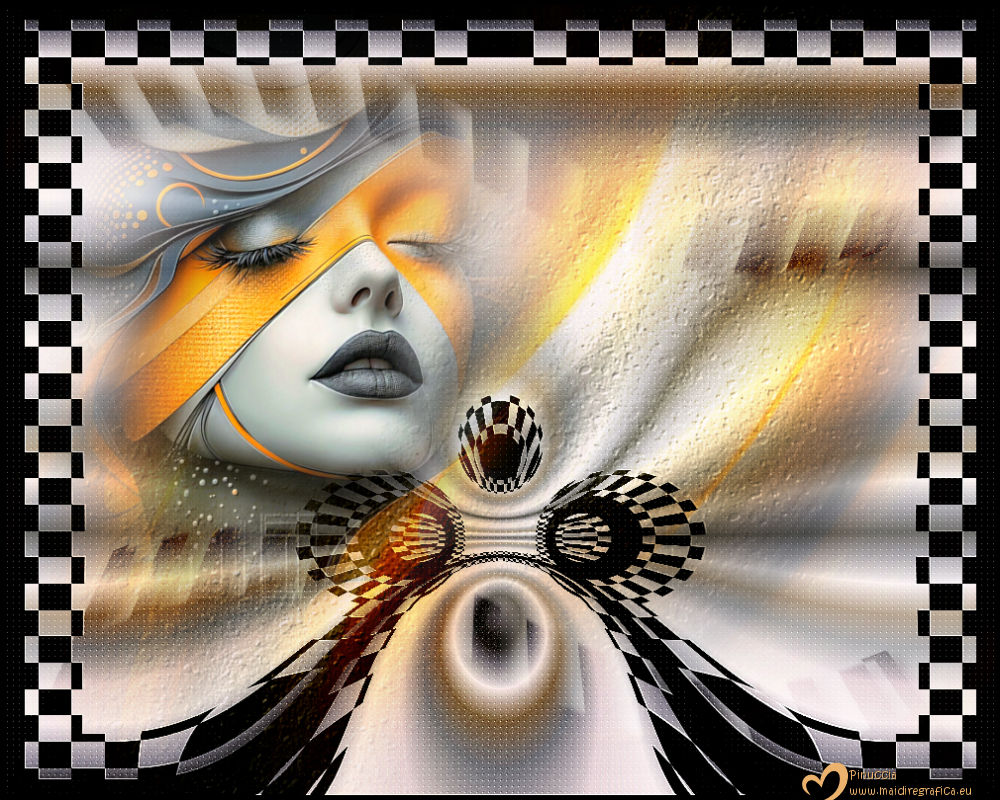
Version with mon tube from Pinterest Image


If you have problems or doubts, or you find a not worked link,
or only for tell me that you enjoyed this tutorial, write to me.
20 Novembre 2025
|

