|
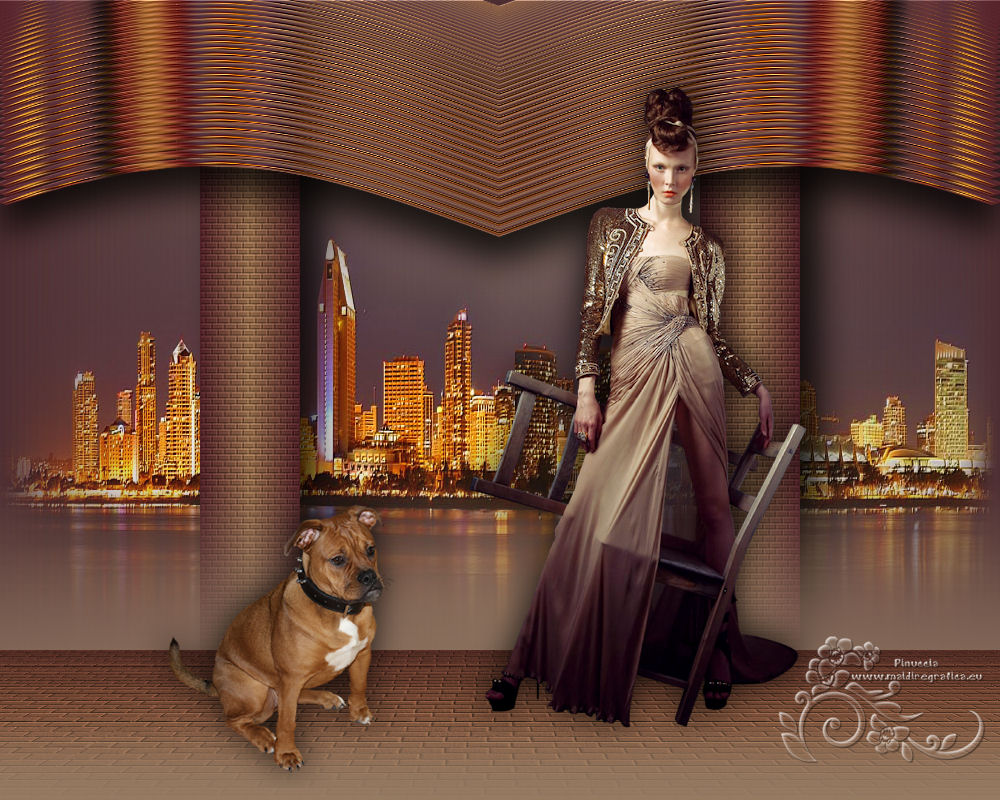
TOP ELEGANCIA


Thanks Luz Cristina for your invitation to translate your tutorials into english

This tutorial was translated with PSPX9 but it can also be made using other versions of PSP.
Since version PSP X4, Image>Mirror was replaced with Image>Flip Horizontal,
and Image>Flip with Image>Flip Vertical, there are some variables.
In versions X5 and X6, the functions have been improved by making available the Objects menu.
In the latest version X7 command Image>Mirror and Image>Flip returned, but with new differences.
See my schedule here
 French Translation here French Translation here
 Your versions here Your versions here

For this tutorial, you will need:

For the tubes thanks Tocha, Guismo, Maryse
(The links of the tubemakers here).

consult, if necessary, my filter section here
FM Tile Tools - Saturation Emboss here
Mura's Meister - Perspective Tiling, Copies here

You can change Blend Modes according to your colors.
In the newest versions of PSP, you don't find the foreground/background gradient (Corel_06_029).
You can use the gradients of the older versions.
The Gradient of CorelX here

Copy the texture in the Textures Folder.
Copy the preset Emboss 3 in the Presets Folder.
Open the masks in PSP and minimize them with the rest of the material.
1. Open a new transparent image 1000 x 500 pixels.
2. Set your foreground color to #4e2f33,
and your background color to #957b64.
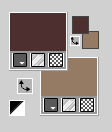
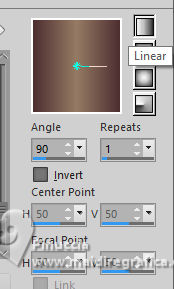
Set your foreground color to a Foreground/Background Gradient, style Linear.
3. Activate your Selection Tool 
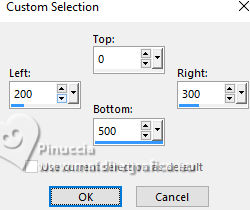
(no matter the type of selection, because with the custom selection your always get a rectangle)
clic on the Custom Selection 
and set the following settings.
Flood Fill  the selectino with your Gradient. the selectino with your Gradient.
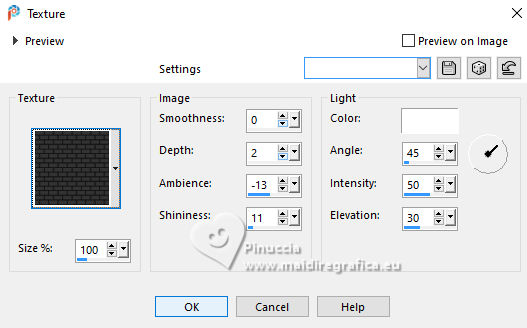
4. Effects>Texture Effects>Texture - select the texture Ladrillos pequeños
5. Effects>Plugins>FM Tile Tools - Saturation Emboss, default settings.

Selections>Select None.
6. Layers>Duplicate.
Image>Mirror>Mirror Horizontal.
Layers>Merge>Merge visible.
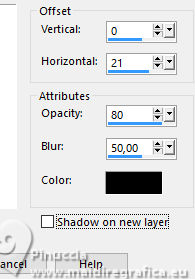
7. Effects>3D Effects>Drop Shadow.
8.- Layers>New Raster Layer.
Layers>Arrange>Send to Bottom.
Flood Fill  the layer with your gradient. the layer with your gradient.
9. Effects>User Defined Filter - select the preset Emboss 3 and ok.

10. Layers>New Raster Layer.
Selections>Select All.
Open the landscape's tube calguisSanDiegomisted29022012 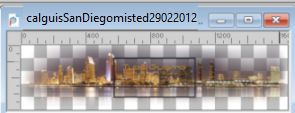
Edit>Copy.
Go back to your work and go to Edit>Paste into Selection.
Selections>Select none.
Effects>Plugins>FM Tile Tools - Saturation Emboss, default settings.
Layers>Merge>Merge visible.
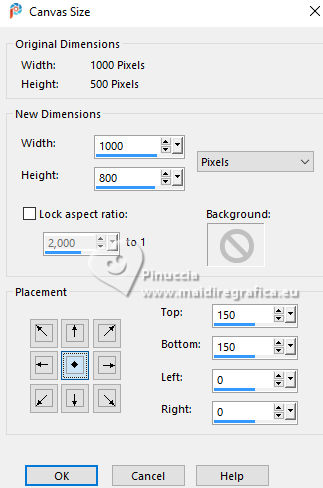
11. Image>Canvas Size - 1000 x 800 pixels.
12. Layers>Duplicate.
13. Effects>Perspective Effects>Perspective Horizontal.
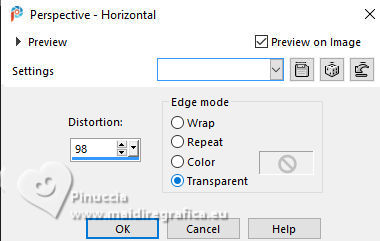
14. Image>Mirror>Mirror Horizontal.
Repeat Effects>Geometric Effects>Perspective Horizontal, same settings
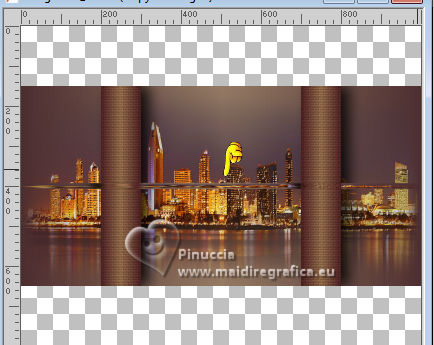
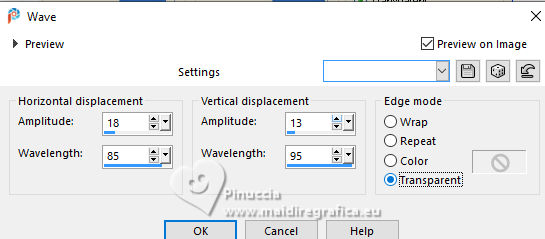
15. Effects>Distortion Effects>Wave
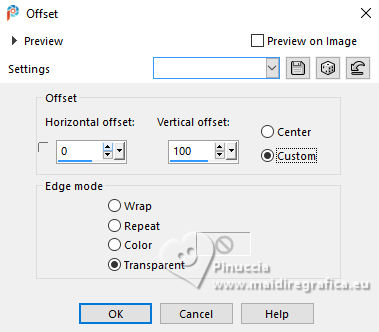
16. Effects>Image Effects>Offset.
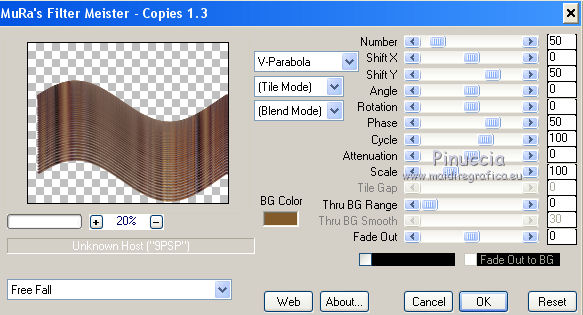
17. Effects>Plugins>Mura's Meister - Copies.
18. Effects>Reflection Effects>Rotating Mirror.

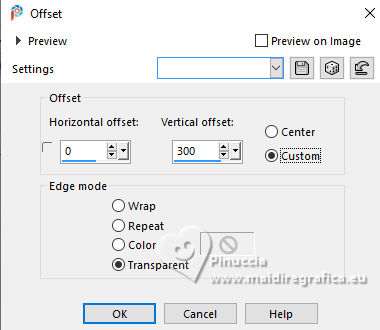
19. Effects>Image Effects>Offset.
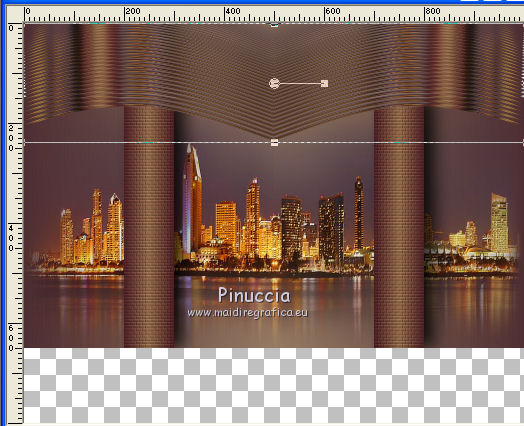
20. Activate your Pick Tool 
in mode Scale 
pull the right and left central nodes until the borders,
and the central bottom node up as below
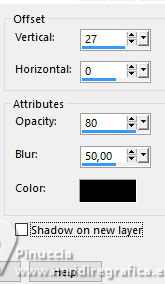
21. Effects>3D Effects>Drop Shadow.
22. Effects>Plugins>FM Tile Tools - Saturation Emboss, default settings.

23. Layers>New Raster Layer.
Layers>Arrange>Send to bottom.
Change the Gradient's settings, Angle and Repeats 0
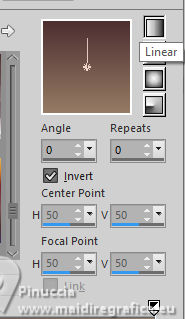
Flood Fill  the layer with your Gradient. the layer with your Gradient.
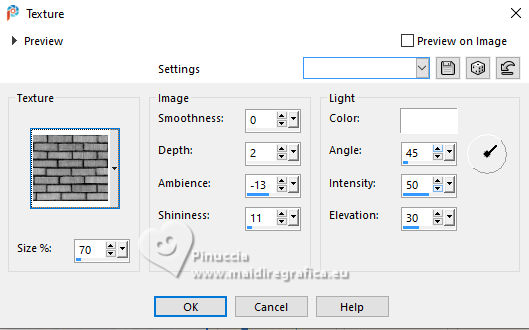
24. Effects>Texture Effects>Texture - select the texture Bricks or Corel_15_033.
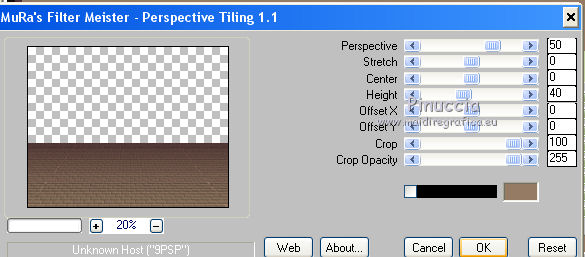
25. Effects>Plugins>Mura's Meister - Perspective Tiling.
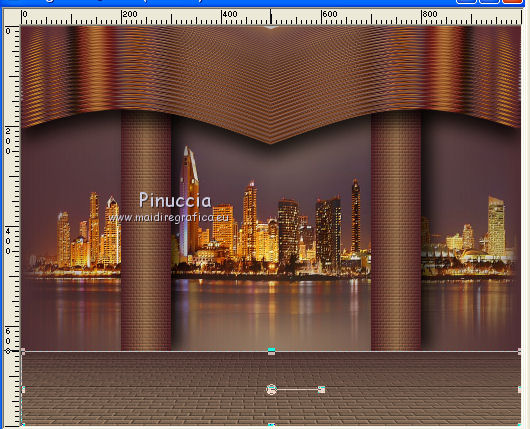
26. Activate your Pick Tool 
pull the central top node down, until the landscape's layer.
27. Layers>New Mask layer>From image
Open the menu under the source window and you'll see all the files open.
Select the mask marge-topfade.
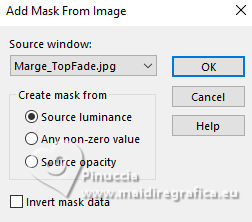
Layers>Duplicate, to apply the mask 2 times.
Layers>Merge>Merge Group.
Change the blend Mode of this layer to Hard light.
for my example, I applied 2 times the mask mask-fade-suave
28. Activate the layer Merged.
Apply 2 times the mask mask-fade-suave.
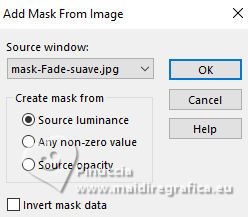
Layers>Merge>Merge Group.
for my example I applied 2 times the mask Marge-Topfade.
29. Layers>New Raster Layer.
Layers>Arrange>Send to bottom.
Flood Fill  the layer with the last Gradient. the layer with the last Gradient.
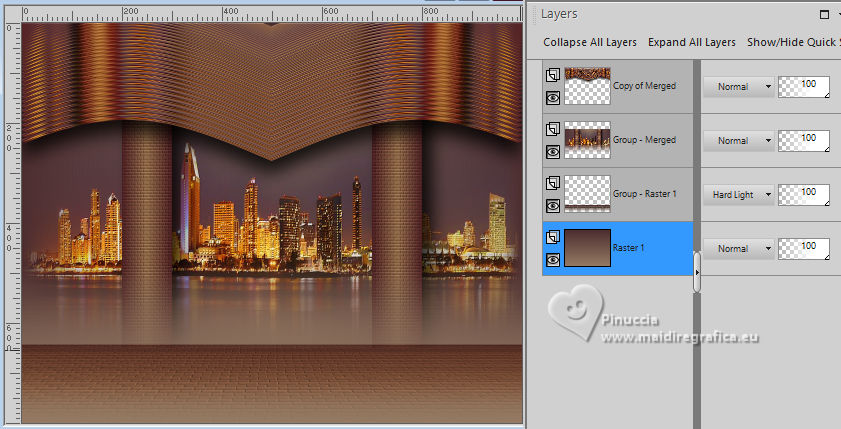
30. Open your woman's tube Tocha2381 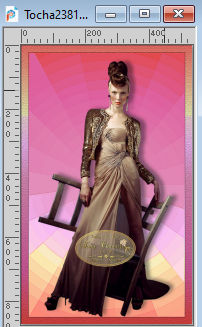
Edit>Copy.
Go back to your work and go to Edit>Paste as new layer.
Image>Resize, to 80%, resize all layers not checked.
Place  correctly the tube - see my example. correctly the tube - see my example.
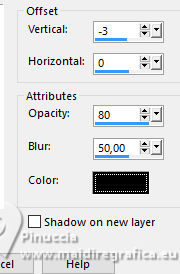
Effects>3D Effects>Drop Shadow.
31. Open the dog's tube MRtubes-dieren8-mei2009 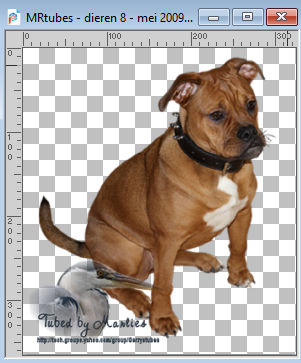
Image>Resize, to 80%, resize all layers not checked.
Place  correctly the tube - see my example. correctly the tube - see my example.
Effects>3D Effects>Drop Shadow, same settings.
32. Sign your work on a new layer.
Layers>Merge>Merge All and save as jpg.
For the tubes of this version thanks Luz Cristina and Wieskes



If you have problems or doubts, or you find a not worked link,
or only for tell me that you enjoyed this tutorial, write to me.
20 December 2025
|

