|
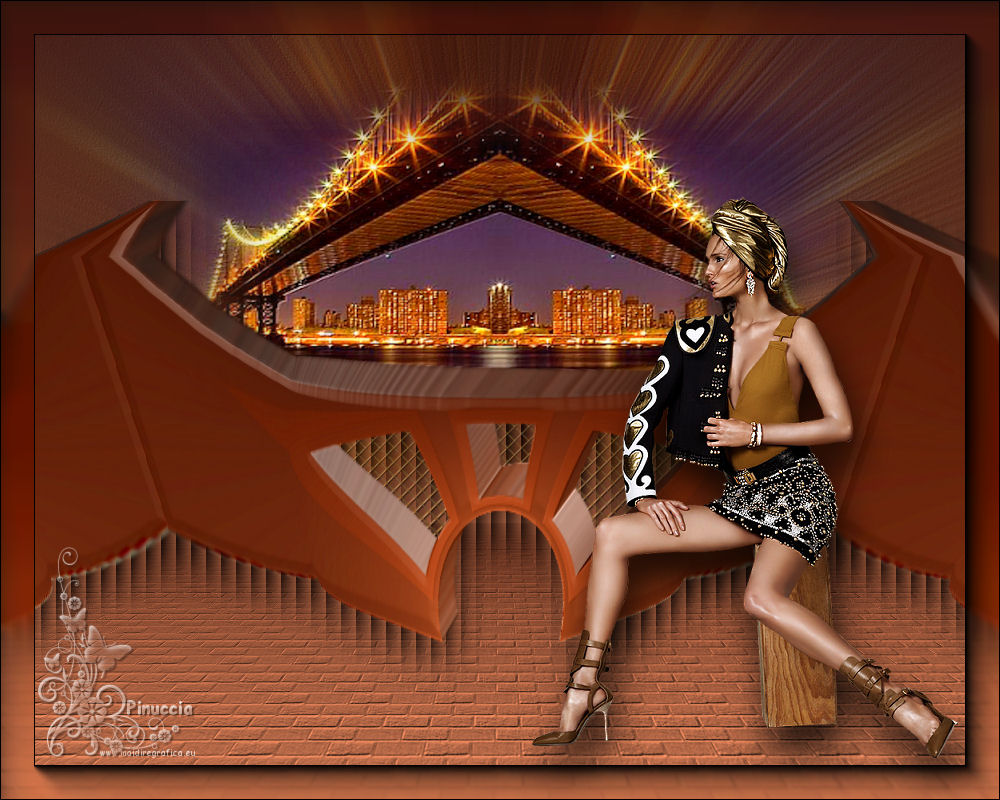
TOP MABEL


Thanks Luz Cristina for your invitation to translate your tutorials into english

This tutorial, created with PSP9, was translated with PspX9, but it can also be made using other versions of PSP.
Since version PSP X4, Image>Mirror was replaced with Image>Flip Horizontal,
and Image>Flip with Image>Flip Vertical, there are some variables.
In versions X5 and X6, the functions have been improved by making available the Objects menu.
In the latest version X7 command Image>Mirror and Image>Flip returned, but with new differences.
See my schedule here
 French Translation here French Translation here
 Your versions here Your versions here

For this tutorial, you will need:

Tubes by Luz Cristina and Tocha.
(The links of the tubemakers here).

consult, if necessary, my filter section here
Flaming Pear - Flexify 2 here
Alien Skin Eye Candy 5 Impact - Extrude here
Transparency - Eliminate Black here
Mura's Meister - Perspective Tiling here
Filters Unlimited 2.0 here
FM Tile Tools - Saturation Emboss here
AAA Frames - Foto Frame here
Blur - RadialBlur here
Filters Transparency can be used alone or imported into Filters Unlimited.
(How do, you see here)
If a plugin supplied appears with this icon  it must necessarily be imported into Unlimited it must necessarily be imported into Unlimited

You can change Blend Modes according to your colors.
In the newest versions of PSP, you don't find the foreground/background gradient (Corel_06_029).
You can use the gradients of the older versions.
The Gradient of CorelX here

Copy the preset Emboss 3 in the Presets Folder.
Copy the texture in the Textures Folder.
Open the mask in PSP and minimize it with the rest of the material.
1. Open a new transparente image 1000 x 600 pixels.
2. Set your foreground color to #bf6f4c,
and your background color to #4c2012.
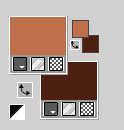
Set your foreground color to a Foreground/Background Gradient, style Linear.
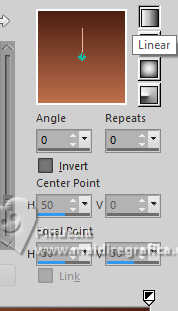
Flood Fill  the transparent image with your Gradient. the transparent image with your Gradient.
3. Layers>New Mask layer>From image
Open the menu under the source window and you'll see all the files open.
Select the mask TP_23.
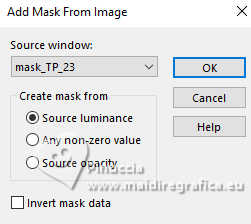
Layers>Merge>Merge Group.
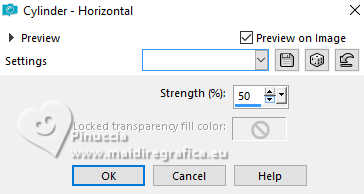
4. Effects>Geometric Effects>Cylinder horizontal.
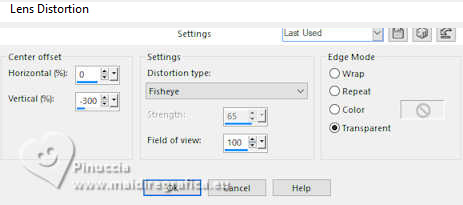
5. Effects>Distortion Effects>Lens Distortion.
6. Image>Resize, to 80%, resize all layers not checked.
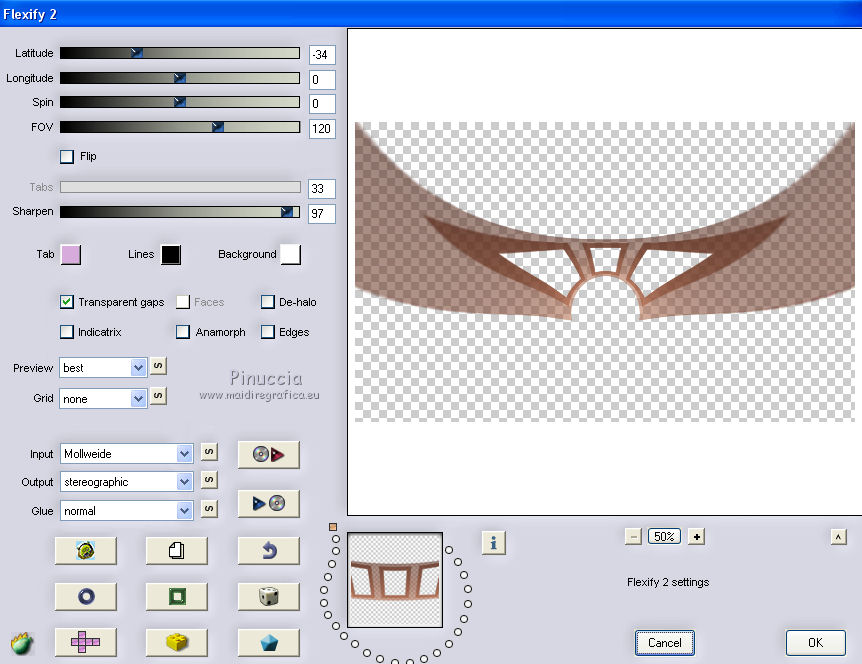
7. Effects>Plugins>Flaming Pear - Flexify 2
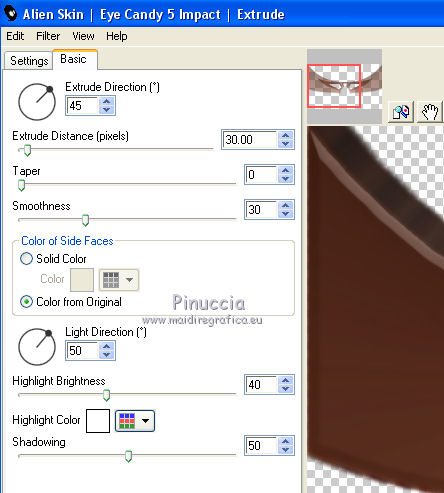
8. Effects>Plugins>Alien Skin Eye Candy 5 Impact - Extrude.
9. Effects>Plugins>FM Tile Tools - Saturation Emboss, default settings.

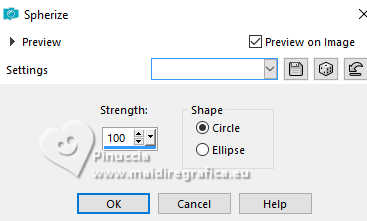
10. Effects>Geometric Effects>Spherize.
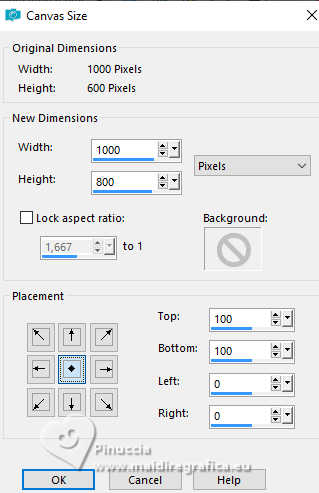
11. Image>Canvas Size - 1000 x 800 pixels.
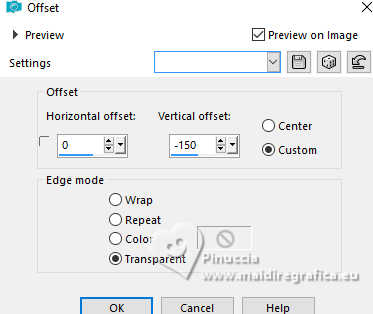
12. Effects>Distortion Effects>Offset.
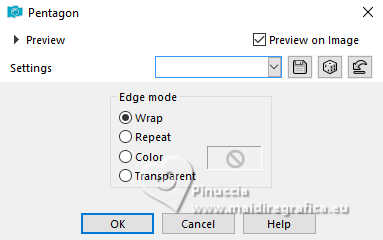
13. Effects>Geometric Effects>Pentagone.
14. Activate your Magic Wand Tool 
and click in the central little windows to select them.
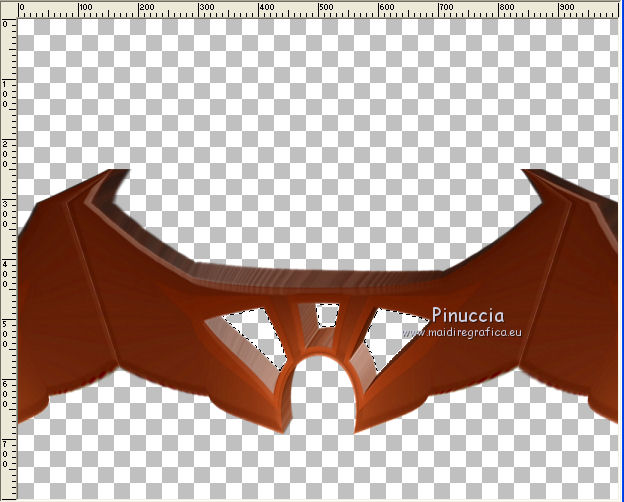
15. Selections>Modify>Expand - 5 pixels.
Layers>New Raster Layer.
Layers>Arrange>Send to Bottom.
Flood Fill  the layer with your Gradient. the layer with your Gradient.
Reduce the opacity of this layer to 50%.
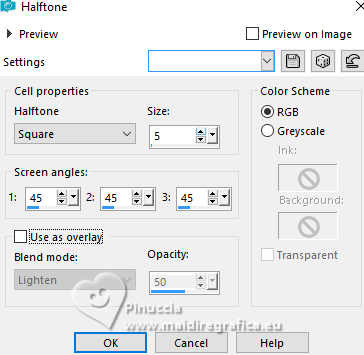
16. Effects>Artistic Effects>Halftone.
17. Effects>Plugins>Transparency - Eliminate Black.
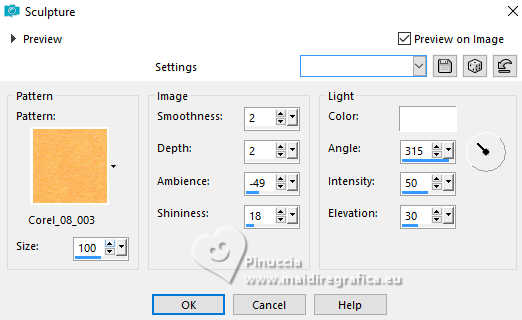
18. Effects>Texture Effects>Sculpture - select a pattern at your choice.
Selections>Select None.
19. Layers>Merge>Merge visible.
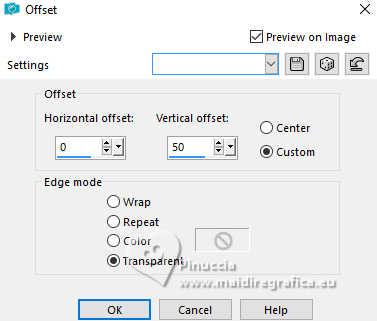
20. Effects>Image Effects>Offset.
21. Layers>New Raster Layer.
Layers>Arrange>Send to Bottom.
Flood Fill  the layer with your Gradient. the layer with your Gradient.
22. Effects>Texture Effects>Texture - select the texture BG559.
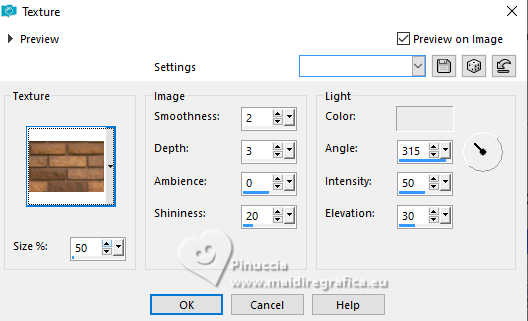
23. Effects>Plugins>Mura's Meister - Perspective Tiling.
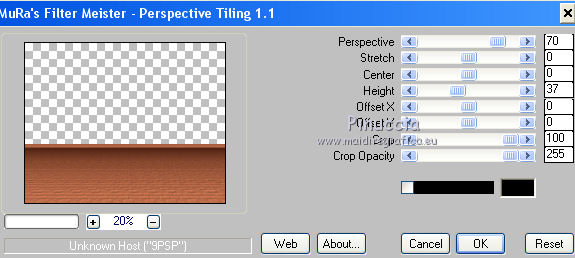
24. Activate your Magic Wand Tool 
click on the transparent part to select it.
Selections>Modify>Feather - 50 pixels.
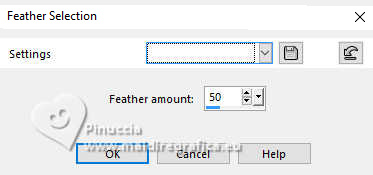
Press 5 times CANC on the keyboard 
25. Layers>New Raster Layer.
Open the misted 190-luzcristina 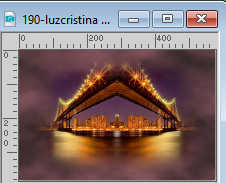
Edit>Copy.
Go back to your work and go to Edit>Paste into Selection.
Selections>Select None.
26. Layers>Duplicate.
Layers>Arange>Move Down.
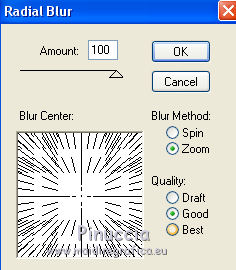
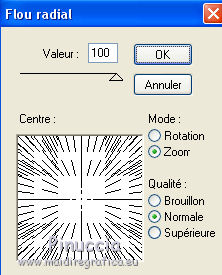
27. Effects>Plugins>Blur - Radial Blur - 2 times
If you use the french version of this filter: Effects>Plugins>Atténuation - Flou Radial
28. Effects>Plugins>FM Tile Tools - Saturation Emboss.

29. Activate the layer above of the original misted.
Image>Resize, to 80%, resize all layers not checked.
30. Activate your top layer, Merged.
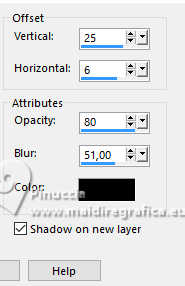
Effects>3D Effects>Drop shadow, shadow on new layer checked.
31. On the shadow's layer:
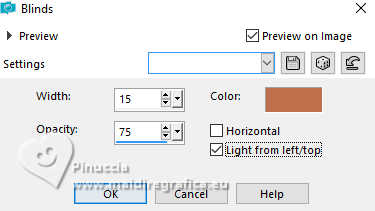
Effects>Texture Effects>Blinds, foreground color.
32. Layers>New Raster Layer.
Layers>Arrange>Send to Bottom.
Flood Fill  the layer with your Gradient. the layer with your Gradient.
33. Layers>Merge>Merge visible.
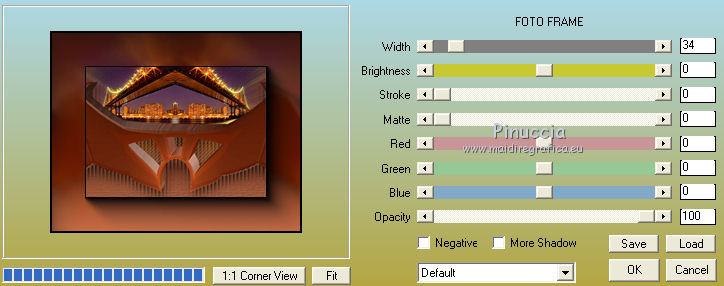
34. Effects>Plugins>AAA Frames - Foto Frame.
35. Open the tube Tocha 24017 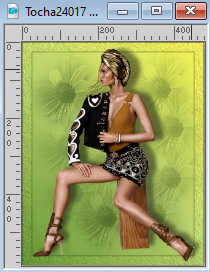
Edit>Copy.
Go back to your work and go to edit>Paste as new layer.
Move  the tube to the right. the tube to the right.
Effects>3D Effects>Drop Shadow, at your choice.
36. Sign your work on a new layer.
Layers>Merge>Merge All and save as jpg.
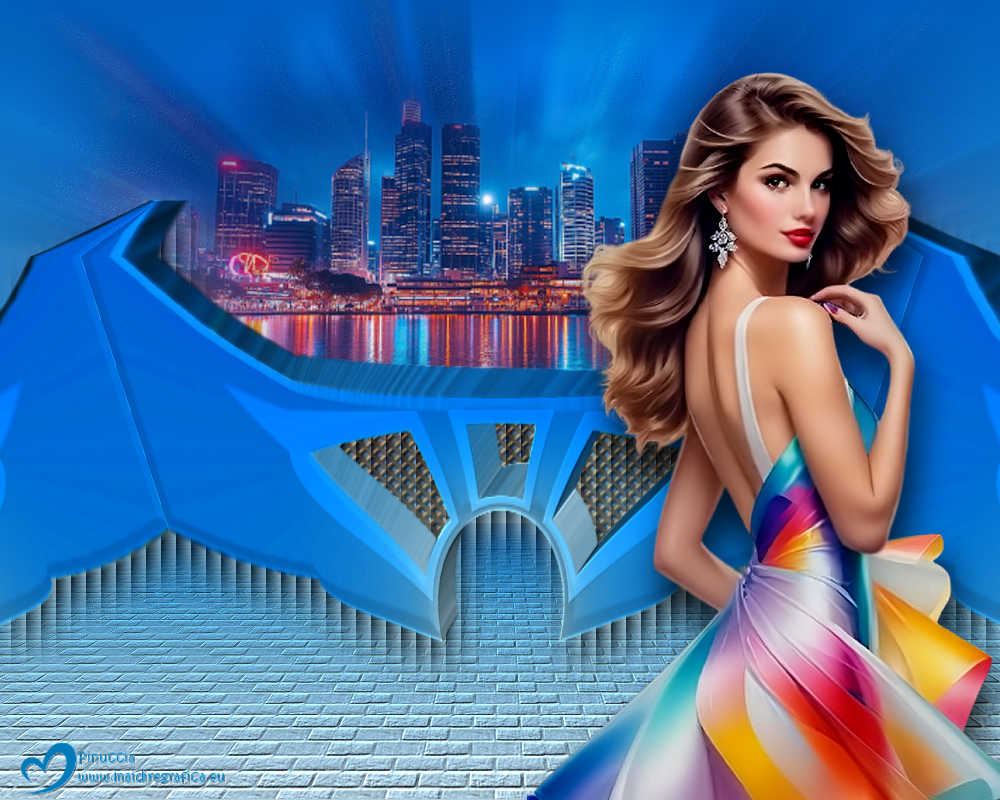
For the tube of this version thanks Luz Cristina; the misted is mine.


If you have problems or doubts, or you find a not worked link,
or only for tell me that you enjoyed this tutorial, write to me.
20 Mai 2025
|

