|
TOP MINEKO


Thanks Luz Cristina for your invitation to translate your tutorials into english

This tutorial was translated with PSPX9 but it can also be made using other versions of PSP.
Since version PSP X4, Image>Mirror was replaced with Image>Flip Horizontal,
and Image>Flip with Image>Flip Vertical, there are some variables.
In versions X5 and X6, the functions have been improved by making available the Objects menu.
In the latest version X7 command Image>Mirror and Image>Flip returned, but with new differences.
See my schedule here
 French Translation here French Translation here
 Your versions here Your versions here

For this tutorial, you will need:

For the tube thanks Tocha, Lori Rhae, Luz Cristina
(The links of the tubemakers here).

consult, if necessary, my filter section here
Filters Unlimited 2.0 here
Flaming Pear - Flexify 2 here
Flaming Pear - Flood here
Blur - Radial Blur ici

You can change Blend Modes according to your colors.
In the newest versions of PSP, you don't find the foreground/background gradient (Corel_06_029).
You can use the gradients of the older versions.
The Gradient of CorelX here

Copy the texture winni-texture-120 in the Textures Folder.
Copy the preset Emboss 3 in the Presets Folder.
Open the mask in PSP and minimize it with the rest of the material.
1. Open a new transparent image 1000 x 650 pixels.
2. Set your foreground color to #0c464e,
and your background color to #d2c98a.
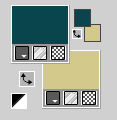
Set your foreground color to a Foreground/Background Gradient, style Linear.
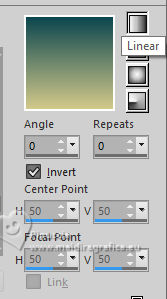
Flood Fill  the transparent image with your Gradient. the transparent image with your Gradient.
3. Selections>Select All.
Open the tube 3030-luzcristina 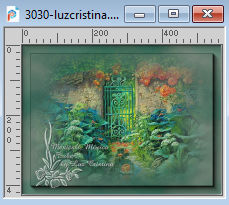
Edit>Copy.
Go back to your work and go to Edit>Paste into Selection.
Selections>Select None.
4. Effects>Plugins>Blur - Radial Blur.

5. Effects>User Defined Filter - select the preset Emboss 3 and ok.

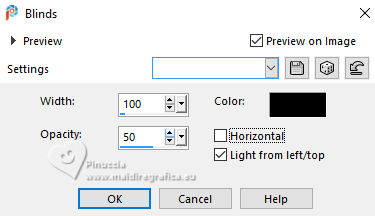
6. Effects>Texture Effects>Blinds
7. Effects>Plugins>Flaming Pear - Flexify 2.

8. Image>Mirror>Mirror Vertical (Image>Flip).
9. Selections>Select All.
Selections>Float.
Selections>Defloat.
Selections>Modify>Select Selection Borders.
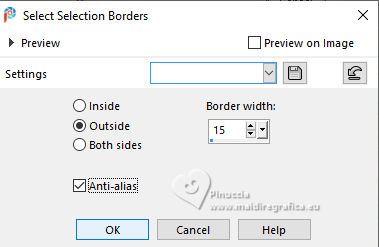
10. Flood Fill  the selection with your Gradient. the selection with your Gradient.
11. Adjust>Add/Remove Noise>Add Noise.
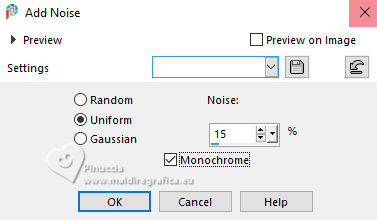
Effects>User Defined Filter - Emboss 3.
12. Effects>3D Effects>Chisel, background color.
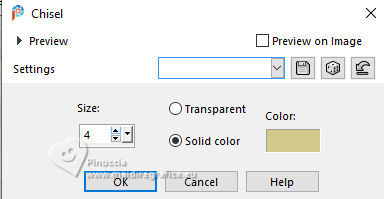
Selections>Select None.
13. Edit>Paste as new layer (the tube is still in memory).
Place  correctly the tube. correctly the tube.
Change the Blend Mode of this layer to Hard Light.
Layers>Merge>Merge visible.
14. Effects>3D Effects>Drop Shadow.

15. Layers>New Raster Layer.
Layers>Arrange>Send to Bottom.
Flood Fill  the layer with your gradient. the layer with your gradient.
16. Effects>Plugins>Filter Unlimited 2.0 - Render - Clouds(fore-/background color), default settings.

17. Close the layer Merged and stay on the layer Raster 1.
Open the tube 1911luzcristina 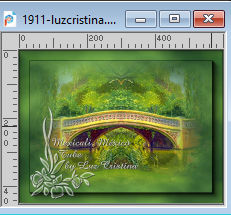
Edit>Copy.
Go back to your work and go to Edit>Paste as new layer.
18. Place  the tube to the left side. the tube to the left side.
Layers>Duplicate.
Image>Mirror>Mirror Horizontal.

19. Layers>Merge>Merge Down.
20. Effects>Plugins>Flaming Pear - Flood.

21. Layers>Merge>Merge Down.
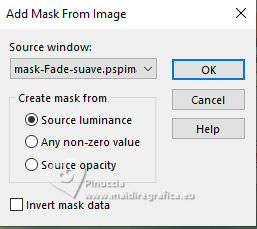
22. Layers>New Mask layer>From image
Open the menu under the source window and you'll see all the files open.
Select the mask mask-Fade-suave.
Layers>Merge>Merge Group.
Open the layer Merged.
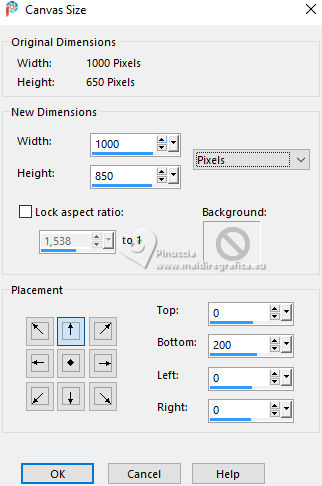
23. Image>Canvas Size - 1000 x 850 pixels.
24. Layers>New Raster Layer.
Layers>Arrange>Send to Bottom.
Flood Fill  the layer with your Gradient. the layer with your Gradient.
Selections>Select None.
Activate again the tube 3030-luzcristina and go to Edit>Copy.
Go back to your work and go to Edit>Paste into Selection.
Selections>Select None.
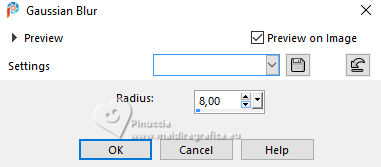
25. Adjust>Blur>Gaussian Blur - radius 8
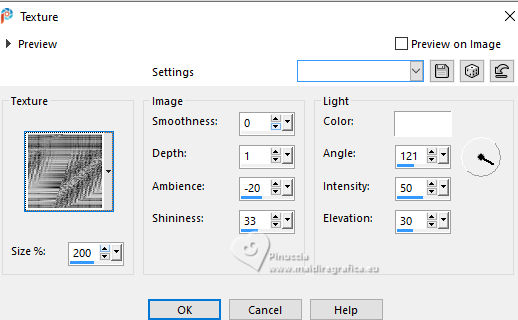
26. Effects>Texture Effects>Texture select the texture Winni-texture-120
27. Layers>New Mask layer>From image
Open the menu under the source window
and select again the mask mask-Fade-suave

Layers>Duplicate - to apply the mask 2 times
Layers>Merge>Merge Group.
28. Layers>New Raster Layer.
Layers>Arrange>Send to Bottom.
Flood Fill  the layer with your Gradient. the layer with your Gradient.
29. Activate the layer Group Raster 1 (the sky layer)
Activate your Hue Up/Down Brush Tool 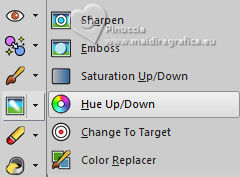
Tap the clouds with your mouse to color them as desired.
(Before applying the brush, place the chosen color for this step in the foreground).
Repeat the brush technique on the tube below the bow.

30. Ouvrir le tube Tocha23578 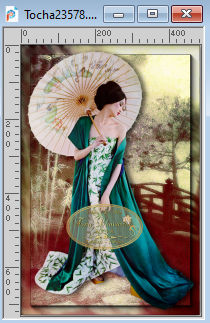
Edit>Copy.
Go back to your work and go to Edit>Paste as new layer.
Place  the tube to your liking. the tube to your liking.
Effects>3D Effects>Drop Shadow, at your choice.
31. Open the tube Red Berry Bonsay_LR-08-01-09 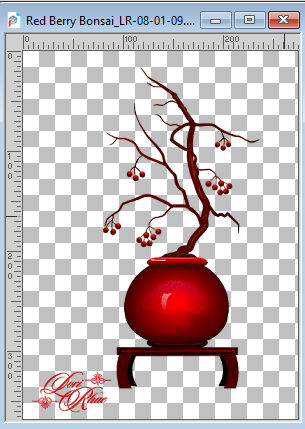
Edit>Copy.
Go back to your work and go to Edit>Paste as new layer.
Effects>3D Effects>Drop Shadow, at your choice.
32. Sign your work.
Layers>Merge>Merge All and save as jpg.
Version with my tubes from Pinterest images
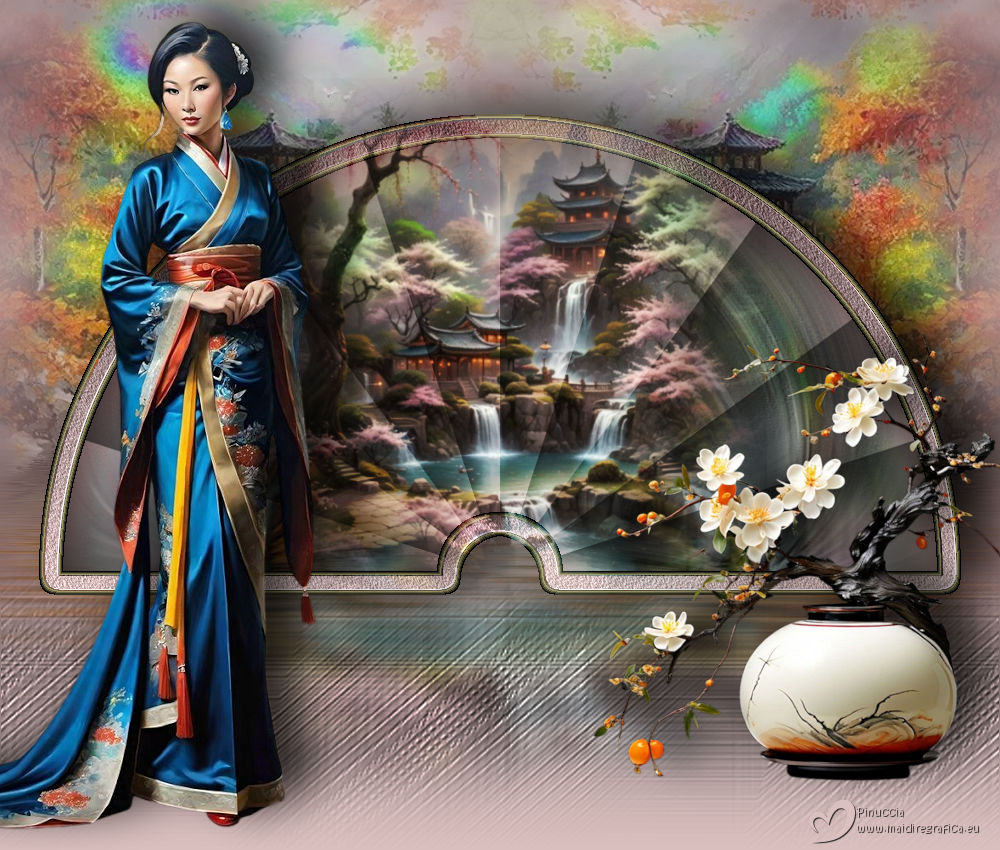


If you have problems or doubts, or you find a not worked link,
or only for tell me that you enjoyed this tutorial, write to me.
10 December 2025
|


