|
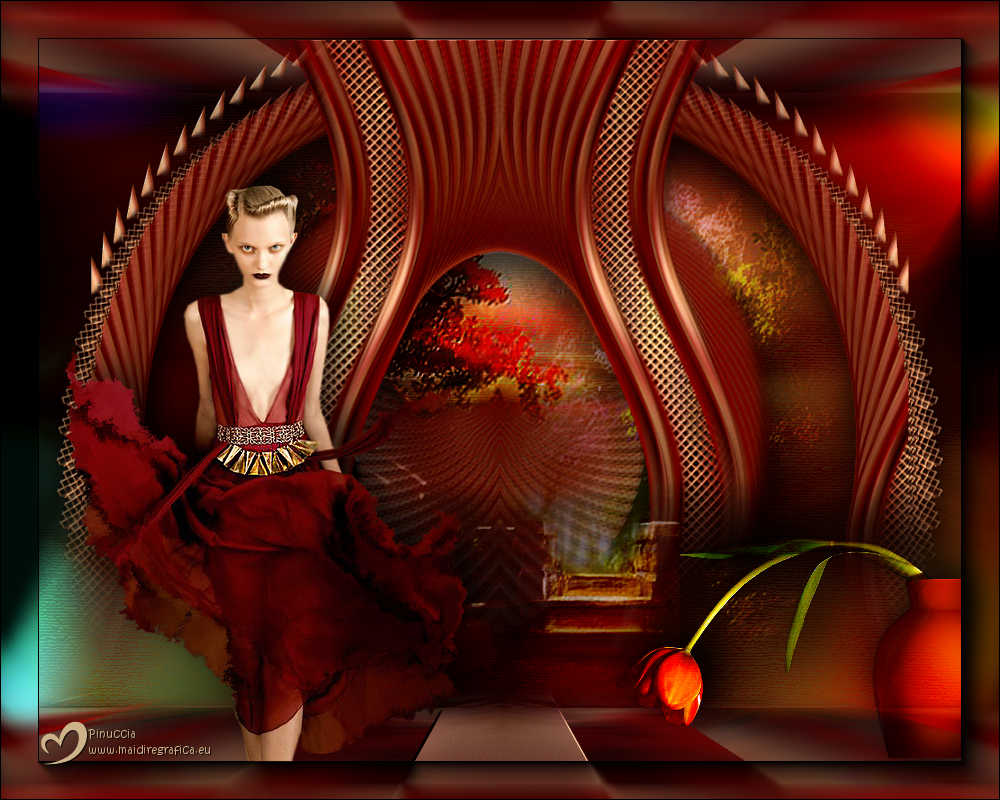
TOP SANDRITA SCOBEDO


Thanks Luz Cristina for your invitation to translate your tutorials into english

This tutorial, created with PSP9, was translated with PspX9, but it can also be made using other versions of PSP.
Since version PSP X4, Image>Mirror was replaced with Image>Flip Horizontal,
and Image>Flip with Image>Flip Vertical, there are some variables.
In versions X5 and X6, the functions have been improved by making available the Objects menu.
In the latest version X7 command Image>Mirror and Image>Flip returned, but with new differences.
See my schedule here
 French Translation here French Translation here
 Your versions here Your versions here

For this tutorial, you will need:

Deco tube by LoriRhae.
The rest of the material is by Luz Cristina .
(The links of the tubemakers here).

consult, if necessary, my filter section here
Filters Unlimited 2.0 here
VM Distortion - Tiles a GoGo here
Color Rave - Color Cocktail here
Mura's Meister - Perspective Tiling, Copies here
FM Tile Tools - Saturation Emboss here
AAA Frames - Foto Frame here
Artistiques - Pastels here
Filters Colorrave and VM Distortion used alone or imported into Filters Unlimited.
(How do, you see here)
If a plugin supplied appears with this icon  it must necessarily be imported into Unlimited it must necessarily be imported into Unlimited

You can change Blend Modes according to your colors.
In the newest versions of PSP, you don't find the foreground/background gradient (Corel_06_029).
You can use the gradients of the older versions.
The Gradient of CorelX here

Copy the preset Emboss 3 in the Presets Folder.
Open the mask in PSP and minimize it with the rest of the material.
1. Open a new transparent image 1000 x 800 pixels.
2. Set your foreground color to #450e0b,
and your background color to #ccb38a.
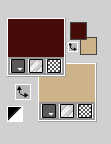
Set your foreground color to a Foreground/Background Gradient, style Rectangular.
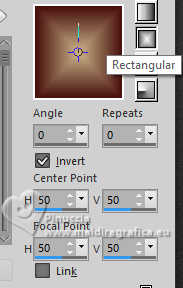
Flood Fill  the transparent image with your Gradient. the transparent image with your Gradient.
3. Layers>New Raster Layer.
Selections>Select All.
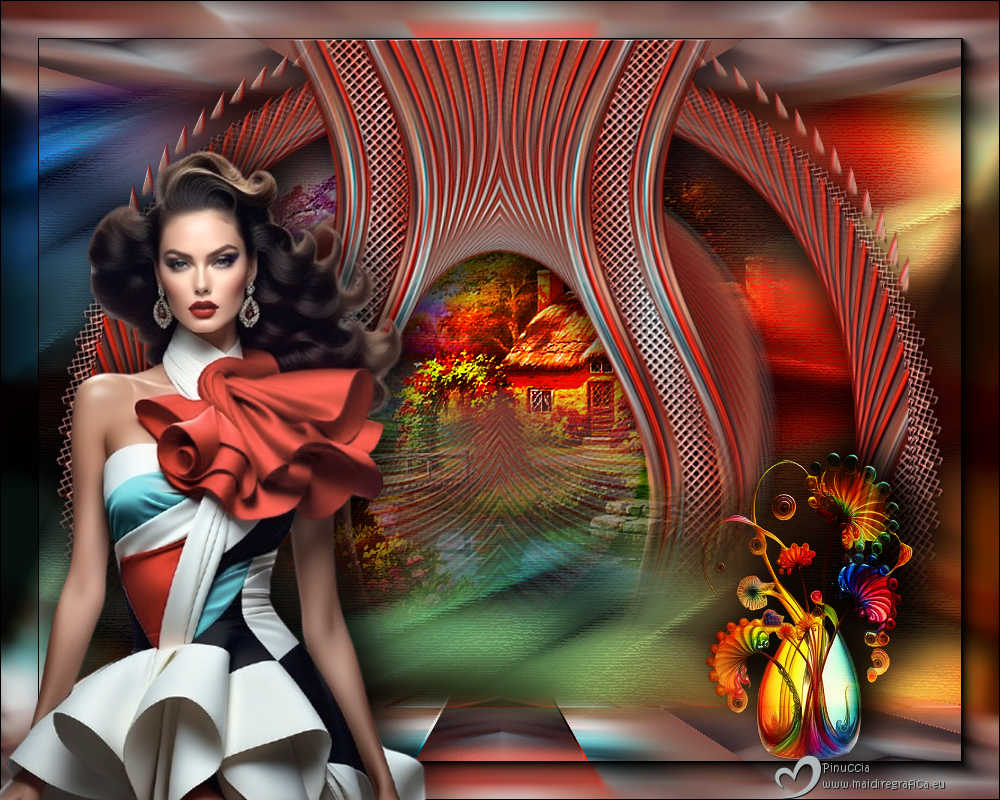
Open the woman's tube 3829-2-luzcristina 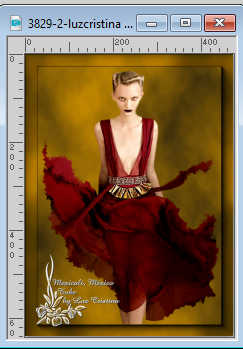
Edit>Copy.
Go back to your work and go to Edit>Paste into Selection.
Selections>Select None.
Effects>Image Effects>Seamless Tiling, default settings.

Layers>Merge>Merge visible.
4. Adjust>Blur>Radial Blur.
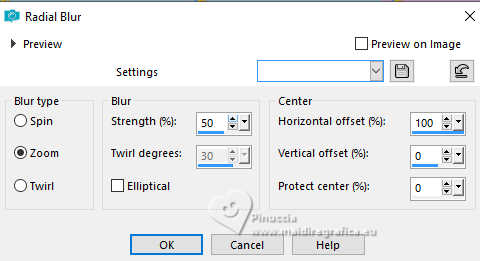
5. Effects>User defined filter - select the preset Emboss 3 and ok.

6. Layers>Duplicate.
7. Effects>Geometric Effects>Perspective horizontal.
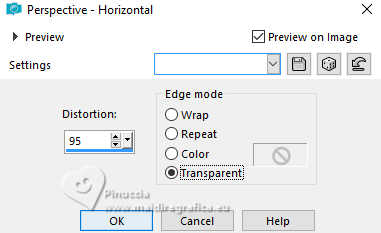
Image>Mirror>Mirror Horizontal.
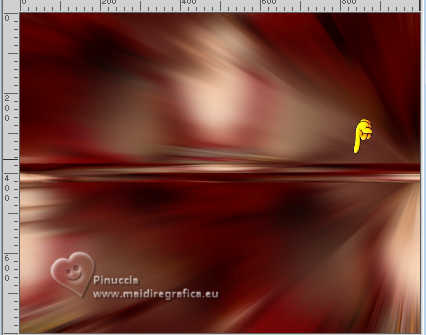
Repeat Effects>Geometric Effects>Perspective horizontal, same settings.
Result:
8. Layers>Duplicate.
9. Effects>Image Effects>Offset.
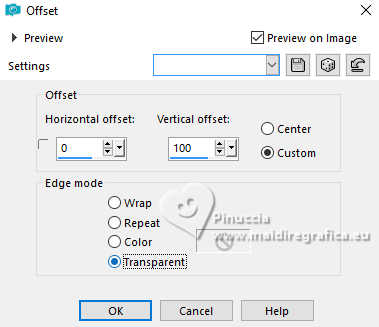
Layers>Merge>Merge Down.
10. Effects>Distortion Effects>Wave.
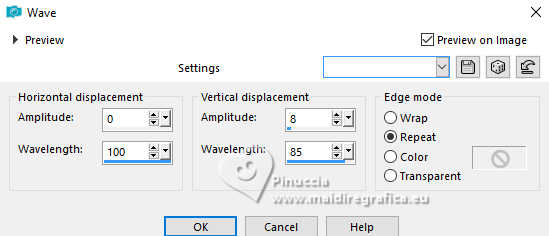
11. Activate your Magic Wand Tool  , tolerance 16 and feather 5, , tolerance 16 and feather 5,
and click in the center to select it
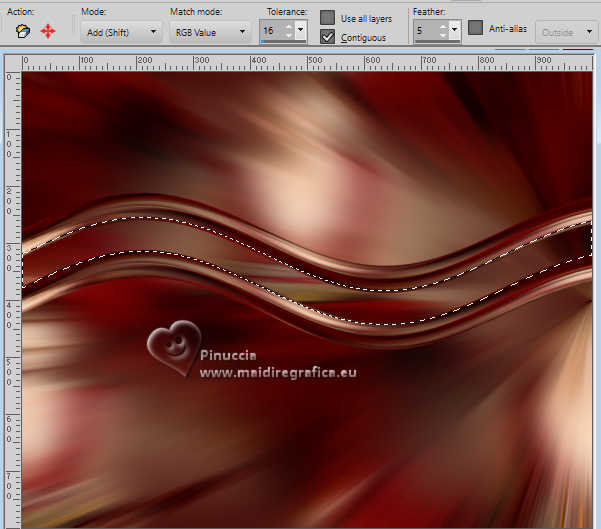
Layers>New Raster Layer.
Layers>Arrange>Move Down.
Flood Fill  with your Gradient. with your Gradient.
Reduce the opacity of this layer to 70%.
12. Effects>Artistiques>Halftone.
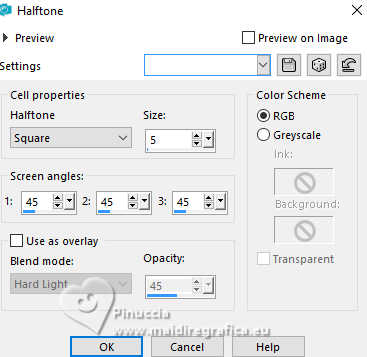
Selections>Select None.
13. Close your bottom layer
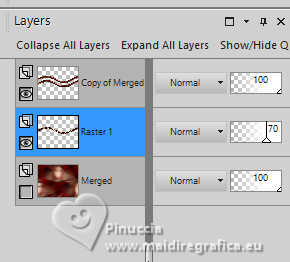
Layers>Merge>Merge visible.
Open the bottom layer and stay on the top layer.
14. Effects>Image Effects>Seamless Tiling, default settings.

15. Image>Resize, to 80%, resize all layers not checked.
16. Effects>Plugins>Mura's Meister - Copies.
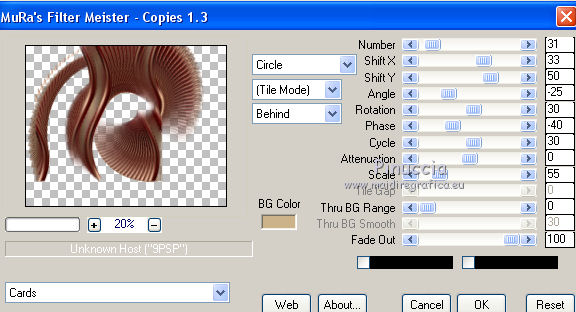
17. Effects>Reflection Effects>Rotating Mirror.

18. Apply a mask to degrade the image background,
for my example
Layers>New Mask layer>From image
Open the menu under the source window and you'll see all the files open.
Select the mask Marge_TopFade.
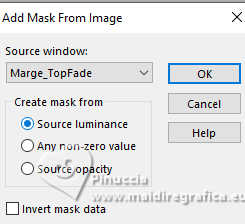
Layers>Duplicate (one or two times: if it is necessary to degrade better the background).
Layers>Merge>Merge Group.
19. Image>Resize, to 90%, resize all layers not checked.
20. Effects>Plugins>FM Tile Tools - Saturation Emboss, default settings.

21. Effests>3D Effects>Drop Shadow.
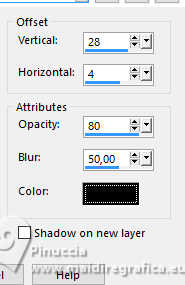
22. Activate your bottom layer, Merged.
Layers>Duplicate.
23. Effects>Plugins>VM Distortion - Tiles a GoGo
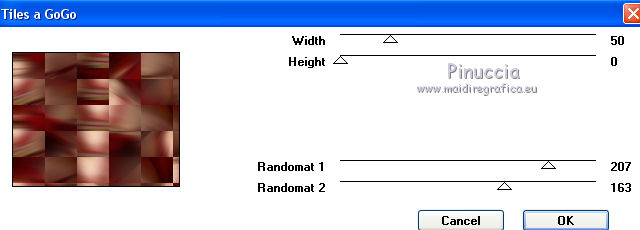
24. Effects>Reflection Effects>Rotating Mirror - same settings.
25. Effects>Plugins>Mura's Meister - Perspective Tiling.
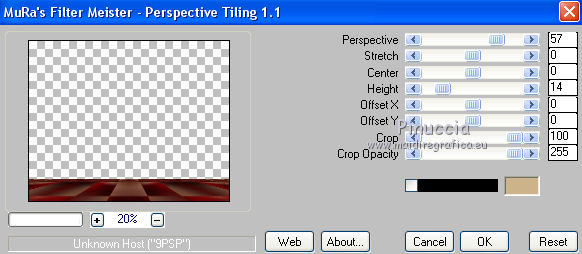
26. Activate your Magic Wand Tool  , tolerance 0 and feather 35, , tolerance 0 and feather 35,
and click in the transparent part to select it.
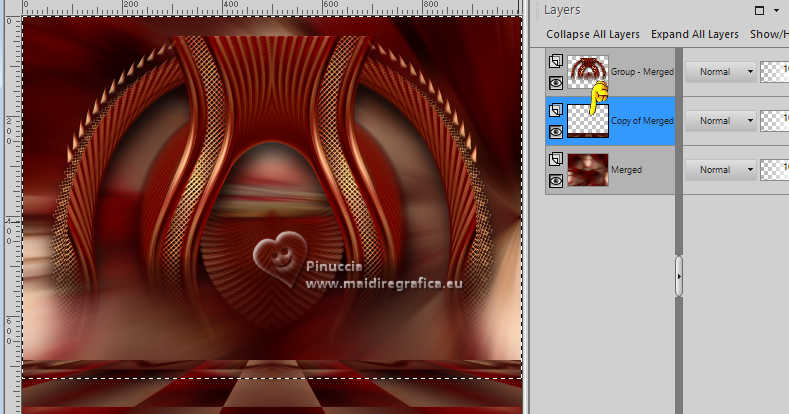
Press several times CANC on the keyboard to degrade the border.
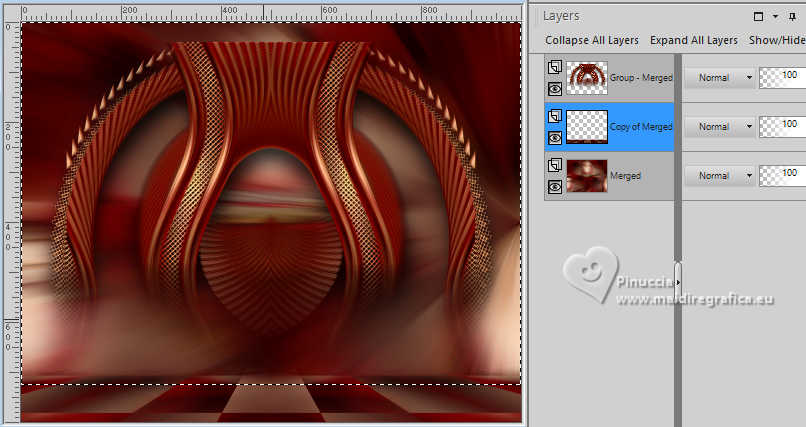
Selections>Select None.
27. Layers>Duplicate.
Image>Mirror>Mirror Vertical (Image>Flip).
28. Effects>3D Effects>Drop Shadow, same settings.
29. Activate the ground layer (Mura's effect)
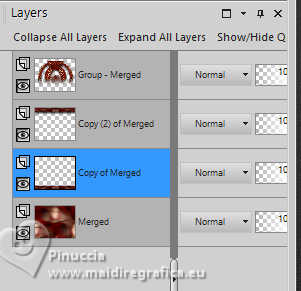
Effects>User Defined Filter - Emboss 3.
30. Activate again the bottom layer, Merged.
Effects>Image Effects>Seamless Tiling, default settings.

31. Effects>Plugins>FM Tile Tools - Saturation Emboss, default settings.
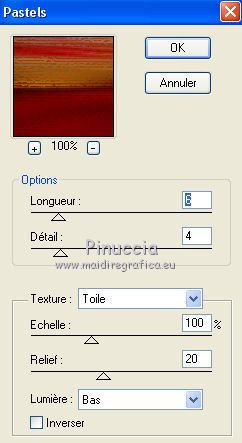
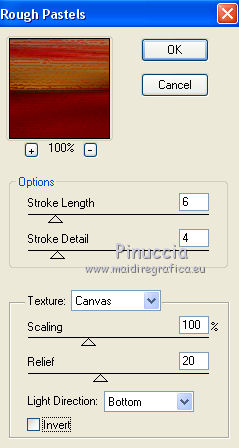
32. Effects>Plugins>Artistiques - Pastels
if you use the english version: Effects>Plugins>Artistics - Rough Pastel
33. Layers>New Raster Layer.
Layers>Arrange>Send to Bottom.
Flood Fill  the layer with your gradient. the layer with your gradient.
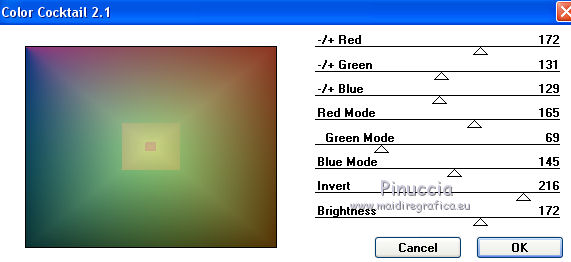
34. Effects>Plugins>Color Rave - Cocktail 2.1.
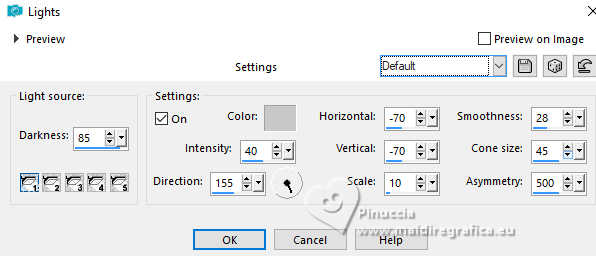
35. Effects>Illumination Effects>Lights, default settings.
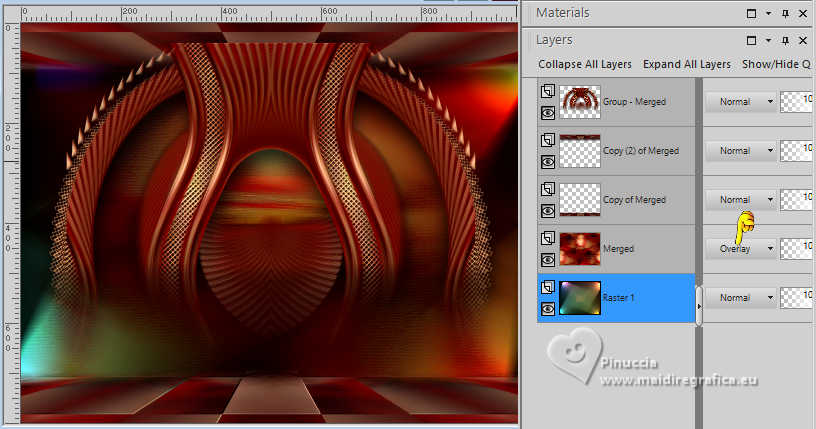
Change the Blend Mode of the Merged Layer to Overlay
36. Open the landscape tube 4155-luzcristina 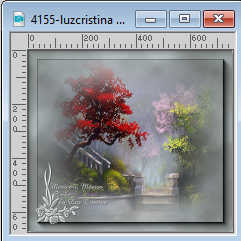
Edit>Copy.
Go back to your work and go to Edit>Paste as new layer.
Change the Blend Mode of this layer to Hard Light.
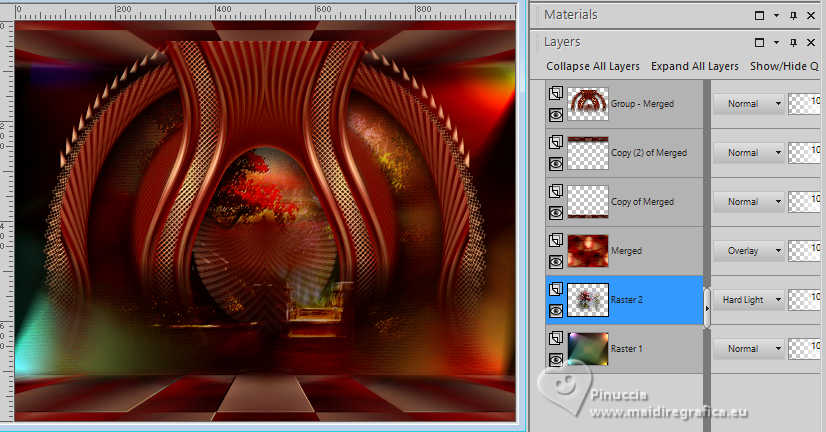
Layers>Merge>Merge visible.
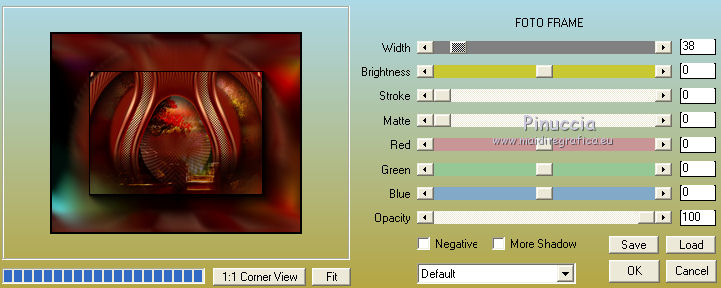
37. Effects>Plugins>AAA Frames - Foto Frame.
38. Activate again your woman's tube and go to Edit>Copy.
Go back to your work and go to Edit>Paste as new layer.
Move  the tube to the left side. the tube to the left side.
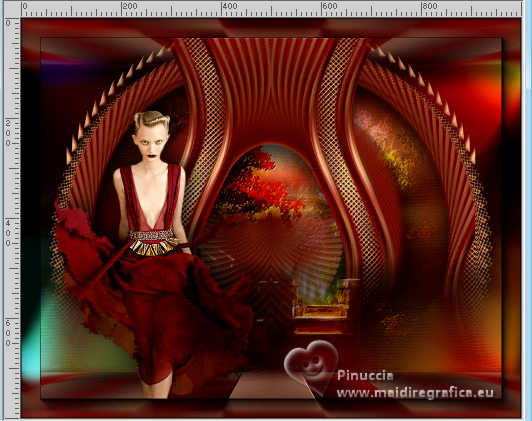
39. Effects>3D Effects>Drop Shadow.
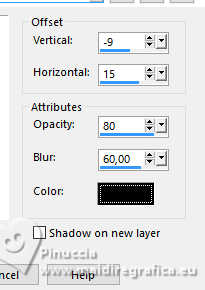
40. Open the deco tube Image5High Style_LR 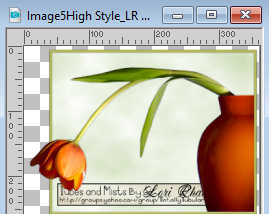
Edit>Copy.
Go back to your work and go to Edit>Paste as new layer.
Move  the tube to the right side. the tube to the right side.
Effects>3D Effects>Drop shadow, same settings.
Change the Blend Mode of this layer to Hard Light.
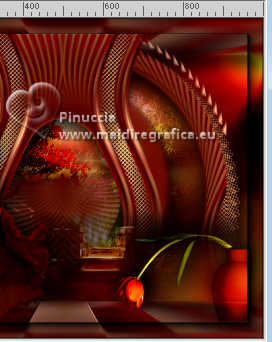
41. Sign your work.
Layers>Merge>Merge All and save as jpg.
Pour les tubes merci Luz Cristina
Vos versions ici

If you have problems or doubts, or you find a not worked link,
or only for tell me that you enjoyed this tutorial, write to me.
13 June 2025

|

