|
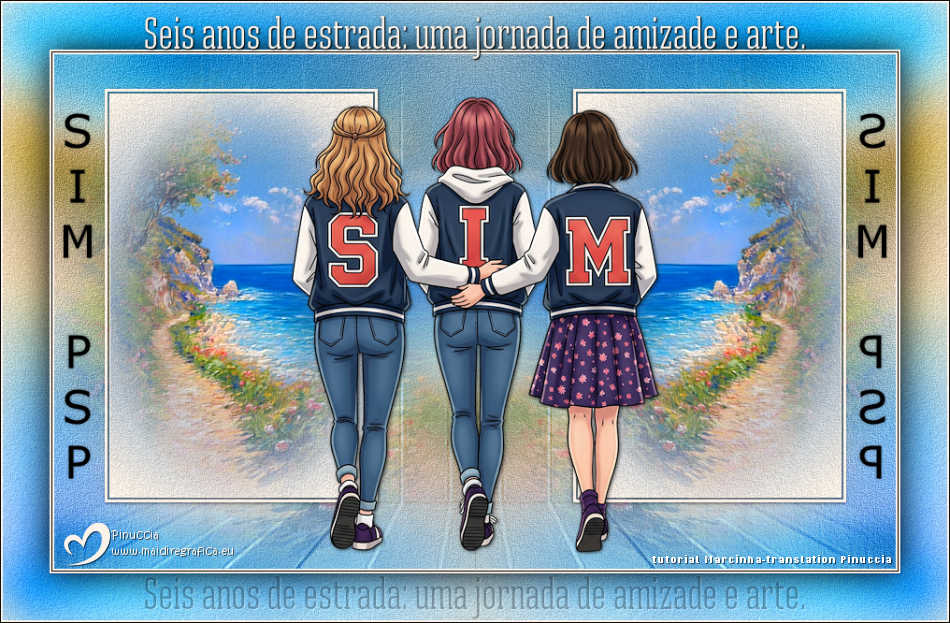
SIM PSP 6 AÑOS


Thanks SIM PSP Group for your invitation to translate your tutorials into english

This tutorial was written by Marcinha with Psp2020 and translated with Psp2020, but it can also be made using other versions of PSP.
Since version PSP X4, Image>Mirror was replaced with Image>Flip Horizontal,
and Image>Flip with Image>Flip Vertical, there are some variables.
In versions X5 and X6, the functions have been improved by making available the Objects menu.
In the latest version X7 command Image>Mirror and Image>Flip returned, but with new differences.
See my schedule here

|
Special Note
PSP SIM and its Tutorial Authors ask the public:
- Please, we request that we maintain the originality of the tutorial,
refraining from adding or including unsolicited effects;
- The use of other images is permitted and encouraged,
but please don't modify the content of the original tutorial;
- Please acknowledge and attribute the valuable credits to those who write tutorials,
make translation and create materials.
Carefully,
SIM PSP and Marcinha
|
For this tutorial, you will need:

For the tubes thanks PqnaAlice
(The links of the tubemakers here).
Plugins
consult, if necessary, my filter section here
AAA Filters - Custom here
FM Tile Tools - Saturation Emboss here

You can change Blend Modes according to your colors.
In the newest versions of PSP, you don't find the foreground/background gradient (Corel_06_029).
You can use the gradients of the older versions.
The Gradient of CorelX here

Copy the preset Emboss 3 in the Presets Folder.
Copy the selection in the Selections Folder.
Open the mask in PSP and minimize it with the rest of the material.
1. Choose two colors from you material.

Set your foreground color to #fbf3ea,
and your background color to #4c6d8e.
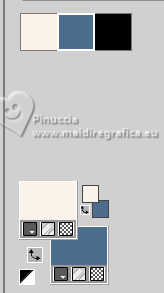
Color 3: #000000,
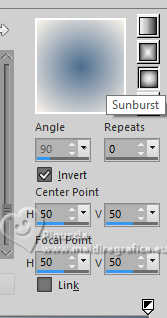
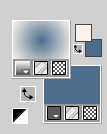
2. Set your foreground color to a Foreground/Background Gradient, style Sunburst.
3. Open a new transparent image 900 x 550 pixels.
Flood Fill  the transparent image with your Gradient. the transparent image with your Gradient.
Layers>New Raster Layer.
Selections>Select All.
4. Open the misted 197PaisagemByPqnaAlice 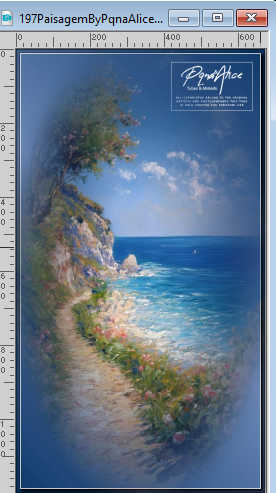
Edit>Copy.
Go back to your work and go to Edit>Paste Into Selection.
Selections>Select None.
5. Effects>Image Effects>Seamless Tiling, default settings.

6. Adjust>Blur>Gaussian Blur - radius 20

7. Layers>Merge>Merge Down.
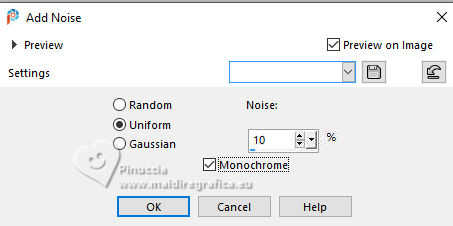
Adjust>Add/Remove Noise>Add Noise
8. Effects>Plugins>FM Tile Tools - Saturation Emboss

9. Layers>New Raster Layer.
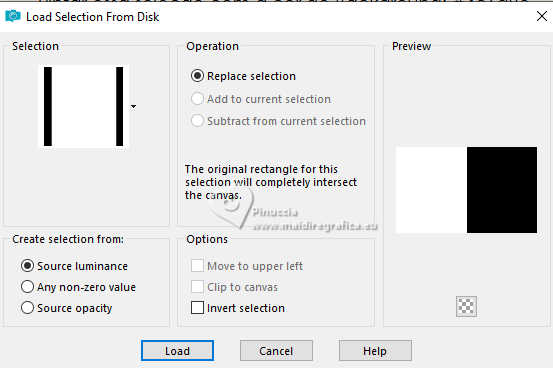
Selections>Load/Save Selection>Load Selection From Disk.
Look for and load the selection SIM6Anos_Sel1_byMarcinha
Flood Fill  the selection with your background color #4c6d8e. the selection with your background color #4c6d8e.
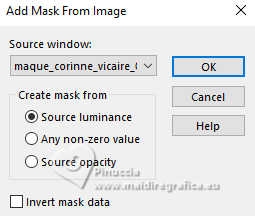
10. Layers>New Mask layer>From image
Open the menu under the source window and you'll see all the files open.
Select the mask maque_corinne_vicaire_003_2017
Layers>Merge>Merge Group.
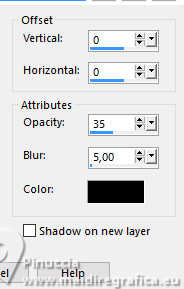
Effects>3D Effects>Drop Shadow, color #000000 (black)
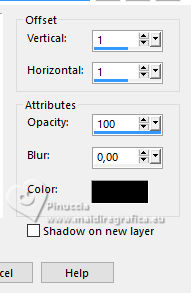
11. Layers>Properties>General>Blend Mode: Screen - Opacity: 100%
Layers>Duplicate.
Layers Merge>Merge Down.
12. Effects>User Defined Filter - Emboss 3

Edit>Repeat User Defined Filter
Layers>Merge>Visible.
Selections>Select None.
13. Effects>Reflection Effects>Rotating Mirror.

14. Effects>Plugins>AAA Filters - Custom - Landscape
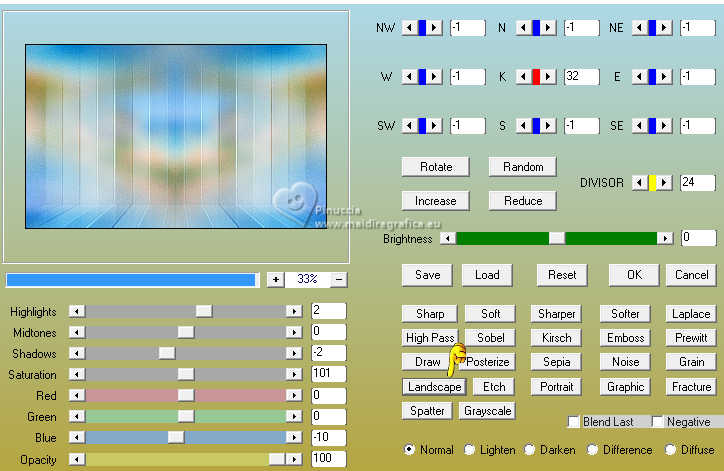
15. Open quadro_decor 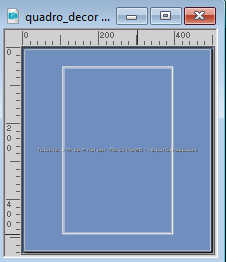
Edit>Copy.
Go back to your work and go to Edit>Paste as New Layer.
Pick Tool 
Position X: 54,00 - Position Y: 37,00.

Colorize if necessary.
16. Activate your Magic Wand Tool  , tolerance and feather 0, , tolerance and feather 0,
click in the frame to select it.
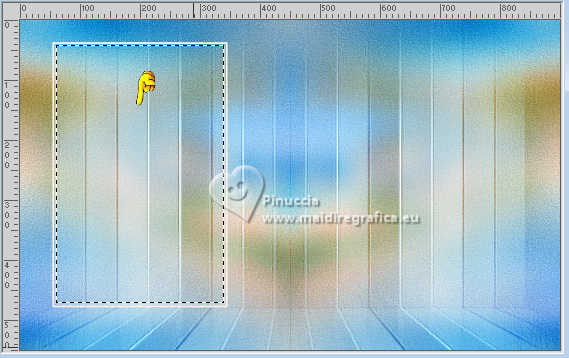
17. Layers>New Raster Layer.
Flood Fill  with your Sunburst Gradient. with your Sunburst Gradient.

18. Adjust>Add/Remove Noise>Add Noise

19. Activate again your misted 197PaisagemByPqnaAlice and go to Edit>Copy.
Go back to your work and go to Edit>Paste Into Selection.
20. Effects>Plugins>FM Tile Tools - Saturation Emboss

Selections>Select None.
Layers>Move>Move Down.
21. Activate the layer Raster 1.
Layers>Merge>Merge Down.
Effects>3D Effects>Drop Shadow, color black #000000.
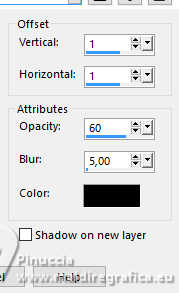
22. Effects>Reflection Effects>Rotating Mirror

We have this
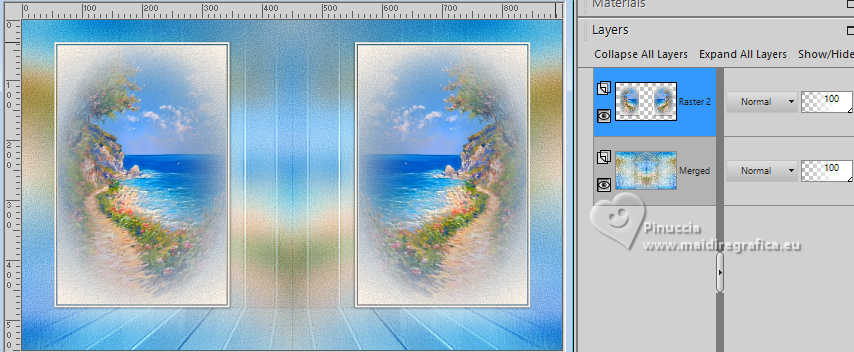
23. Activate the layer Merged.
Layers>New Raster Layer.
Selections>Load/Save Selections>Load Selection From Disk.
Load again the selection SIM6Anos_Sel1_byMarcinha

24. Edit>Paste into Selection - your misted is still in memory.
25. Effects>Plugins>FM Tile Tools - Saturation Emboss

26. Selections>Select None.
Effects>Reflection Effects>Rotating Mirror

27. Layers>Properties>General>Opacity: 70%
We have this
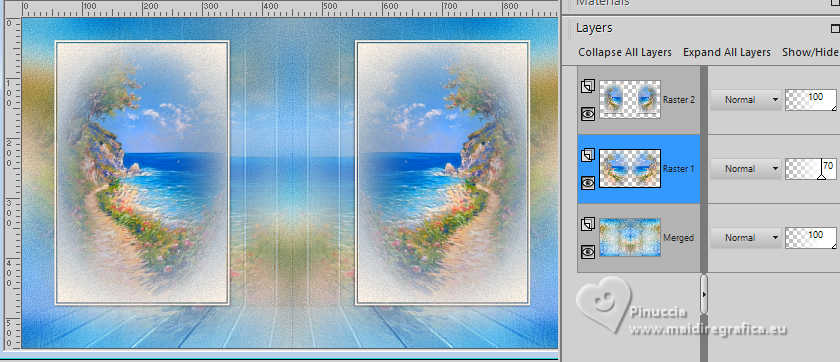
28. Image>Add Borders - 2 pixels, symmetric, foreground color.
Image>Add Borders - 1 pixel, symmetric, extra color #000000.
Image>Add Borders - 2 pixels, symmetric, foreground color.
29. Edit>Copy.
Selections>Select All.
Image>Add Borders - 50 pixels, symmetric, whatever color.
Selections>Invert.
Edit>Paste Into Selection.
30. Adjust>Blur>Gaussian Blur - radius 20

31. Adjust>Add/Remove Noise>Add Noise

32. Effects>Plugins>FM Tile Tools - Saturation Emboss

33. Selections>Invert.
Effects>3D Effects>Drop Shadow, color black #000000.

Selections>Select None.
34. Open texto1_byMarcinha 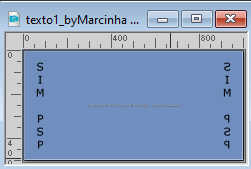
Edit>Copy.
Go back to your work and go to Edit>Paste as New Layer.
Pick Tool 
Position X: 65,00 - Position Y: 118,00

Effects>3D Effects>Drop Shadow, color black #000000.
35. Open texto2_byMarcinha 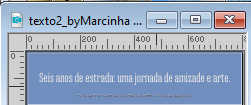
Edit>Copy.
Go back to your work and go to Edit>Paste as New Layer.
Pick Tool 
Position X: 152,00 - Position Y: 14,00

Effects>3D Effects>Drop Shadow, color black #000000.
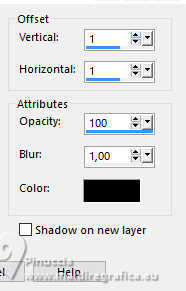
36. Effects>3D Effects>Drop Shadow, color black #000000.

37. Layers>Duplicate.
Pick Tool 
Position X: 148,00 - Position Y: 609,00

Image>Negative Image.
Layers>Properties>General>Opacity: 30%
38. Open the tube 01_AmigasSimPsp_byPqnaAlice25 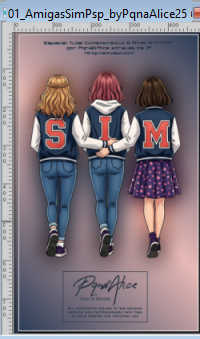
Edit>Copy.
Go back to your work and go to Edit>Paste as New Layer.
Pick Tool 
Position X: 308,00 - Position Y: 100,00

Effects>3D Effects>Drop Shadow, color black #000000.

39. Image>Add Borders, 2 pixels, symmetric, foreground color.
Image>Add Borders, 1 pixel, symmetric, extra color #000000.
40. Sign your work and save as jpg.
For the misted thanks PqnaAlice
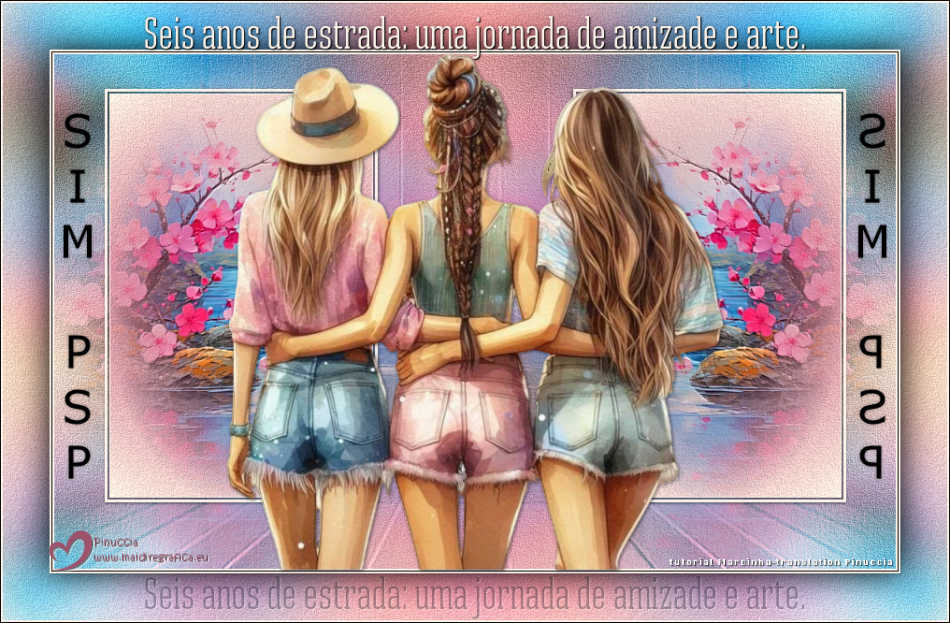

 Your versions. Thanks Your versions. Thanks
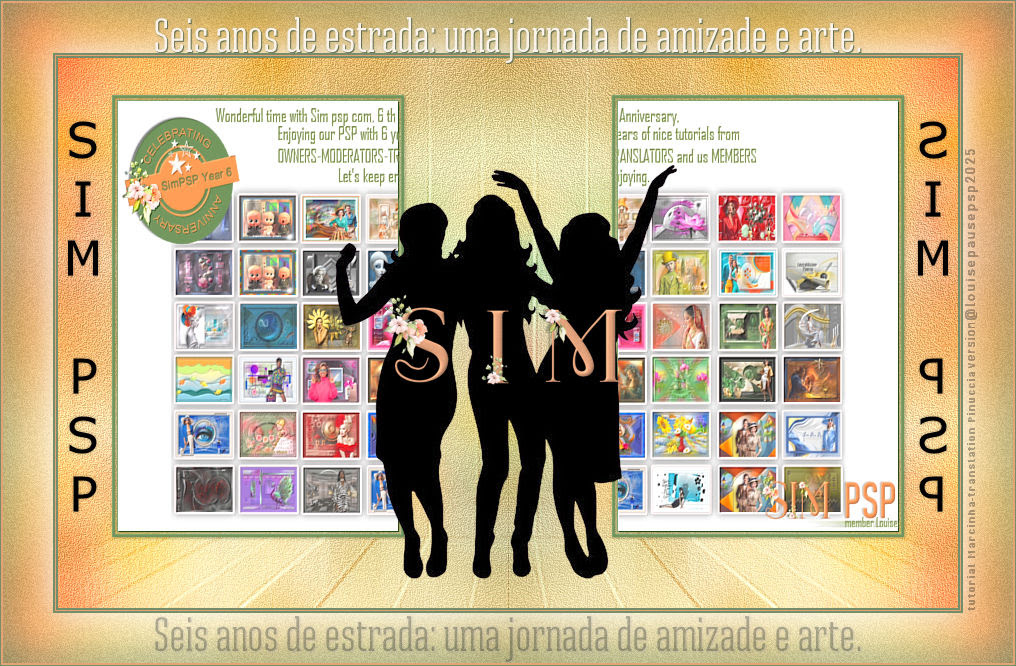
Louise
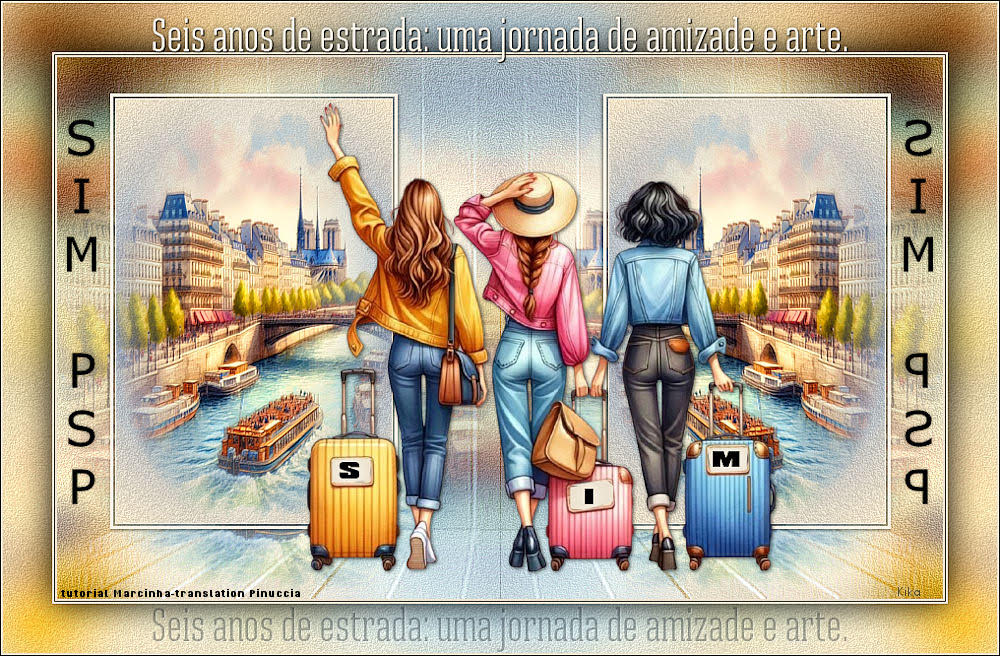
Kika
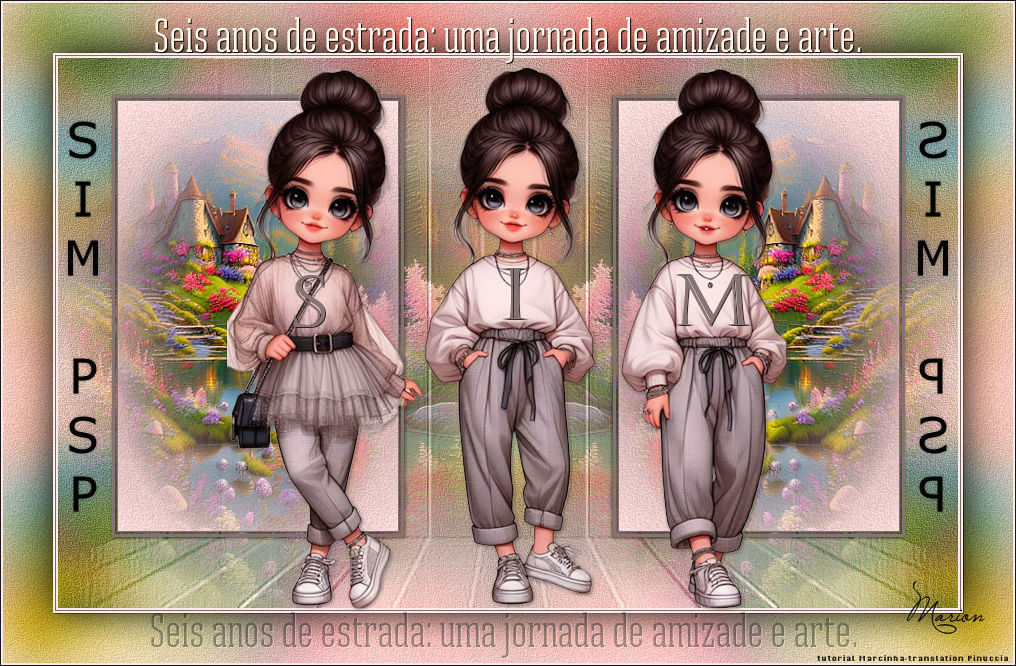
Marion

If you have problems or doubts, or you find a not worked link, or only for tell me that you enjoyed this tutorial, write to me.
25 June 2024

|

