|
BE MY VALENTINE


Thanks SIM PSP Group for your invitation to translate your tutorials into english

This tutorial was written with Psp2020 and translated with PspX9, but it can also be made using other versions of PSP.
Since version PSP X4, Image>Mirror was replaced with Image>Flip Horizontal,
and Image>Flip with Image>Flip Vertical, there are some variables.
In versions X5 and X6, the functions have been improved by making available the Objects menu.
In the latest version X7 command Image>Mirror and Image>Flip returned, but with new differences.
See my schedule here
For this tutorial, you will need:

For the tubes thanks Adrienne.
(The links of the tubemakers here).
Plugins
consult, if necessary, my filter section here
Flaming Pear - TransTone, TransLine here
FM Tile Tools - Blend Emboss here
Alien Skin Eye Candy 5 Impact - Perspective Shadow here
Mura's Meister - Perspective Tiling here

You can change Blend Modes according to your colors.
In the newest versions of PSP, you don't find the foreground/background gradient (Corel_06_029).
You can use the gradients of the older versions.
The Gradient of CorelX here

Copy the selections in the Selections Folder.
Open the mask in PSP and minimize it with the rest of the material.
1. Choose 3 colors from your material.
For me

Set your foreground color to #c15474,
and your background color to #f4d2da.
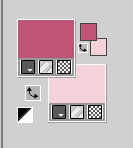
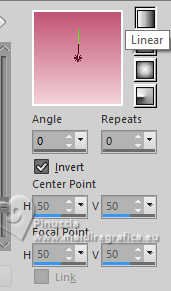
Set your foreground color to a Foreground/Background Gradient, style Linear.
2. Open a new transparent image 900 x 550 pixels.
Selections>Select All.
Flood fill  the layer with your Gradient. the layer with your Gradient.
3. Open the misted misted_Sweet Valentine Paper(11) 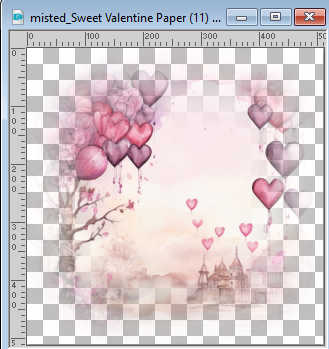
Edit>Copy.
Go back to your work and go to Edit>Paste Into Selection.
Selections>Select None.
4. Effects>Image Effects>Seamless Tiling, default settings.

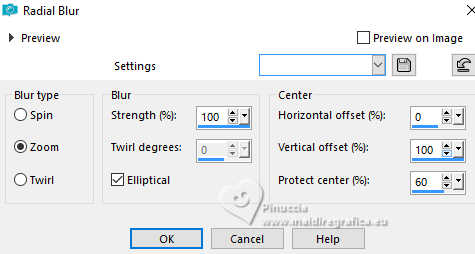
5. Adjust>Blur>Radial Blur.
6. Layers>Duplicate.
Image>Mirror>Mirror Vertical (Image>Flip).
Reduce the opacity of this layer to 50%.
Layers>Merge>Merge Down.
Adjust>Sharpness>Sharpen.
7. Effects>Reflection Effects>Rotating Mirror, default settings.

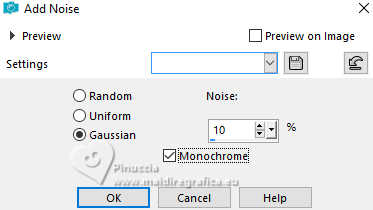
8. Adjust>Add/Remove Noise>Add Noise.
9. Effects>Plugins>FM Tile Tools - Blend Emboss, default settings.

10. Edit>Paste as new layer (your misted is still in memory).
Layers>Duplicate - 2 times.
11. Activate the layer Raster 2
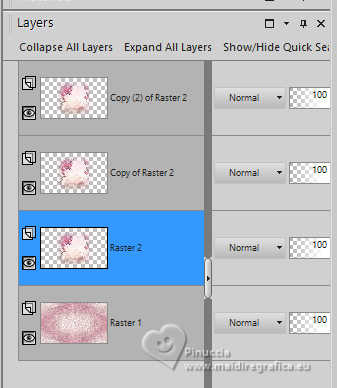
Effects>Image Effects>Seamless Tiling, default settings.

Effects>Plugins>Flaming Pear - TransTone.
Edit>Repeat TransTone.
this filter works without window
Change the Blend Mode of this layer to Luminance.
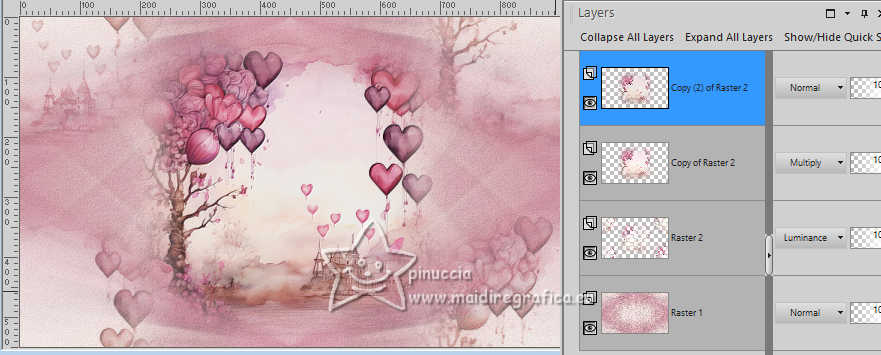
12. Activate the layer above, Copy of Raster 2.
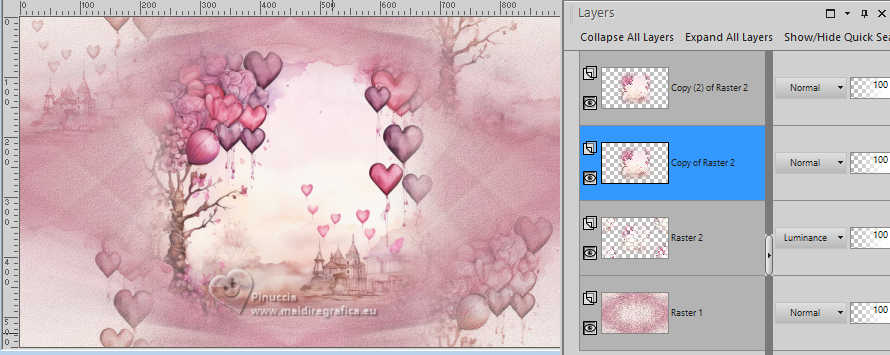
Change the Blend Mode of this layer to Multiply.
13. Activate the top layer Copy (2) of Raster 2.
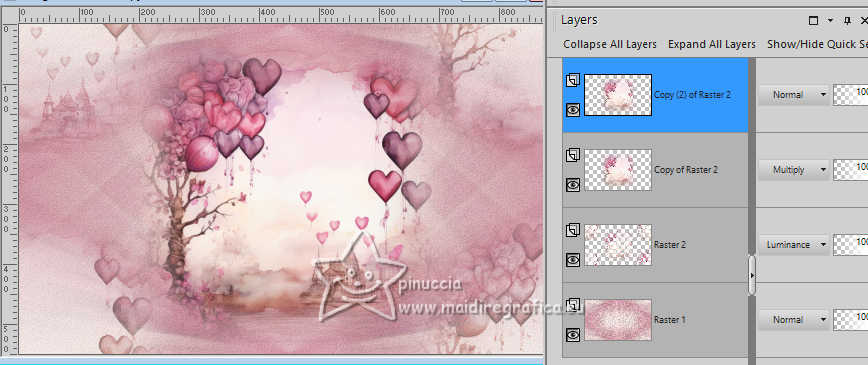
Effects>Plugins>FM Tile Tools - Blend Emboss, default settings.

14. We have this
15. Image>Add borders, 2 pixels, symmetric, color 3 #5c3040.
Image>Add borders, 2 pixels, symmetric, color 2 #f4d2da.
Image>Add borders, 2 pixels, symmetric, color 3 #5c3040.
16. Selections>Select All.
17. Image>Add borders, 20 pixels, symmetric, color 1 #c15474.
Selections>Invert.
18. Adjust>Add/Remove Noise>Add Noise, same settings

19. Effects>Plugins>FM Tile Tools - Blend Emboss, default settings.

20. Selections>Select None.
21. Image>Add borders, 2 pixels, symmetric, color 3 #5c3040.
Image>Add borders, 2 pixels, symmetric, color 2 #f4d2da.
Image>Add borders, 2 pixels, symmetric, color 3 #5c3040.
22. Layers>Duplicate.
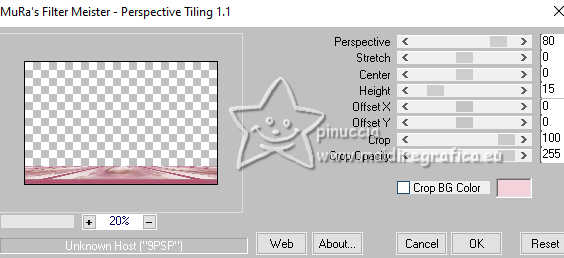
Effects>Plugins>Mura's Meister - Perspective Tiling.
23. Adjust>Blur>Blur more.
Effects>Reflection Effects>Rotating Mirror - default settings.

24. Effects>Plugins>Flaming Pear - TransLine
also this Flaming Pear's effect works without window
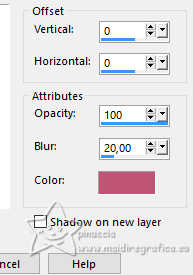
Effects>3D Effects>Drop Shadow, color 1 #c15474.
25. Effects>Plugins>FM Tile Tools - Blend Emboss, default settings.

26. Selections>Load/Save Selection>Load Selection from Disk.
Look for and load the selection BeMyValentine1
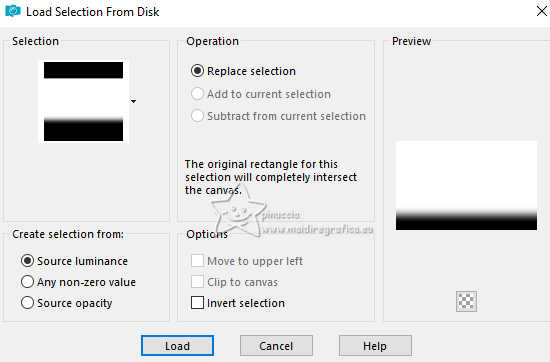
Press 10 times CANC on the keyboard 
Selections>Select None.
27. Selections>Load/Save Selection>Load Selection from Disk.
Look for and load the selection BeMyValentine2
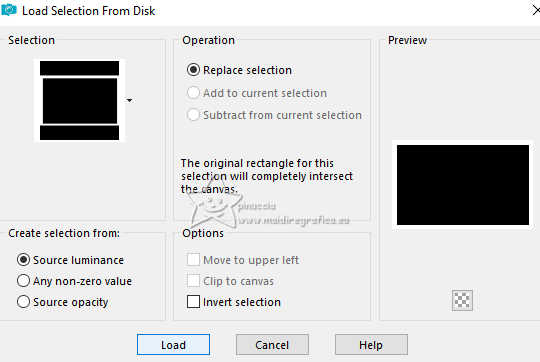
Press 1 time CANC on the keyboard.
Selections>Select None.
28. Activate your main tube 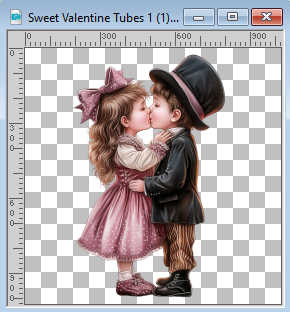
Stay on this tube:
Layers>New Mask layer>From image
Open the menu under the source window and you'll see all the files open.
Select the mask
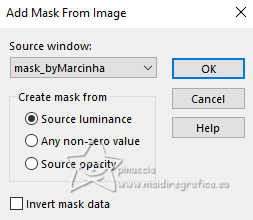
Layers>Merge>Merge Group.
Edit>Copy, and minimize the tube.
Go back to your work and go to Edit>Paste as new layer.
Image>Resize, to 45%, resize all layers not checked.
Adjust>Sharpness>Sharpen More.
Reduce the opacity of this layer to 15%
Note: adapt this opacity according to your tube; for my second version I did 35%
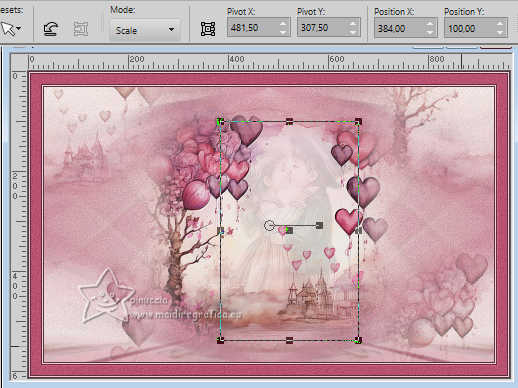
K key to activate your Pick Tool 
and set Position X: 384,00 and Position Y: 100,00.
(or place  the tube in the center) the tube in the center)
28. Activate again your main tube.
Edit>Undo Merge Groupe
Edit>Undo Mask.
Edit>Copy.
Go back to your work and go to Edit>Paste as new layer.
Image>Resize, to 57%, resize all layers not checked.
Adjust>Sharpness>Sharpen.
Move  the tube to the left side. the tube to the left side.
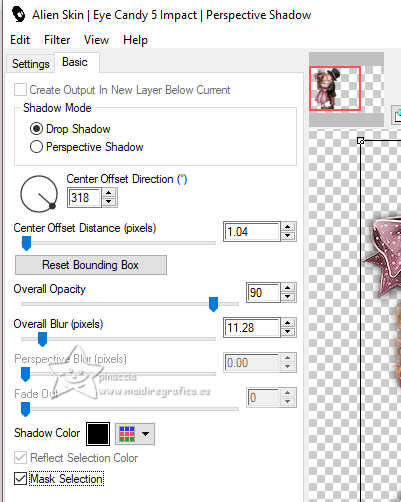
Effects>Plugins>Alien Skin Eye Candy 5 Impact - Perspective Shadow.
29. Open WordArtValentine_by Adrienne 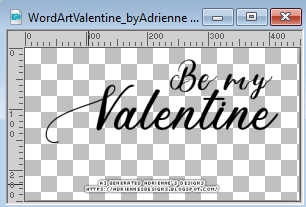
Erase the watermark and go to Edit>Copy.
Go back to your work and go to Edit>Paste as new layer.
Move  the tube to the right side. the tube to the right side.
Effects>3D Effects>Drop Shadow, color 1 #c15474.
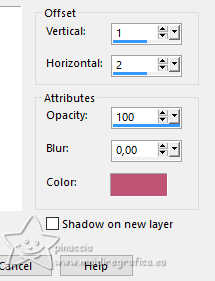
Layers>Merge>Merge visible.
30. Image>Resize, if you want.
Sign your work on a new layer.
Layers>Merge>Merge All and save as jpg.
For the tubes of this version thanks AigenbyCaz.


 Your versions. Thanks Your versions. Thanks

Castorke

Marisella

Nelly

If you have problems or doubts, or you find a not worked link, or only for tell me that you enjoyed this tutorial, write to me.
9 February 2024

|


