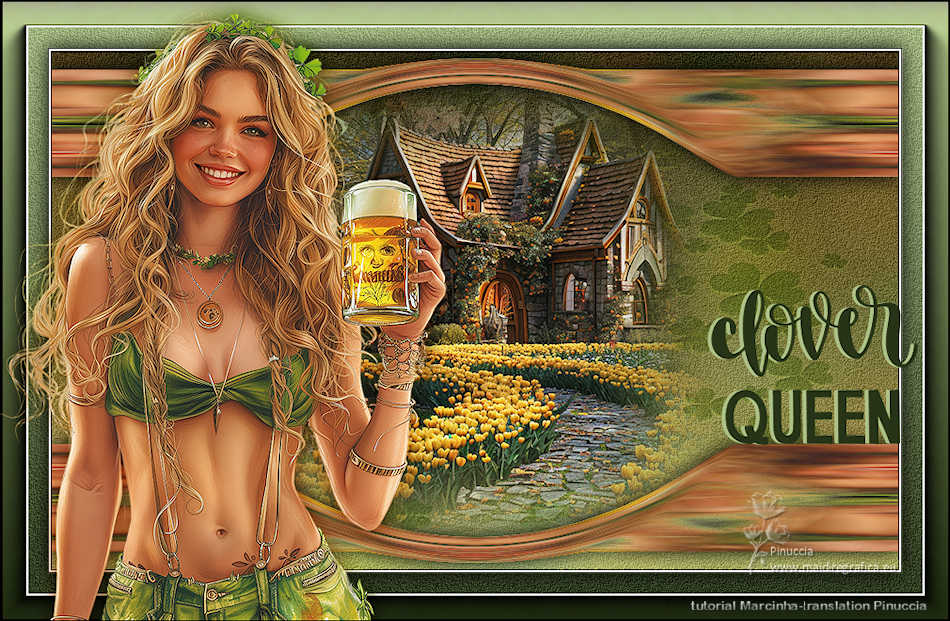
|
CLOVER QUEEN


Thanks SIM PSP Group for your invitation to translate your tutorials into english

This tutorial was written with Psp2020 and translated with PspX9, but it can also be made using other versions of PSP.
Since version PSP X4, Image>Mirror was replaced with Image>Flip Horizontal,
and Image>Flip with Image>Flip Vertical, there are some variables.
In versions X5 and X6, the functions have been improved by making available the Objects menu.
In the latest version X7 command Image>Mirror and Image>Flip returned, but with new differences.
See my schedule here
For this tutorial, you will need:

For the material thanks for the tubes Adrienne, for the mask Pammers and for the wordart HiClipart.
(The links of the tubemakers here).
Plugins
consult, if necessary, my filter section here
FM Tile Tools - Blend Emboss, Saturation Emboss here
AAA Frames - Foto Frame here

You can change Blend Modes according to your colors.
In the newest versions of PSP, you don't find the foreground/background gradient (Corel_06_029).
You can use the gradients of the older versions.
The Gradient of CorelX here

Copy the selection in the Selections Folder.
Open the mask in PSP and minimize it with the rest of the material.
1. Choose 2 colors from your tube.
Extra colors: white and black.
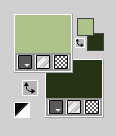
Set your foreground color to #adc288,
and your background color to #273417.
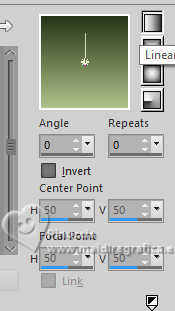
Set your foreground color to a Foreground/Background Gradient, style Linear.
2. Open a new transparent image 900 x 550 pixels.
Flood Fill  the transparent image with your Gradient. the transparent image with your Gradient.
Layers>New Raster Layer.
Selections>Select All.
3. Open the tube Irish At Heart Tubes 2(1) 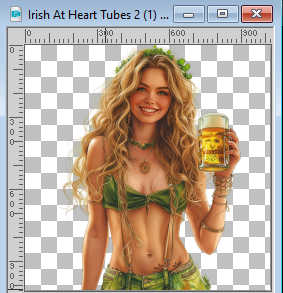
Edit>Copy.
Go back to your work and go to Edit>Paste Into Selection.
Selections>Select None.
4. Effects>Image Effects>Seamless Tiling, default settings.

5. Layers>Duplicate.
Close this layer (Copy of Raster 2).
Activate the layer Raster 2.
6. Adjust>Blur>Gaussian Blur - radius 30.

Change the Blend Mode of this layer to Soft Light.
Layers>Merge>Merge Down.
7. Adjust>Add/Remove Noise>Add Noise.
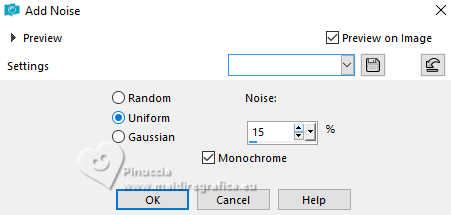
8. Effects>Plugins>FM Tile Tools - Blend Emboss, default settings.

9. Open and activate the layer Copy of Raster 2.
10. Effects>Geometric Effects>Perspective horizontal.
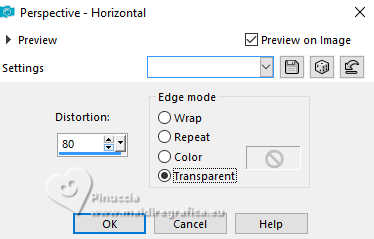
Image>Mirror>Mirror Horizontal.
Repeat Effects>Geometric Effects>Perspective horizontal, same settings.
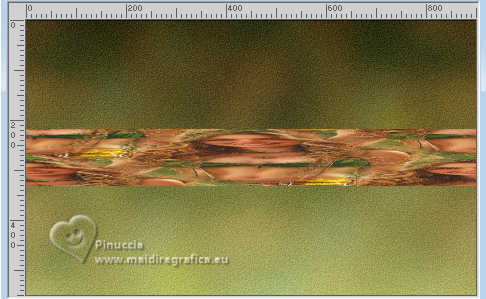
11. Effects>Reflection Effects>Rotating Mirror, default settings.

12. Effects>Distortion Effects>Wind - from right, strength 100
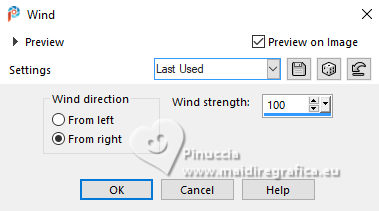
13. Effects>Distortion Effects>Warp.
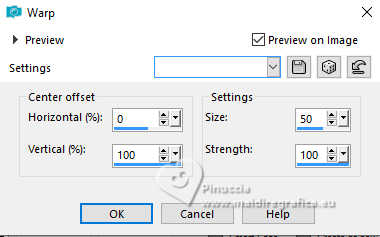
14. Effects>Reflection Effects>Rotating Mirror, default settings.

15. K key to activate your Pick Tool 
Position X: 0,00 and Position Y: 7,00.
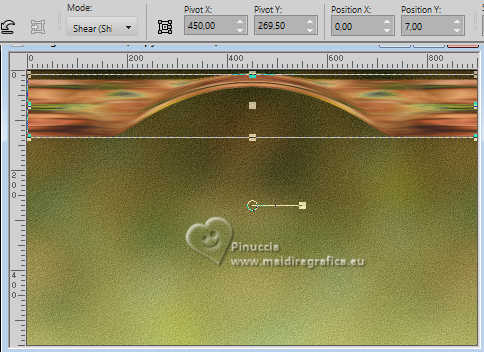
Layers>Duplicate.
Image>Mirror>Mirror Vertical.
Layers>Merge>Merge Down.
16. Open tIrish Kisses Paper (16)_misted 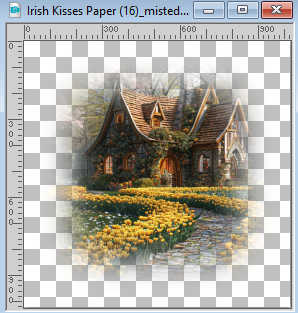
Edit>Copy.
Go back to your work and go to Edit>Paste as new layer.
Image>Resize, to 60%, resize all layers not checked.
Adjust>Sharpness>Sharpen.
Layers>Arrange>Move Down.
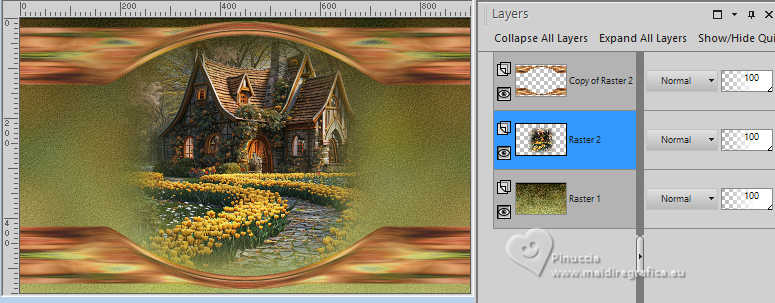
17. Activate the layer below, Raster 1.
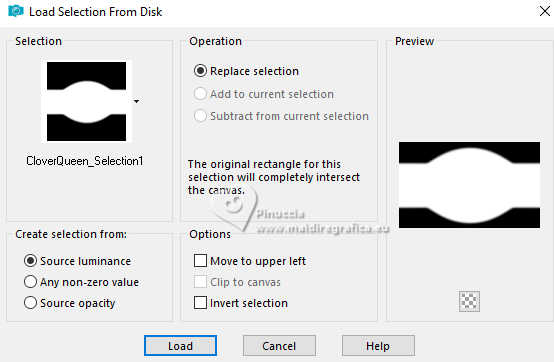
Selections>Load/Save Selection>Load Selection from Disk.
Look for and load the selection CloverQueen_Selection1
18. Layers>New Raster Layer.
Flood Fill  with your background color. with your background color.
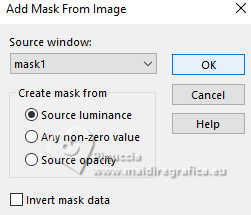
Layers>New Mask layer>From image
Open the menu under the source window and you'll see all the files open.
Select the mask mask1
Layers>Merge>Merge Group.
Selections>Select None.
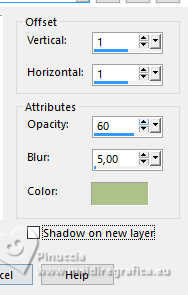
19. Effects>3D Effects>Drop shadow, foreground color.
20. Effects>Reflection Effects>Rotating Mirror..

21. Effects>Plugins>FM Tile Tools - Saturation Emboss, default settings.

22. Change the Blend Mode of this layer to Hard Light and reduce the opacity to 55%.
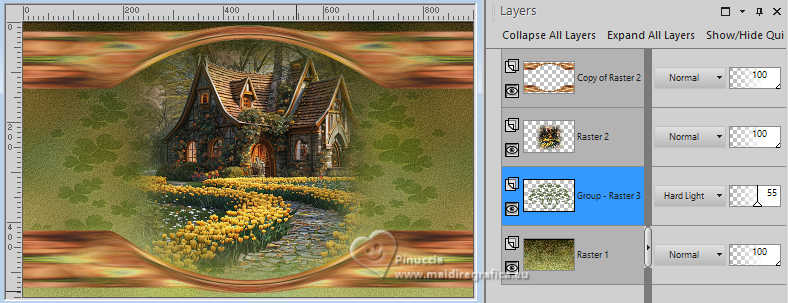
23. Activate your top layer, Copy of Raster 2.
Effects>3D Effects>Drop Shadow, color black #000000.

We have this
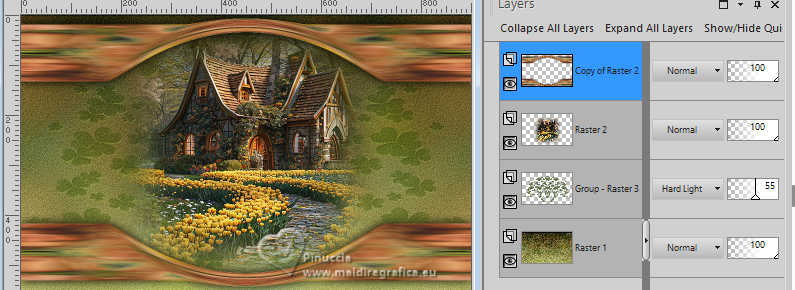
24. Image>Add borders, 1 pixel, symmetric, color black #000000.
Image>Add borders, 2 pixels, symmetric, color white #ffffff.
Image>Add borders, 1 pixel, symmetric, color black #000000.
25. Selections>Select All.
26. Image>Add borders, 50 pixels, symmetric, whatever color.
Selections>Invert.
27. Change your gradient settings by selecting Invert.

Flood fill  the selection with your Gradient. the selection with your Gradient.
28. Adjust>Add/Remove Noise>Add Noise, same settings.

29. Effects>Plugins>FM Tile Tools - Blend Emboss, default settings.

30. Effects>Plugins>AAA Frames - Foto Frame.
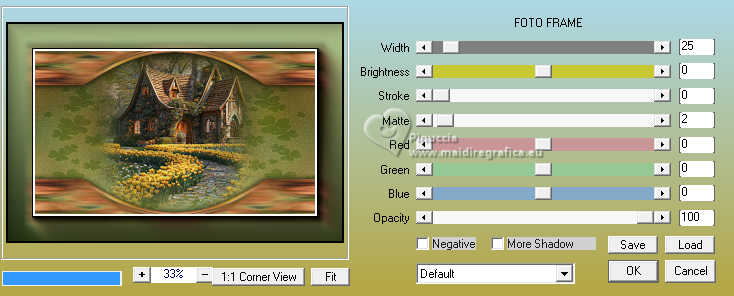
31. Effects>Reflection Effects>Rotating Mirror, default settings.

32. Selections>Invert.
Effects>3D Effects>Drop Shadow, color #000000.

Selections>Select None.
33. Activate again the tube Irish At Heart Tubes 2 (1) and go to Edit>Copy.
Go back to your work and go to Edit>Paste as new layer.
Image>Resize, 63%, resize all layers not checked.
Adjust>Sharpness>Sharpen.
Objects>Align>Bottom.
Objects>Align>Left.
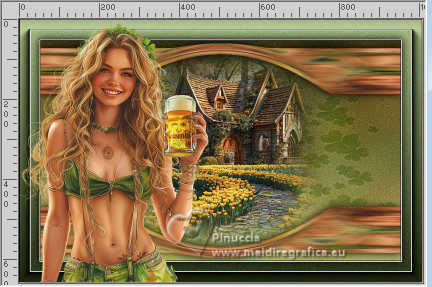
34. Layers>Duplicate.
Layers>Arrange>Move Down.
Adjust>Blur>Gaussian Blur - radius 10.

Change the Blend Mode of this layer to Multiply.
Activate the layer Raster 2.
35. Open WordArt_CloverQuenn 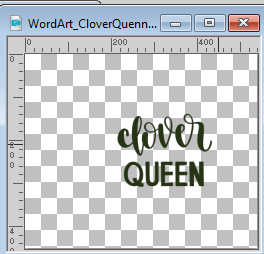
Edit>Copy.
Go back to your work and go to Edit>Paste as new layer.
K key to activate your Pick Tool 
and set Position X: 755,00 and Position Y. 302,00.
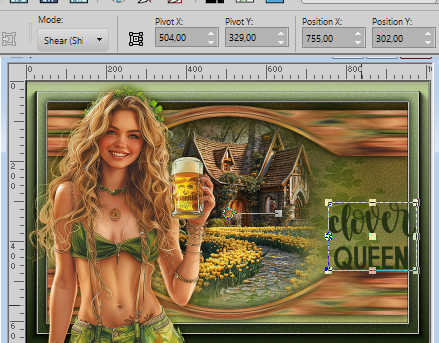
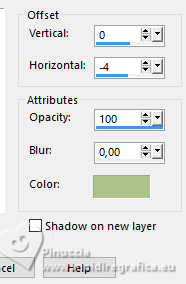
Effects>3D Effects>Drop Shadow, foreground color #adc288.
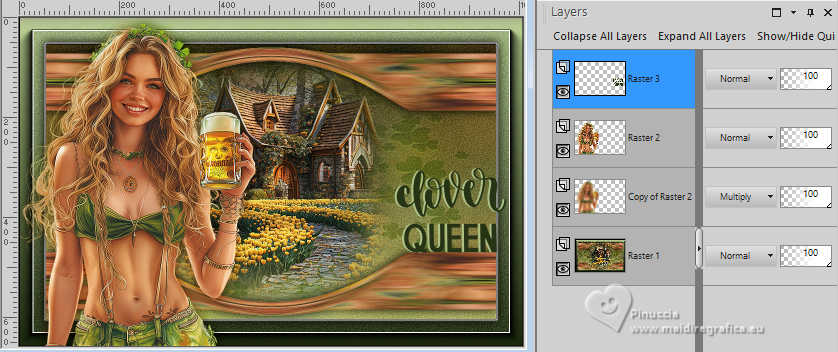
Your tag and the layers
36. Image>Add borders, 1 pixel, symmetric, color black #000000.
37. Image>Resize, if you want, resize all layers checked.
Sign your work and save as jpg.
For the tubes of this version thanks Adrienne.
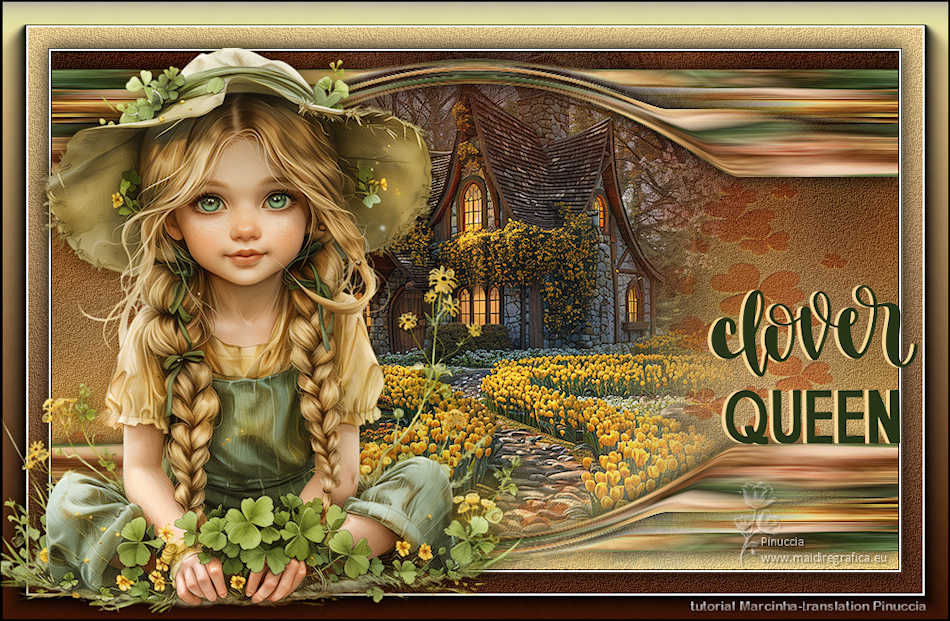

 Your versions. Thanks Your versions. Thanks
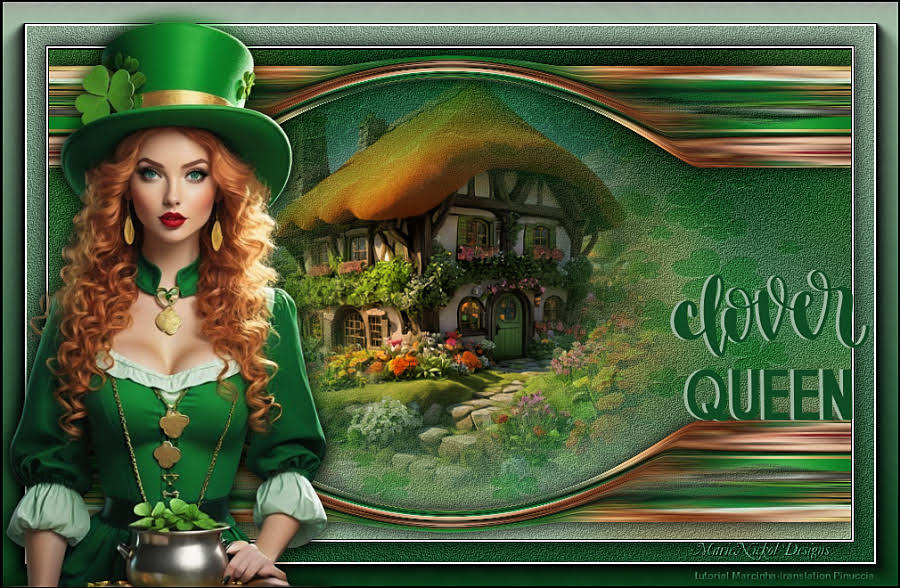
Marie Nickol
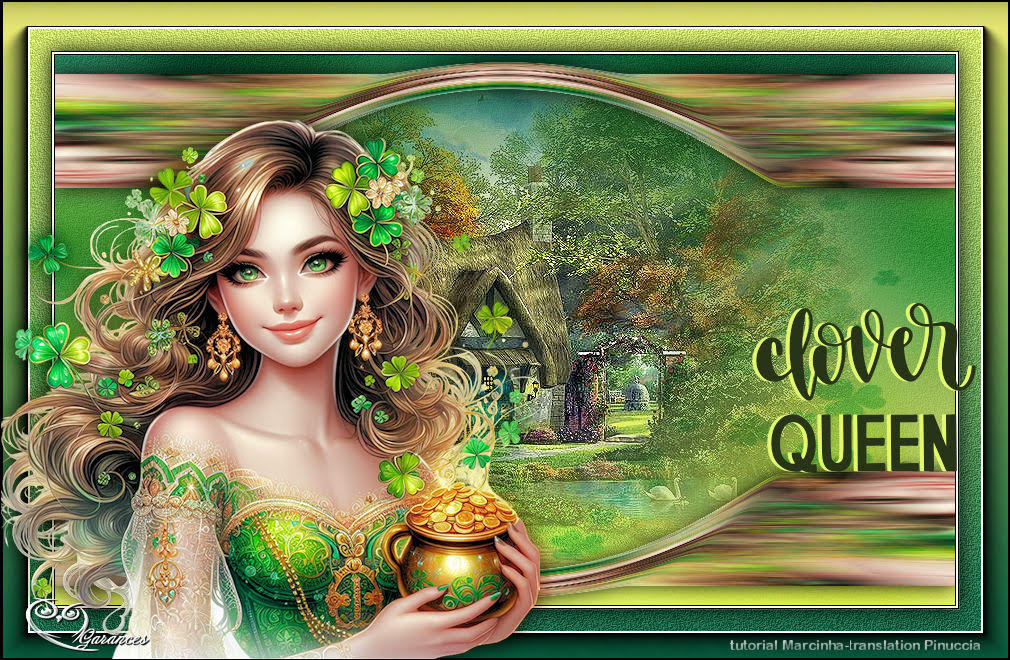
Garances
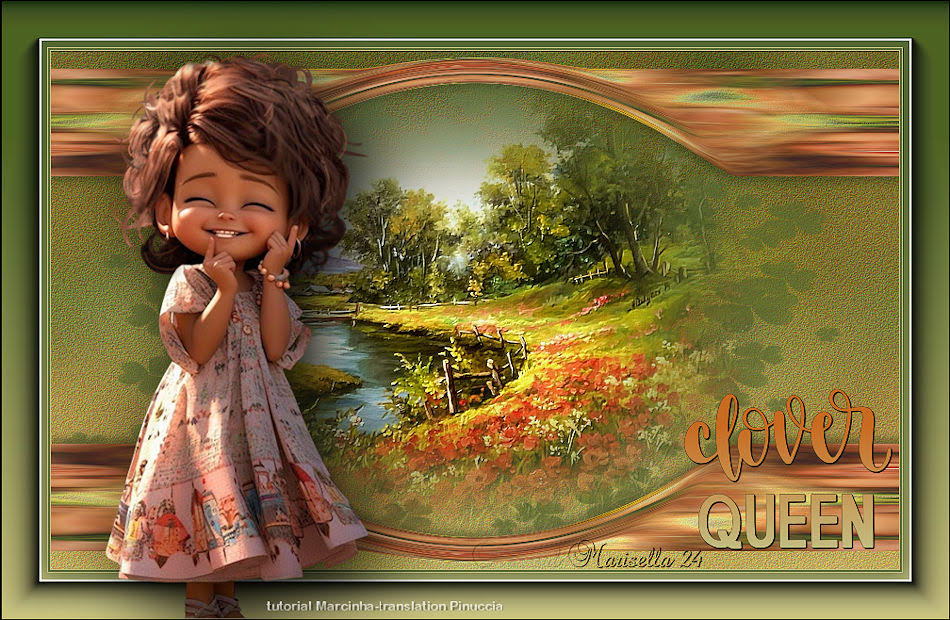
Marisella
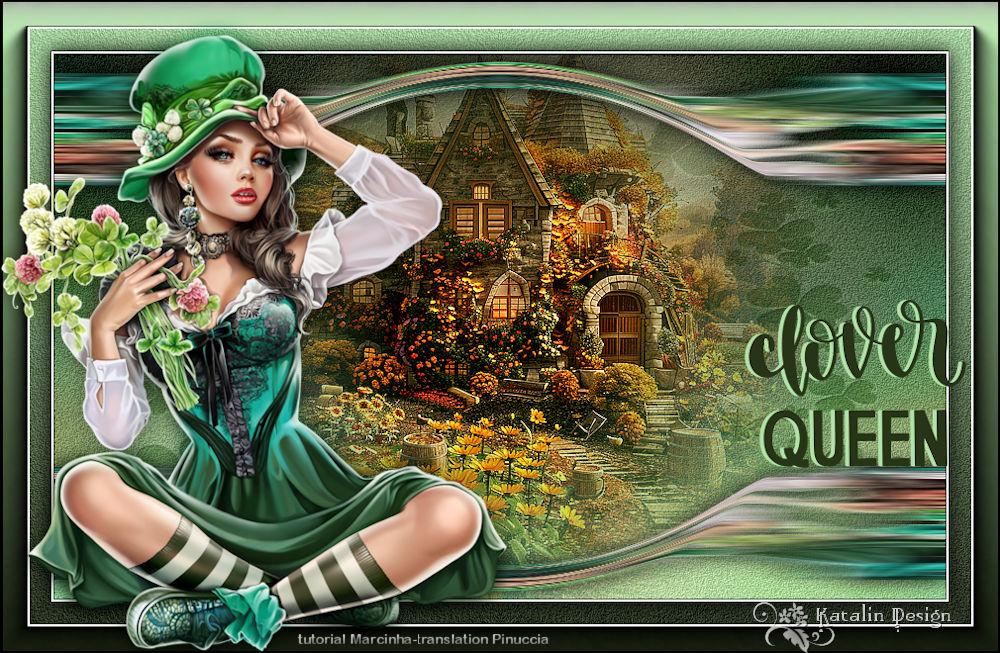
Katalin
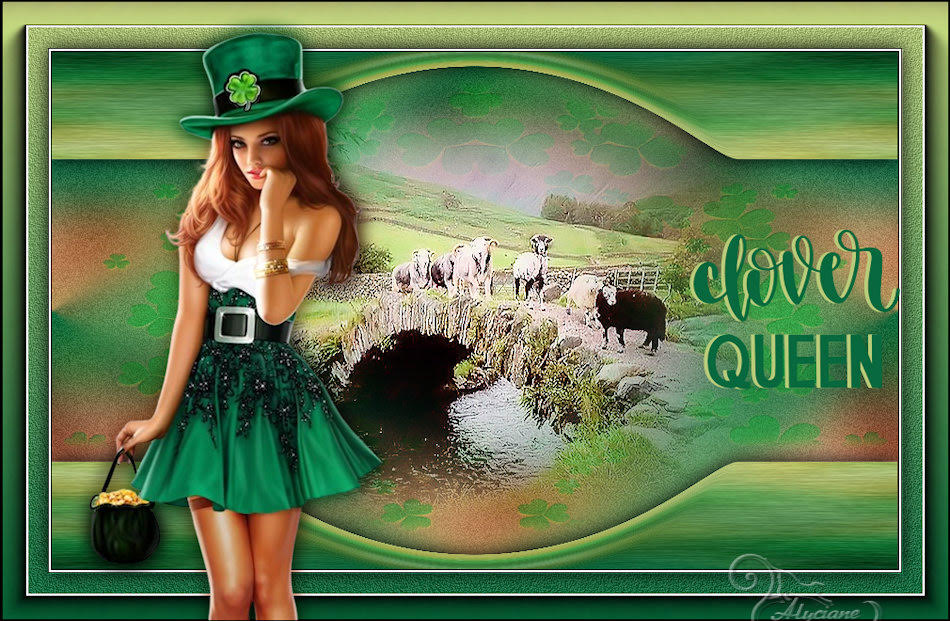
Alyciane
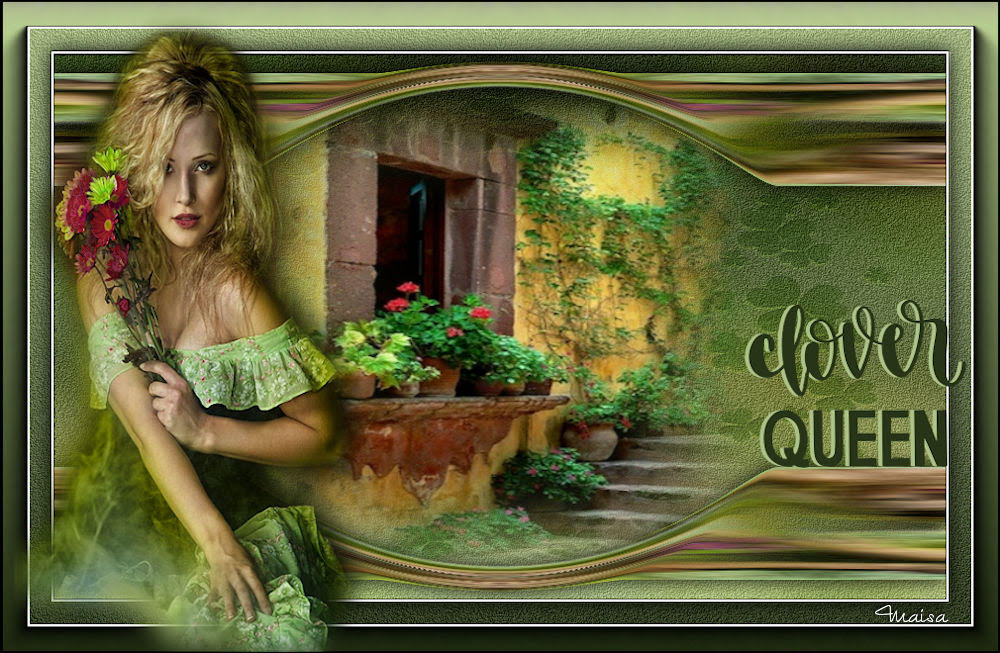
Maisa

Nadège

If you have problems or doubts, or you find a not worked link, or only for tell me that you enjoyed this tutorial, write to me.
8 March 2024

|

