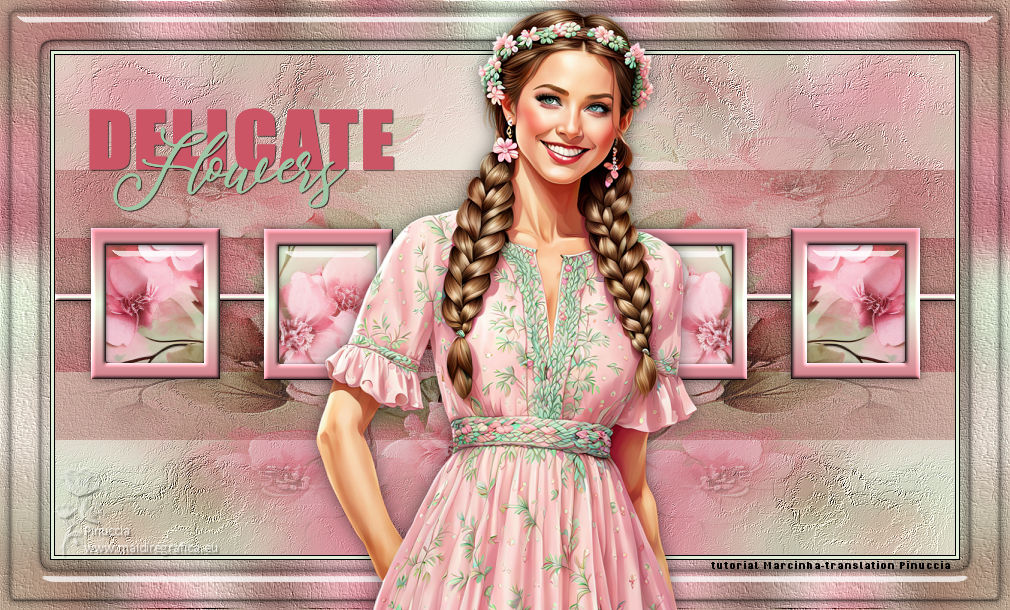
|
DELICATE FLOWERS


Thanks SIM PSP Group for your invitation to translate your tutorials into english

This tutorial was written by Marcinha with Psp2020 and translated with Psp2020, but it can also be made using other versions of PSP.
Since version PSP X4, Image>Mirror was replaced with Image>Flip Horizontal,
and Image>Flip with Image>Flip Vertical, there are some variables.
In versions X5 and X6, the functions have been improved by making available the Objects menu.
In the latest version X7 command Image>Mirror and Image>Flip returned, but with new differences.
See my schedule here

|
Special Note
PSP SIM and its Tutorial Authors ask the public:
- Please, we request that we maintain the originality of the tutorial,
refraining from adding or including unsolicited effects;
- The use of other images is permitted and encouraged,
but please don't modify the content of the original tutorial;
- Please acknowledge and attribute the valuable credits to those who write tutorials,
make translation and create materials.
Carefully,
SIM PSP and Marcinha
|
For this tutorial, you will need:

(The links of the tubemakers here).
Plugins
consult, if necessary, my filter section here
Filters Unlimited 2.0 here
Alien Skin Eye Candy 5 Impact - Glass here
FM Tile Tools - Blend Emboss here
It@lian Editors Effect - Effetto Fantasma here
Filters It@lian Editors Effect can be used alone or imported into Filters Unlimited.
(How do, you see here)
If a plugin supplied appears with this icon  it must necessarily be imported into Unlimited it must necessarily be imported into Unlimited

You can change Blend Modes according to your colors.
In the newest versions of PSP, you don't find the foreground/background gradient (Corel_06_029).
You can use the gradients of the older versions.
The Gradient of CorelX here

Open the mask in PSP and minimize it with the rest of the material.
1. Set your foreground color to ##d07b88,
and your background color to ##e4efda.
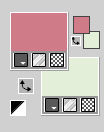
Set your foreground color to a Foreground/Background Gradient, style Linear.
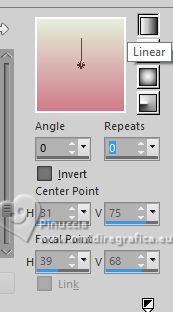
2. Open AlfaChanel_DelicateFlowers
This image, that will be the basis of your work, is not empty,
but contains the selections saved to alpha channel.
Flood Fill  the transparent image with your Gradient. the transparent image with your Gradient.
3. Layers>New Raster Layer.
Selections>Select All.
4. Open Summer Pink Sunflowers Paper (14) 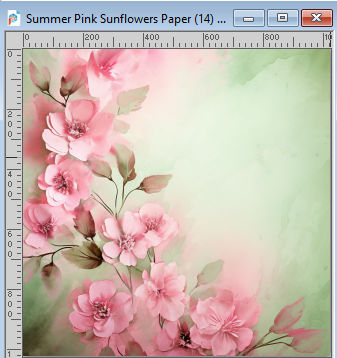
Work on this image:
Effects>Reflection Effects>Rotating Mirror

Layers>New Mask Layer>From image
Open the menu under the source window and you'll see all the files open.
Select the mask 20-20.
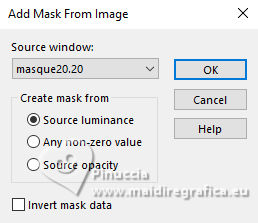
Layers>Merge>Merge Group.
Edit>Copy.
Minimize this image.
5. Go back to your work and go to Edit>Paste Into Selection.
Selections>Select None.
Layers>Duplicate.
Close this layer (Copy of Raster 2).
Activate the layer above of the original.
6. Effects>Image Effects>Seamless Tiling, default settings.

7. Adjust>Blur>Gaussian Blur, radius 20.

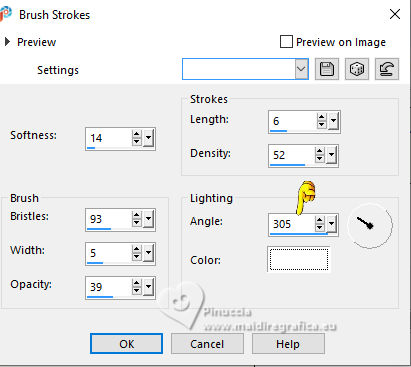
Effects>Art Media Effects>Brush Strokes
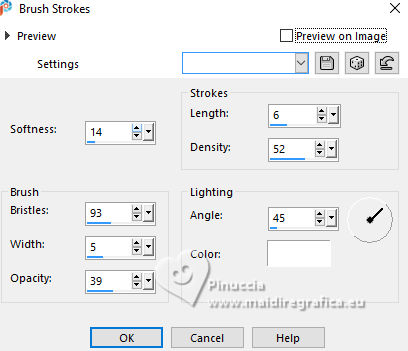
Again Effects>Art Media Effects>Brush Strokes - change Angle to 305.
8. Effects>Plugins>FM Tile Tools - Blend Emboss, default settings.

9. Open and activate the layer Copy of Raster 2.
Effects>Plugins>FM Tile Tools - Blend Emboss, default settings.

10. Layers>New Raster Layer.
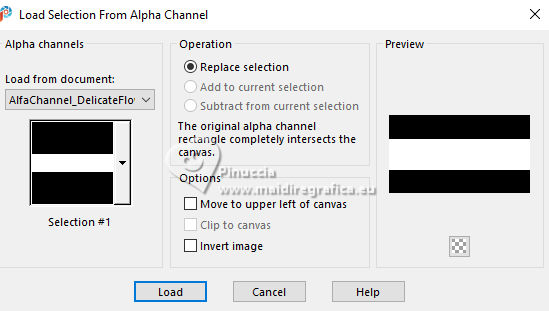
Selections>Load/Save Selections>Load Selection from Alpha Channel.
The selection leni #1 is immediately available. You just have to click Load.
11. Change the settings of your Gradient, Repeats 1
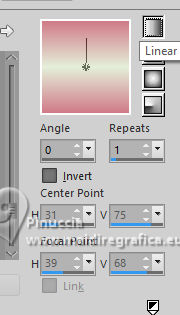
Flood Fill  the selection with your Gradient. the selection with your Gradient.
12. Effects>Texture Effects>Fine Leather
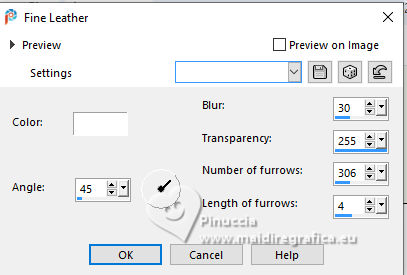
13. Selections>Select None.
Effects>Plugins>It@lian Editors Effect - Effetto Fantasma
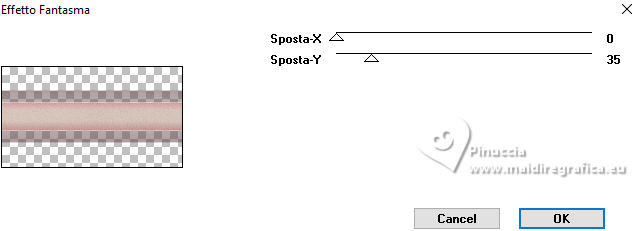
14. Change the Blend Mode of this layer to Multiply.
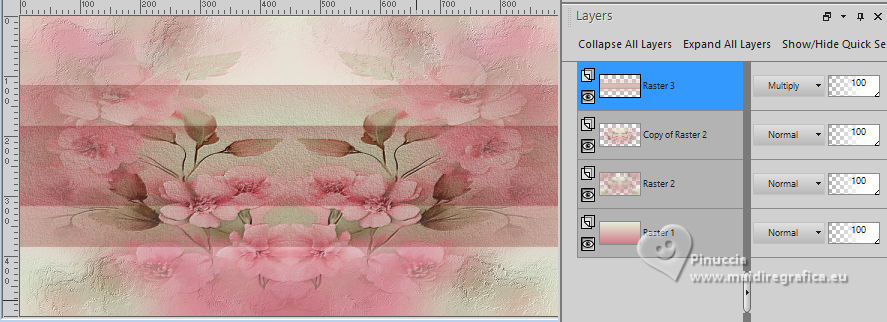
Layers>New Raster Layer.
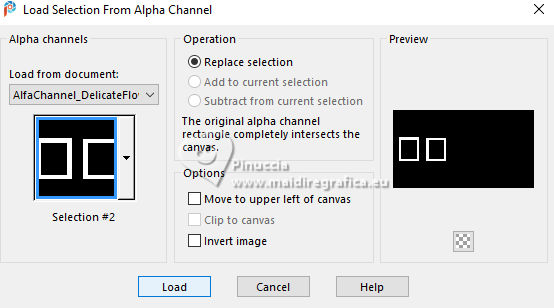
15. Selections>Load/Save Selections>Load Selection from Alpha Channel.
Open the selections menu and load the selection Selection #2
16. Flood Fill  the selection with the last Gradient. the selection with the last Gradient.

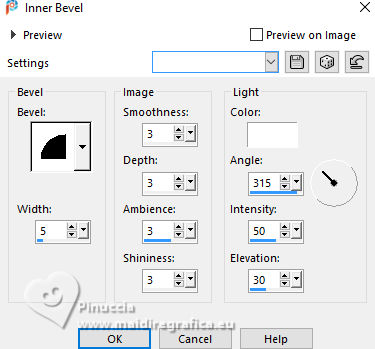
17. Effects>3D Effects>Inner Bevel
Selections>Select None.
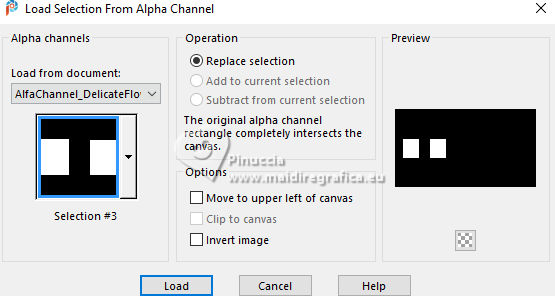
18. Selections>Load/Save Selections>Load Selection from Alpha Channel
Open the selections menu and load the selection Selection #3
19. Activate again Summer Pink Sunflowers Paper (14)
Undo Merge Group.
Undo Mask from Image.
Undo Rotating Mirror.
Edit>Copy.
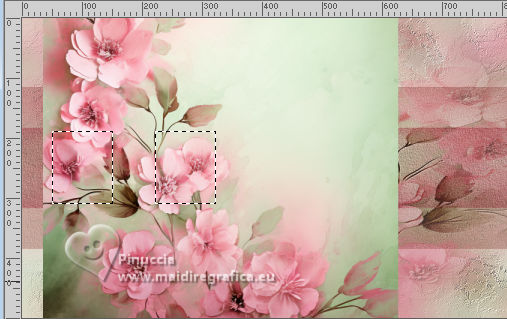
Go back to your work and go to Edit>Paste as new Layer.
Image>Resize, to 60%, resize all layers not checked.
Place  part of the image in the selection part of the image in the selection
20.Selections>Invert.
Press CANC on the keyboard 
Again Selections>Invert
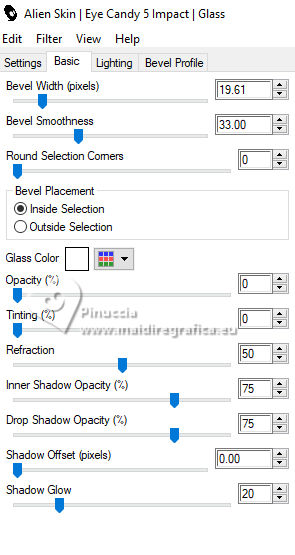
21. Effects>Plugins>Alien Skin Eye Candy 5 Impact - Glass.
22. Selections>Select None.
Layers>Arrange>Move Down.
Layers>New Raster Layer.
Layers>Arrange>Move Down.
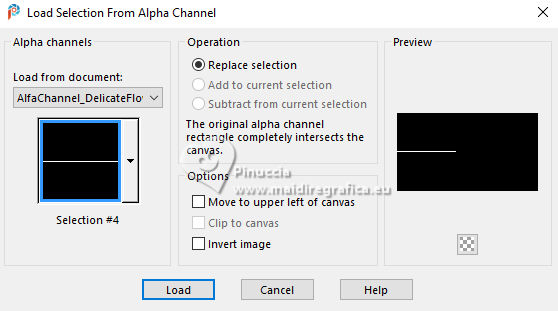
23. Selections>Load/Save Selections>Load Selection from Alpha Channel.
Open the selections menu and load the selection Selection #4
24. Flood Fill  the selection with the last Gradient. the selection with the last Gradient.

25. Effects>3D Effects>Inner Bevel

26. Selections>Select None.
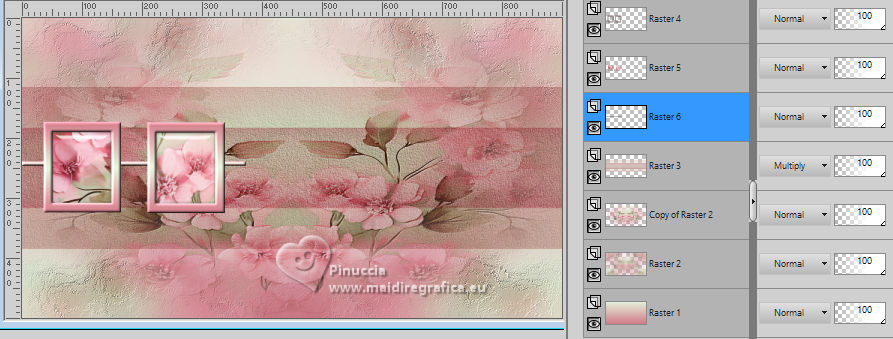
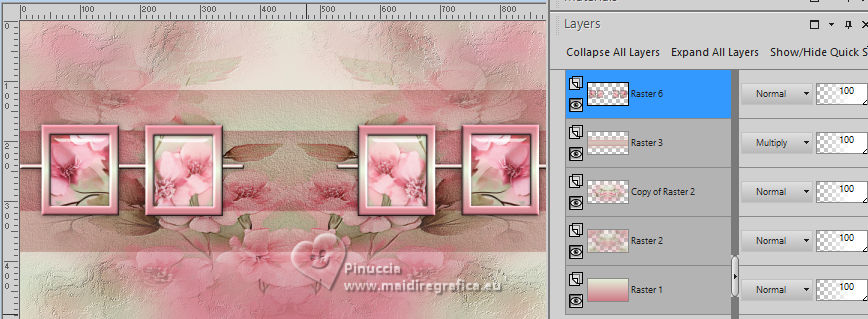
We have this
27. Activate your top layer, Raster 4.
Layers>Merge>Merge Down - 2 times.
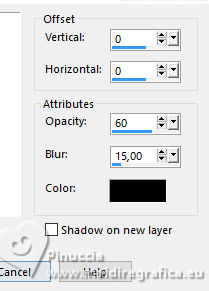
Effects>3D Effects>Drop Shadow, color #000000.
28. Effects>Reflection Effects>Rotating Mirror.

We have this
29. Image>Add Borders - 1 pixel, symmetric, color black #000000.
Image>Add Borders - 3 pixels, symmetric, background color #e4efda.
Image>Add Borders, 1 pixel, symmetric, color black #000000.
Selections>Select All.
30. Image>Add Borders - 50 pixels, symmetric, background color #e4efda.
Effects>Image Effects>Seamless Tiling, default settings.

31. Selections>Invert.
Adjust>Blur>Gaussian Blur, radius 20

Effects>Texture Effects>Fine Leather.

32. Selections>Modify>Contract - 10 pixels.
Effects>Plugins>Alien Skin Eye Candy 5 Impact - Glass.

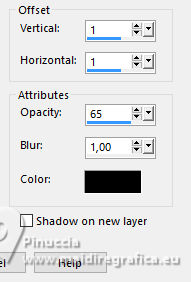
33. Effects>3D Effects>Drop Shadow, color black #000000.

Selections>Select None.
34. Open Summer Pink Sunflowers Tube (2) 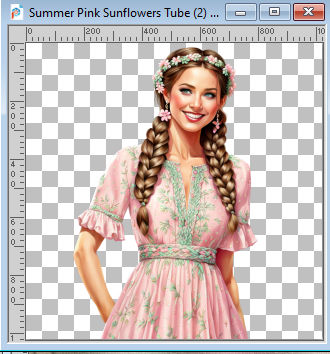
Edit>Copy.
Go back to your work and go to Edit>Paste as New Layer.
Image>Resize, to 60%, resize all layers not checked.
Adjust>Sharpness>Sharpen.
Effects>3D Effects>Drop Shadow, color black #000000.

35. Open WordArt_DelicateFlowers and activate the layer Raster 2 (Delicate...)

Activate your Color Change Tool 

Fill the word Delicate with a color at your choice, for me #cb5565.
Effects>3D Effects>Drop Shadow, color black #000000.
Activate now the layer Raster 3 - Flowers...
Again activate your Color Change Tool 

Fill the word Flowers with a color at your choice, for me #a0c8a7.
Effects>3D Effects>Drop Shadow, color black #000000.

We have this:

Edit>Copy Special>Copy Merged.
35. Go back to your work and go to Edit>Paste as new layer.
Move  the text at the upper left, or to your liking. the text at the upper left, or to your liking.
36. Image>Add Borders - 1 pixel, symmetric, color black #000000.
37. Sign your work and save as jpg.
For the tube of this version thanks MSD Designz
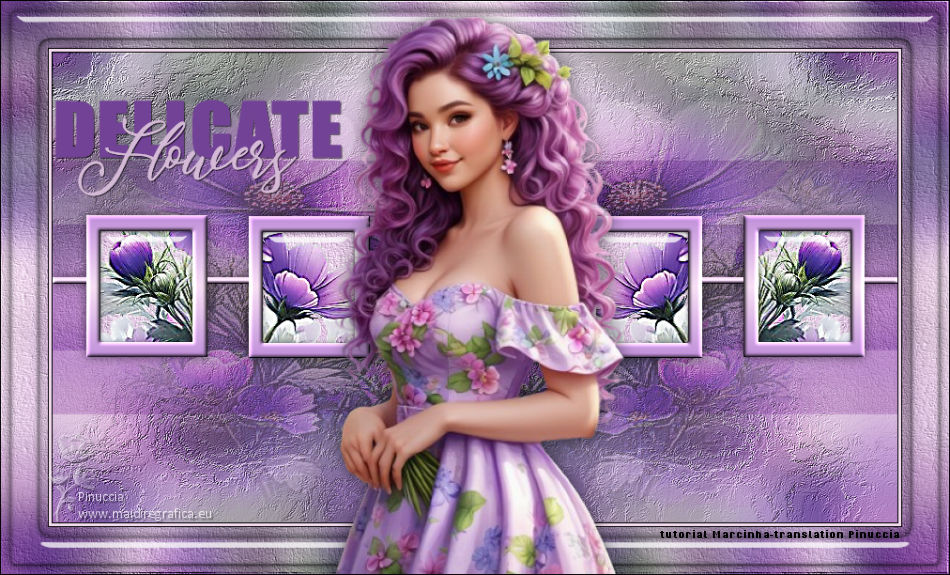

 Your versions. Thanks Your versions. Thanks
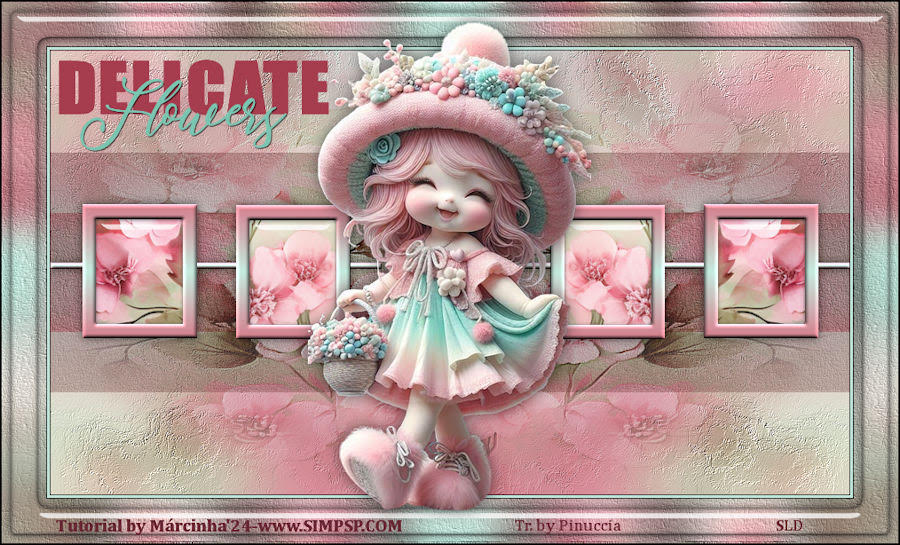
Sue
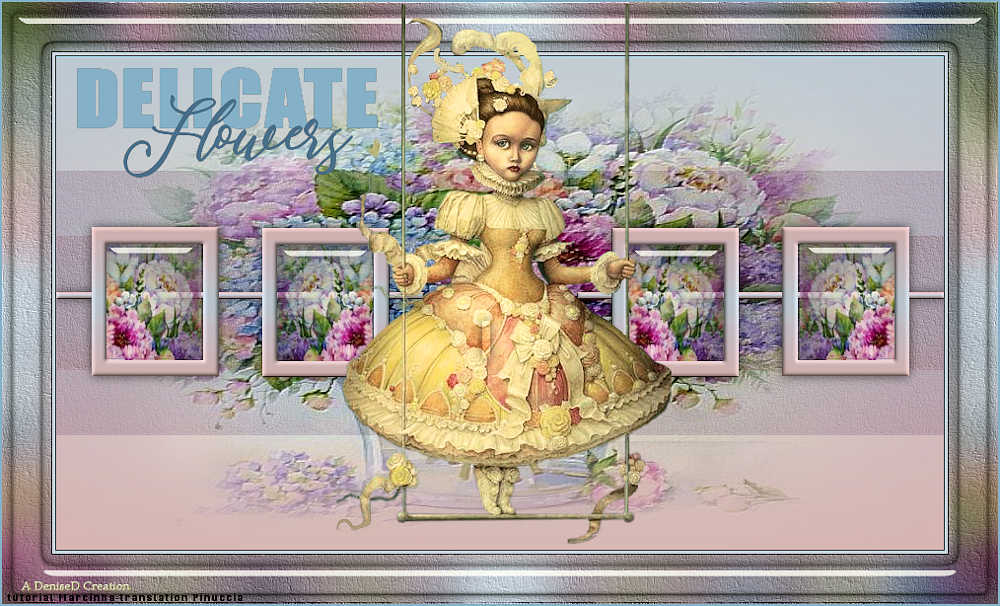
DeniseD
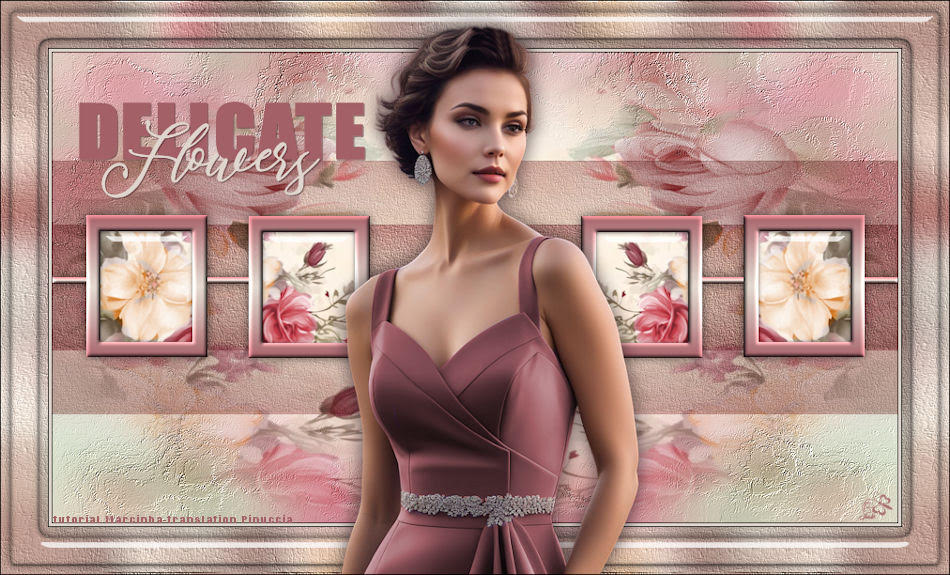
Jolcsi
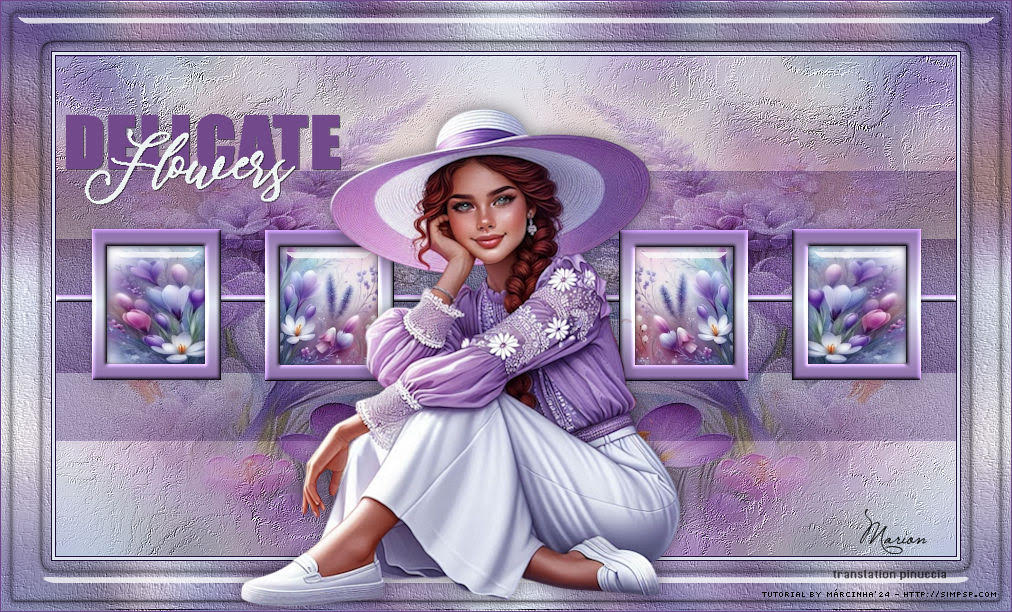
Marion

If you have problems or doubts, or you find a not worked link, or only for tell me that you enjoyed this tutorial, write to me.
1 November 2024

|

