|
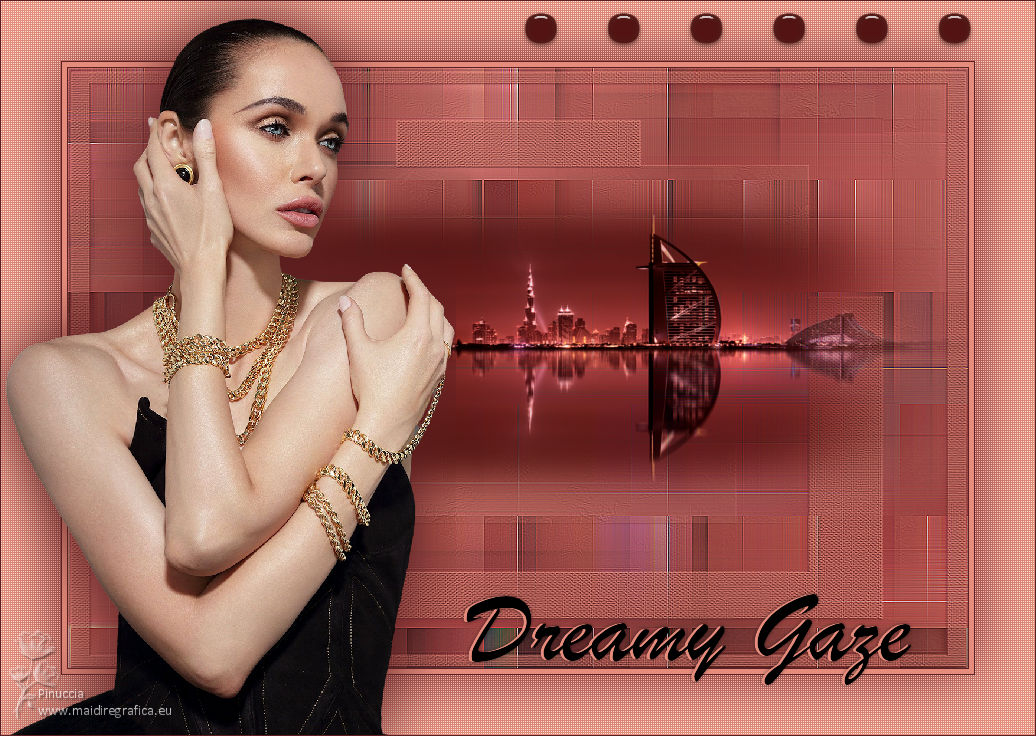
DREAMY GAZE


Thanks SIM PSP Group for your invitation to translate your tutorials into english

This tutorial was written with Psp2020 and translated with Psp19, but it can also be made using other versions of PSP.
Since version PSP X4, Image>Mirror was replaced with Image>Flip Horizontal,
and Image>Flip with Image>Flip Vertical, there are some variables.
In versions X5 and X6, the functions have been improved by making available the Objects menu.
In the latest version X7 command Image>Mirror and Image>Flip returned, but with new differences.
See my schedule here
For this tutorial, you will need:

For the tubes thanks PqnaAlice
(The links of the tubemakers here).
Plugins
consult, if necessary, my filter section here
Filters Unlimited 2.0 here
Toadies - Weaver here
Penta.com - Color Dot here
Mehdi - Sorting Tiles here
Alien Skin Eye Candy 5 Impact - Glass here
Filters Toadies and Penta.com can be used alone or imported into Filters Unlimited.
(How do, you see here)
If a plugin supplied appears with this icon  it must necessarily be imported into Unlimited it must necessarily be imported into Unlimited

You can change Blend Modes according to your colors.

Copy the Selections in the Selections Folder.
Open the mask in PSP and minimize it with the rest of the material.
1. Choose 2 colors from your material.
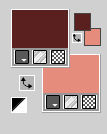
Set your foreground color to #5a1f20,
and your background color to #e58c7c.
2. Open a new transparent image 900 x 600 pixels.
Flood Fill  the transparent image with your light background color. the transparent image with your light background color.
Selections>Select All.
3. Open the misted or your main tube, for me 148PaisagemByPqnaAlice 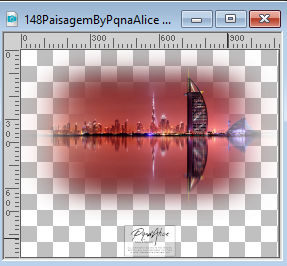
Erase the watermark and go to Edit>Copy.
Go back to your work and go to Edit>Paste into Selection.
Selections>Select None.
4. Effects>Image Effects>Seamless Tiling, default settings.

5. Effects>Plugins>Mehdi - Sorting Tiles.
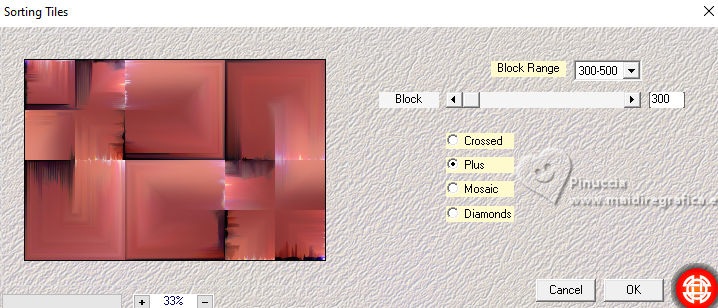
6. Again Effects>Plugins>Mehdi - Sorting Tiles.
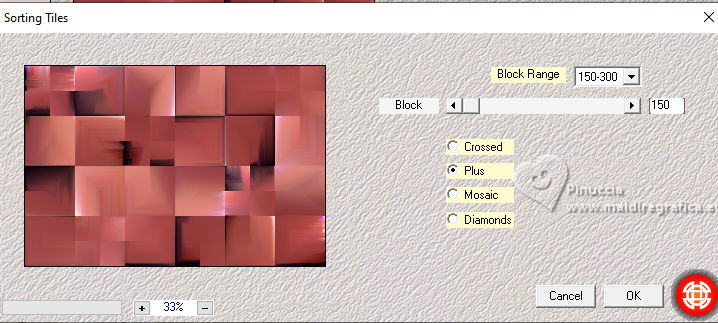
7. Effects>Edge Effects>Enhance.
Layers>Duplicate.
8. Effects>Plugins>Mehdi - Sorting Tiles.
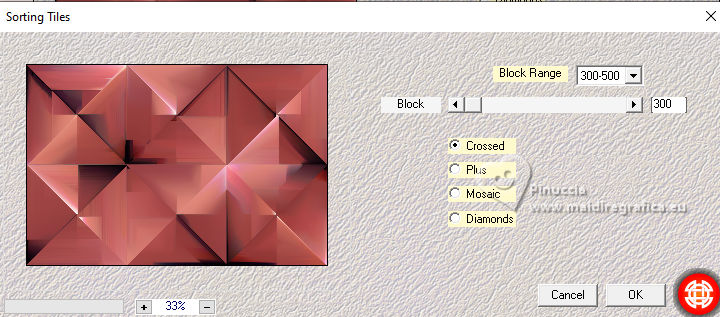
9. Effects>Reflections Effects>Rotating Mirror, default settings.

10. Reduce the opacity of this layer to 50%.
Layers>Merge>Merge Down.
11. Effects>Plugins>Toadies - Weaver, default settings.
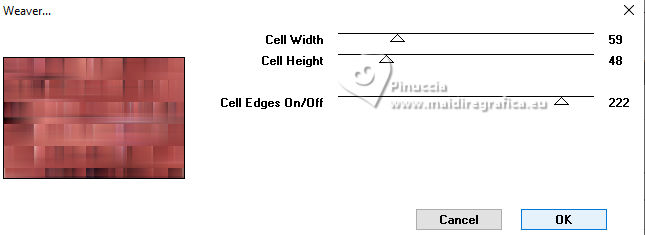
12. Effects>Edge Effects>Enhance.
13. Layers>New Raster Layer.
14. Selections>Load/Save Selection>Load Selection from Disk.
Look for and load the selection Selection_01_DreamyGaze
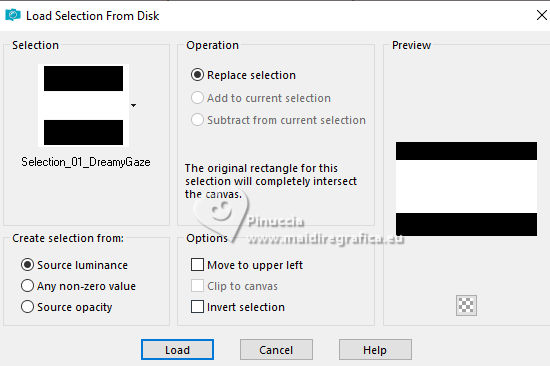
15. Edit>Paste into Selection - the misted 148PaisagemByPqnaAlice is still in memory.
Selections>Select None.
16. Layers>Duplicate.
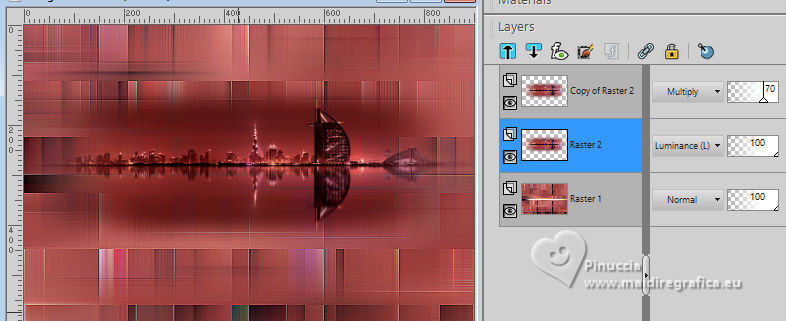
Change the Blend Mode of this layer to Multiply and reduce the opacity to 70%.
For my version I changed the Blend Mode of the original layer to Luminance (legacy)
17. Activate the layer Raster 1.
Layers>New Raster Layer.
Flood Fill  the layer with your light background color. the layer with your light background color.
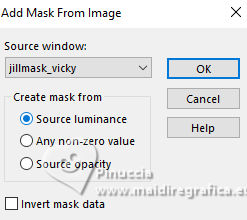
18. Layers>New Mask layer>From image
Open the menu under the source window and you'll see all the files open.
Select the mask jillmask_vicky .
Adjust>Sharpness>Sharpen.
Layers>Merge>Merge Group.
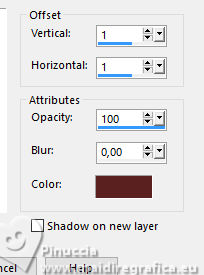
19. Effects>3D Effects>Drop Shadow, dark foreground color.
20. Effects>Reflection Effects>Rotating Mirror.

21. Adjust>Sharpness>Sharpen.
22. Image>Add borders, 1 pixel, symmetric, foreground color.
Image>Add borders, 5 pixels, symmetric, background color.
Image>Add borders, 1 pixel, symmetric, foreground color.
23. Selections>Select All.
Image>Add borders, 60 pixels, symmetric, background color.
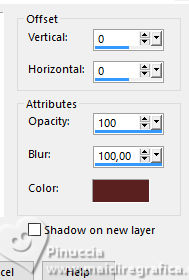
Effects>3D Effects>Drop Shadow, dark foreground color.
Selections>Invert.
24. Effects>Plugins>Penta.com - Color Dot, default settings.
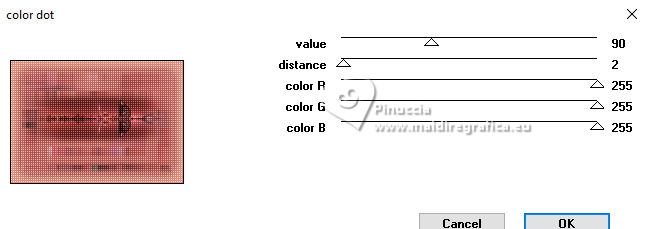
Selections>Select None.
25. Layers>New Raster Layer.
Selections>Load/Save Selection>Load Selection from Disk.
Look for and load the selection Selection_02_DreamyGaze
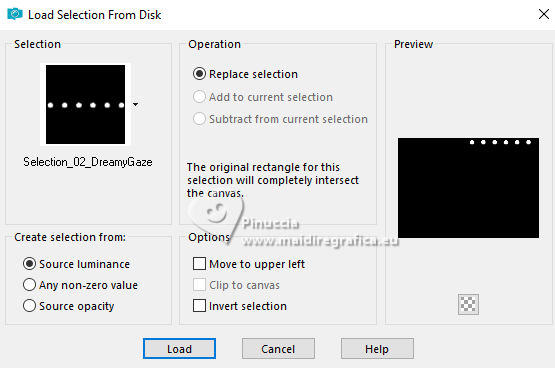
Flood Fill  the selection with your light background color. the selection with your light background color.
26. Effects>Plugins>Alien Skin Eye Candy 5 Impact - Glass
Glass color: light background color.
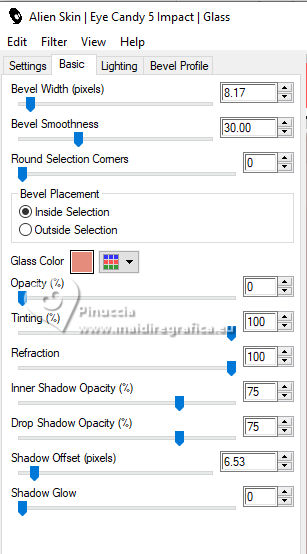
27. Selections>Select None.
28. Open your main tube 1035MulherByPqnaAlice 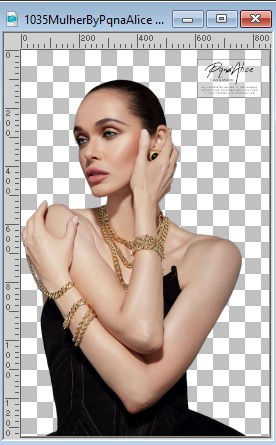
Erase the watermark and go to Edit>Copy.
Go back to your work and go to Edit>Paste as new layer.
Image>Mirror.
Image>Resize, 59%, resize all layers not checked.
Move  the tube to the left side. the tube to the left side.
Effects>3D Effects>Drop Shadow, at your choice.
29. Layers>New Raster Layer.
Selections>Load/Save Selection>Load Selection from Disk.
Look for and load the selection Selection_03_DreamyGaze
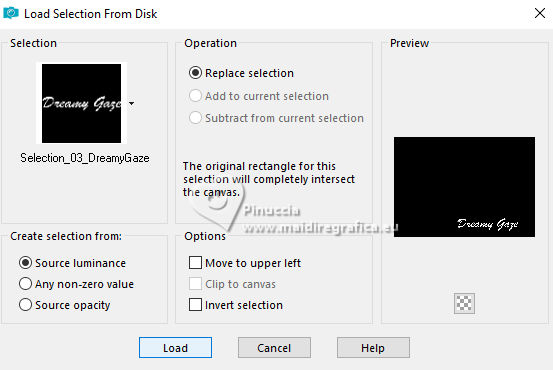
Flood Fill  the selection with your light background color. the selection with your light background color.
30. Layers>New Raster Layer.
Set your foreground color to black #000000.
Flood Fill  the selection with color black #000000. the selection with color black #000000.
Selections>Select None.
31. Activate your Pick Tool 
and set Position X: 466,00.
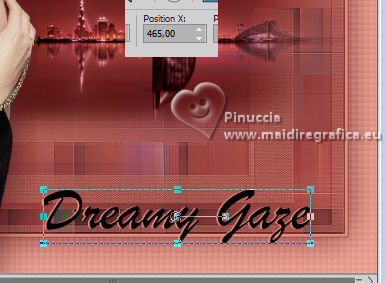
Layers>Merge>Merge Down.
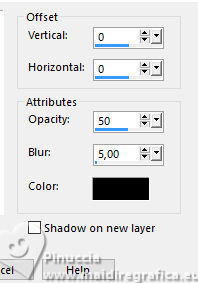
32. Effects>3D Effects>Drop Shadow, color black #000000.
33. Image>Add borders, 1 pixel, symmetric, foreground color.
34. Sign your work and save as jpg.
For the tubes of this version thanks Luz Cristina and Beatriz.
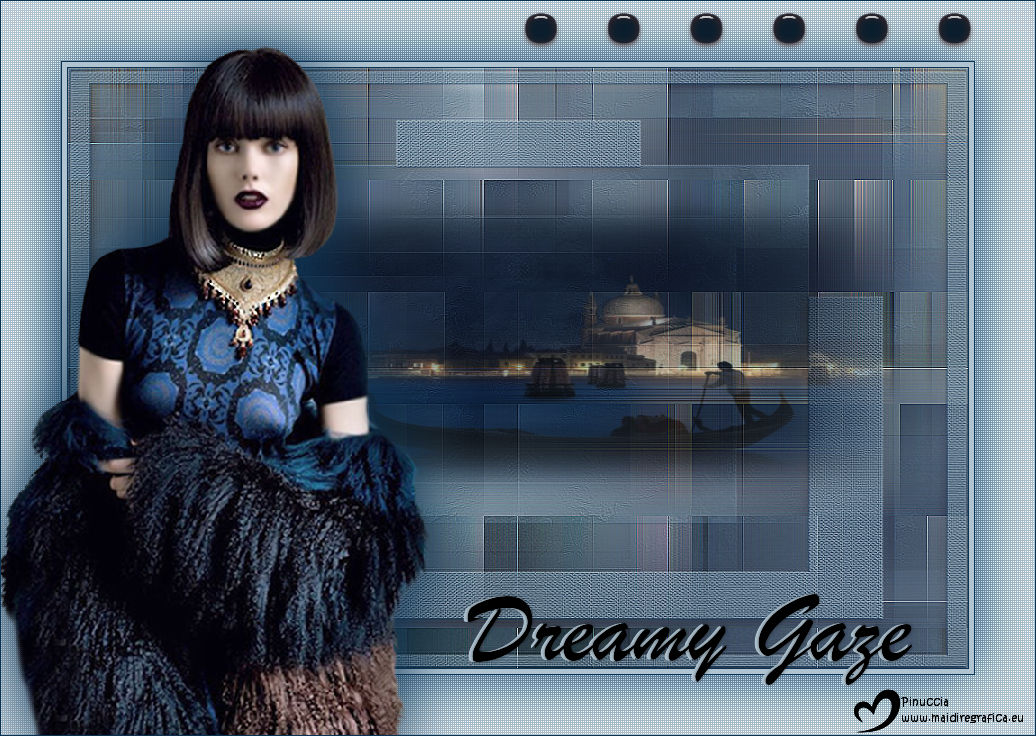

Your versions. Thanks
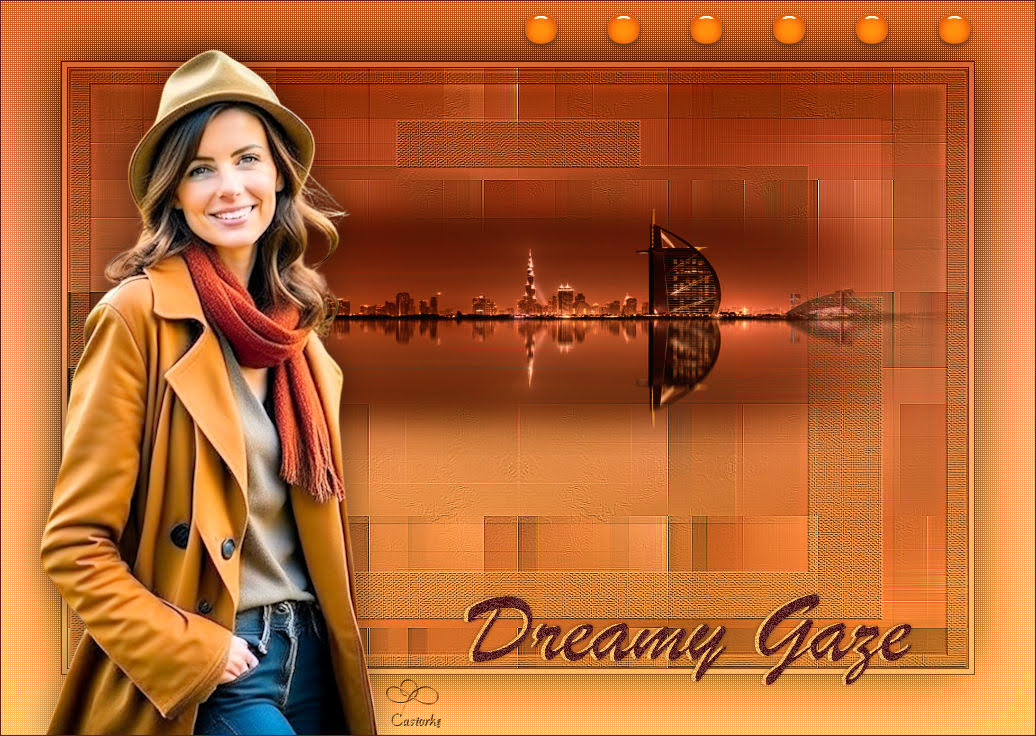
Castorke
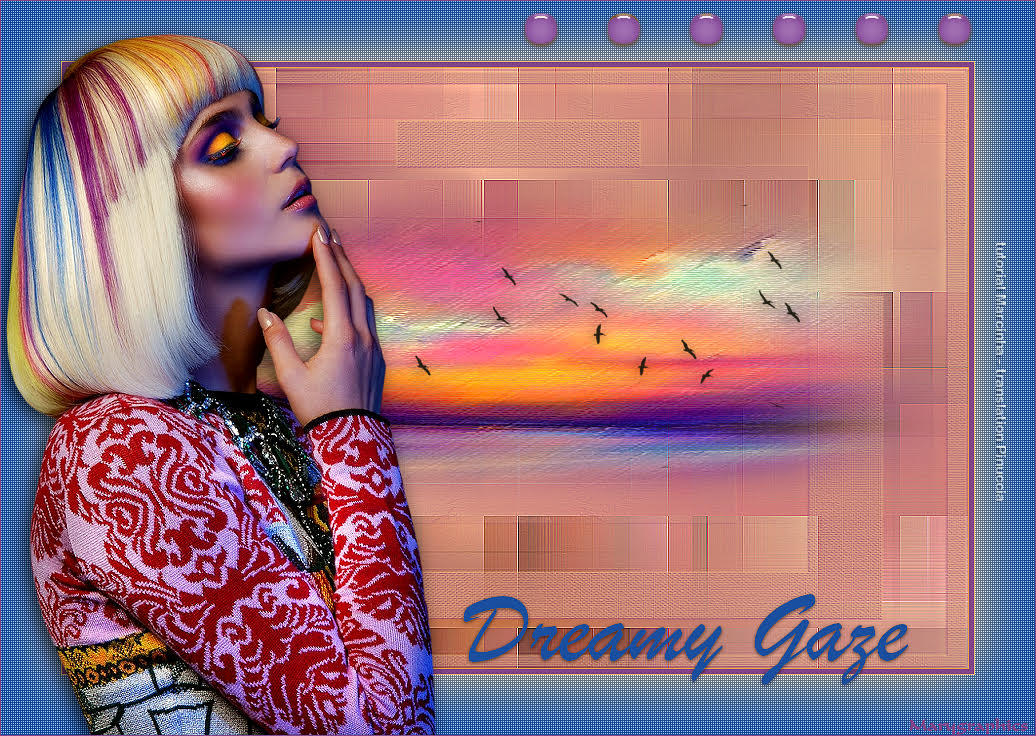
Marygraphics


If you have problems or doubts, or you find a not worked link, or only for tell me that you enjoyed this tutorial, write to me.
15 September 2023

|

