|
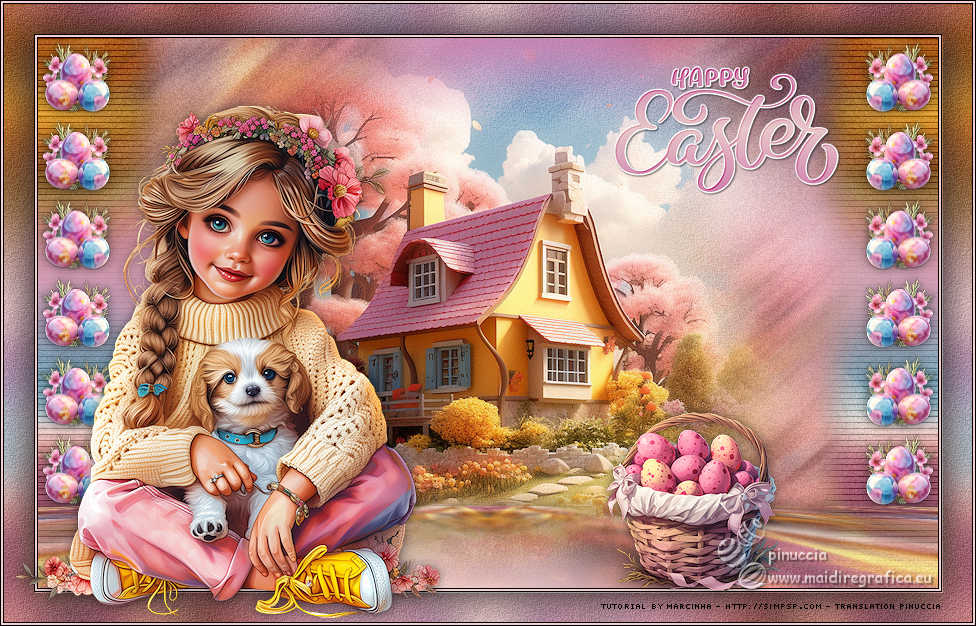
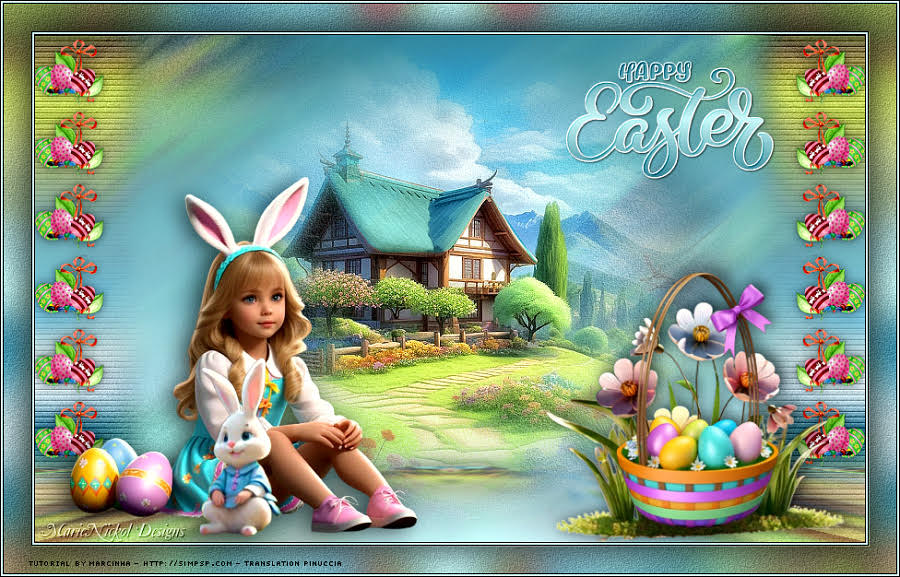
HAPPY EASTER


Thanks SIM PSP Group for your invitation to translate your tutorials into english

This tutorial was written with Psp2020 and translated with PspX9, but it can also be made using other versions of PSP.
Since version PSP X4, Image>Mirror was replaced with Image>Flip Horizontal,
and Image>Flip with Image>Flip Vertical, there are some variables.
In versions X5 and X6, the functions have been improved by making available the Objects menu.
In the latest version X7 command Image>Mirror and Image>Flip returned, but with new differences.
See my schedule here

|
Special Note
PSP SIM and its Tutorial Authors ask the public:
- Please, we request that we maintain the originality of the tutorial,
refraining from adding or including unsolicited effects;
- The use of other images is permitted and encouraged,
but please don't modify the content of the original tutorial;
- Please acknowledge and attribute the valuable credits to those who write tutorials,
make translation and create materials.
Carefully,
PSP SIM and Marcinha
|
For this tutorial, you will need:

For the material thanks Adrienne.
(The links of the tubemakers here).
Plugins
consult, if necessary, my filter section here
Filters Unlimited 2.0 here
Mura's Seamless - Emboss here
Mura's Meister - Copies here
Mura's Meister - Perspective Tiling here
FM Tile Tools - Blend Emboss here
Carolaine and sensibility - CS_Halloween2 here
Filters Mura's Seamless can be used alone or imported into Filters Unlimited.
(How do, you see here)
If a plugin supplied appears with this icon  it must necessarily be imported into Unlimited it must necessarily be imported into Unlimited

You can change Blend Modes according to your colors.
In the newest versions of PSP, you don't find the foreground/background gradient (Corel_06_029).
You can use the gradients of the older versions.
The Gradient of CorelX here

Copy the selections in the Selections Folder.
1. Choose 2 colors from your tube.
Extra colors: white and black.
Set your foreground color to #d985b5,
and your background color to #f3d0d2.
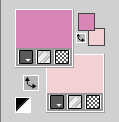
Set your foreground color to a Foreground/Background Gradient, style Linear.
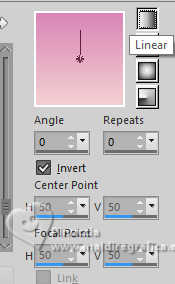 
2. Open a new transparent image 900 x 550 pixels.
Flood Fill  the transparent image with your Gradient. the transparent image with your Gradient.
Layers>New Raster Layer.
Selections>Select All.
3. Open the misted Happy Easter Paper (5) 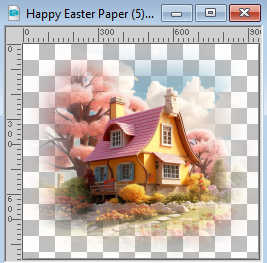
Edit>Copy.
Go back to your work and go to Edit>Paste Into Selection.
Selections>Select None.
4. Effects>Image Effects>Seamless Tiling, default settings.

5. Adjust>Blur>Motion Blur.
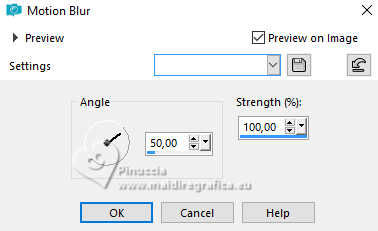
Edit>Repeat Motion Blur.
6. Adjust>Add/Remove Noise>Add Noise.
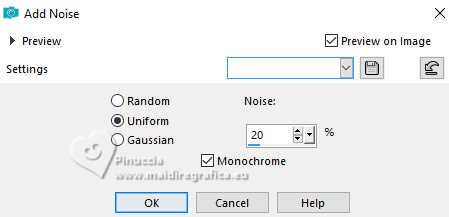
7. Reduce the opacity of this layer to 70%.
Layers>Duplicate.
8. Effects>Plugins>Mura's Meister - Perspective Tiling.
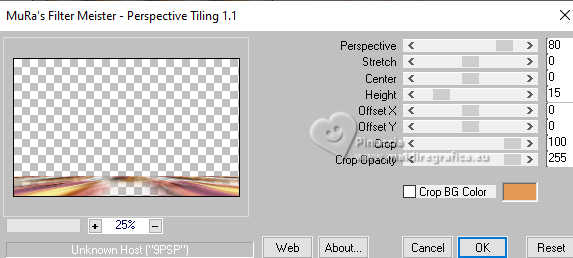
9. Effects>Reflection Effects>Rotating Mirror, default settings.

10. Reduce the opacity of this layer to 80%.
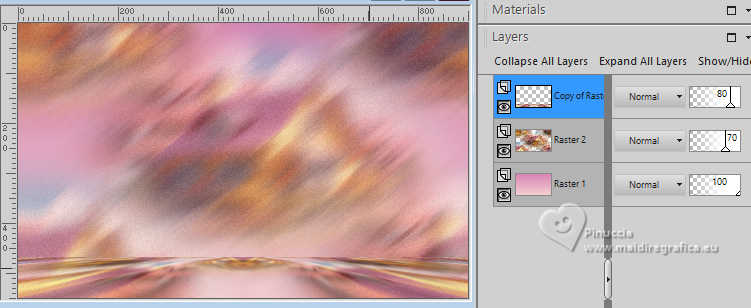
Effects>3D Effects>Drop shadow, color #000000.

11. Activate the layer below, Raster 2.
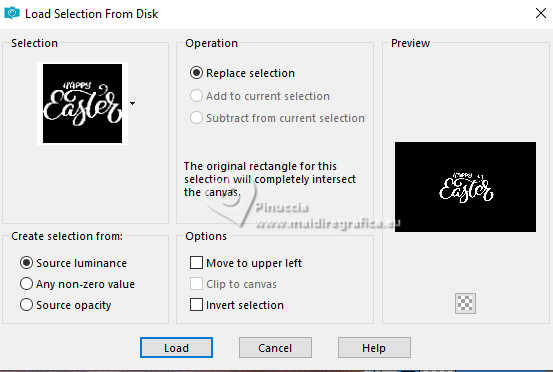
Selections>Load/Save Selection>Load Selection from Disk.
Look for and load the selection Selection_HappyEaster1
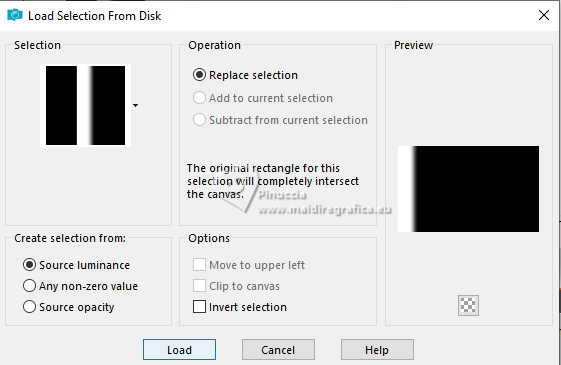
12. Selections>Promote Selection to Layer.
Selections>Select None.
Layers>Duplicate.
Layers>Merge>Merge Down.
13. Effects>Plugins>Carolaine and Sensibility - CS_Halloween2
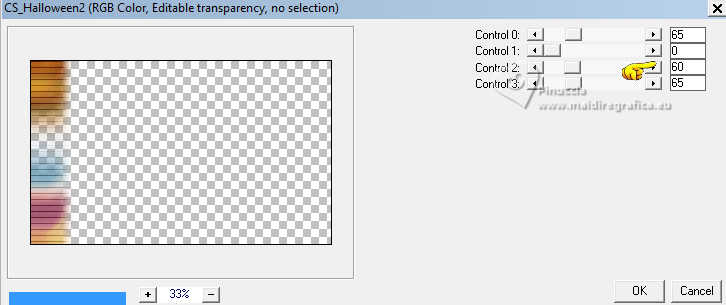
14. Layers>Duplicate.
Image>Mirror>Mirror horizontal.
Layers>Merge>Merge Down.
15. Effects>3D Effects>Drop Shadow, color #000000.
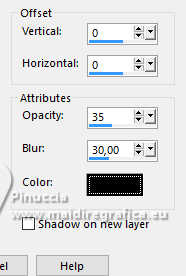
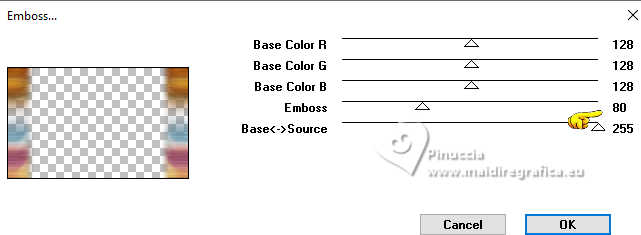
16. Effects>Plugins>Mura's Seamless - Emboss.
17. Activate again the layer Raster 2.
The misted Happy Easter Paper (5) is still in memory:
Edit>Paste as new layer.
Image>Resize, to 65%, resize all layers not checked.
Adjust>Sharpness>Sharpen.
18. Layers>Duplicate.
Adjust>Blur>Gaussian Blur - radius 10.

19. Adjust>Add/Remove Noise>Add Noise, same settings.

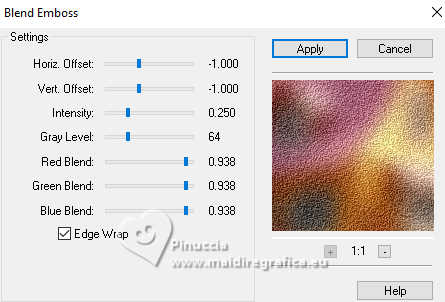
20. Effects>Plugins>FM Tile Tools - Blend Emboss, default settings.
21. Change the Blend Mode of this layer to Hard Light.
22. Activate the layer below, Raster 3.
Layers>Arrange>Move up.
Reduce the opacity of this layer to 90%.
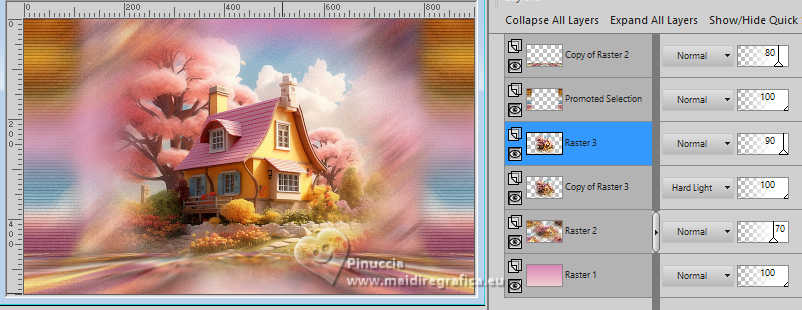
23. This is the result with the layers position
24. Activate your top layer, Copy of Raster 2.
Layers>New Raster Layer.
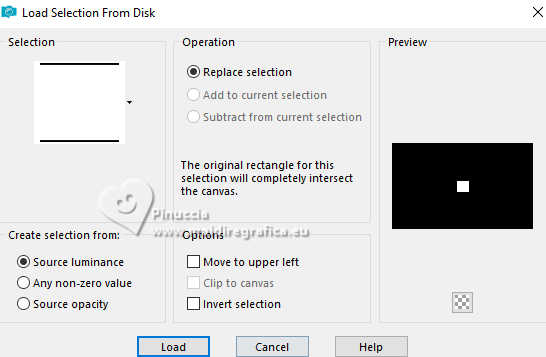
Selections>Load/Save Selection>Load Selection from Disk.
Look for and load the selection Selection_HappyEaster2
25. Open the tube Happy Easter Element (65) 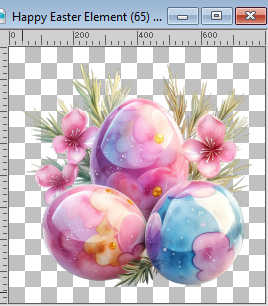
Edit>Copy.
Go back to your work and go to Edit>Paste into Selection.
Selections>Select None.
Note: you can use any other decoration tube, copy and paste it into the selection,
it will be the correct size to apply the effect in the next step.
26. Effects>Plugins>Mura's Meister - Copies.
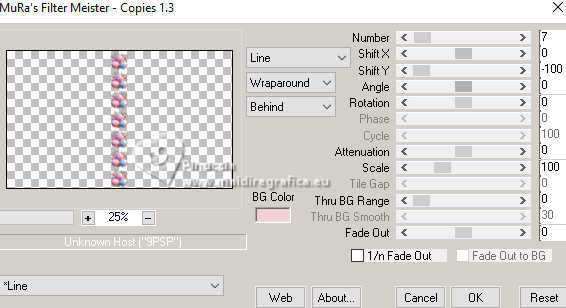
27. Activate your Selection Tool  , tolerance and feather 0, , tolerance and feather 0,
and select the last element, as below.
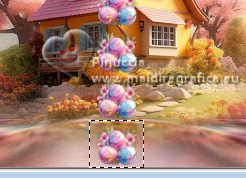
Press CANC on the keyboard 
Selections>Select None.
28. Objects>Align>Left.
Adjust>Sharpness>Sharpen.
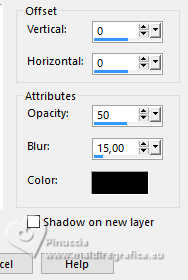
29. Effects>3D Effects>Drop shadow, color #000000.
30. Layers>Duplicate.
Image>Mirror>Mirror horizontal.
30. We have this, verify the layers position.
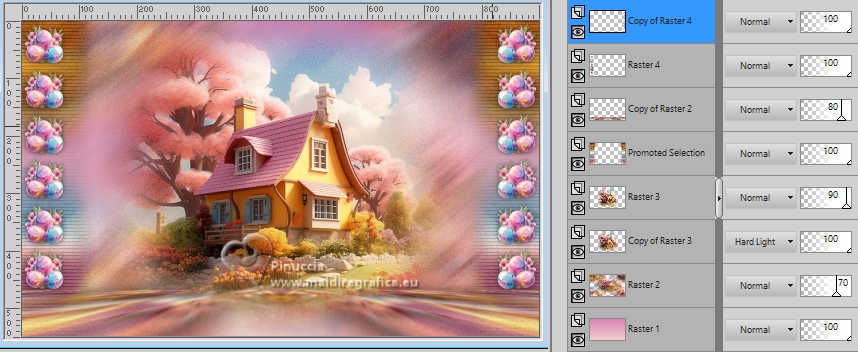
31. Image>Add borders, 1 pixel, symmetric, color black #000000.
Image>Add borders, 2 pixels, symmetric, background color #f3d0d2.
Image>Add borders, 1 pixel, symmetric, color black #000000
32. Selections>Select All.
Image>Add borders, 30 pixels, symmetric, background color #f3d0d2.
33. Effects>Image Effects>Seamless Tiling, default settings

34. Selections>Invert.
Adjust>Blur>Gaussian Blur - radius 20.

35. Effects>Reflection Effects>Rotating Mirror, default settings.

36. Adjust>Add/Remove Noise>Add Noise.
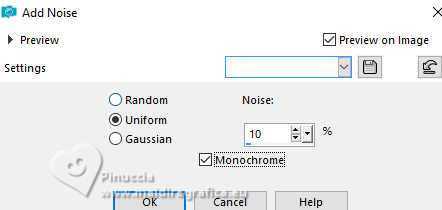
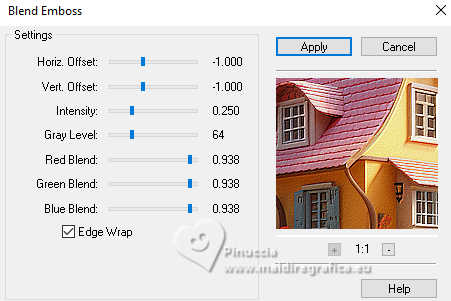
37. Effects>Plugins>FM Tile Tools - Blend Emboss, default settings.
38. Selections>Invert.
Effects>3D Effects>Drop Shadow, color #000000.
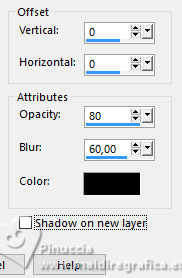
Selections>Select None.
39. Layers>New Raster Layer.
Selections>Load/Save Selection>Load Selection from Disk.
Look for and load the selection Selection_HappyEaster3
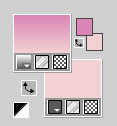
Change the settings of your Linear Gradient
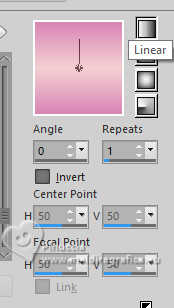
Flood Fill  the selection with your Gradient. the selection with your Gradient.
40. Layers>New Raster Layer.
Selections>Modify>Expand - 2 pixels.
Set your foreground color to white #ffffff.
Flood Fill  the selection with color white. the selection with color white.
Selections>Select None.
Layers>Arrange>Move Down.
41. Activate your top layer, Raster 2.
Layers>Merge>Merge Down.
Image>Resize, 60%, resize all layers not checked.
K key to activate your Pick Tool 
and set Position X: 610,00 and Position Y: 62,00.

42. Effects>Plugins>FM Tile Tools - Blend Emboss, default settings.

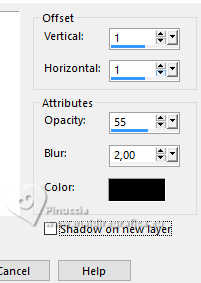
Effects>3D Effects>Drop Shadow, color #000000.
43. Open Happy Easter Element (78) 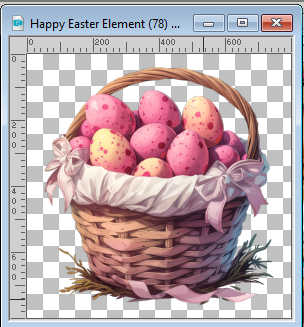
Edit>Copy.
Go back to your work and go to Edit>Paste as new layer.
Image>Resize, to 25%, resize all layers not checked.
Adjust>Sharpness>Sharpen.
Move  the tube to the right side. the tube to the right side.
Effects>3D Effects>Drop Shadow, color #000000.

44. Open Happy Easter Tubes 2 (2) 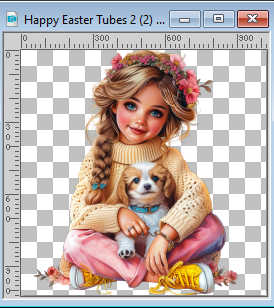
Edit>Copy.
Go back to your work and go to Edit>Paste as new layer.
Image>Resize, to 50%, resize all layers not checked.
Adjust>Sharpness>Sharpen.
Move  the tube to the left side. the tube to the left side.
Effects>3D Effects>Drop Shadow, color #000000.

45. Image>Add borders, 1 pixel, symmetric, color black #000000.
Image>Add borders, 2 pixels, symmetric, background color #f3d0d2.
Image>Add borders, 1 pixel, symmetric, color black #000000.
46. Sign your work and save as jpg.
For the tubes of this version thanks Adrienne.
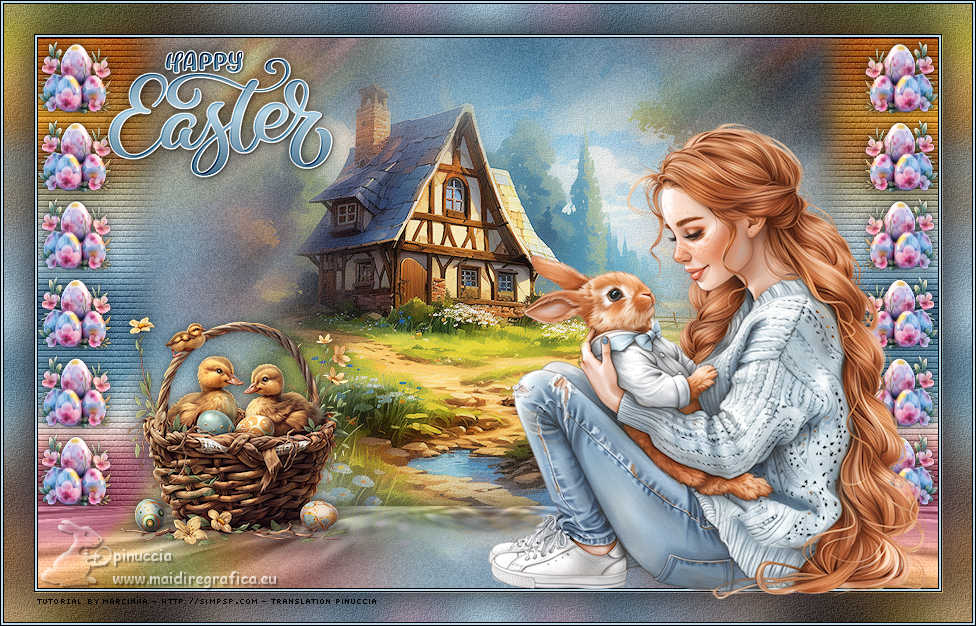

 Your versions. Thanks Your versions. Thanks
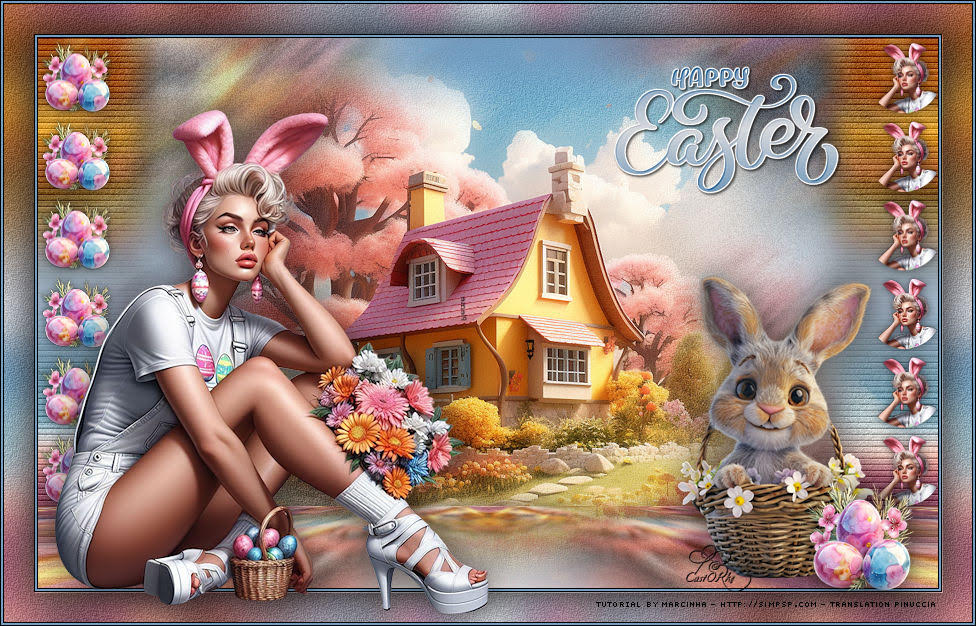
Castorke
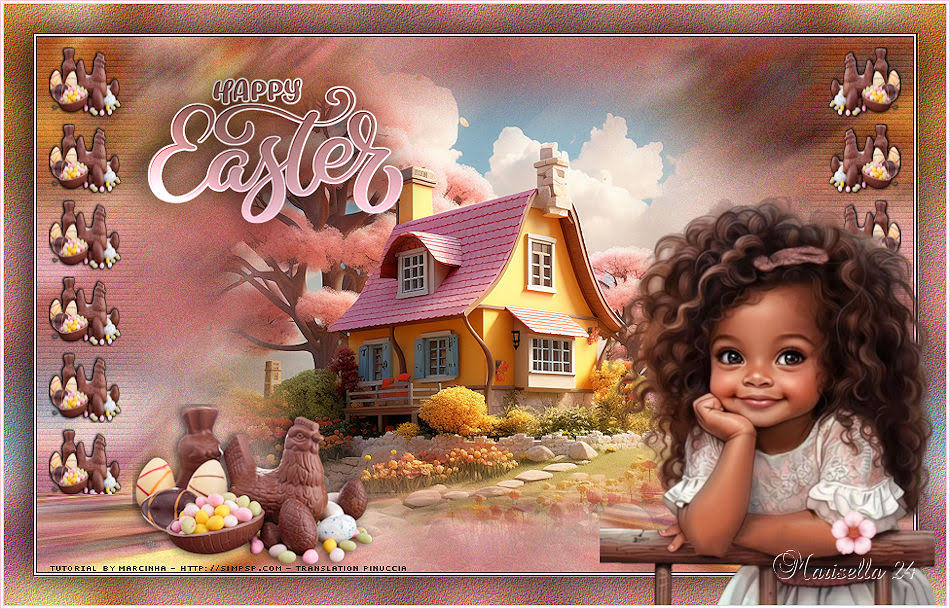
Marisella
Marie Nickol

If you have problems or doubts, or you find a not worked link, or only for tell me that you enjoyed this tutorial, write to me.
21 March 2024

|

