|
KAMIL


Thanks SIM PSP Group for your invitation to translate your tutorials into english

This tutorial was written with Psp2020 and translated with PspX9, but it can also be made using other versions of PSP.
Since version PSP X4, Image>Mirror was replaced with Image>Flip Horizontal,
and Image>Flip with Image>Flip Vertical, there are some variables.
In versions X5 and X6, the functions have been improved by making available the Objects menu.
In the latest version X7 command Image>Mirror and Image>Flip returned, but with new differences.
See my schedule here
For this tutorial, you will need:

For the tubes thanks Kamil.
(The links of the tubemakers here).
Plugins
consult, if necessary, my filter section here
Flaming Pear - TransTone, TransLine here
FM Tile Tools - Blend Emboss here
Alien Skin Eye Candy 5 Impact - Perspective Shadow here
Mura's Meister - Perspective Tiling here

You can change Blend Modes according to your colors.
In the newest versions of PSP, you don't find the foreground/background gradient (Corel_06_029).
You can use the gradients of the older versions.
The Gradient of CorelX here

Copy the selections in the Selections Folder.
Open the mask in PSP and minimize it with the rest of the material.
1. Choose 2 colors from your tube.
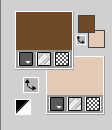
Set your foreground color to #6f4b29,
and your background color to #e4cab6.
2. Open a new transparent image 820 x 520 pixels.
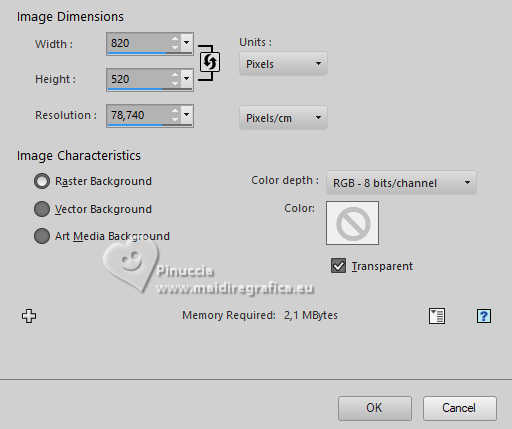
Selections>Select All.
3. Open the misted KamilTube-1785-BG 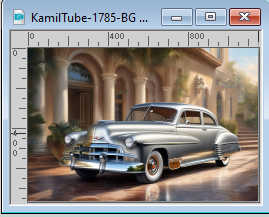
Edit>Copy.
Go back to your work and go to Edit>Paste Into Selection.
Selections>Select None.
4. Effects>Image Effects>Seamless Tiling, default settings.

5. Adjust>Blur>Gaussian Blur.

6. Effects>Plugins>Filters Unlimited 2.0 - Paper Textures - Papyrus.
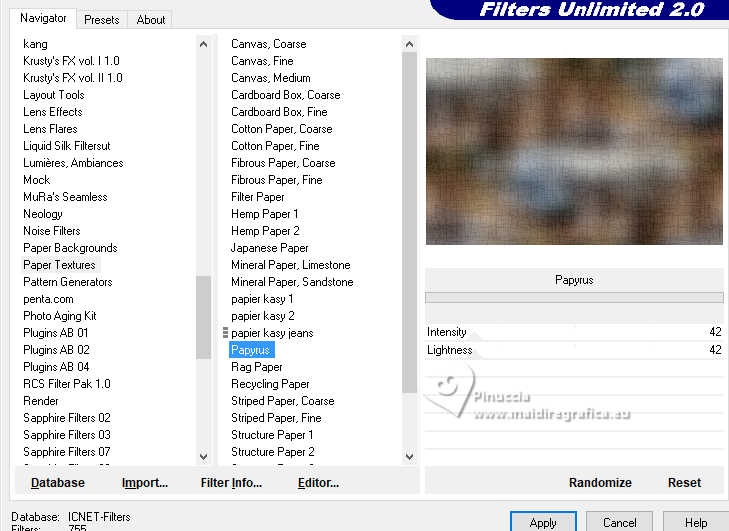
7. Repeat Effects>Plugins>Filters Unlimited 2.0 - Paper Textures - Papyrus, same settings.
Don't forget that Unlimited doesn't keep the settings in memory;
you have to set again the settings
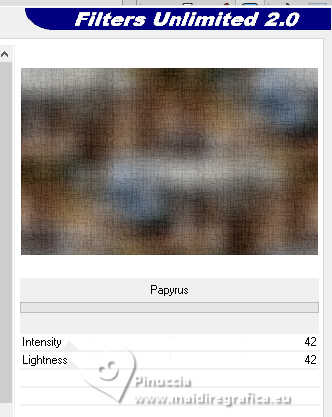
8. Effects>Plugins>FM Tile Tools - Saturation Emboss, default settings.

9. Layers>New Raster Layer.
Selections>Load/Save Selection>Load Selection from Disk.
Look for and load the selection Kamil_Selection_01
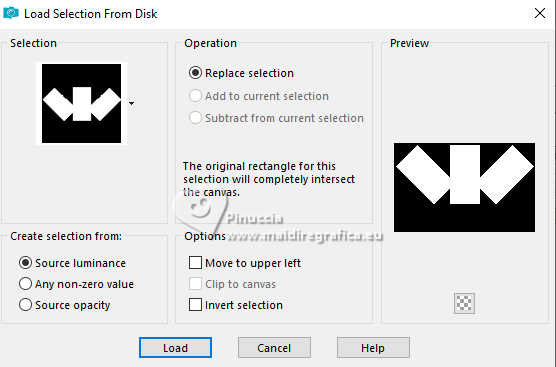
10. Flood Fill  the selection with your dark foreground color #6f4b29. the selection with your dark foreground color #6f4b29.
Layers>New Raster Layer.
11. Selections>Modify>Select Selection Borders.
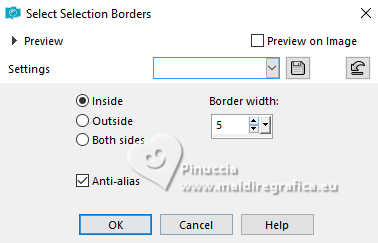
12. Set your foreground color to a Foreground/Background Gradient, style Linear.
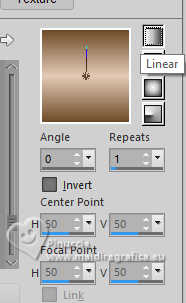
Flood Fill  the selection with your Gradient. the selection with your Gradient.
13. Effects>Plugins>Filters Unlimited 2.0 - Paper Textures - Papyrus
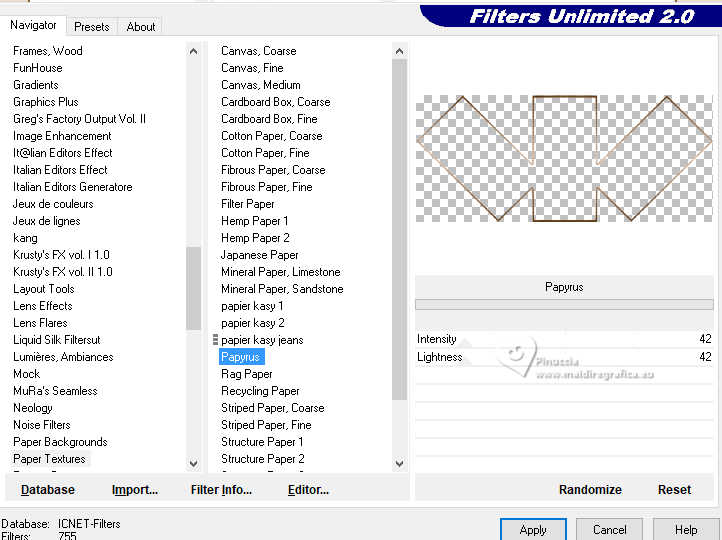
Repeat Effects>Plugins>Filters Unlimited 2.0 - Paper Textures - Papyrus
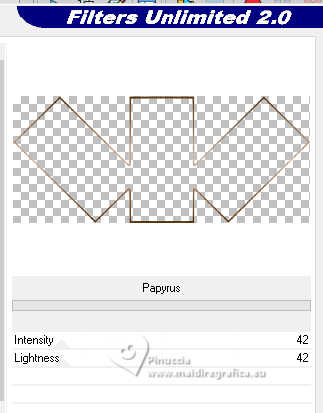
Effects>Plugins>FM Tile Tools - Saturation Emboss, default settings.

Selections>Select None.
14. Layers>New Raster Layer.
Selections>Load/Save Selection>Load Selection from Disk.
Look for and load the selection Kamil_Selection_01

15. Open the tube Misted_KamilTube-1785 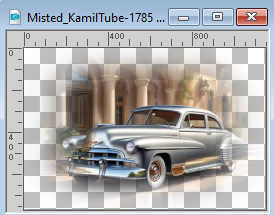
Edit>Copy.
Go back to your work and go to Edit>Paste into Selection.
Se usar outra imagem aplique uma mask para criar um Misted.
16. Effects>Plugins>FM Tile Tools - Saturation Emboss, par défaut.

17. Layers>Arrange>Move Down.
Layers>New Raster Layer.
18. Effects>3D Effects>Cutout.
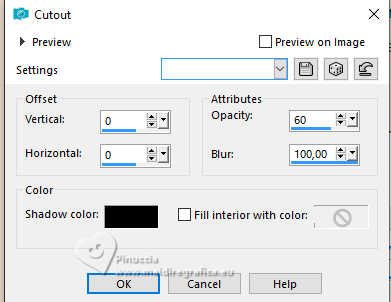
19. Keep selected.
Activate the layer Raster 2.
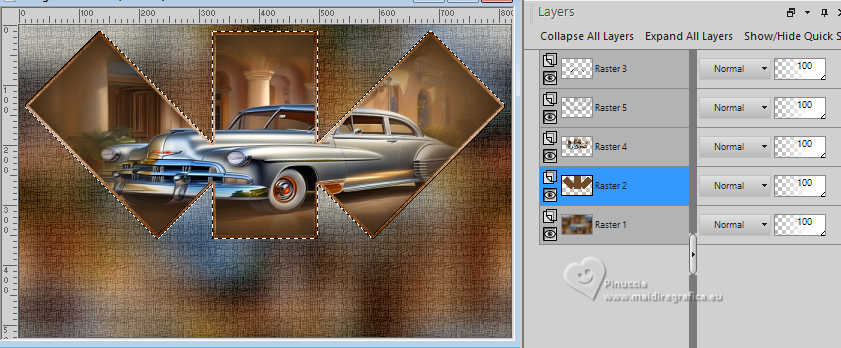
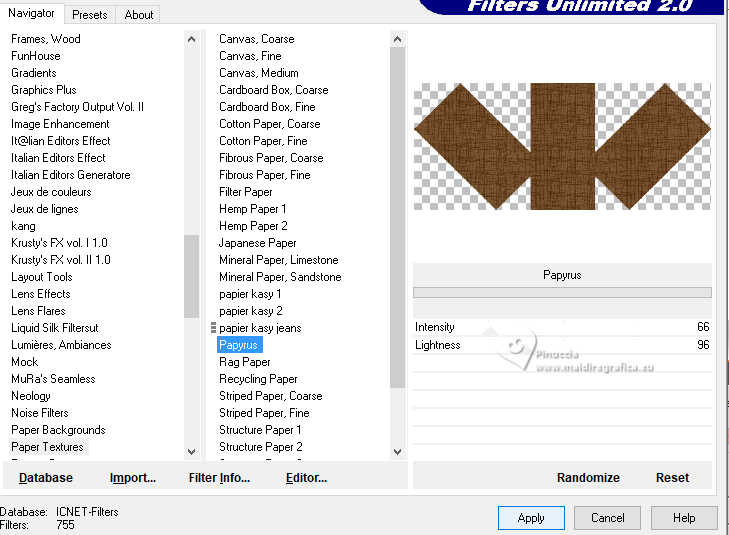
Effects>Plugins>Filters Unlimited 2.0 - Paper Textures - Papyrus, default settings
20. Effects>Plugins>FM Tile Tools - Saturation Emboss, default settings.

21. Selections>Select None.
22. Effects>3D Effects>Drop Shadow, color #000000.
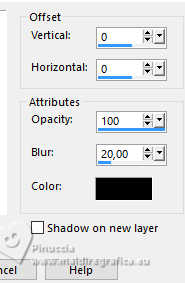
Edit>Repeat Drop Shadow.
Activate the layer Raster 1.
22. Layers>Duplicate.
Layers>Arrange>Bring to Top.
Effects>Image Effects>Seamless Tiling, default settings.

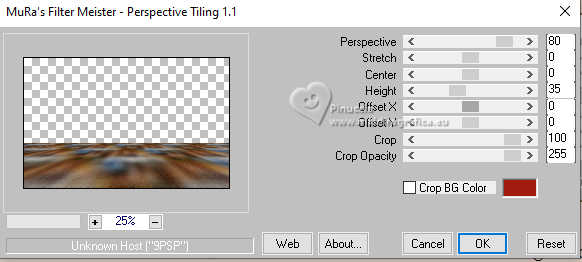
23. Effects>Plugins>Mura's Meister - Perspective Tiling.
24. Effects>Reflection Effects>Rotating Mirror, default settings.

25. Selections>Load/Save Selection>Load Selection from Disk.
Look for and load the selection Kamil_Selection_02
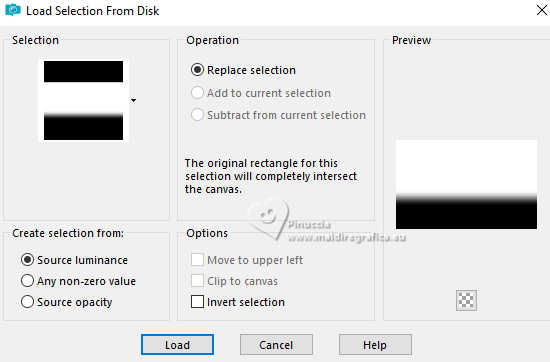
Press 6 times CANC on the keyboard.

Selections>Select None.
26. Effects>3D Effects>Drop Shadow, same settings.

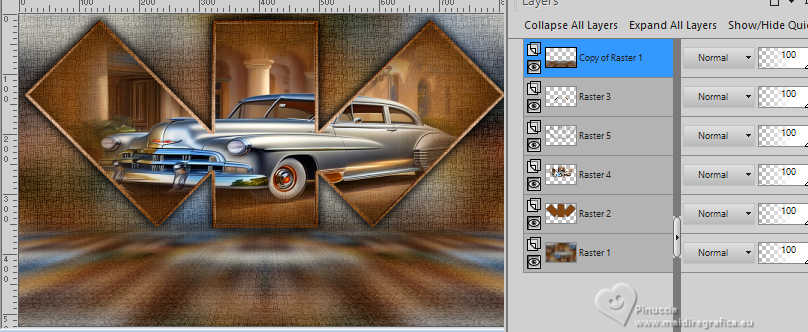
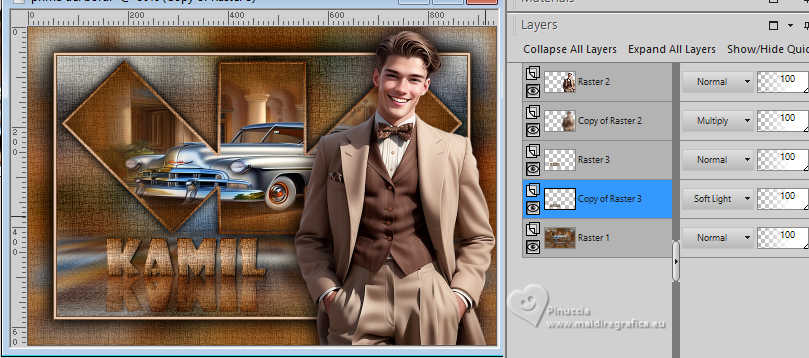
27. Your tag and the layers
28. Image>Add borders, 2 pixels, symmetric, foreground color #6f4b29.
Image>Add borders, 4 pixels, symmetric, background color #e4cab6.
Image>Add borders, 2 pixels, symmetric, foreground color #6f4b29.
Selections>Select All.
Edit>Copy.
29. Image>Add borders, 50 pixels, symmetric, whatever color.
Selections>Invert.
Edit>Paste into Selection.
30. Adjust>Blur>Gaussian Blur - radius 15.

31. Effects>Plugins>Filters Unlimited 2.0 - Paper Textures - Papyrus, default settings
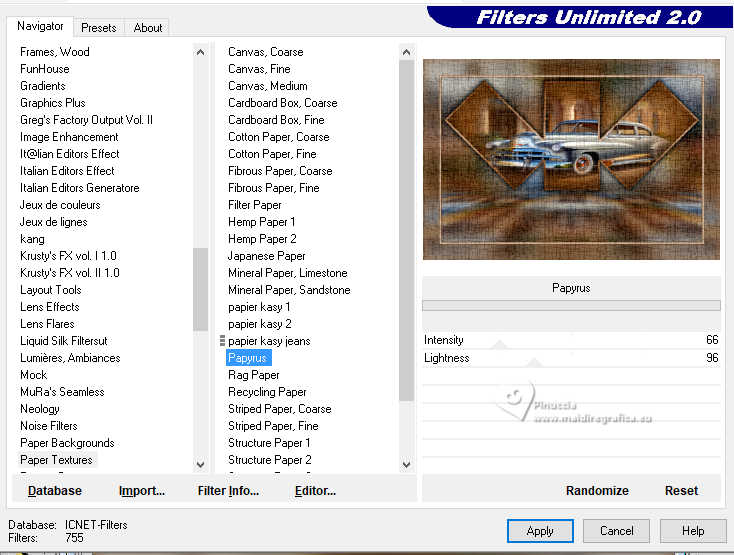
32. Effects>Plugins>FM Tile Tools - Saturation Emboss, default settings.

33. Selections>Invert.
Effects>3D Effects>Drop Shadow, color #000000.
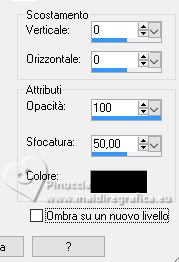
Edit>Repeat Drop Shadow.
Selections>Select None.
34. Open the tube KamilTube-1785 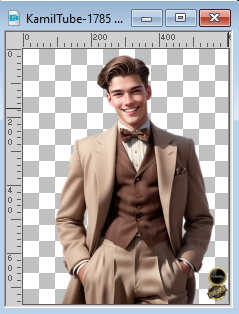
Erase the watermark and go to Edit>Copy.
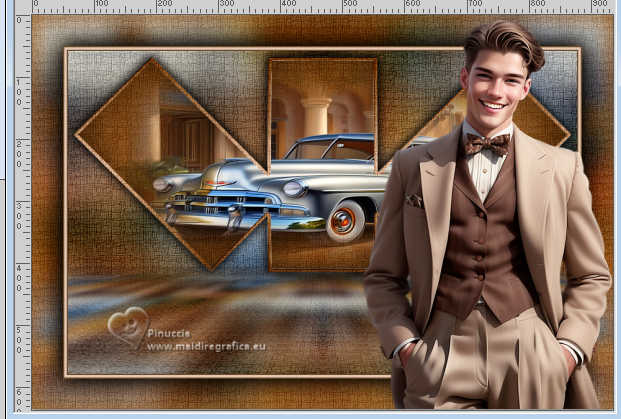
Go back to your work and go to Edit>Paste as new layer.
Image>Resize, to 86%, resize all layers not checked.
Image>Mirror>Mirror Horizontal (Image>Mirror).
Adjust>Sharpness>Sharpen.
35. Objects>Align>Bottom.
Objects>Align>Right.
Or move  the tube to the right side. the tube to the right side.
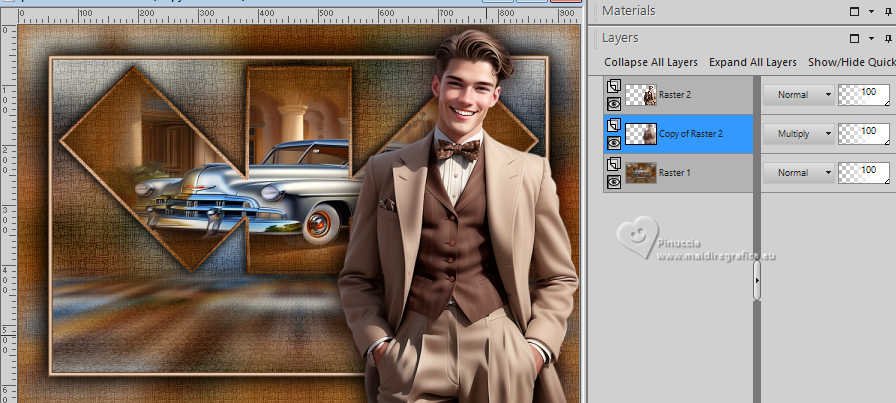
36. Layers>Duplicate.
Adjust>Blur>Gaussian Blur - radius 20.

Change the Blend Mode of this layer to Multiply.
Layers>Arrange>Move Down.
37. Activate the layer Raster 1.
Layers>New Raster Layer.
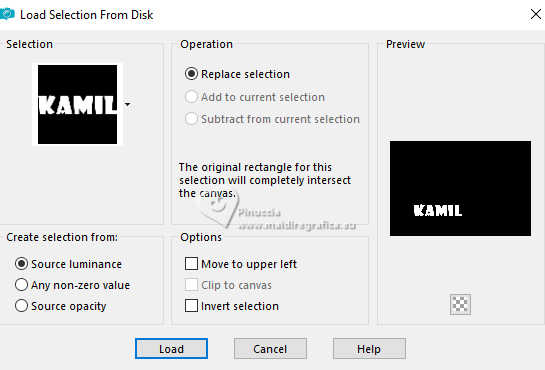
Selections>Load/Save Selection>Load Selection from Disk.
Look for and load the selection Kamil_Selection_03
38. Flood Fill  the selection with your Gradient. the selection with your Gradient.
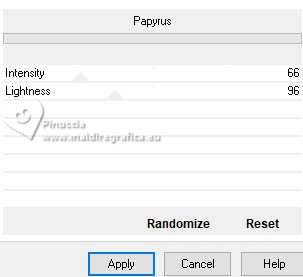
39. Effects>Plugins>Filters Unlimited 2.0 - Paper Textures - Papyrus, default settings
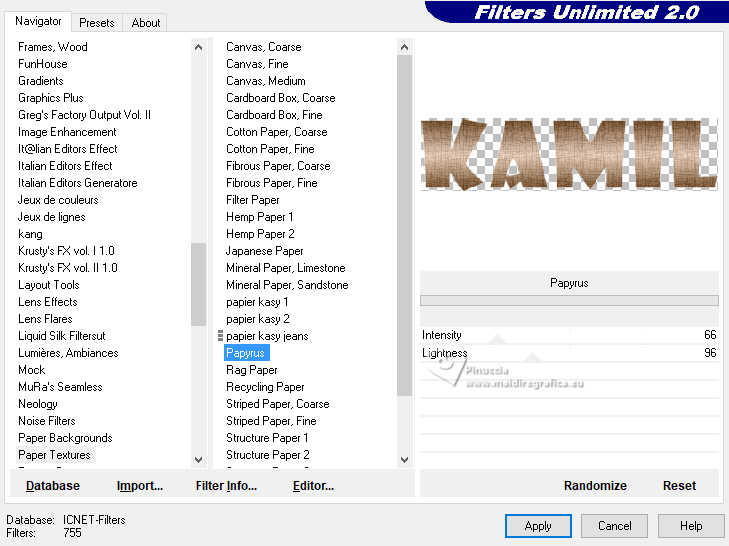
Repeat Effects>Plugins>Filters Unlimited 2.0 - Paper Textures - Papyrus, default settings
40. Effects>Plugins>FM Tile Tools - Saturation Emboss, default settings.

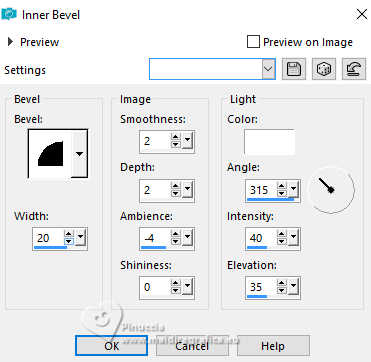
41. Effects>3D Effects>Inner Bevel.
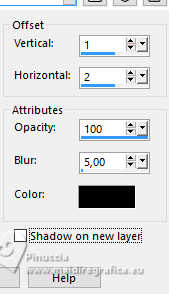
42. Effects>3D Effects>Drop Shadow, color #000000.
Selections>Select None.
43. Layers>Duplicate.
Image>Mirror>Mirror Vertical (Image>Flip).
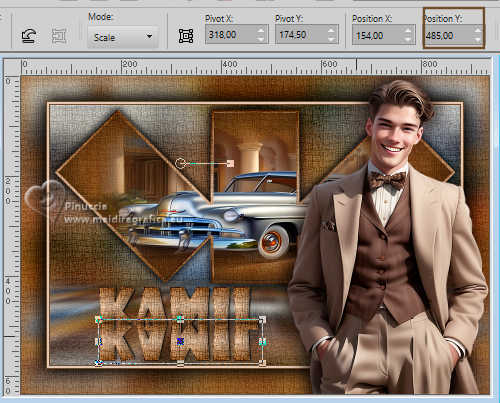
K key to activate your Pick Tool 
keep Position X: 154,00 and set Position Y: 485,00.
44. Layers>Arrange>Move Down.
Change the Blend Mode of this layer to Soft Light or according to your colors.
45. Image>Add borders, 2 pixels, symmetric, foreground color #6f4b29.
Image>Add borders, 4 pixels, symmetric, background color #e4cab6.
Image>Add borders, 2 pixels, symmetric, foreground color #6f4b29.
46. Sign your work and save as jpg.
For the tube of this version thanks Kamil.
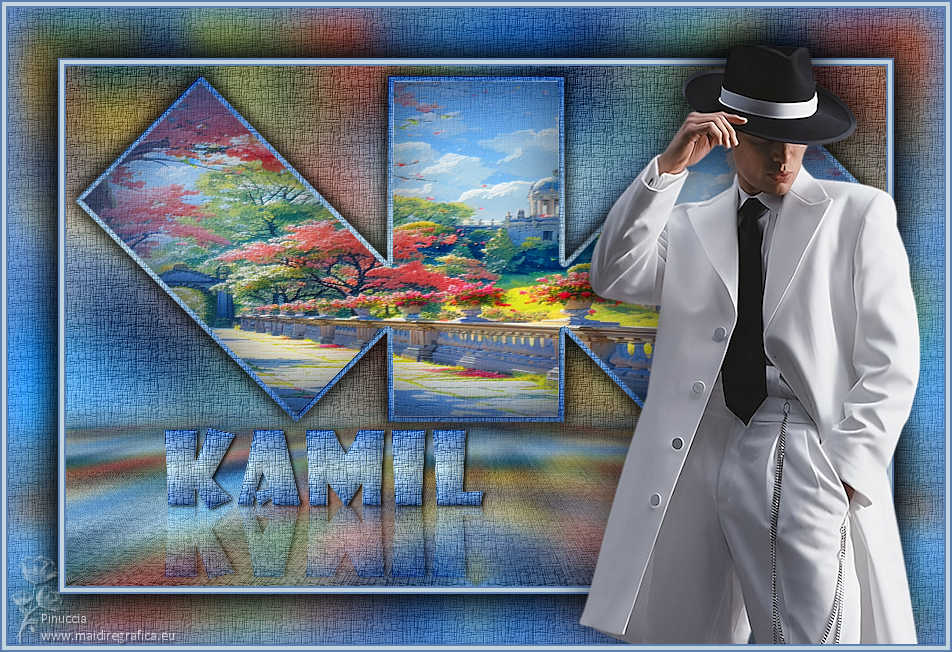

 Your versions. Thanks Your versions. Thanks

Marie Nickol
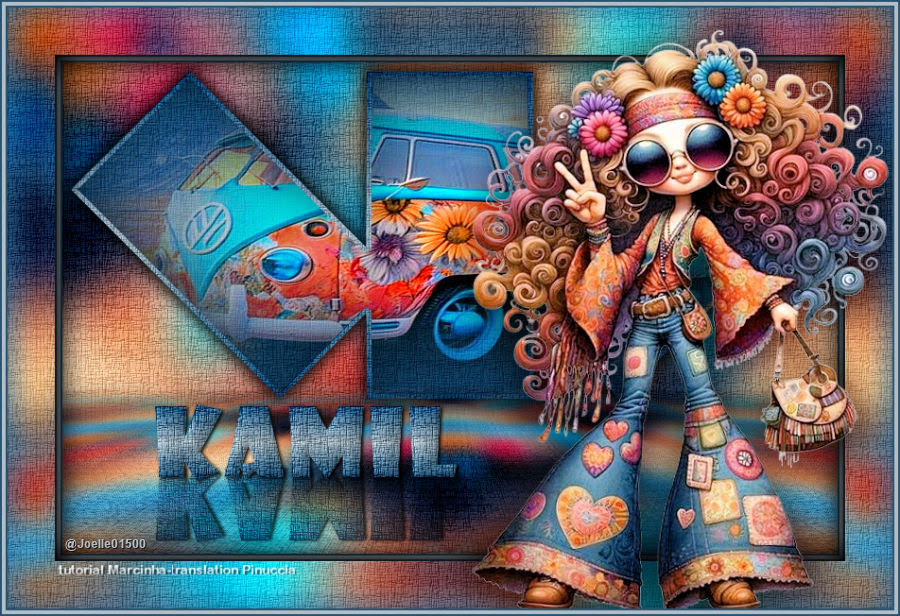
Joelle

Di@ne
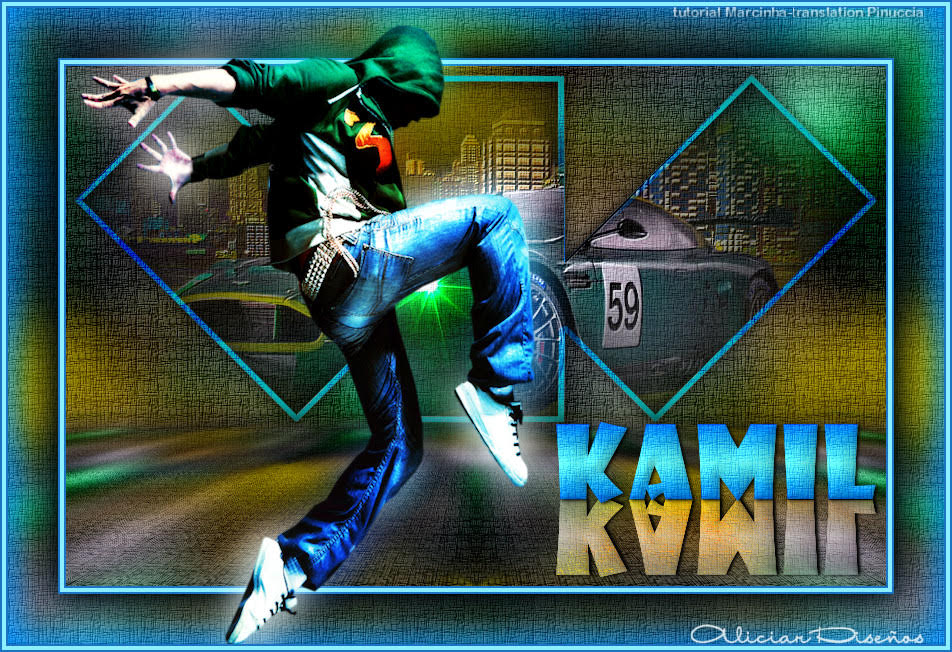
Aliciar

Jolcsi
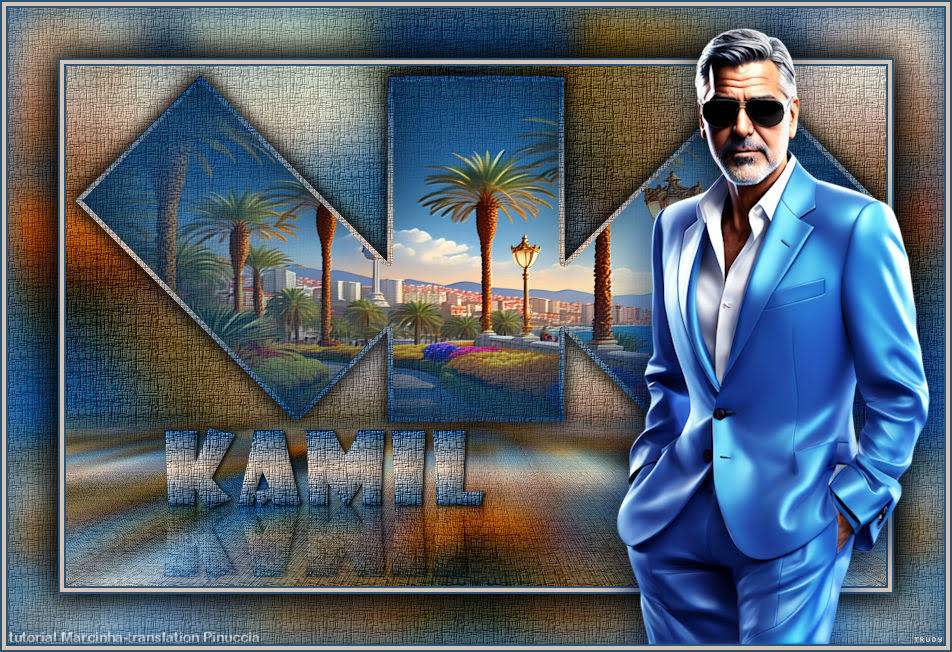
Trudy
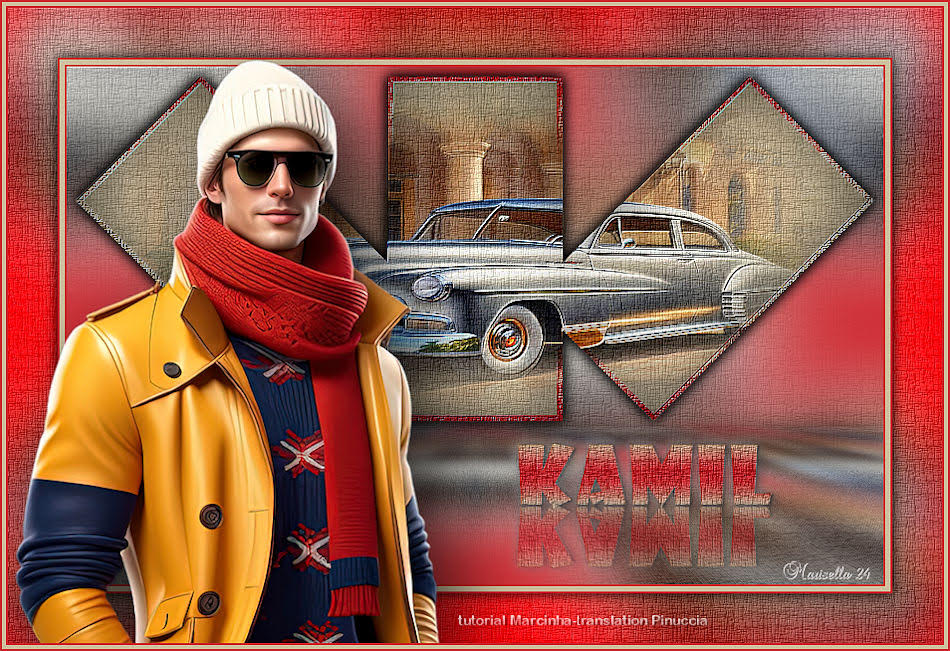
Marisella
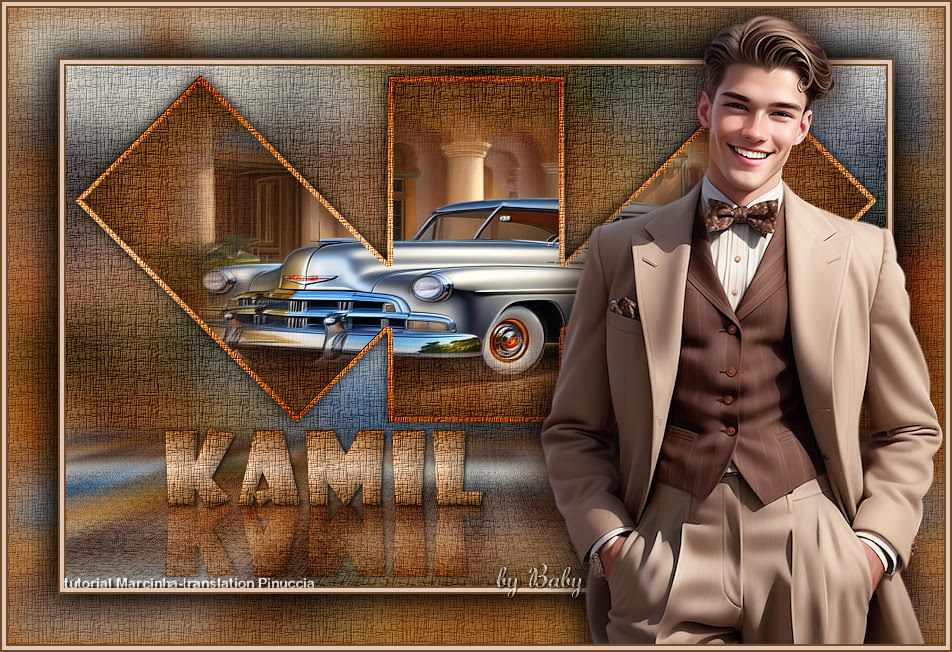
Baby
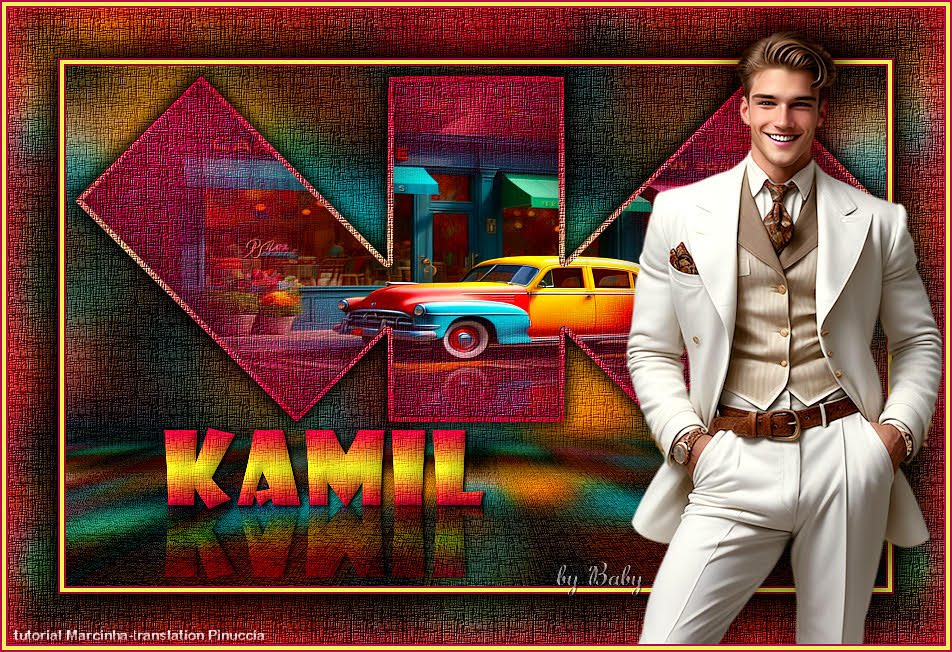
Baby
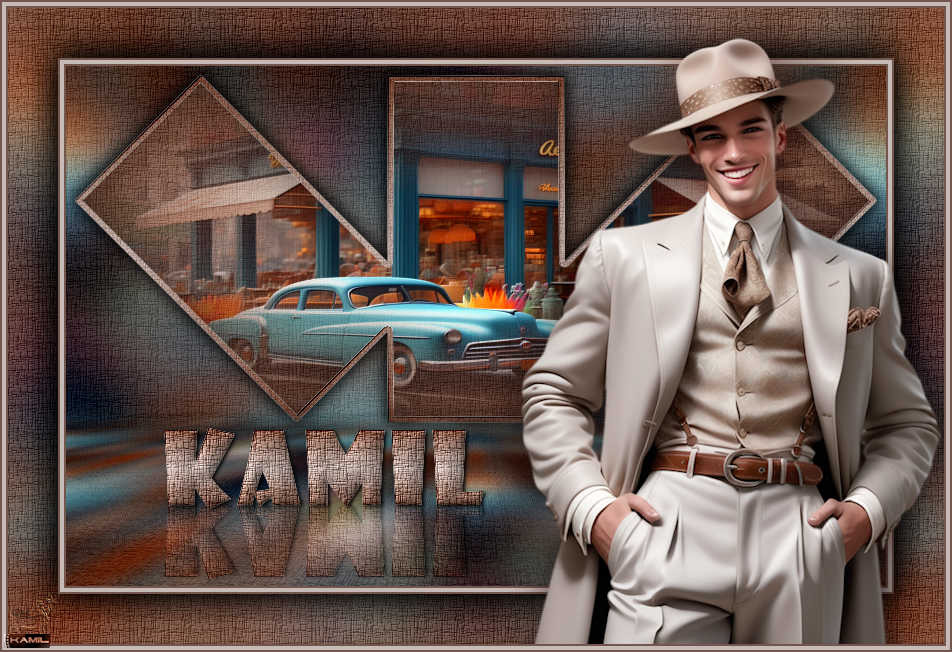
Pia
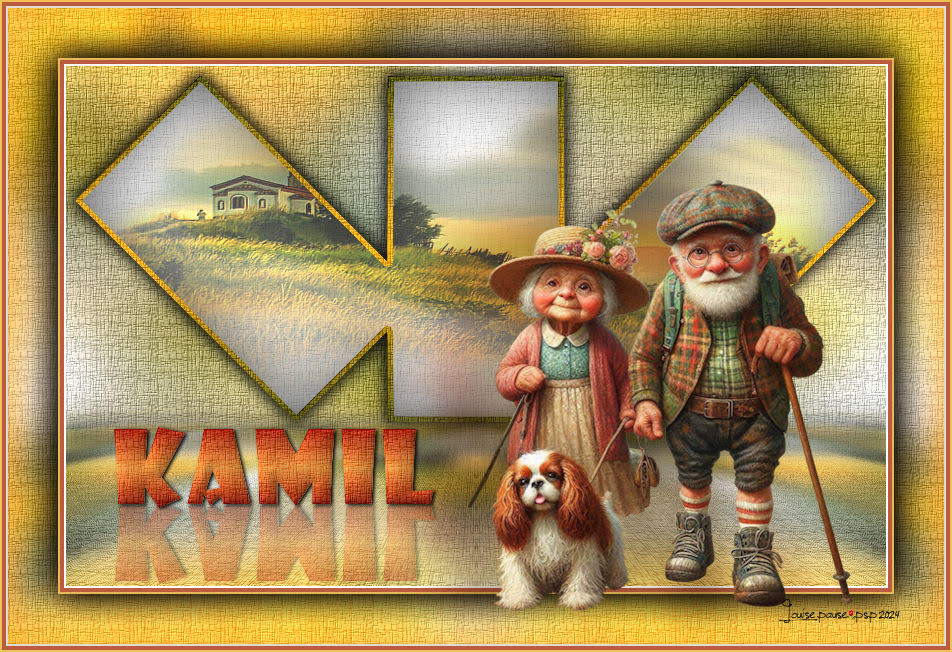
Louise

Maisa

Kamelius

If you have problems or doubts, or you find a not worked link, or only for tell me that you enjoyed this tutorial, write to me.
20 February 2024

|


