|
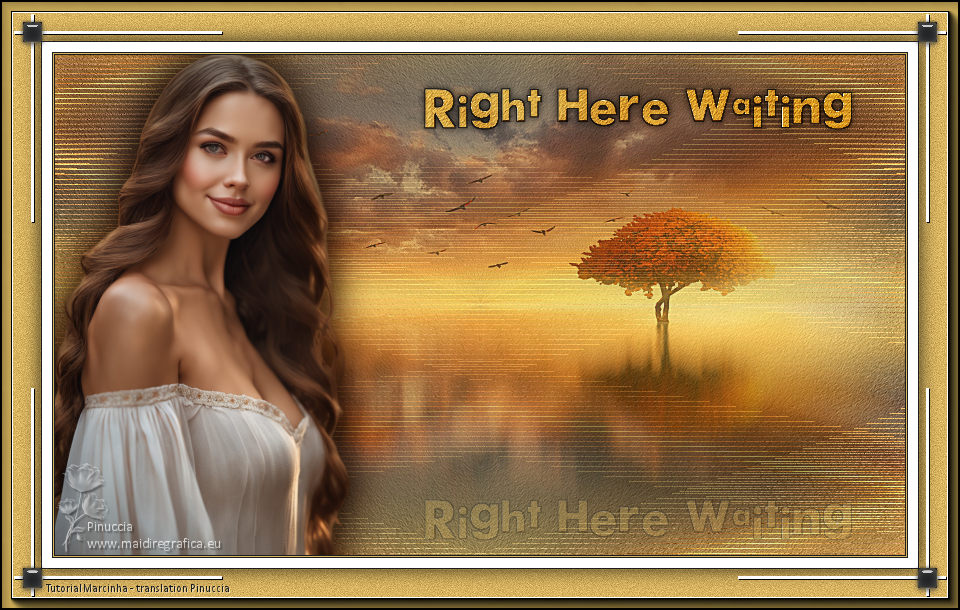
RIGHT HERE WAITING


Thanks SIM PSP Group for your invitation to translate your tutorials into english

This tutorial was written with Psp2020 and translated with PspX9, but it can also be made using other versions of PSP.
Since version PSP X4, Image>Mirror was replaced with Image>Flip Horizontal,
and Image>Flip with Image>Flip Vertical, there are some variables.
In versions X5 and X6, the functions have been improved by making available the Objects menu.
In the latest version X7 command Image>Mirror and Image>Flip returned, but with new differences.
See my schedule here
For this tutorial, you will need:

For the tubes thanks PqnaAlice
(The links of the tubemakers here).
Plugins
consult, if necessary, my filter section here
Filters Unlimited 2.0 here
Mura's Seamless - Emboss here
Alien Skin Eye Candy 5 Impact - Glass here
AAA Frames - Foto Frame here
Filters Mura's Seamless can be used alone or imported into Filters Unlimited.
(How do, you see here)
If a plugin supplied appears with this icon  it must necessarily be imported into Unlimited it must necessarily be imported into Unlimited

You can change Blend Modes according to your colors.

Copy the Selections in the Selections Folder.
1. Choose 2 colors from your material.
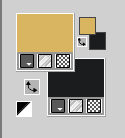
Set your foreground color to #dab561,
and your background color to #1c1d1e.
2. Open a new transparent image 850 x 500 pixels.
Flood Fill  the transparent image with your light foreground color. the transparent image with your light foreground color.
Selections>Select All.
3. Open the misted 151PaisagemByPqnaAlice 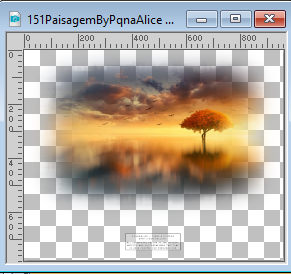
Erase the watermark and go to Edit>Copy.
Go back to your work and go to Edit>Paste into Selection.
Selections>Select None.
4. Effects>Image Effects>Seamless Tiling, default settings.

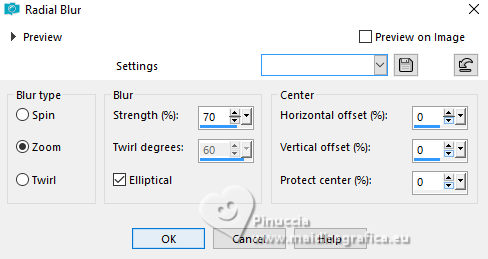
5. Adjust>Blur>Radial Blur.
6. Adjust>Add/Remove Noise>Add Noise.
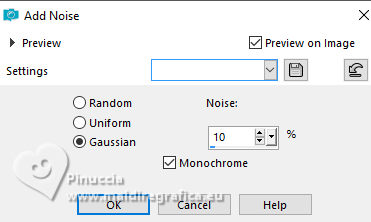
7. Effects>Plugins>Mura's Seamless - Emboss.
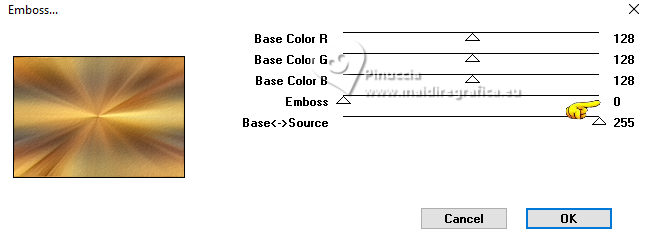
8. Effects>Reflection Effects>Rotating Mirror, default settings.

9. Layers>Duplicate.
10. Effects>Geometric Effects>Skew.
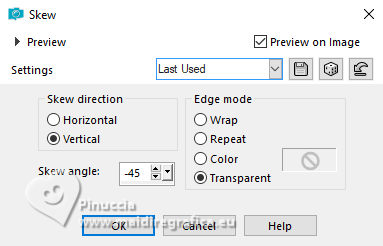
11. Effects>Distortion Effects>Wave.
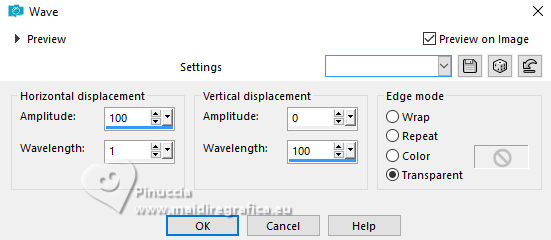
12. Effects>Reflection Effects>Rotating Mirror, default settings.

13. Adjust>Sharpness>Sharpen.
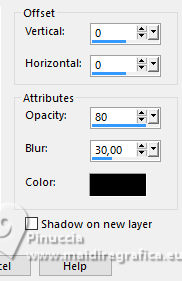
Effects>3D Effects>Drop Shadow, color #000000.
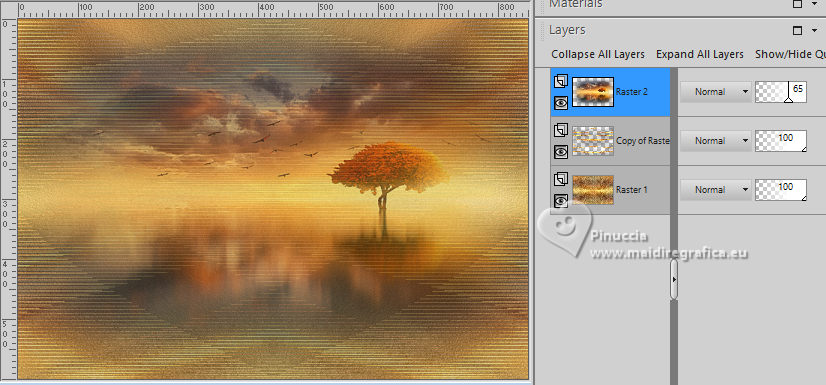
14. Edit>Paste as new layer (your landscape misted is still in memory).
Adjust>Sharpness>Sharpen Mor.
Reduce the opacity of this layer to 65%,
or according to your tube (for my second version I reduced to 70%).
Nota
If you prefer to paste your main tube after the borders, go to the step 16.
In my second version I pasted the tube after the borders, before the step 25.
15. Open your main tube 1074MulherByPqnaAlice 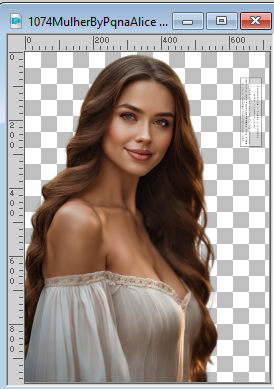
Erase the watermark and go to Edit>Copy.
Go back to your work and go to Edit>Paste as new layer.
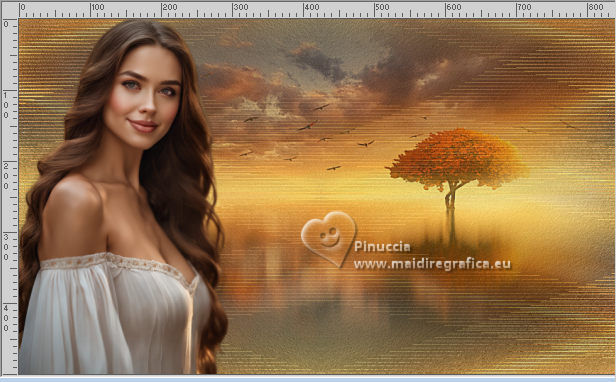
Image>Resize, if necessary, for the supplied tube to 52%, resize all layers not checked.
Objects>Align>Bottom.
Objects>Align>Left.
Or move  the tube at the bottom left. the tube at the bottom left.
Layers>Duplicate.
Adjust>Blur>Gaussian Blur - radius 20.

Layers>Arrange>Move Down.
Change the Blend Mode of this layer to Multiply.
16. Image>Add borders, 1 pixel, symmetric, background color.
Image>Add borders, 1 pixel, symmetric, foreground color.
Effects>Reflection Effects>Rotating Mirror, default settings.

Image>Add borders, 10 pixels, symmetric, color white #ffffff.
Effects>Reflection Effects>Rotating Mirror, default settings.

Selections>Select All.
17. Image>Add borders, 40 pixels, symmetric, foreground color.
Selections>Invert.
18. Adjust>Add Remove Noise>Add Noise, same settings.

19. Selections>Invert.
Effects>3D Effects>Drop Shadow, color black #000000.

Selections>Invert.
Adjust>Sharpness>Sharpen.
Selections>Select None.
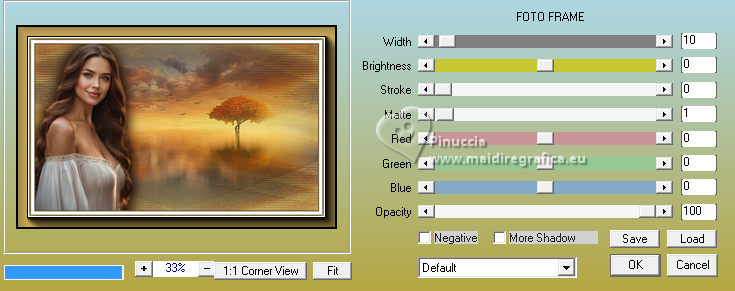
20. Effects>Plugins>AAA Frames - Foto Frame.
21. Layers>New Raster Layer.
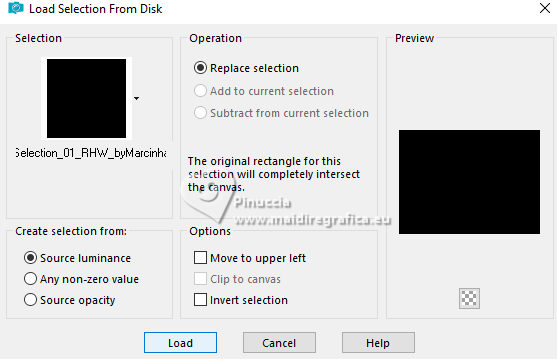
Selections>Load/Save Selection>Load Selection from Disk.
Look for and load the selection Selection_01_RHW_byMarcinha
Set your foreground color to white #ffffff, or a color to your liking.
Flood Fill  the selection with your foreground color. the selection with your foreground color.
Selections>Selection None.
Effects>3D Effects>Drop Shadow, colore black #000000.

22. Layers>New Raster Layer.
Selections>Load/Save Selection>Load Selection from Disk.
Look for and load the selection Selection_02_RHW_byMarcinha

Flood Fill  the selections with your background color, or a color to your liking. the selections with your background color, or a color to your liking.
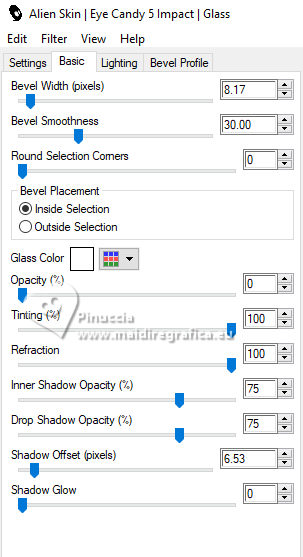
23. Effects>Plugins>Alien Skin Eye Candy 5 Impact - Glass.
24. Selections>Select None.
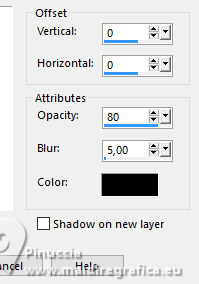
Effects>3D Effects>Drop shadow, color black #000000.
Layers>Merge>Merge Down.
25. Layers>New Raster Layer.
Selections>Load/Save Selection>Load Selection from Disk.
Look for and load the selection Selection_03_RHW_byMarcinha
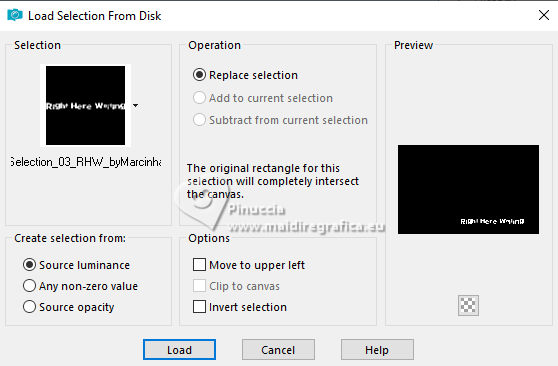
Flood Fill  the selection with your foreground color. the selection with your foreground color.
26. Adjust>Add/Remove Noise>Add Noise, same settings.

27. Effects>Plugins>Mura's Seamless - Emboss.
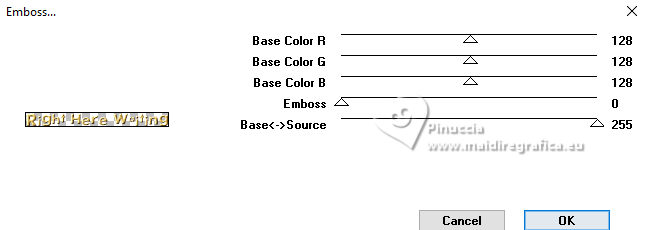
28. Layers>New Raster Layer.
Selections>Modify>Expand - 1 pixel.
Flood Fill  the selection with your background color. the selection with your background color.
Selections>Select None.
29. Layers>Arrange>Move Down.
Activate your top layer, Raster 2.
Layers>Merge>Merge Down.
30. Layers>Duplicate.
Change the Blend Mode of this layer to Hard Light.
Note in my second version I set to Luminance (L).
K key to activate your Pick Tool 
and set Position Y: 87,00.
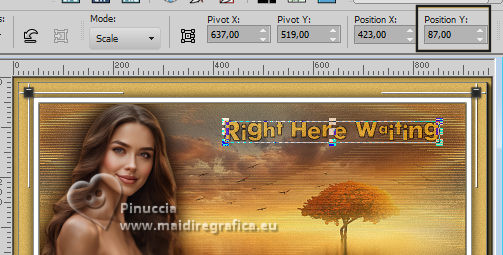
Effects>3D Effects>Drop shadow, color black #000000.
31. Activate the layer Raster 3.
Reduce the opacity of this layer to 30%.
In my second version I change the opacity to 40%, and in the third to 55%.
32. Image>Add borders, 1 pixel, symmetric, colore black #ffffff.
33. Sign your work and save as jpg.
For the tubes of these versions thanks
Yvonne
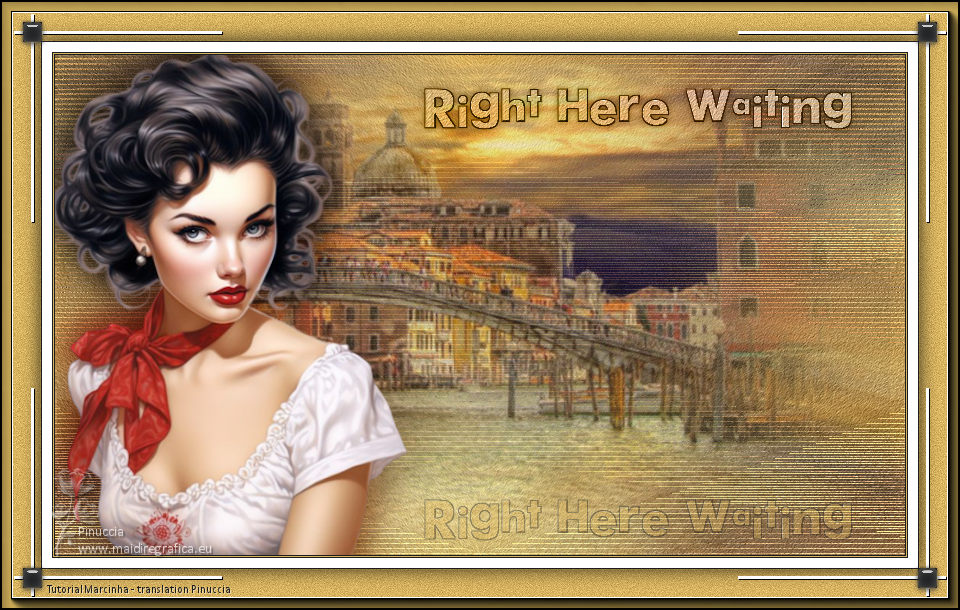
Wieskes
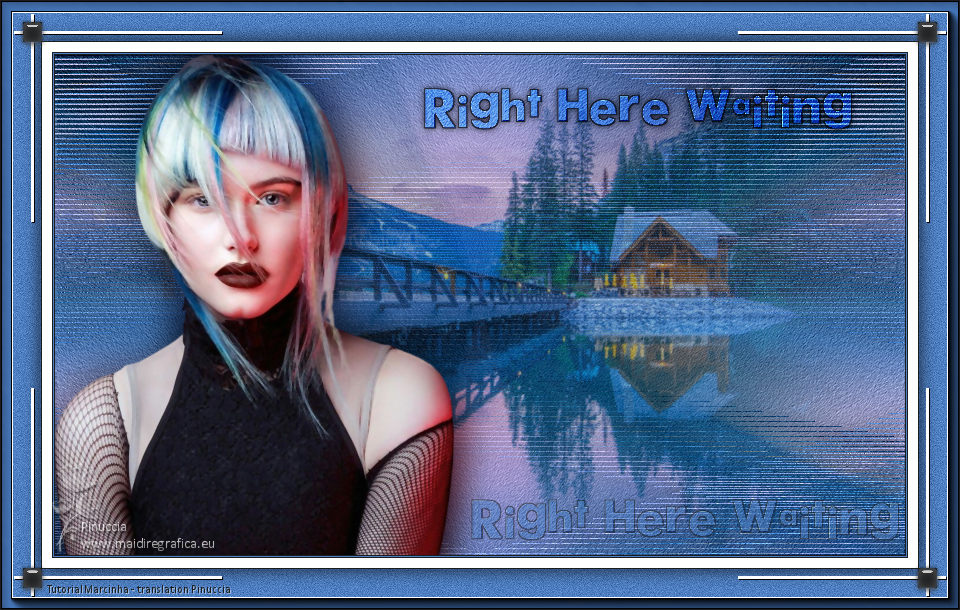

 Your versions. Thanks Your versions. Thanks
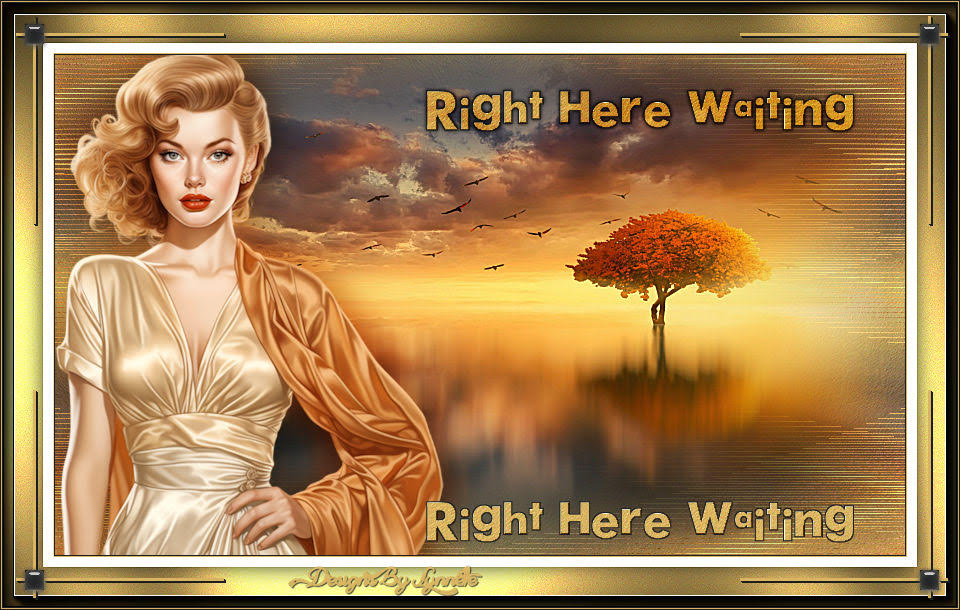
Lynnette
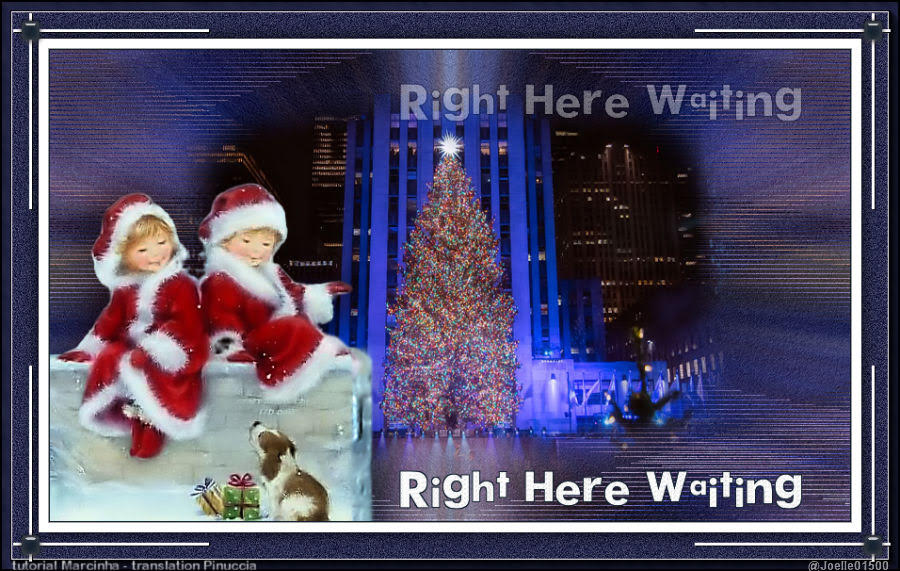
Joelle


If you have problems or doubts, or you find a not worked link, or only for tell me that you enjoyed this tutorial, write to me.
14 October 2023

|

