|
ASHLEE

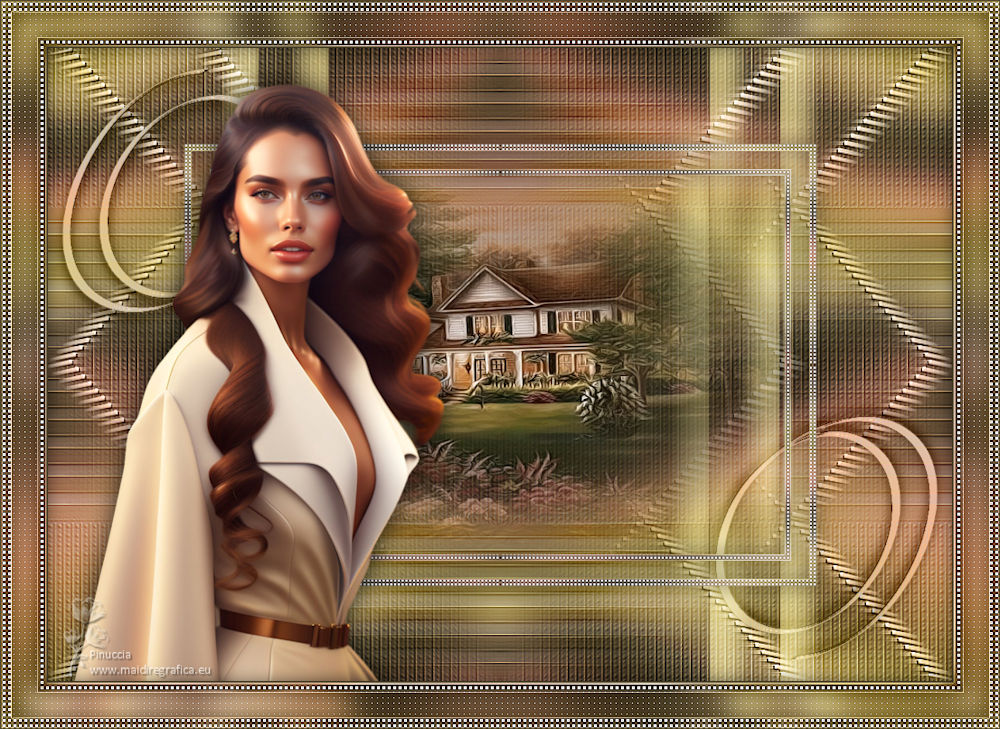
Thanks Maria José for your invitation to translate your tutorial

This tutorial has been translated with PSPX9 and PSP2020, but it can also be made using other versions of PSP.
Since version PSP X4, Image>Mirror was replaced with Image>Flip Horizontal,
and Image>Flip with Image>Flip Vertical, there are some variables.
In versions X5 and X6, the functions have been improved by making available the Objects menu.
In the latest version X7 command Image>Mirror and Image>Flip returned, but with new differences.
See my schedule here
 French translation here French translation here
 your versions ici your versions ici
For this tutorial, you will need:

For the tube thanks AngelStar.
The rest of the material is by Maria José.
(you find here the links to the material authors' sites)

consult, if necessary, my filter section here
Filters Unlimited 2.0 here
Carolaine and Sensibility - CS-LDots here
Mura's Seamless - Emboss at Alpha here
Simple - Top Left Mirror here
AAA Filters - Custom here
Filters Mura's Seamless and Simple can be used alone or imported into Filters Unlimited.
(How do, you see here)
If a plugin supplied appears with this icon  it must necessarily be imported into Unlimited it must necessarily be imported into Unlimited

You can change Blend Modes according to your colors.

Copy the selections in the Selections Folder.
Open the mask in PSP and minimize it with the rest of the material.
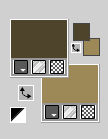
Set your foreground color to #4e452c,
and your background color to #9c8958.
1. Open fundo-1-MJ 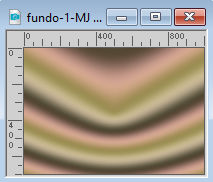
This image will be the basis of your work.
Colorize to your liking.
2. Effects>Image Effets>Seamless Tiling.

3. Adjust>Blur>Gaussian Blur - radius 15.

4. Layers>New Raster Layer.
Flood Fill  le calque avec la couleur foncée. le calque avec la couleur foncée.
5. Layers>New Mask layer>From image
Open the menu under the source window and you'll see all the files open.
Select the mask mask-ashlee-MJ.
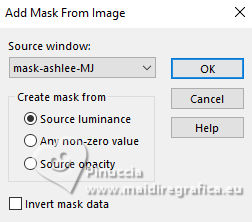
Layers>Merge>Merge Group.
6. Effects>Plugins>Mura's Seamless - Emboss at Alpha, default settings.
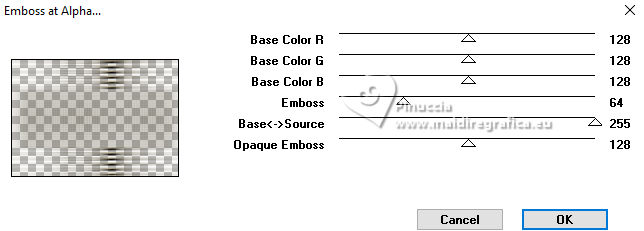
7. Effects>Image Effects>Seamless Tiling.

8. Adjust>Sharpness>Sharpen More.
9. Effects>Reflection Effects>Rotating Mirror, default settings.

Change the Blend Mode of this layer to Overlay.
10. Open deco-MJ 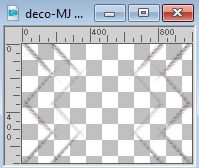
Edit>Copy.
Go back to your work and go to Edit>Paste as new layer.
Change the Blend Mode of this layer to Luminance (legacy).
11. Open deco-1-MJ 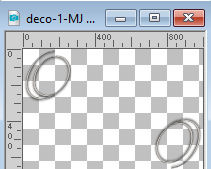
Edit>Copy.
Go back to your work and go to Edit>Paste as new layer.
Change the Blend Mode of this layer to Luminance (legacy).
12. Open deco-2-MJ 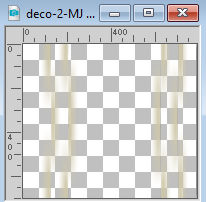
Edit>Copy.
Go back to your work and go to Edit>Paste as new layer.
Change the Blend Mode of this layer to Hard Light.
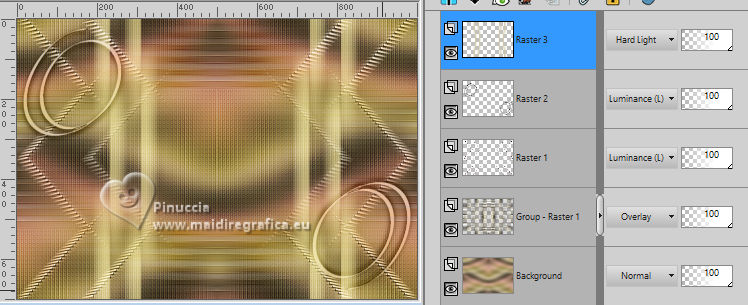
13. Activate the layer Raster 1.
Selections>Load/Save Selection>Load Selection from Disk.
Look for and load the selection ashlee-MJ
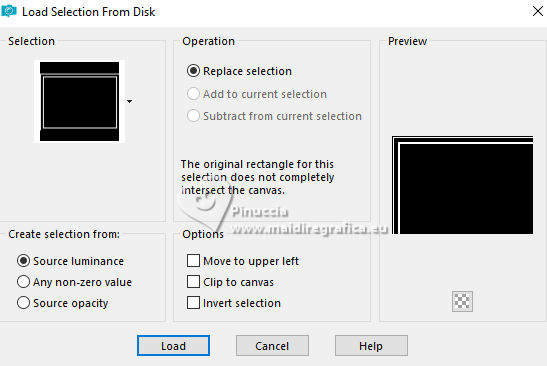
Selections>Promote Selection to Layer.
14. Layers>Arrange>Bring to Top.
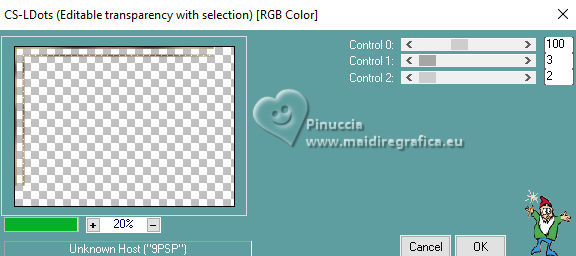
15. Effects>Plugins>Carolaine and Sensibility - CS-LDots.
16. Effects>Edge Effects>Dilate.
17. Effects>Edge Effects>Enhance.
Selections>Select None.
18. Effects>Reflection Effects>Rotating Mirror.

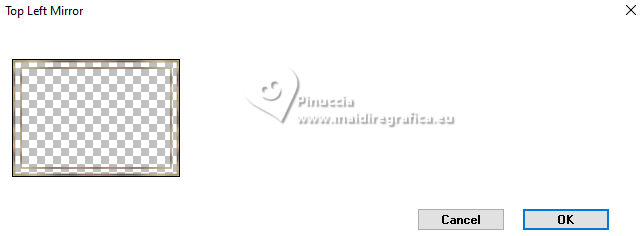
19. Effects>Plugins>Simple - Top Left Mirror.
20. Image>Resize, to 70%, resize all layers not checked.
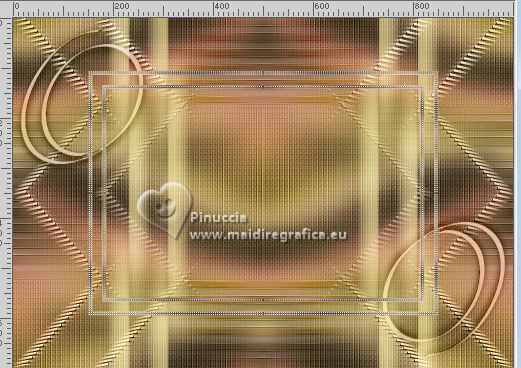
21. Selections>Load/Save Selection>Load Selection from Disk.
Look for and load the selection ashlee-1-MJ
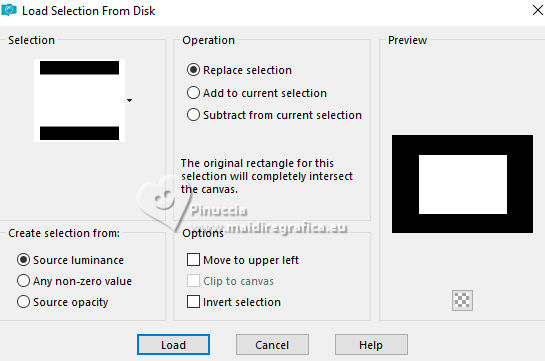
22. Layers>New Raster Layer.
Open the misted AS Tube 34-2 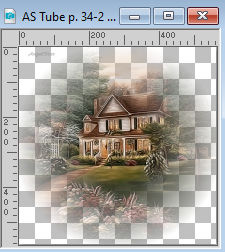
Edit>Copy.
Go back to your work and go to Edit>Paste into Selection.
Layers>Arrange>Move Down.
23. Activate the layer above, Promoted Selection.
Layers>Merge>Merge Down.
Selections>Select None.
24. Effects>3D Effects>Drop Shadow, color black.

Your tag and the layer - adapt Blend Mode and opacity to your liking.
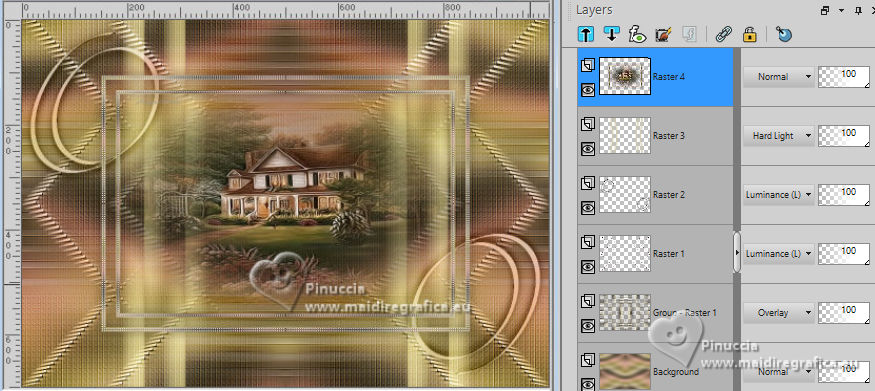
25. Open the tube AS Tube 387 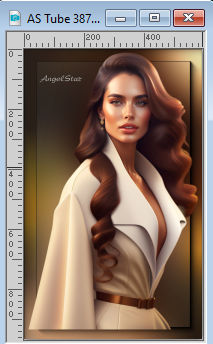
Edit>Copy.
Go back to your work and go to Edit>Paste as new layer.
Image>Resize, to 73%, resize all layers not checked.
Move  the tube to the left, or to your liking. the tube to the left, or to your liking.
Effects>3D Effects>Drop Shadow, at your choice.
26. Image>Add borders, 1 pixel, symmetric, dark color.
Image>Add borders, 1 pixel, symmetric, light color.
27. Selections>Select All.
Edit>Copy
Image>Add borders, 50 pixels, symmetric, color white.
28. Selections>Invert.
Edit>Paste into Selection
29. Adjust>Blur>Gaussian Blur, radius 15.

30. Effects>Plugins>Carolaine and Sensibility - CS-LDots, same settings.
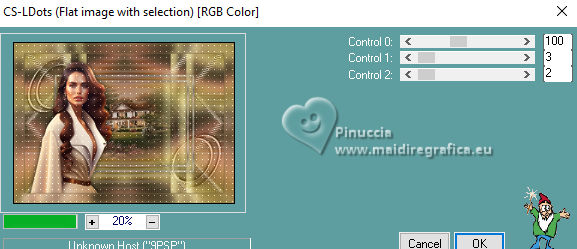
31. Adjust>Sharpness>Sharpen More.
Effects>3D Effects>Drop Shadow, color black.

32. Layers>New Raster Layer.
Open bordas-MJ 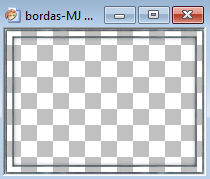
Edit>Copy.
Go back to your work and go to Edit>Paste into Selection.
Change the Blend Mode of this layer to Luminance (legacy) or other.
Selections>Select None.
33. Selections>Load/Save Selection>Load Selection from Disk.
Look for and load the selection ashlee-2-MJ
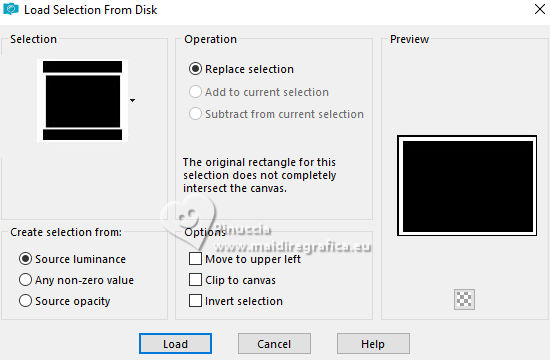
34. Selections>Invert.
Effects>3D Effects>Drop Shadow, same settings.
Selections>Select None.
35. Sign your work on a new layer.
Image>Add borders, 1 pixel, symmetric, dark color.
36. Image>Resize, 1000 pixels width, resize all layers checked.
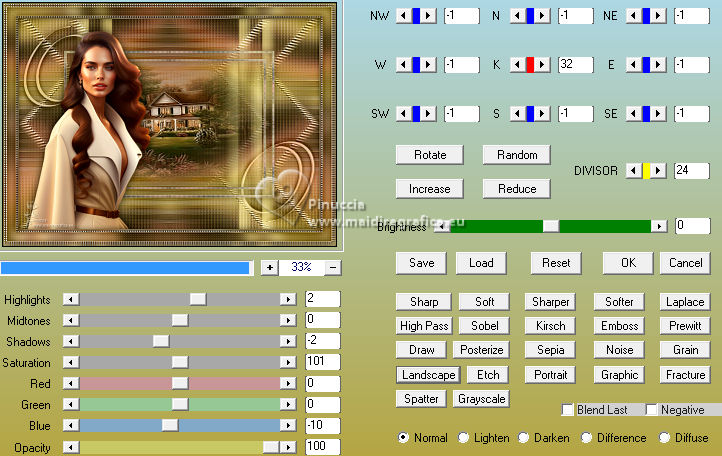
OPTIONAL: Effects>Plugins>AAA Filters - Custom - click on Landscape and ok.
Save as jpg.
For the tubes of these versions thanks
Kamil
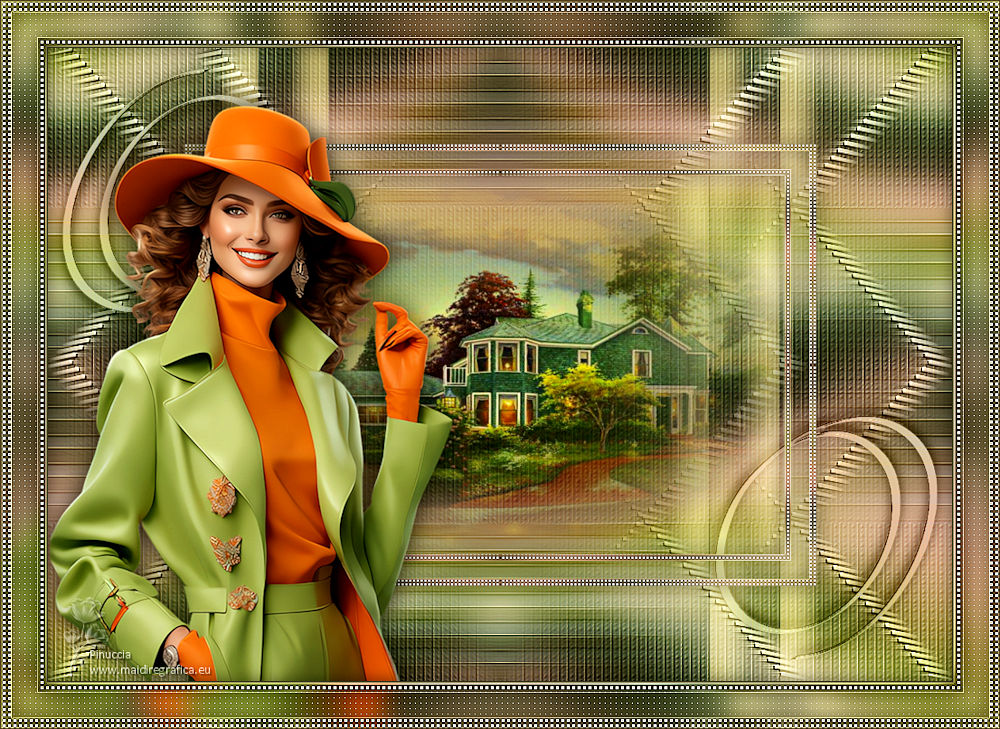
Luz Cristina and Yvonne
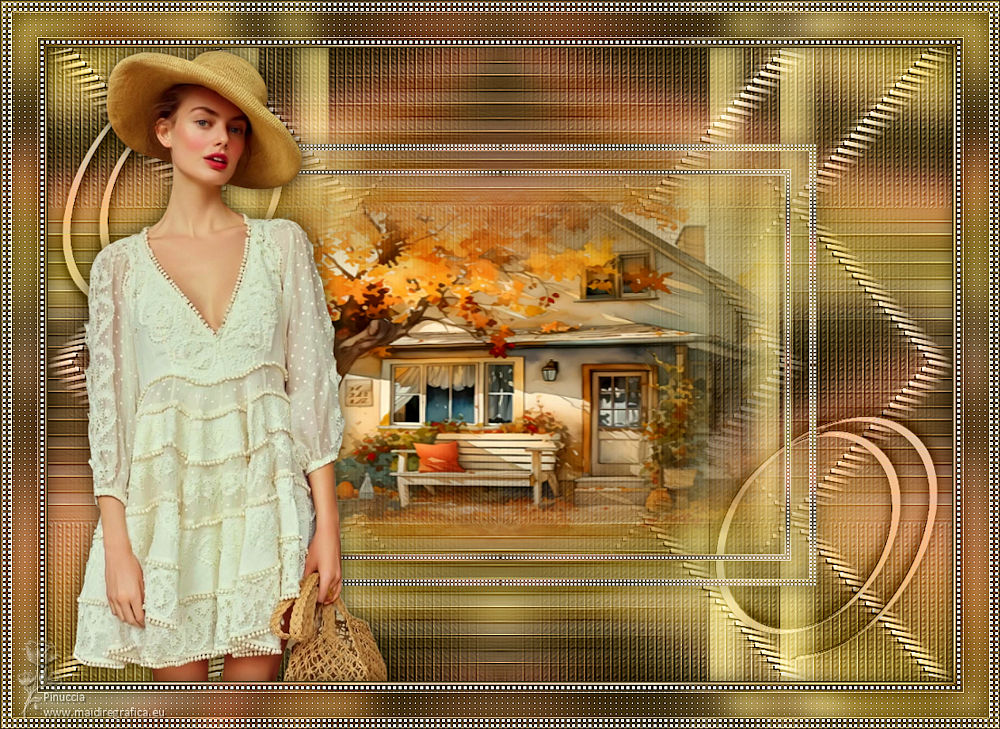

If you have problems or doubts, or you find a not worked link,
or only for tell me that you enjoyed this tutorial, write to me.
24 September 2023

|


